-
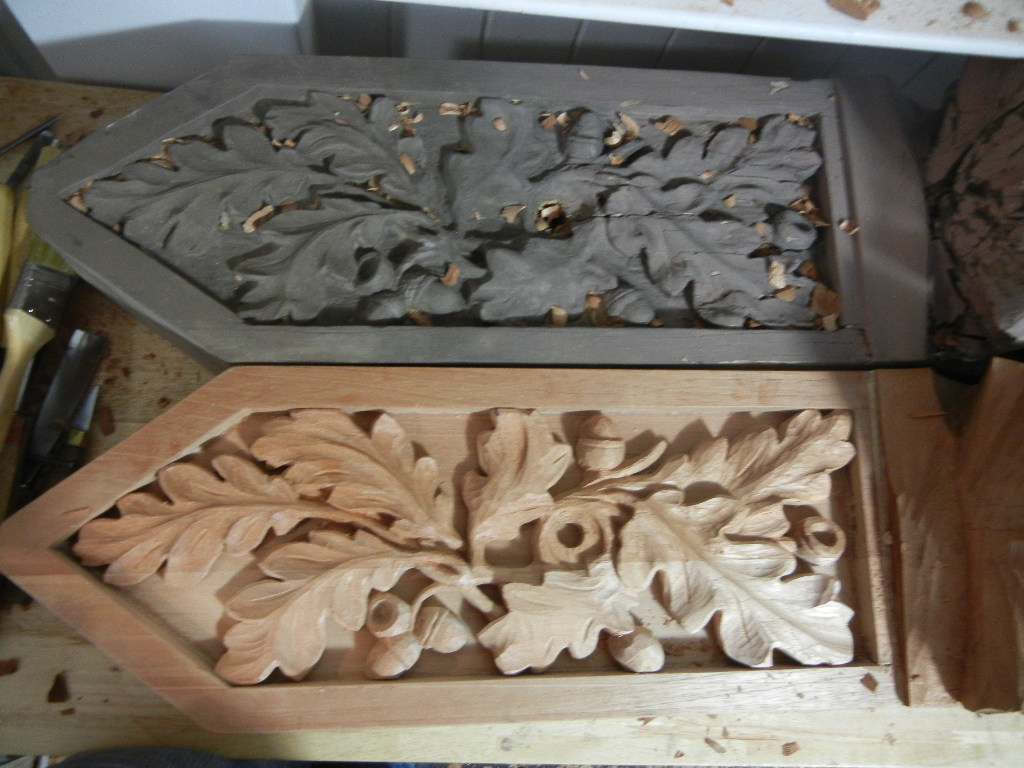
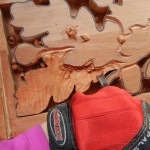
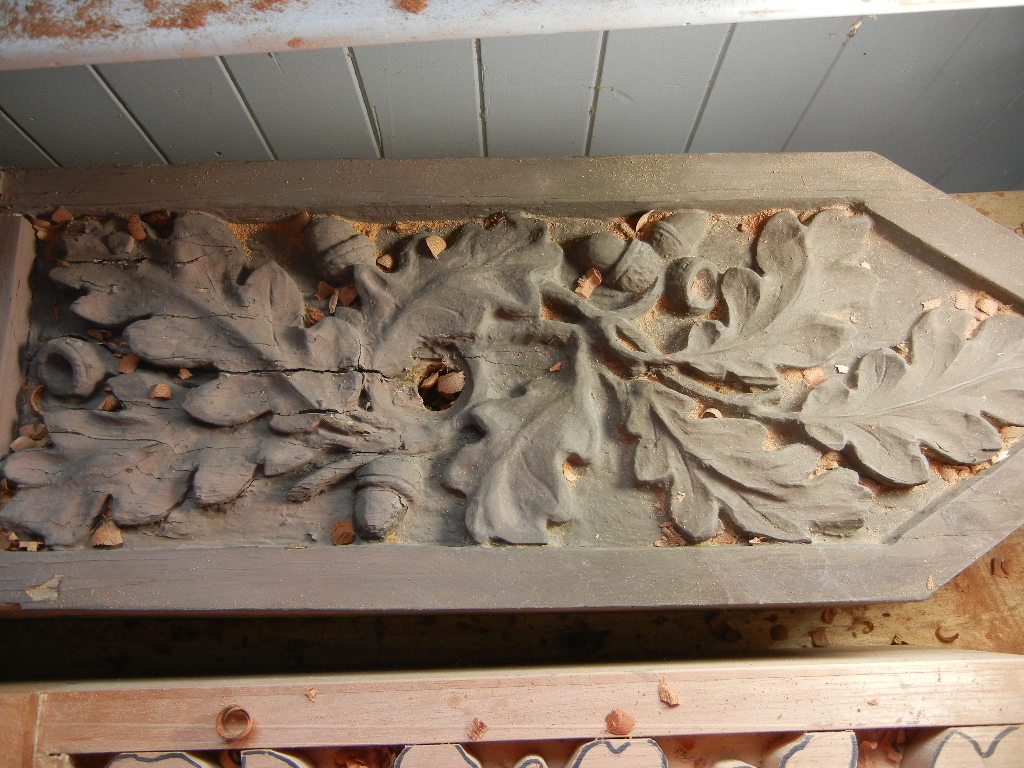
- Finished carving next to the original
-
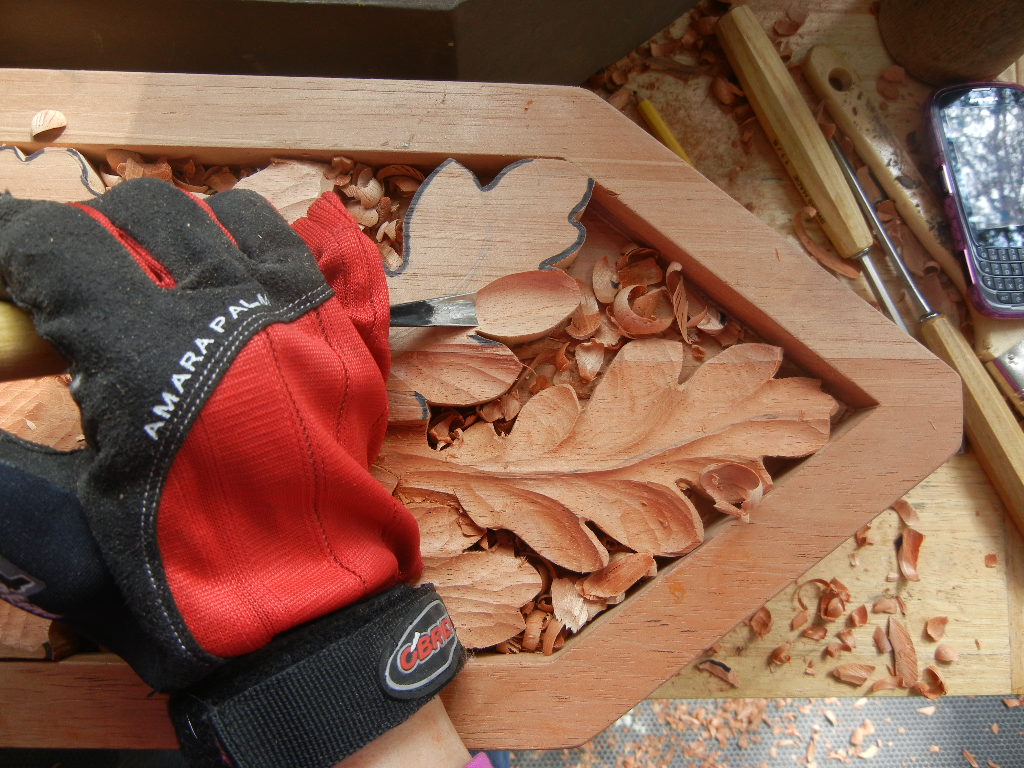
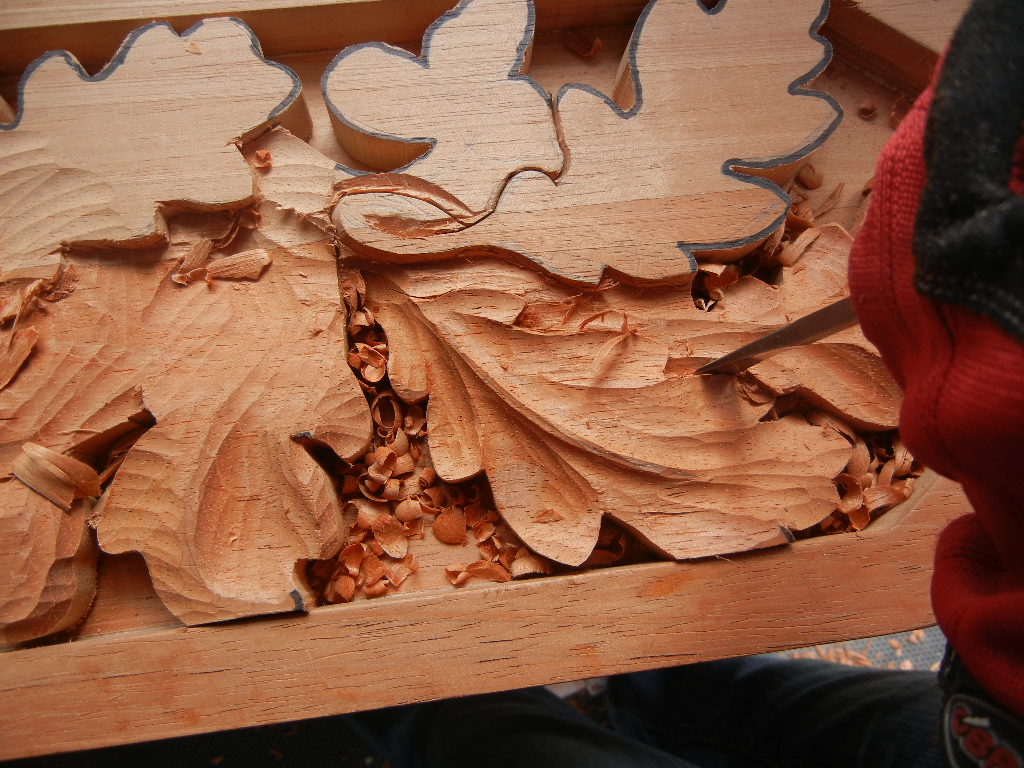
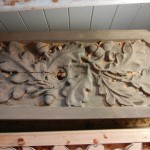
- Shaping the leaves
-
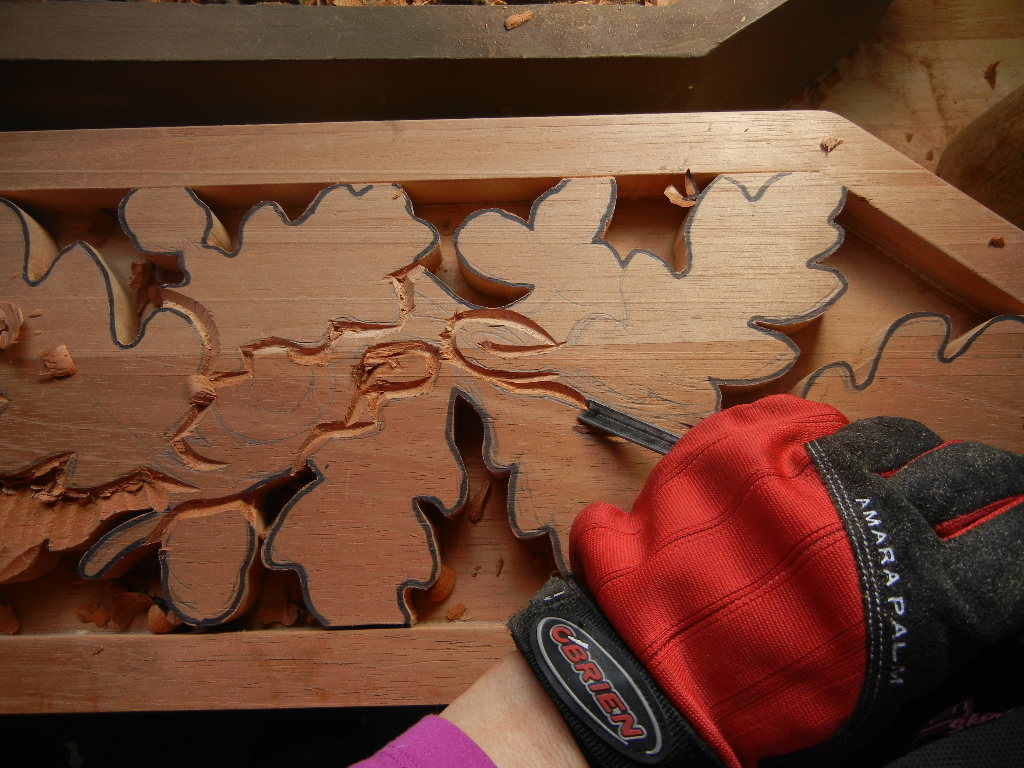
- Shaping the leaves and defining the edges with vertical cuts
-
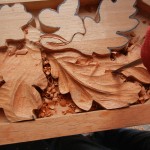
- Lowering down the leaves
-
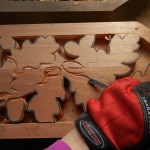
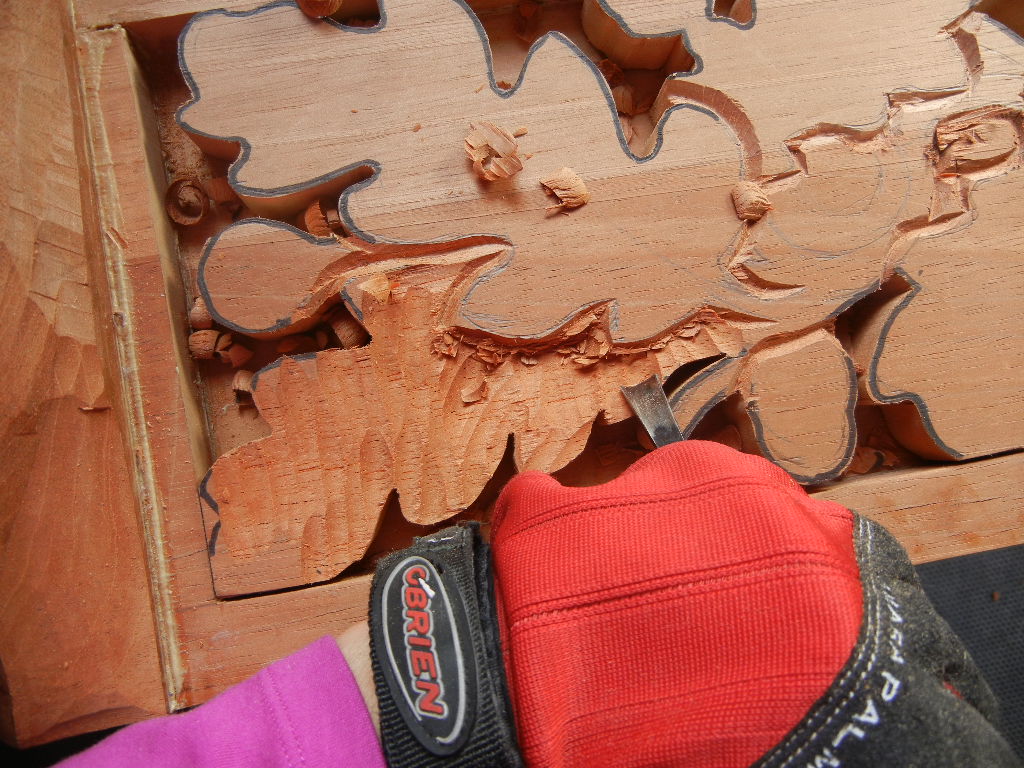
- Defining the edges of the overlapping leaves with a v-chisel
-
- Original carving that is being replaced
I am continuing to work on the King’s Head Bracket where the top portion is a carved oak leaf decoration. Since these will be about 15 feet up in the air, it is important that the shadow lines are very aggressive. Real exact detail is not really necessary for this kind of carving, as it won’t be seen or appreciated from that distance. Lots of deep carving and shadow is very important.
This was cut out first on a scroll saw and inserted into the cavity where it will sit. I will glue it to its base once I am completely finished with it. By being able to remove it from the frame it is in made it very convenient for cleaning out the wood chips.
The wood I carved this in is Spanish Cedar – very good for outdoors – mostly because of its resistance to bugs. It is very smelly stuff. I love aromatic cedar, but this is completely different – very bitter tasting – just a little bit of dust will stay with you for a long time. I can’t imagine using any machines. I will be sanding this to blend it more with the original, and will definitely be wearing a dust mask.
Whoa! What a deep recess. I can see how it’s needed for the shadow lines. My first thought was wondering how one carves (around all the leaves) such a deep recess. Cleaning that ground would take forever, and some really cranky tools. Ahhh, a cavity!
So… was the cavity carved (routed?) into the frame, or was it constructed? ( other than the piece on the non-pointed end)
That’s a beautiful replica! Thanks for showing steps along the way.
Thanks Bob.
The cavity was constructed (that was my husband’s job). I guess from a purist’s standpoint, it’s sort of cheating – but hey – I’ve got to make a living! If you were to carve this without the “cavity” created first, the tools to dig out these small areas are very tight bent tools (or a router). I would probably make less than minimum wage if I was a complete purist.
Could you post a completed form before letting it go to owner. Thanks, Roy
Yes – I am sending it out on Saturday, and I’ll be sure to take photos.