This is a great example of how to care for a very fragile carving. This delicate leaf design is for the detail on the top of a Philadelphia Highboy (this project is actually going on a Philadelphia Chest-on-Chest, but since the highboys are so much more common, I’m just going to refer to it as a highboy from now on).

Example of the top of a highboy I carved several years ago – similar to what I will be carving.
I am NOT going to carve this after it is glued to the final furniture surface for several reasons –
1. The rest of the piece of furniture is in NC
2. If my gouges decide to gouge into the background (which they like to do on occasion) I won’t damage this beautiful flat surface.
So, I am going to attach this to a temporary backer board where I can gouge away as I please. This also allows me to clamp the backer board and as a result any clamps or bench dogs will be far away from my carving or gouges.
There are several ways I could do this.
1. Glue it to the backer board with newspaper or paper bag between the carving and backer board (great for more solid and less delicate carvings)
2. Use double sided tape (excellent for fragile carvings)
3. Use hot-melt glue (this is becoming more and more NOT the best choice in my book)
I decided to use the double sided tape method for this delicate carving. When Charles Neil and his gang hung out in my shop for a week last year, they introduced me to an amazing double-sided tape that you can get from Lowes – it is a type of double-sided duct tape called “Suretape”. It is truly impressive in how it holds. Then when you are finished with the carving, brush along the edge of your carving with lacquer thinner (use in ventilated space) and the tape will soak up the lacquer thinner and will gently release from the backer board.
So here we go…
Cut out your design on a scroll saw – use as small of a blade as you can to get a clean cut, but don’t let it get so small that the blade bends and distorts. For this particular design I used a scroll saw blade with 15 teeth per inch. For the inside sections, I drilled a 1/4″ hole to insert the blade into.
Lay your carving on a backer board that is at least 1 inches larger than your carving on all sides. Draw a rough outline around your design as a guideline for where to lay your tape.
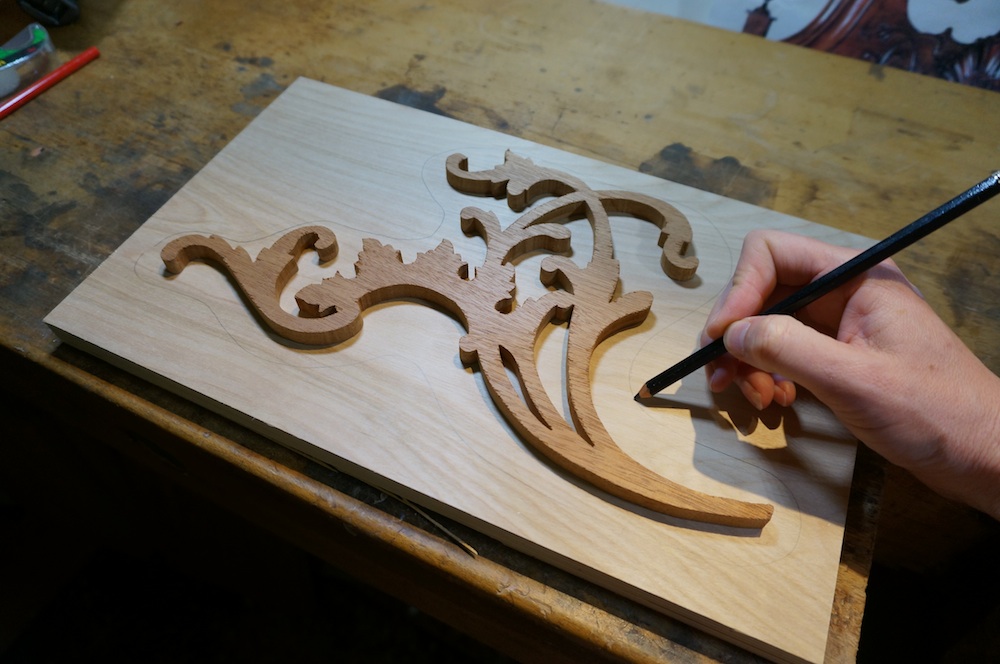
Draw a rough outline around the carving design to know where to lay the double sided tape.
Lay the double sided tape on your backer board in the general shape of the outline you drew. Pull off the covering of the double-sided tape.

Removing double sided tape covering.
Lay your carving on the tape.
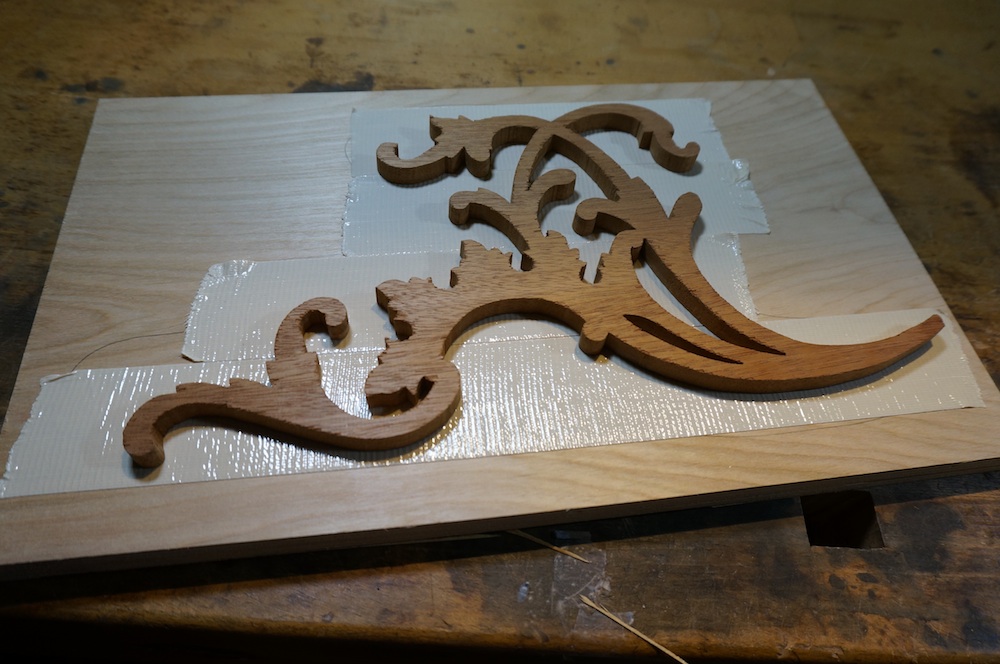
Carving set on double sided tape.
Clamp another board over your carving to ensure that the entire carving is tight against the backer board. Clamp it tightly and then release. There is no need to clamp it for any period of time.
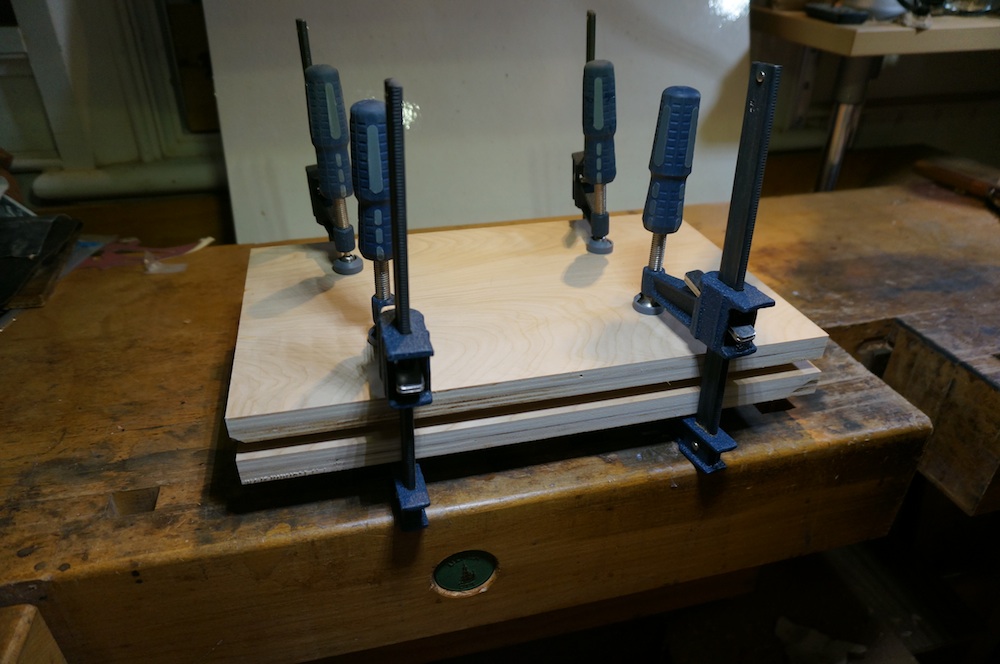
Clamp tightly so that the entire carving is pressed into the double sided tape.
With a small knife that can fit into tiny areas, cut the tape around the outside edge of your design. One of the most irritating things is to carve and have your wood shavings stick to any exposed double sided tape. It’s a tedious job to remove this, but very important.
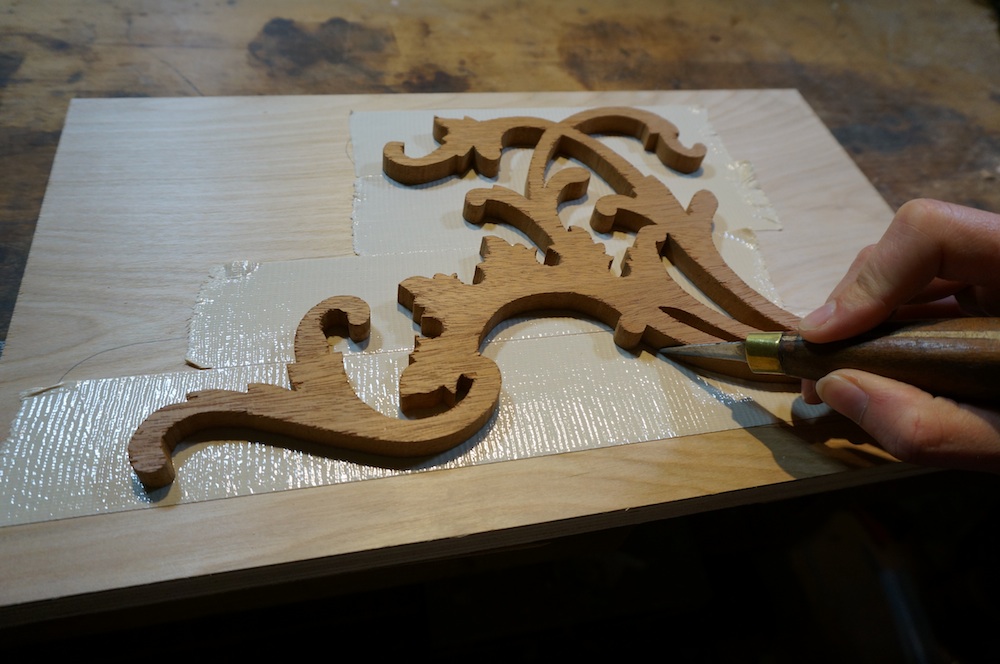
Cut along edge of carving to remove excess double sided tape.
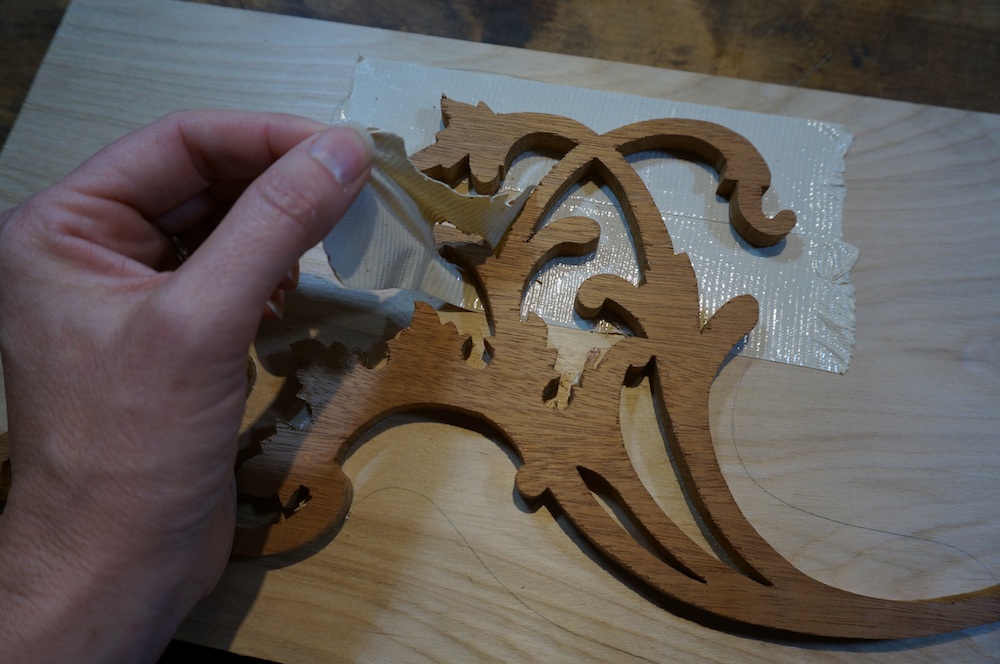
After cutting around edge, remove excess double sided tape.
And now we’re ready to carve!
