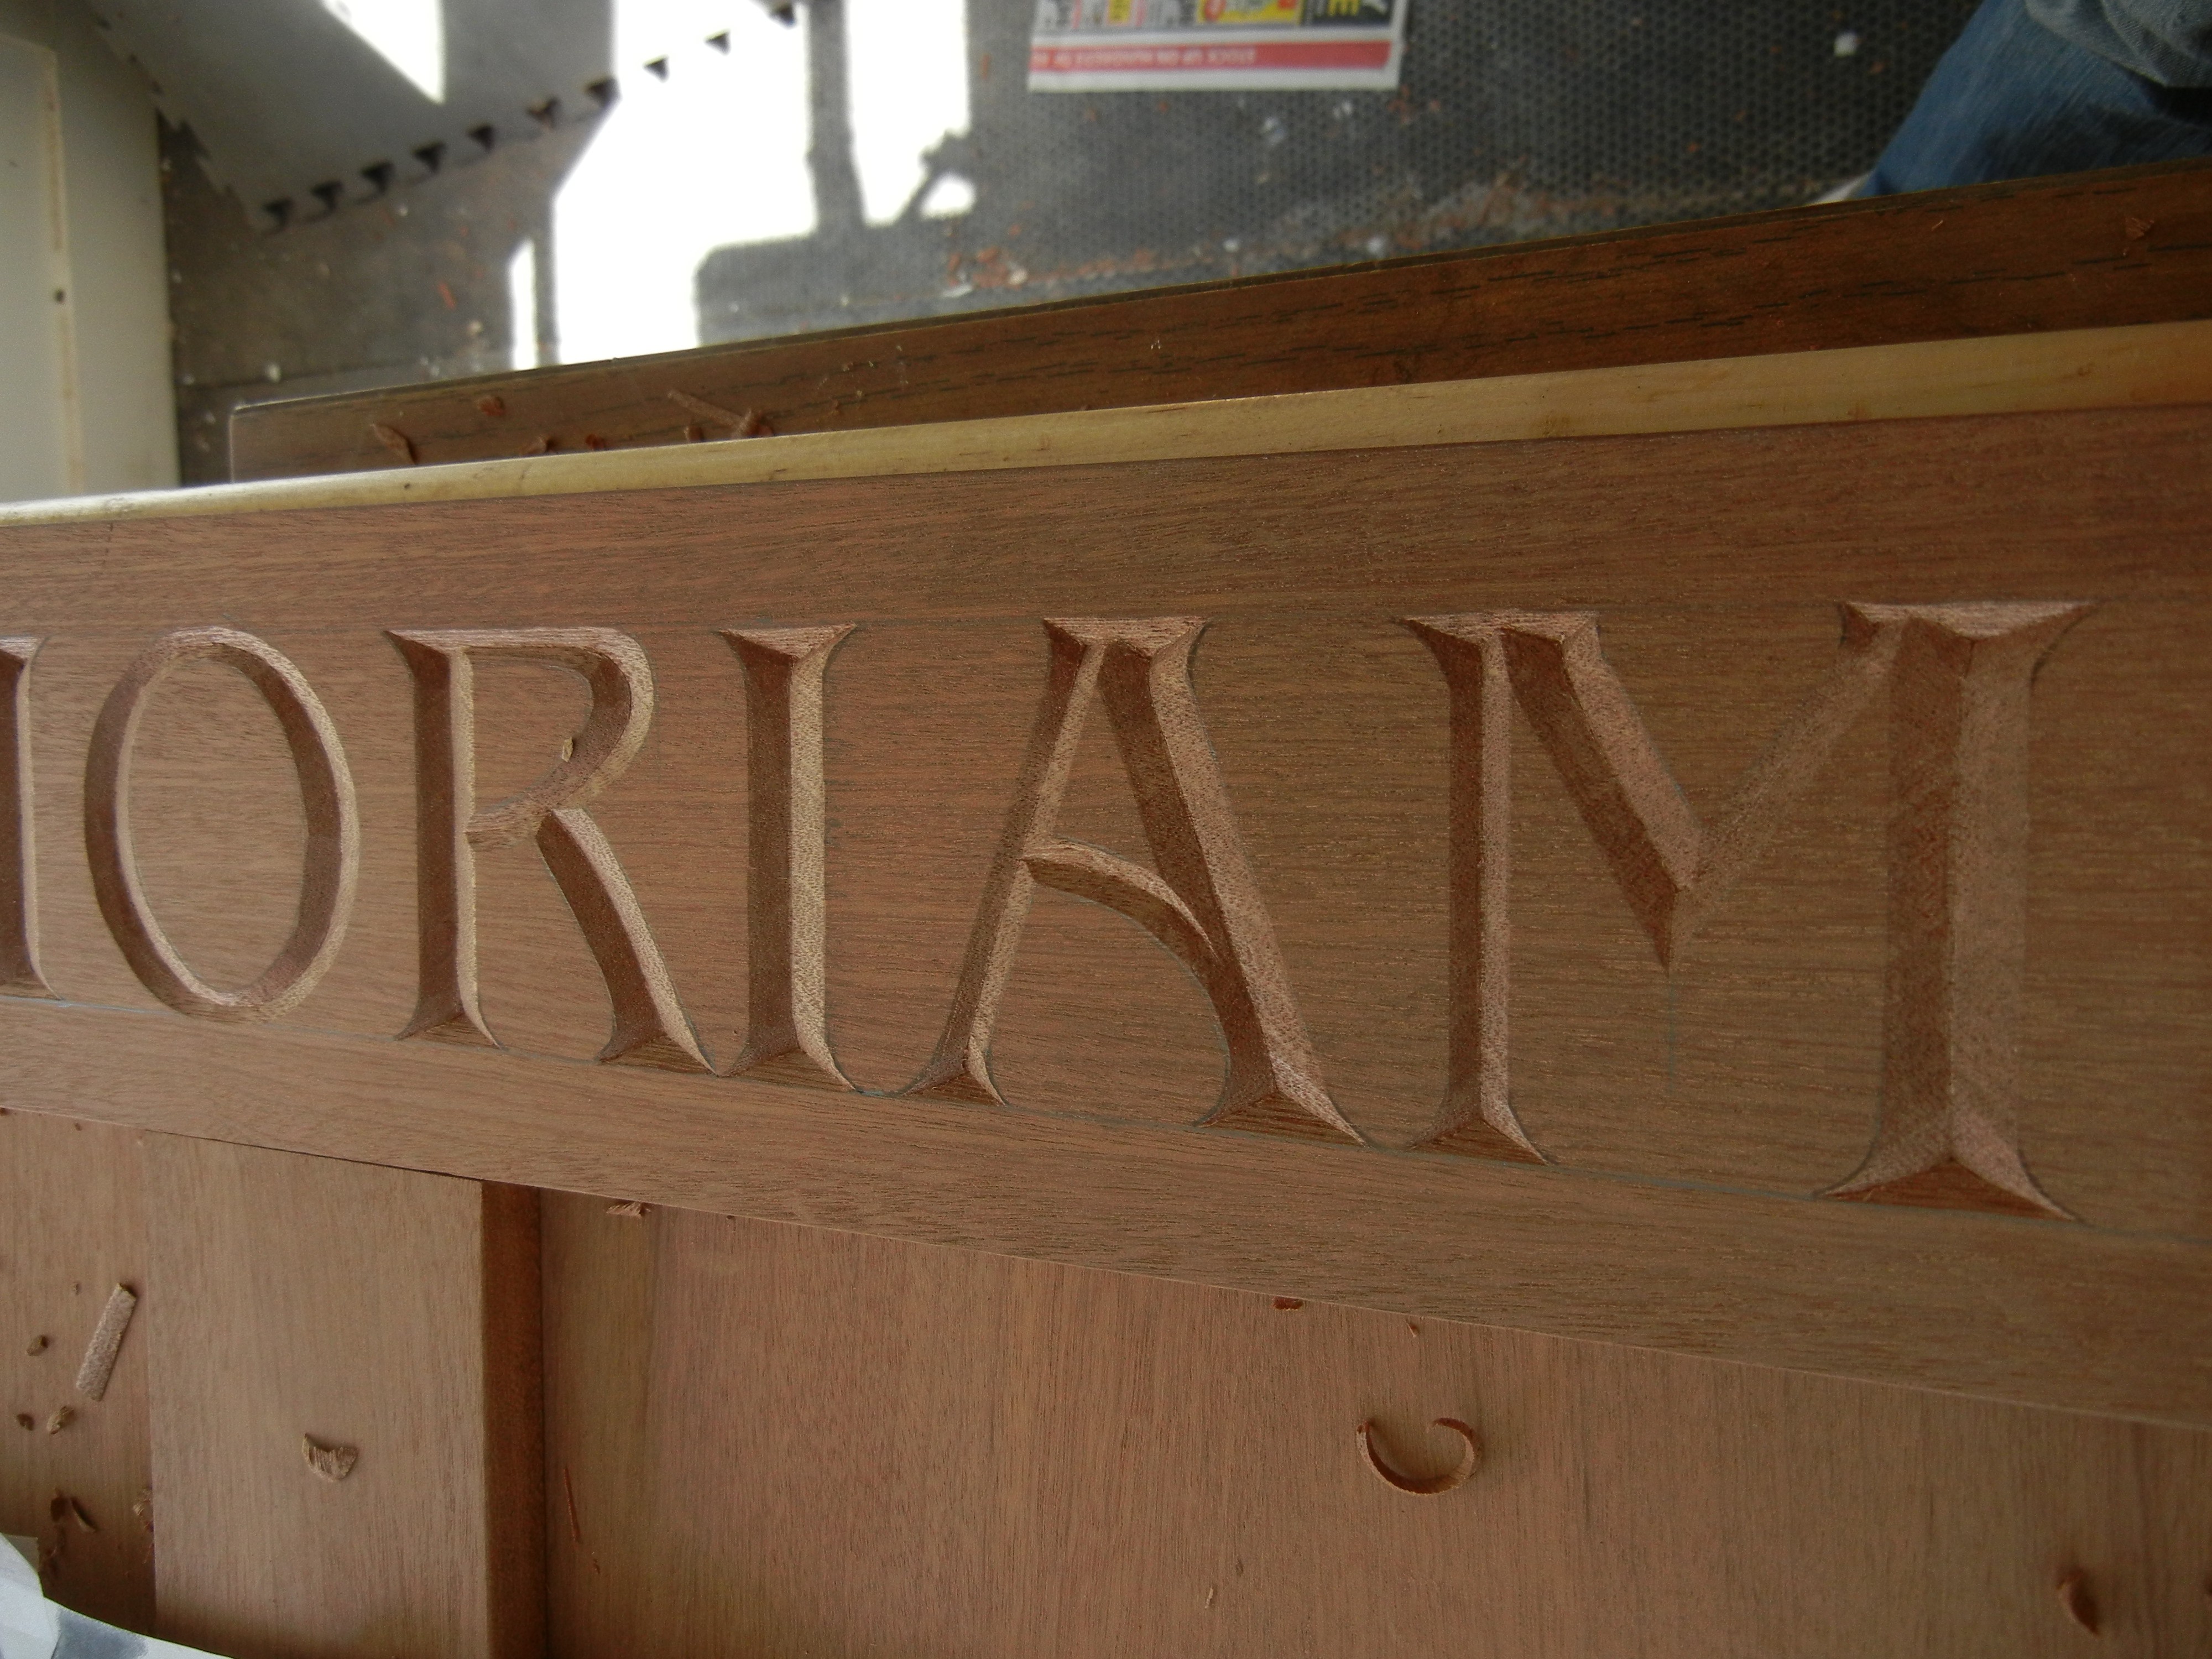
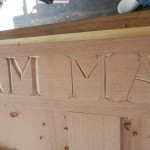
Completed lettering
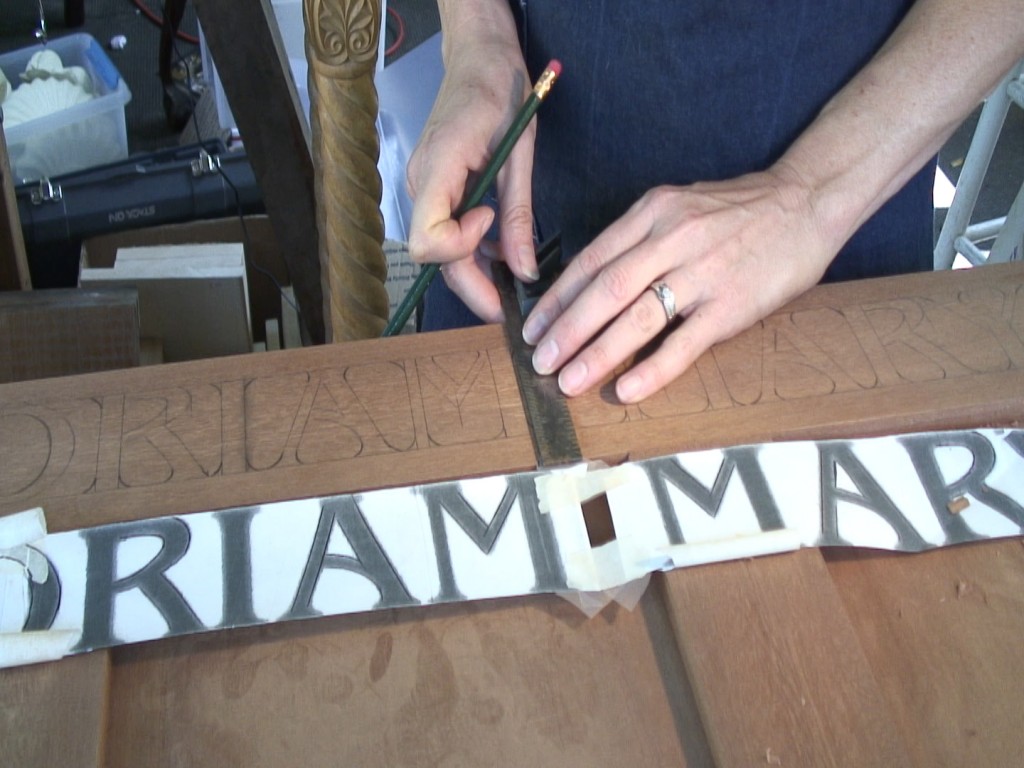
I’m working on a letter carving project for a memorial bench for Grace Episcopal Church here in Charleston, SC. The priest provided me a font that he wanted the letters carved in and I simply enlarged the small printed font on a photo copier to the size they wanted in the bench (2-1/2″ tall). I then laid all the pieces of paper out and taped them together so the lettering is spaced correctly and centered.
Then I transferred the outline of the letters to the wood several ways. I took a square and transferred all vertical lines that I could – simply to keep everything straight and square. I offset the photocopy and transferred these lines. Then I laid the photocopy of the letters directly on these vertical lines drawn and placed transfer paper between the lettering and the wood. I used transfer paper (can be bought at craft or hobby stores) because it is erasable where carbon paper is not. I did not want dark lines left on the surface of the wood from the carbon paper. With a straight edge I transferred all the angled straight lines. Then I drew in any curved lines or serif (splayed ends of letters) details.
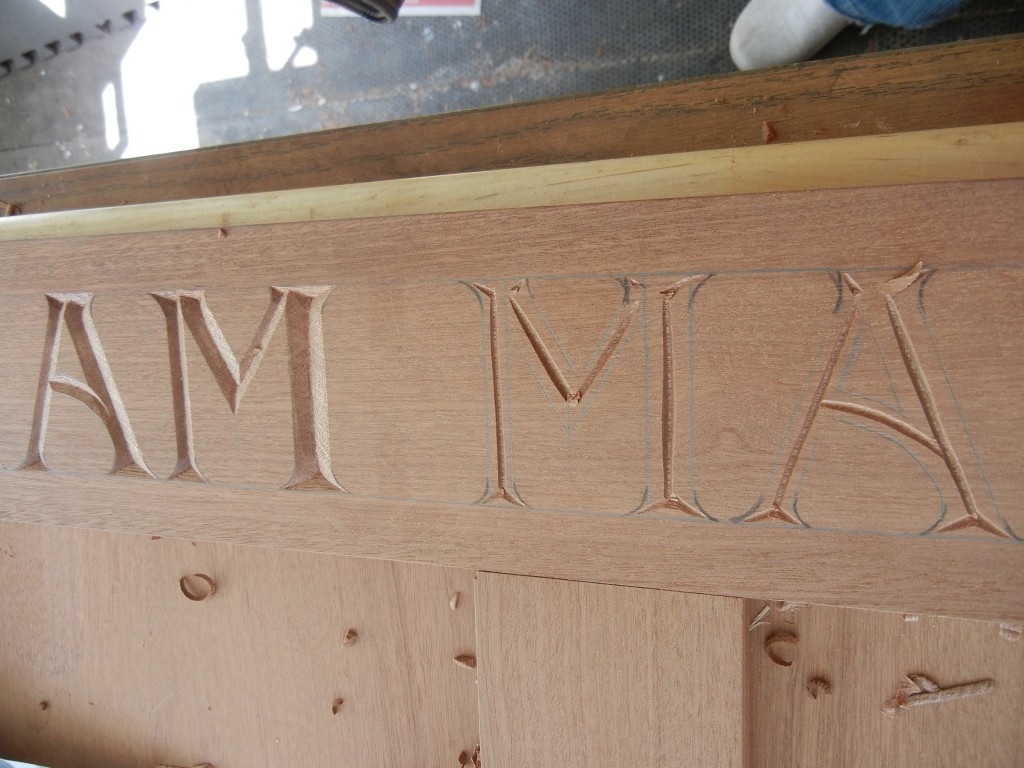


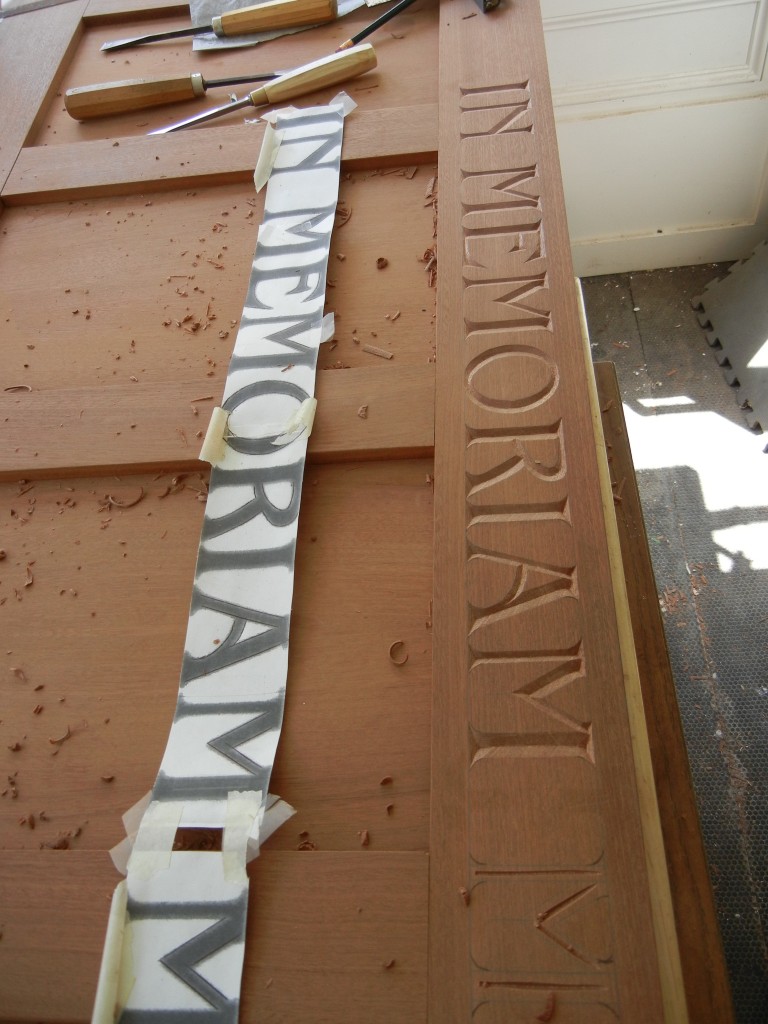

Once all the lines were drawn accurately, I shaded in the lettering (always a good idea because it is very easy to lose track of lines and carve into the background instead of the lettering).
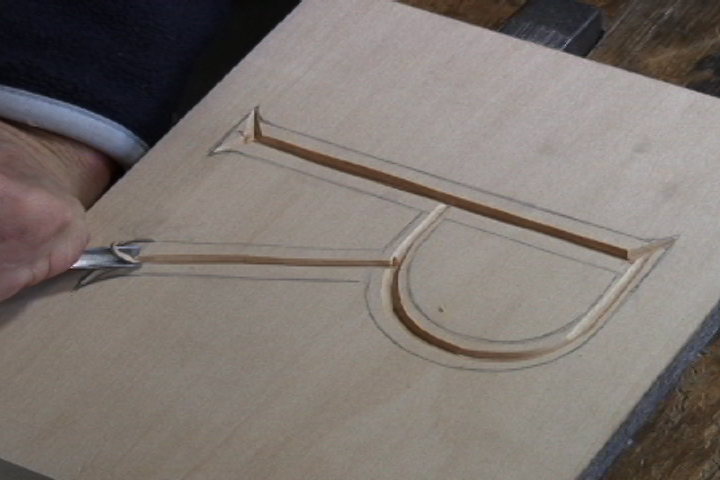
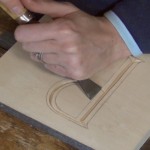
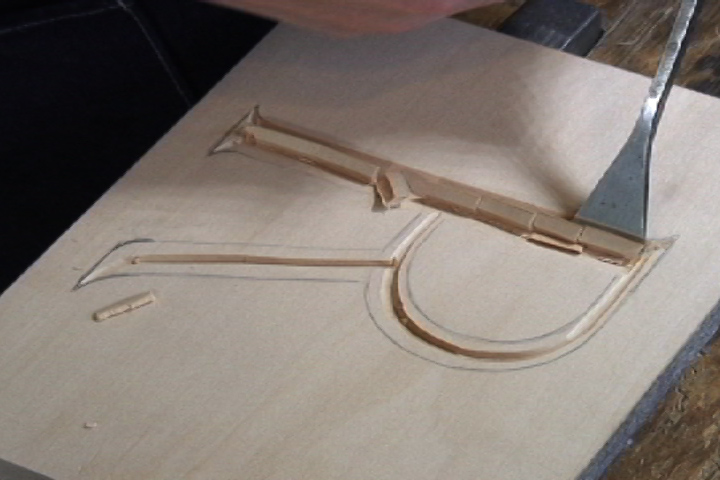
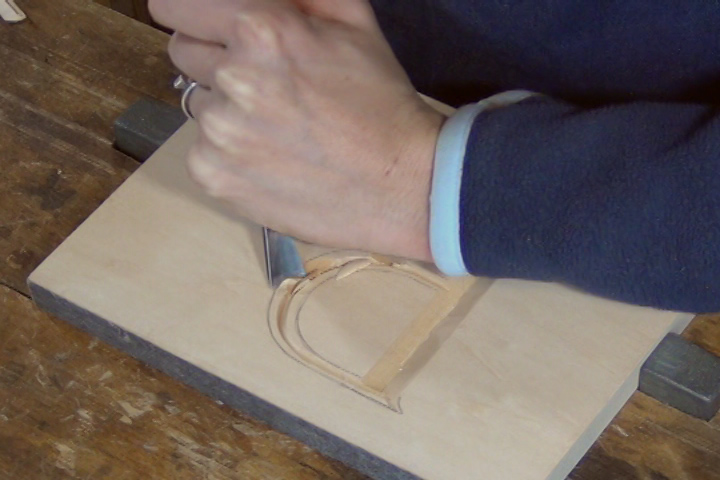
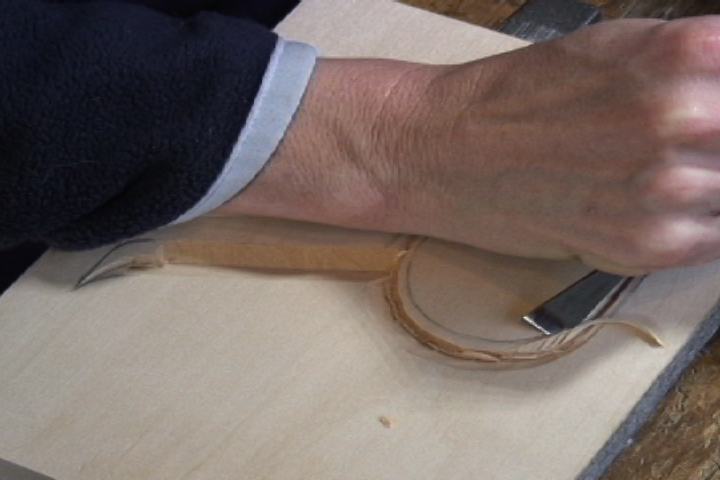
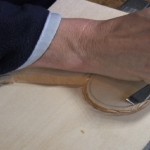
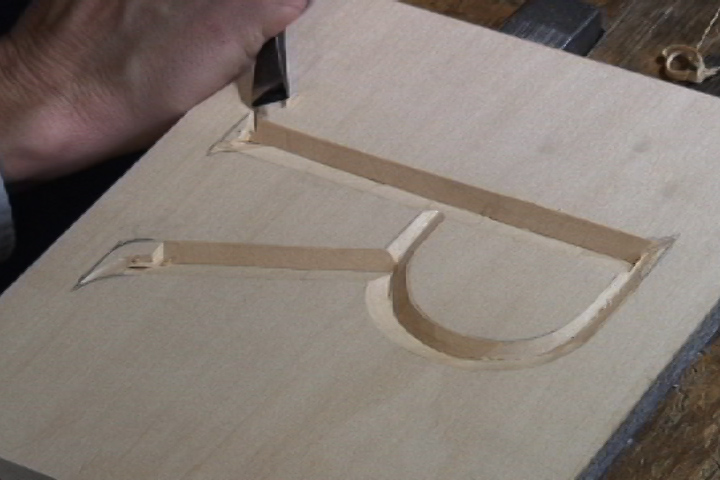
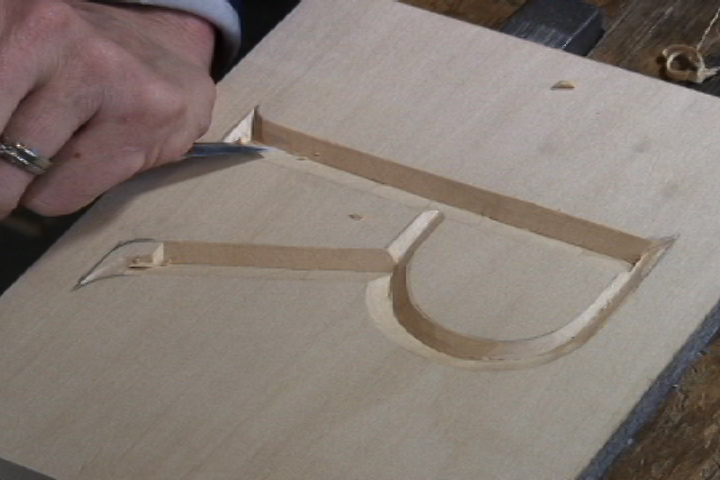
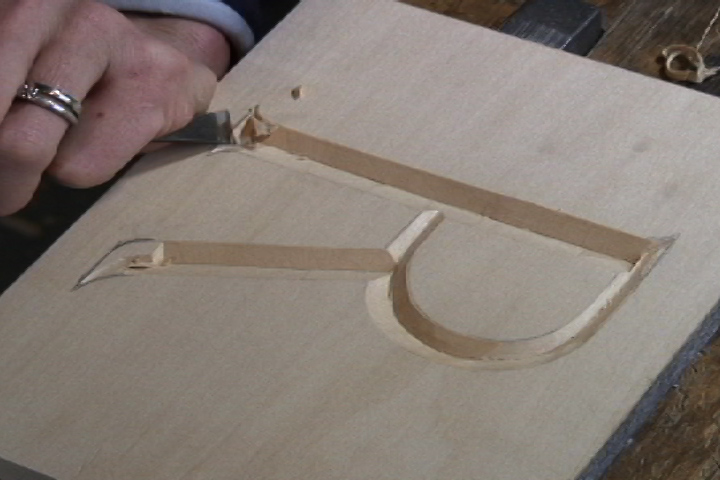
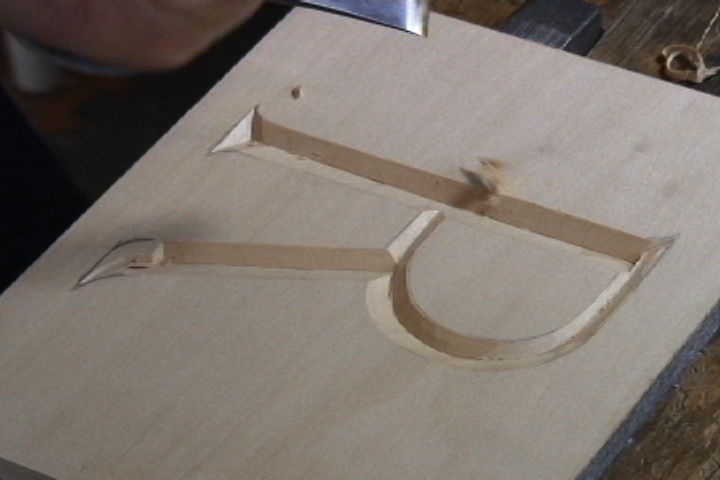
The following photographs are from a similar but different letter carving lesson (the video that is on my online school) showing the technique I use to carve letters.


I have filmed this latest carving of the memorial lettering and plan to have this on the school site soon.
Happy carving!