Mary May - Woodcarver
  • Blog Home
  • Mary’s Carving School

Handworks Show, Amana, IA

May 8, 2015 / Mary May / Handworks Show, Shows

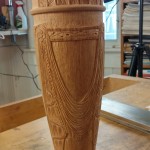
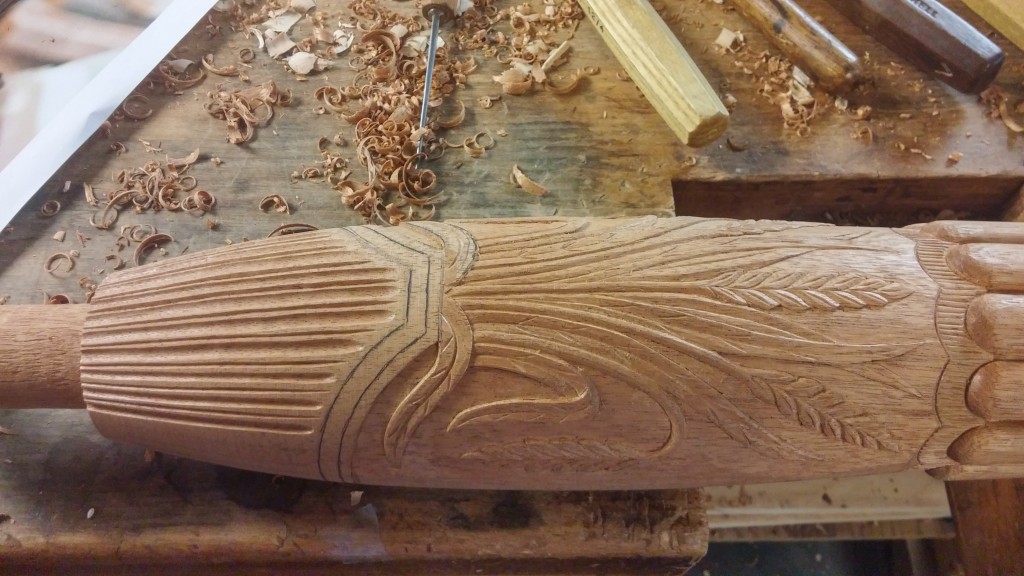
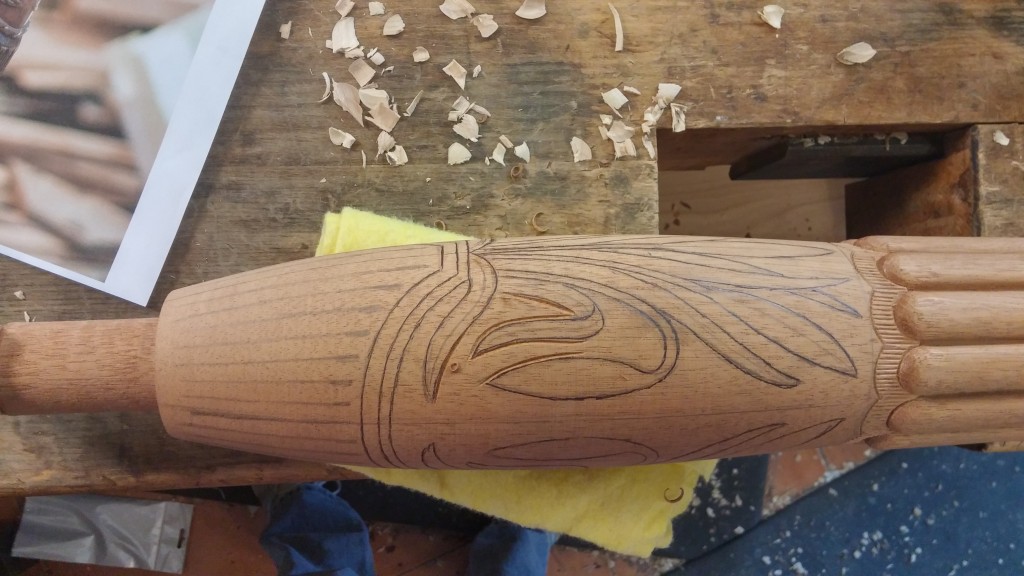
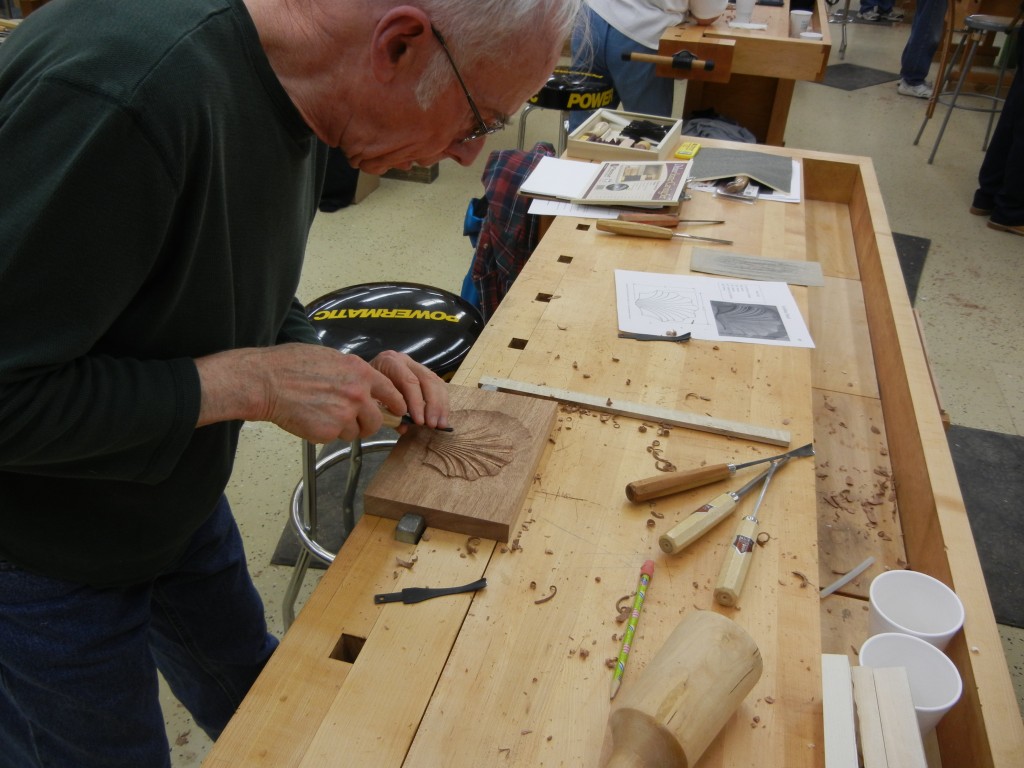
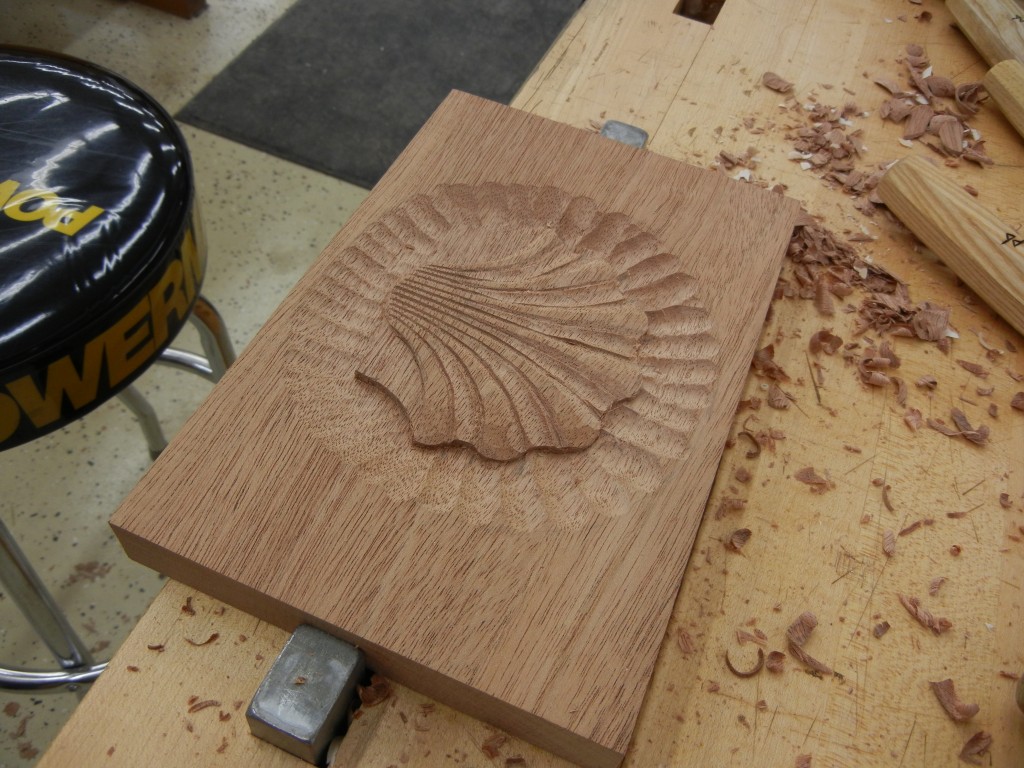
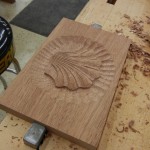
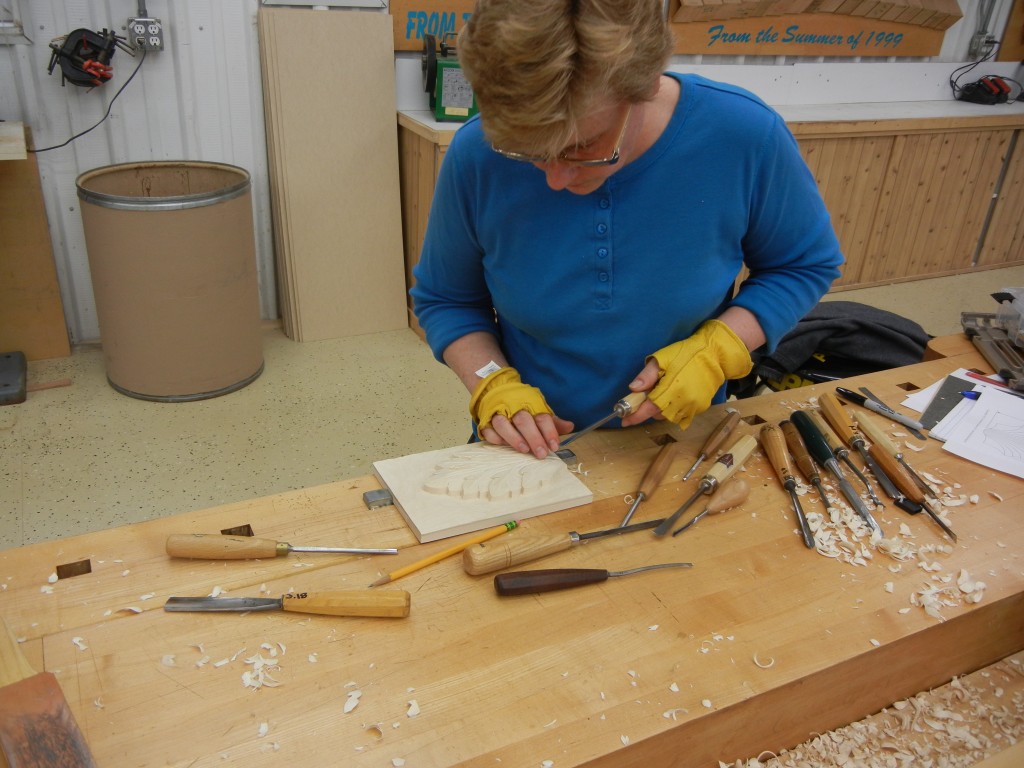
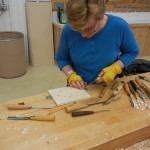
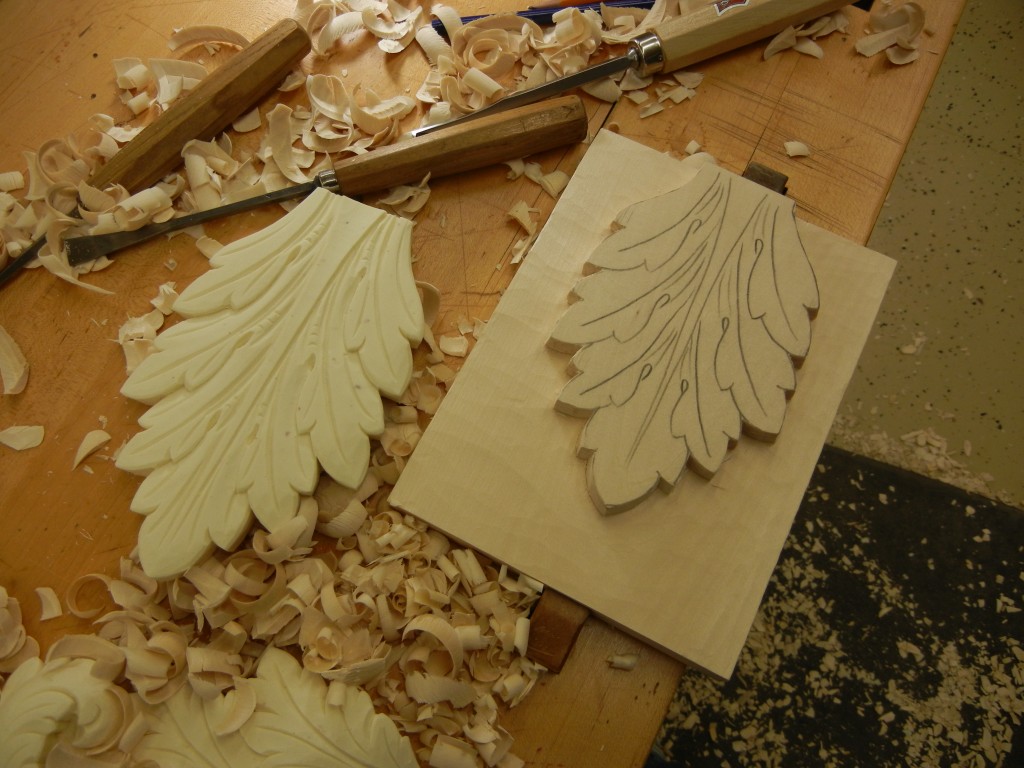
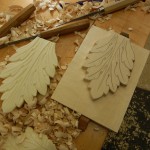
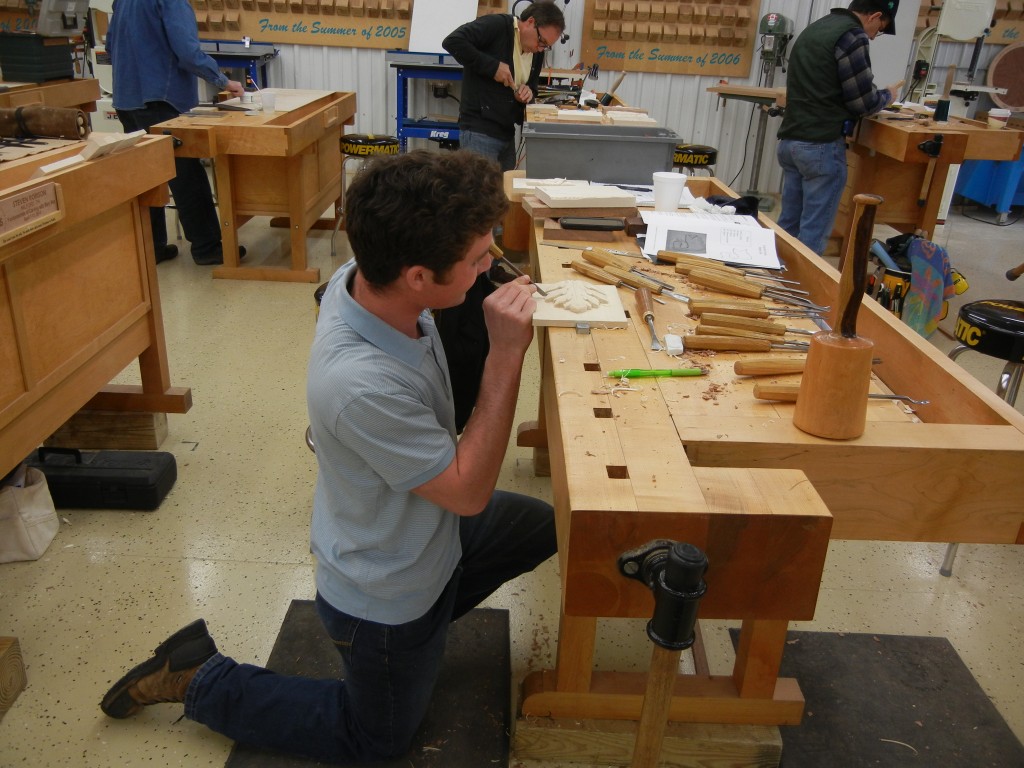
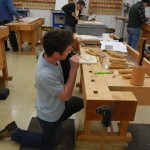
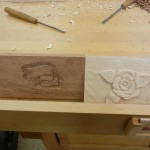
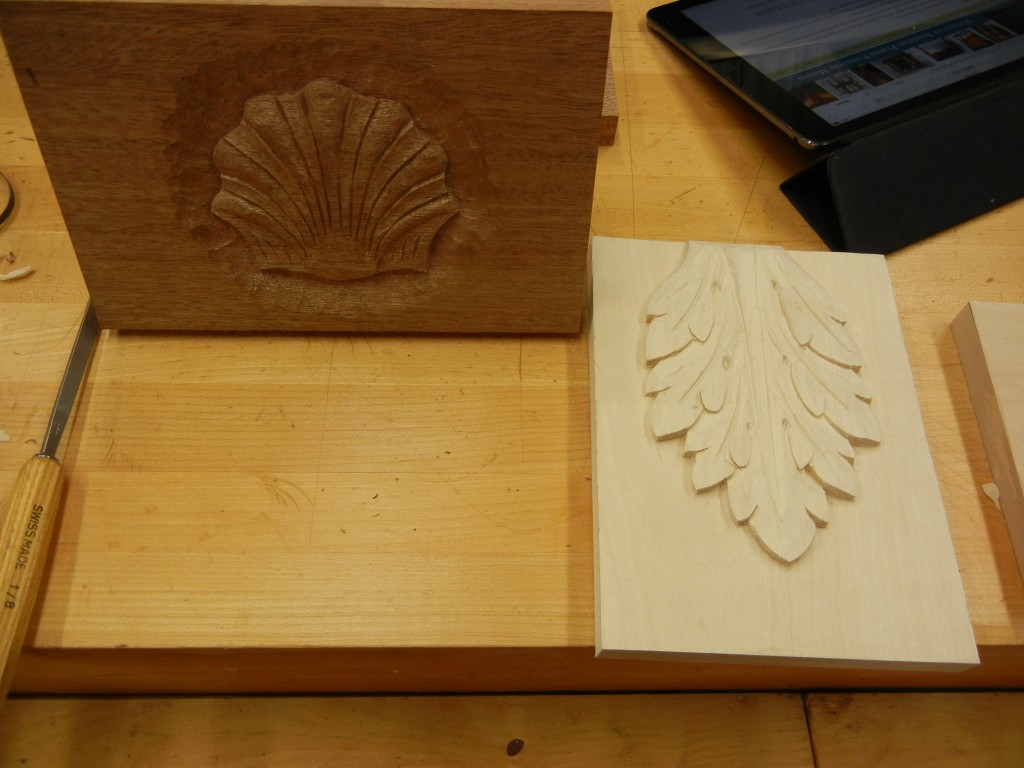
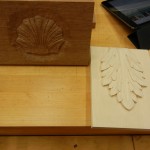
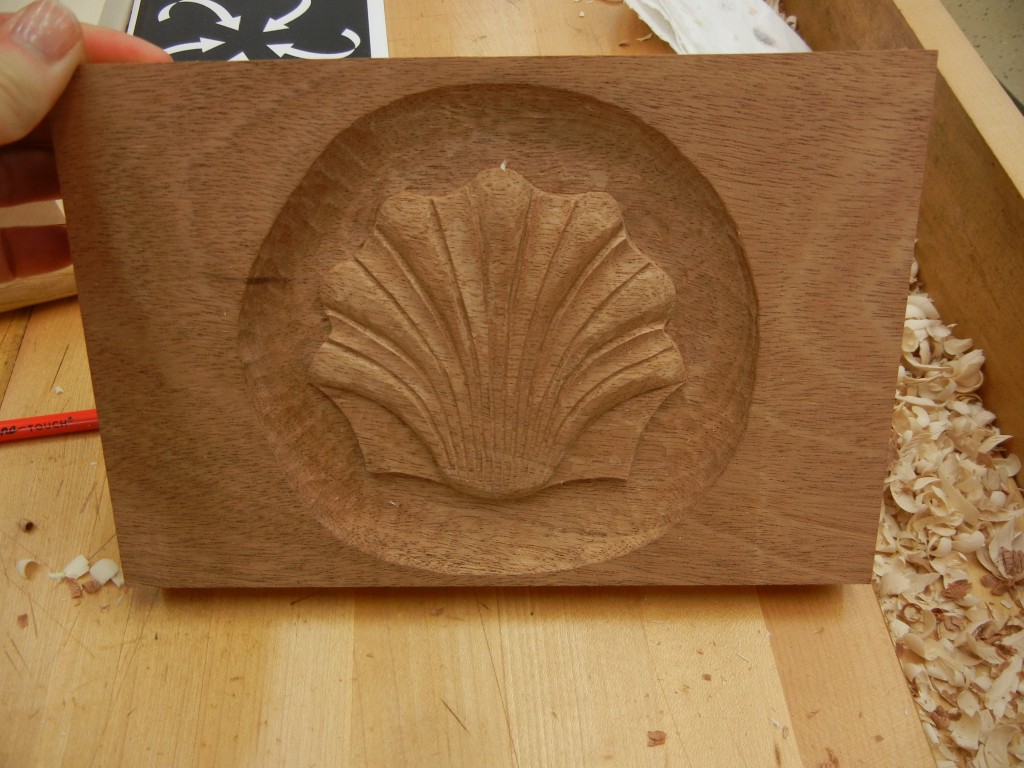
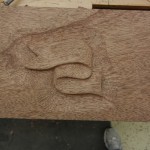
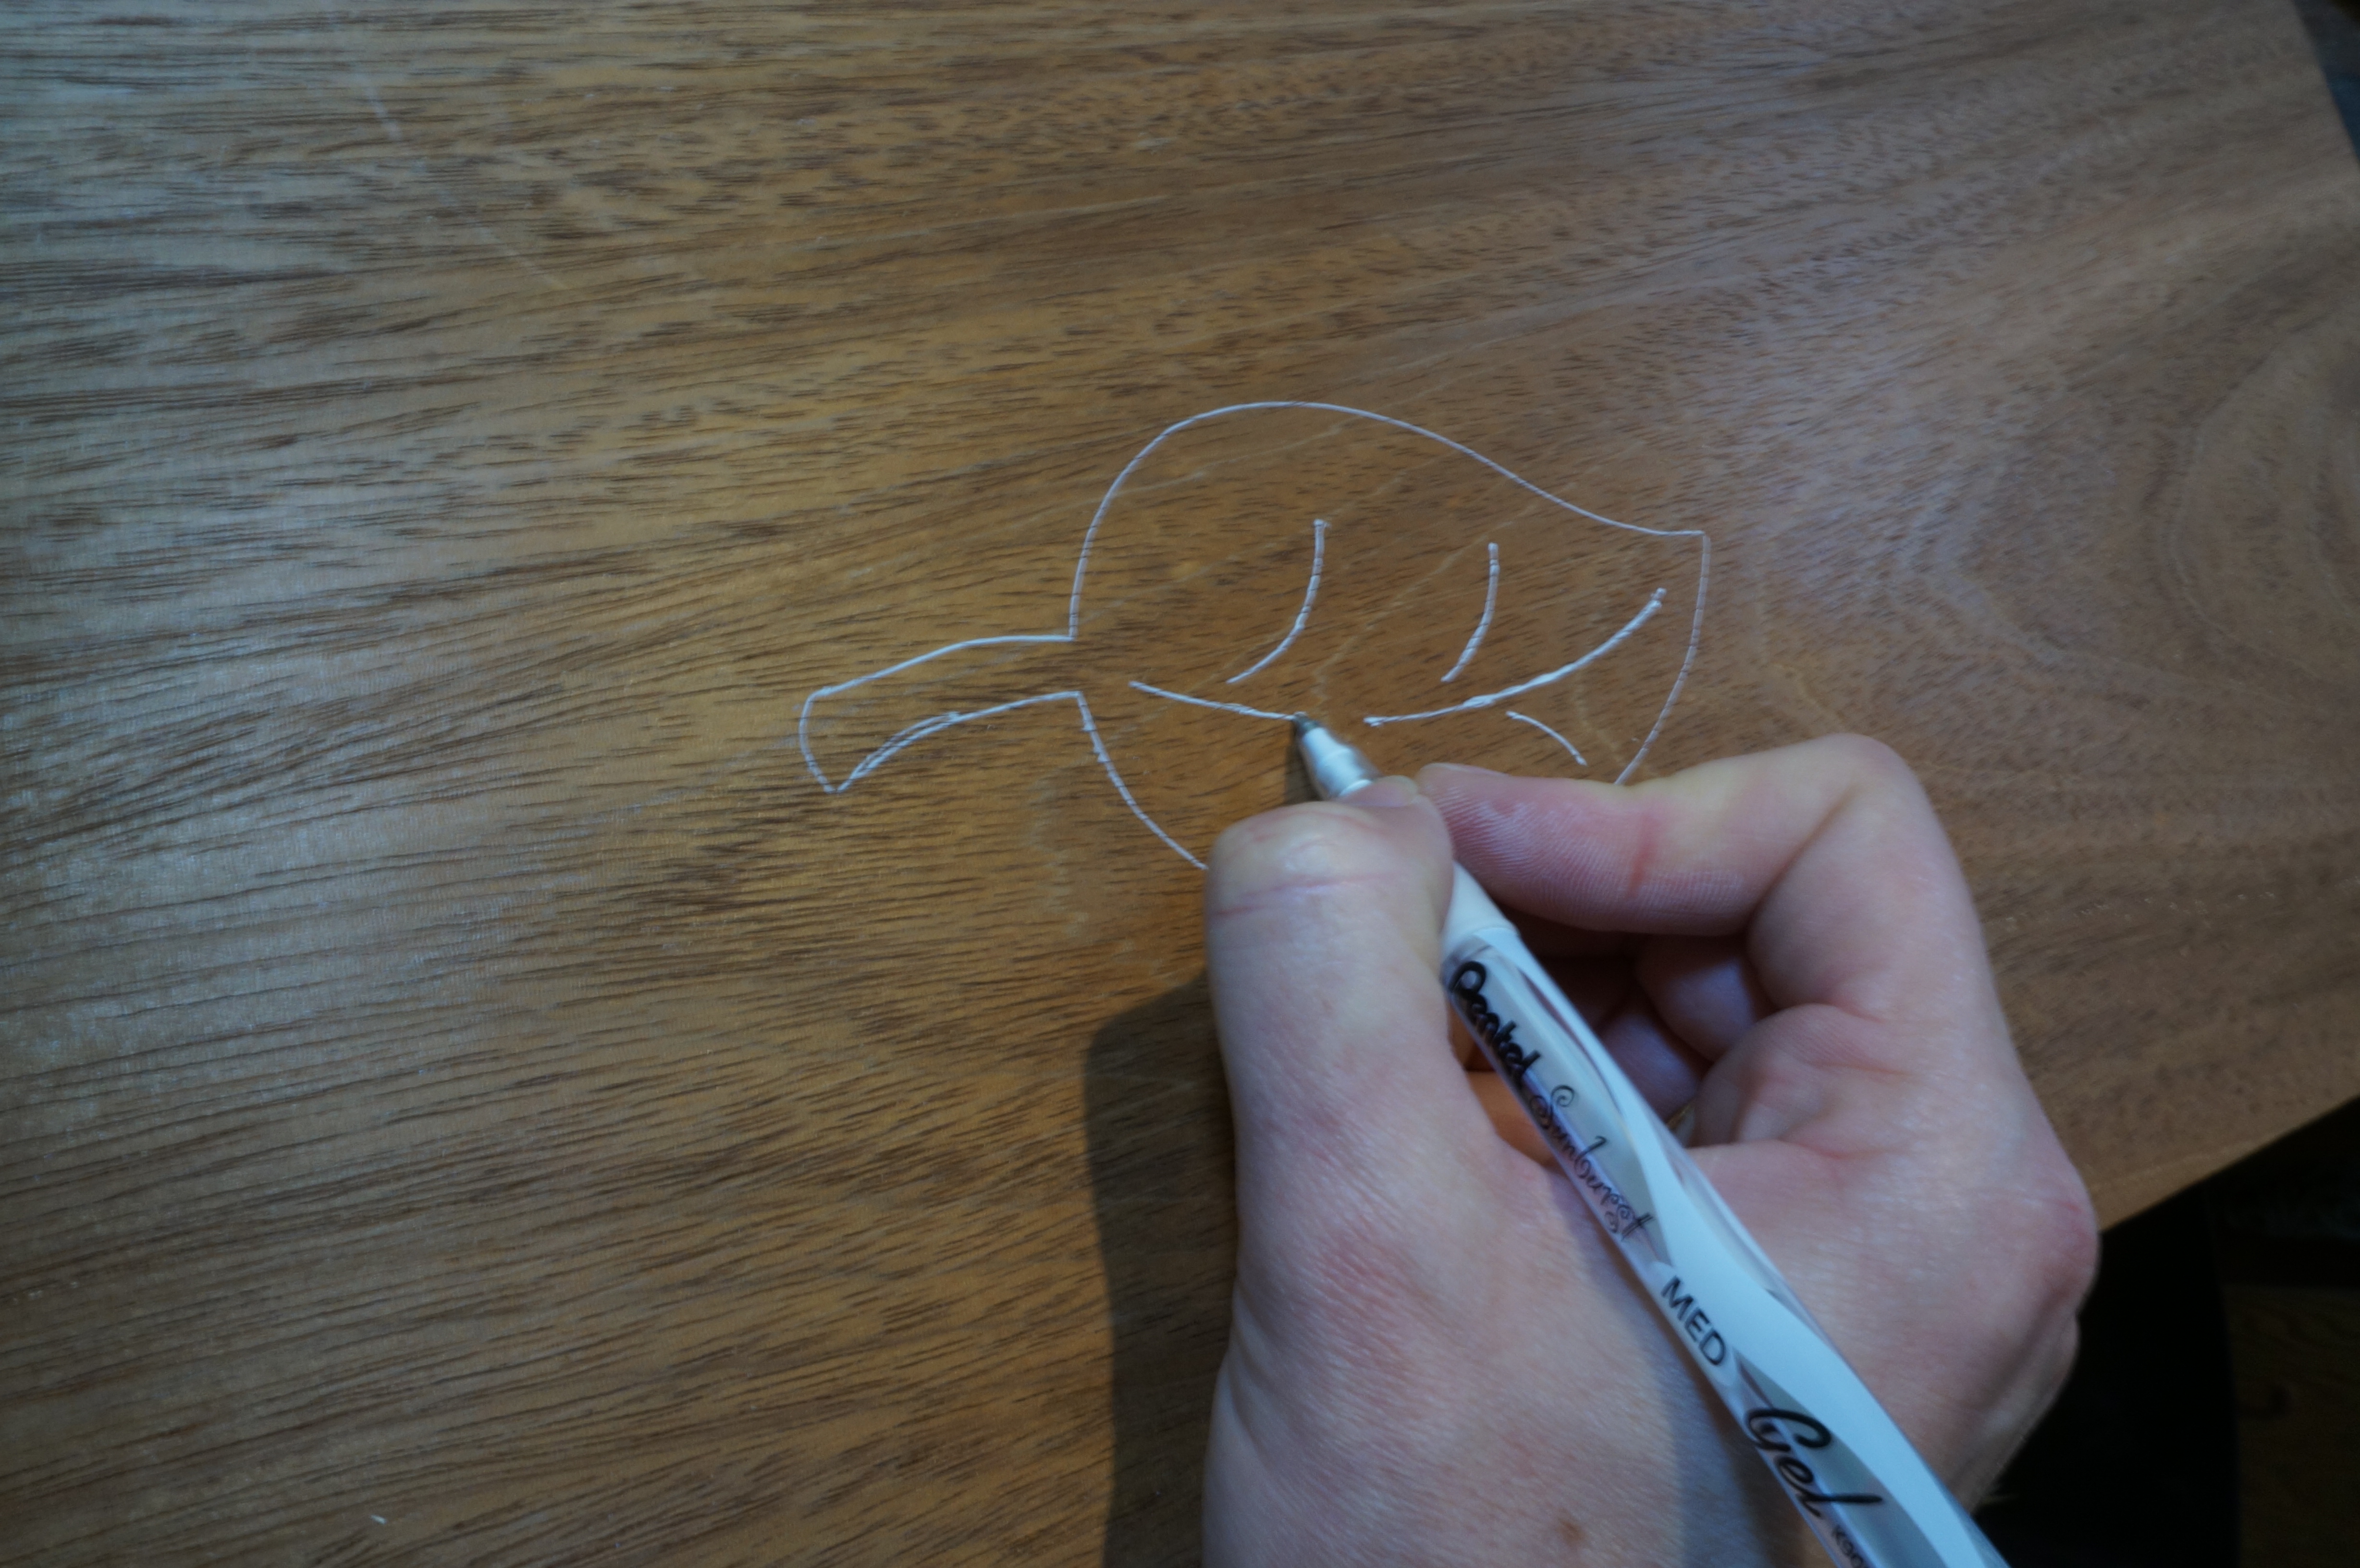
Listen to the gentle chisels gliding through wood, the swish of the hand-plane as curls of semi-transparent shavings flow off the workbench. The atmosphere is peaceful, there is talking and laughter among the woodworkers. The blood pressure lowers…

Come join in the fun next weekend (May 15 & 16) in Amana, IA for the Handworks Show. There is an incredible line-up of woodworkers, tool makers, and just amazing people. Even my mom is coming to help me “man” my booth.

HW_2015


The Evolution of an Online Carving School

April 25, 2015 / Mary May / Wood Carving Tips

The Idea is Born…

About 3-1/2 years ago an idea began to grow in the deep crevasses of my brain. I wanted to start an online video school where I would have a variety of different lessons on how to carve particular projects – ranging from very beginning to very advanced. Since the type of carving I specialize in is the classical or traditional styles found in furniture and architecture, this was going to be the main focus for the school. Thus the name “Mary May’s School of Traditional Woodcarving“.

school-header-logo

I had already made several instructional DVDs, and discovered that people were eager to learn carving via video. It’s the next best thing to being there, and much less expensive than taking a one-on-one class. Well, as happens quite often, my DVDs were pirated and were being offered from various other online sources. Speaking with others who also produced and sold their own DVDs, this seems to happen within 1 to 2 years of selling them. I still sell the DVDs on my online store.

How to Carve the Convex Newport Shell DVD
How to Carve the Concave Newport Shell DVD
How to Carve Acanthus Leaves DVD
How to Carve a Ball and Claw Foot
How to Carve a Fruit Basket DVD
  1. So… the solution… and one of the reasons I started in the direction of the online school. Make all videos available for a low monthly fee in a “school” format online. With this, there is no real incentive for people to steal the videos because the price is so reasonable. The videos would also be less available for “resale”.
  2. Another reason for venturing down this online school road was because I wanted to provide an easy way to learn to carve. I wanted to make it so accessible to anyone who had internet connection to start from the very basics and progress to more and more advanced projects. Whether a brand new beginner, or someone who has been carving for years, my desire was to offer something for everyone.
  3. And one more reason for wanting to make these lessons available is because I know what it is like to be a “starving artist”. Taking an in-person class can get quite expensive – especially if you have to travel to that location. For example, a weekend class can often be $230 to $300, plus travel, plus hotel, plus cost of tools. So a 2-day class can cost up to $1000 or more. I often meet people who are restricted by their career, have a young family, or are limited in their income. I would have loved to have had videos like these available when I was learning carving. If I spent my “spare time” watching instructional videos as a young person, it would have kept me out of a lot of trouble!

How do you start an “Online School”?

I began to research on the internet the possibilities of how to set up this online school. How hard could it be? Just a web site, add videos and ta-da! Well, within a few weeks, I realized that this was way beyond my computer skills. So I blogged about my idea and asked if anyone had any suggestions as to how I would start this.

bob-easton-business-cardBob Easton, a retired IBM programmer, contacted me and said he would be interested in helping me with this new venture. Bob is also an accomplished woodworker and carver and was signed up to take my carving class at Kelly Mehler’s School of Woodworking the following month. We planned on meeting and discussing his ideas more then.

12-280x160

Kelly Mehler’s School of Woodworking, Berea, KY


When the carving class was over at Kelly Mehler’s, Bob and I met at a quaint little coffee shop in Berea, KY a few hours before we had to catch flights for home. We discussed many ideas of how this school could become a reality (my main thought was “Keep It Simple”). Sometimes these websites can get so complicated that it’s difficult to get anything done or find anything.

berea

The Berea Coffee Shop – Where it all started.

coffee


So Bob took out a yellow note pad, sketched out a flow chart with a variety of steps of ideas we discussed, estimated that it would take about 25 to 30 hours to get it started, and then we went our separate ways – with many ideas swimming in our heads. Well that was nearly 3 years ago to the day, and Bob has performed absolute miracles in getting the school up and running, maintaining it, updating it and successfully making it as user friendly as possible. He has very patiently walked me through parts of the technical side of the school (he knows where to stop before my brain freezes). Bob not only is the brains behind the working of the school, but he has also been a great help to bounce ideas off, to walk students through any technical difficulties, and just an all-around cheer leader during this whole process.

The Technology Evolution…

I started with a used Standard Definition video camera – a Canon XL1. It was HUGE! And very intimidating for someone who has never filmed anything before. It was so large, that it kept tipping over with my flimsy little tri-pod. But it was a great camera for what I needed.

camera

Then I added to my collection a small handi-cam where I could add an occasional second view – still SD.

I did all my editing on a MacBook Pro laptop with Adobe Premiere 5.

Then about 1-1/2 years ago I stepped up a little further and purchased an HD camera (Sony HDV Minicam) and another smaller HD handi-cam for optional second view.

The past 6 months – there have been a lot of upgrades:

  • Hired an employee (my step-son, Caleb) to edit videos
  • Finally purchased an Imac because my poor little MacBookPro was struggling with all the HD video (and Caleb needed a computer to edit on while I took my MacBookPro on the road with me)
  • Purchased three 4K Sony Cameras so they are all compatable, all Ultra HD, and 3 different views (one from the right, one from the left, and one distance).sony 4k
  • Purchased professional studio lighting
  • Recently upgraded to using Adboe Premiere ProCC for video editing
  • Continuing to add a new episode every week – usually 30 minute to 1 hour long episode

With the various improvements and technical upgrades made recently (requiring much more time in editing), I have made the difficult decision to increase the price of the school membership. It will still be very affordable at only $14.95/month.

If you are a current member, nothing will change. If you sign up before July 1, 2015, you can sign up for the current price ($9.99/month) as long as you remain a member. Sign up NOW! Click here for a more detailed explanation of this rate increase.

I look forward to seeing how the school will continue to evolve and improve over the years to come. As technology changes so quickly, my goal is to try to take advantage of this and continue to improve every aspect of the online school.

I wish to thank all of you who have walked with me through this journey (and also thank you to future members)! THANK YOU! It’s exciting to receive feedback from students about the school and please add photos of your projects to the student gallery. I love to see your progress!

Sign up here for my monthly school newsletter where I share about recent and upcoming videos, news or updates about the school, carving tips and tricks, and a free template.


Charleston Rice Bed Carving

April 18, 2015 / Mary May / Antique furniture reproduction, Charleston Rice Bed, Wood Carving Tips

About a month ago, Charles Neil (check out his online woodworking school), John Peckham and Jim Pell travelled down to Charleston with 4 beautifully turned bed posts in Santa Domingan Mahogany.

Feasting on local oysters.

Feasting on local oysters. Charles Neil, Jim Pell, John Peckham, and my husband, Stephen.

About 2 years ago these 3 fine oyster eating fellows (plus 4 more) spent a week learning the finer points of carving in my workshop. Fitting 7 people in my workshop was quite a challenge, but we all managed – with only a few small injuries. But nothing requiring stitches 🙂

On one of the days they were here several years ago, we took a little “field trip” to David Beckford’s workshop that is just a few miles down the road. David is a high-end furniture restorer who specializes in restoring period furniture. The day we stopped in, David happened to have an original Charleston Rice Bed in his shop that he was working on. Here are some of the photos of this amazingly beautiful carved bed:

photo 4
photo 1
photo 1 (1)

John Peckham was so enamored with this bed, that he commissioned Charles Neil and I to build and carve a bed similar to this style. Charles turned the posts beautifully and I am now working on carving the details.

20150317_143648_HDR
20150311_175738_HDR
20150311_103110_HDR

Last month I had the honor of being invited to demonstrate how to carve several different Charleston carvings for a MESDA (Museum of Early Southern Decorative Arts) Furniture Seminar and one of the pieces of furniture I showed how to carve was this rice bed (along with an acanthus leaf on a pedestal table and ball and claw foot). Here is a video on this carving.

If you have never been to MESDA in the Old Salem village in Winston-Salem, NC, you are missing an amazing experience. The MESDA museum, library and bookstore are a wealth of information, and Old Salem itself is just a wonderful opportunity to experience a historic village very close to how it was when it was originally founded by the Moravians in 1772. You will probably need to spend several days (or more) to really enjoy everything both MESDA and Old Salem have to offer.

Now I just need to finish the rice bed carving, finish several other commissions that have come in, continue to publish a video every week for my online carving school, and write a book on acanthus leaves… in my spare time…


Great class at Marc Adams!

April 15, 2015 / Mary May / Wood Carving Tips, Woodcarving classes

Last week I taught a 5 day Fundamentals of Woodcarving class at Marc Adams School of Woodworking in Indianapolis, Indiana. A great group of people. Here are some of the wonderful accomplishments of the students. Congratulations everyone! Great job!

Dave Reilly, my assistant and I. No we didn't carve the giant bouquet, but it is pretty awesome, eh?
DSCN3511
DSCN3510
DSCN3508
DSCN3504
DSCN3505
Not the best position to carve in, but great for close-ups.
DSCN3525
DSCN3523
DSCN3522
DSCN3516

Transferring Patterns onto Light and Dark Wood

April 1, 2015 / Mary May / Tips & Tricks, Wood Carving Tips

Have you ever had trouble seeing the lines of your design on the wood? Often with lighter colored wood such as basswood, pencil lines show up clearly. If you have transferred a template to your wood with carbon paper, this also shows up well on lighter colored wood. The carbon paper can be purchased at office supply stores.

However, when using darker woods, such as mahogany or walnut, I often use what is called “transfer paper” instead of carbon paper to transfer on designs. This paper comes in a variety of colors – white, red, yellow in addition to darker colors. It can usually be found in craft supply stores such as Michaels or Hobby Lobby. The lines also erase easily with a standard pencil eraser.

SARSF7179-A

I just place the transfer paper between my template and wood and trace over the design from the template. I have accidentally had the transfer paper laying the wrong side up several times, so a warning… make sure the right side is down! It makes a really nice pattern on the back of your template if not 🙁


Another good trick for darker wood is to use white gel pens or colored pencils when you trace around a cut-out template or pattern.

DSC00949

DSC00954

I have a video on youtube that goes into more techniques of transferring designs to wood. Enjoy!

What is the “Clothing Iron” thing?

March 28, 2015 / Mary May / Wood Carving Tips

3174880792_a49b8d20a3

You know these very interesting electric gadgets that are found in most workshops called an “iron”? They have a flat surface, and are pointed at one end. They get really hot too. These unique implements have great uses in the woodworking shop:

Transferring templates:

Make a good photocopy of your design with a photocopier that uses toner (ink jet printers do not work). Turn your template over, and run the iron over your design and the ink from the paper should transfer to your wood. This is a great way to make a very accurate transfer if you have a complicated design.

Taking minor dents out of wood:

Take a damp cloth, lay it over the dented wood, place the iron on top and let it steam for a second or two. The steam causes the wood grain to expand and the dent is magically removed.

Bending thin pieces of wood:

Take a damp cloth, lay it over a thin piece of wood, place the iron over this and you can bend the wood.

Removing veneer:

Run a hot iron gently across veneer and the adhesive should heat and release old veneer.

Ironing those wrinkly shop aprons

What?? Who would have thunk?

«‹45678›»

Watch a Sample Lesson from my Online School

Your Free Membership offers 12 Free Lessons. See more at My School of Traditional Woodcarving.
Facebook You Tube Google plus Linked In twitter-24

Recent Posts

  • Carving the Acanthus Leaf Book with Videos and Study Casts
  • Last Chance to Pre-Order Carving the Acanthus Leaf Book
  • Enter to win FREE resin castings of acanthus leaves
  • Preview a FREE Chapter of my Carving the Acanthus Leaf Book
  • Carving the Acanthus Leaf – Now Available for Pre-Order
news-sm

Keep up with my online Woodcarving School

A weekly newsletter tells of the latest video episode. My monthly newsletter announces upcoming video lessons, carving tips and tricks, a free template and class schedule.

Categories

  • Acanthus book
  • Acanthus Leaves
  • American College of the Building Arts
  • Antique furniture reproduction
  • Book Review
  • Brookgreen Gardens
  • Cartouche
  • Carving wildlife
  • Carvings for churches
  • Chair Carving
  • Charleston Rice Bed
  • Creche
  • europe trip
  • Finials
  • Fleur-de-lis
  • Grinling Gibbons
  • Guest Blogger
  • Handworks Show
  • intaglio- maple leaf
  • Magazine articles
  • On-Line Woodcarving articles and TV interviews
  • Online carving school
  • People
  • Philadelphia Highboy
  • Savannah
  • Scrolls
  • Shows
  • Society of American Period Furniture Makers
  • Tools
  • TV Shows
  • Uncategorized
  • Videos
  • Violin Scroll
  • WIA Show
  • Wood Carving Education
    • Ball and claw foot
    • letter carving
    • Mary's story
    • Tips & Tricks
    • Woodcarving classes
  • Wood Carving Projects
    • Acanthus Leaf Repair on Tables
    • Bed Carving
    • Carving faces
    • Carving Hands
    • Carving Reeds
    • Celtic design
    • Church carving in Savannah
    • Coat of Arms
    • College Sign
    • Corinthian Capitals
    • Deep relief carving
    • Dragon Carving
    • Egg and Dart Molding
    • Kings Head Bracket
    • Misc. Antique Furniture Repair
    • Newport Shell
    • Period Furniture Carving
    • Picture Frame
    • Rosettes
    • Shell and Acanthus Leaf
    • Shell Niches
    • Shell wall sconce
    • Sunburst
  • Wood Carving Tips

Archives

  • January 2018 (1)
  • November 2017 (1)
  • October 2017 (2)
  • September 2017 (1)
  • July 2017 (1)
  • April 2017 (1)
  • March 2017 (1)
  • January 2017 (3)
  • December 2016 (2)
  • July 2016 (1)
  • May 2016 (1)
  • April 2016 (1)
  • March 2016 (1)
  • February 2016 (1)
  • January 2016 (2)
  • November 2015 (3)
  • October 2015 (3)
  • July 2015 (1)
  • June 2015 (2)
  • May 2015 (2)
  • April 2015 (4)
  • March 2015 (4)
  • February 2015 (5)
  • January 2015 (9)
  • December 2014 (8)
  • November 2014 (6)
  • October 2014 (6)
  • September 2014 (9)
  • August 2014 (4)
  • July 2014 (8)
  • June 2014 (2)
  • May 2014 (8)
  • April 2014 (13)
  • March 2014 (3)
  • February 2014 (1)
  • January 2014 (3)
  • December 2013 (1)
  • November 2013 (1)
  • October 2013 (5)
  • September 2013 (5)
  • August 2013 (2)
  • July 2013 (8)
  • June 2013 (3)
  • May 2013 (3)
  • April 2013 (5)
  • March 2013 (9)
  • February 2013 (3)
  • January 2013 (3)
  • December 2012 (6)
  • November 2012 (5)
  • October 2012 (5)
  • September 2012 (4)
  • August 2012 (4)
  • July 2012 (6)
  • June 2012 (5)
  • May 2012 (7)
  • April 2012 (8)
  • March 2012 (7)
  • February 2012 (9)
  • January 2012 (11)
  • December 2011 (8)
  • November 2011 (7)
  • October 2011 (21)
  • September 2011 (18)
  • August 2011 (7)

Blogroll

  • Bob Easton
  • Giant Cypress
  • High Rock Woodworking
  • Matts Basement Workshop
  • Modern Woodworkers Association
  • Penultimate Woodshop
  • Renaissance Woodworker
  • The Sunday Woodcarver
  • The Wood Whisperer
  • Tom's Workbench
  • Wood Central
  • Wood Net
  • Wood Talk Online

Links

  • Alan Breed
  • Alf Sharp
  • American College of the Building Arts
  • Charles Neil Woodworking
  • Charles Ramberg Furniture Maker
  • Christopher Schwarz
  • Connecticut Valley School of Woodworking
  • Dan Hamilton
  • Greg Guenther Wood Group
  • Highland Woodworking
  • Kelly Mehler School of Woodworking
  • Lucy Churchill
  • Lumber Jocks Woodworking Showcase
  • Marc Adams School of Woodworking
  • Mark Van Abbema
  • Philip Lowe
  • Pro Woodworking Tips
  • Ronnie Sextion
  • Society of American Period Furniture Makers
  • Studio 3d Creations
  • Thaddeus Stephens College of Technology
  • The Acanthus Workshop, LLC
  • The Mill, Inc
  • The Renaissance Woodworker
  • The Woodwright's School
  • Wood Carving Guide
  • Woodcraft Supply
  • Woodworking Workshops of the Shenendoah Valley
Mary May - Woodcarver - Copyright © Cornerstone Creations, LLC, 2015
Privacy Policy

Thank you

Your feedback have been received.

Close