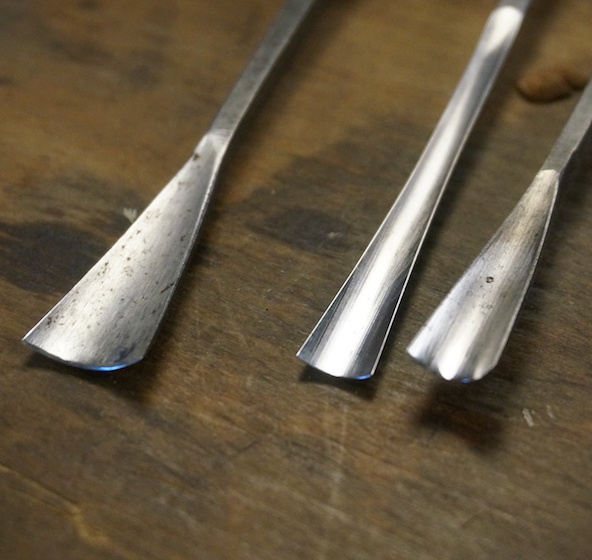
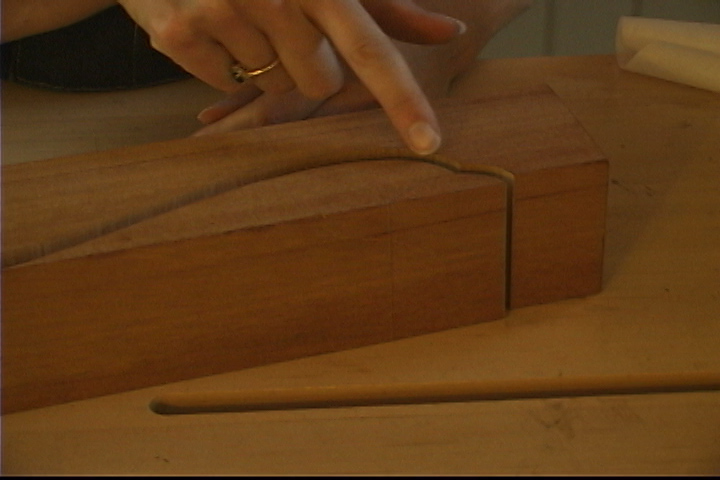
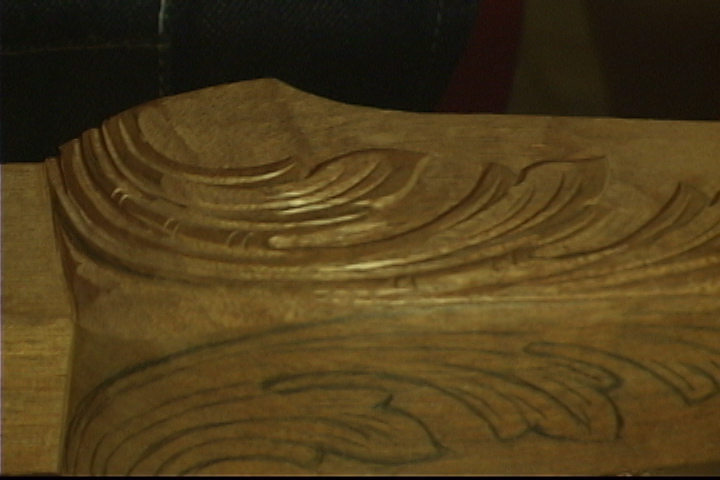
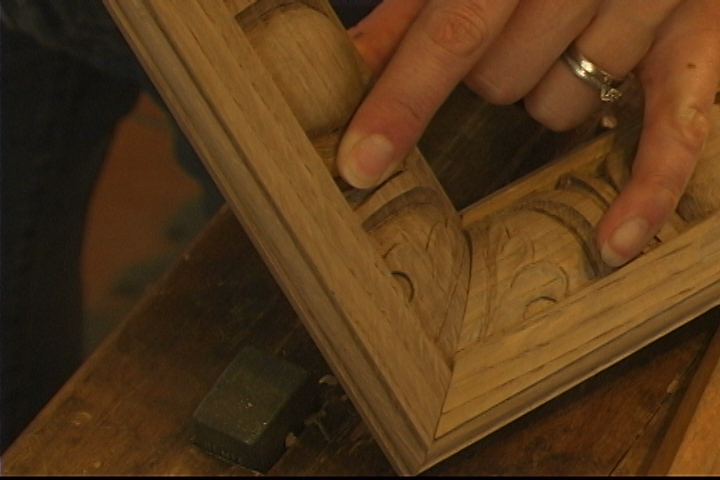
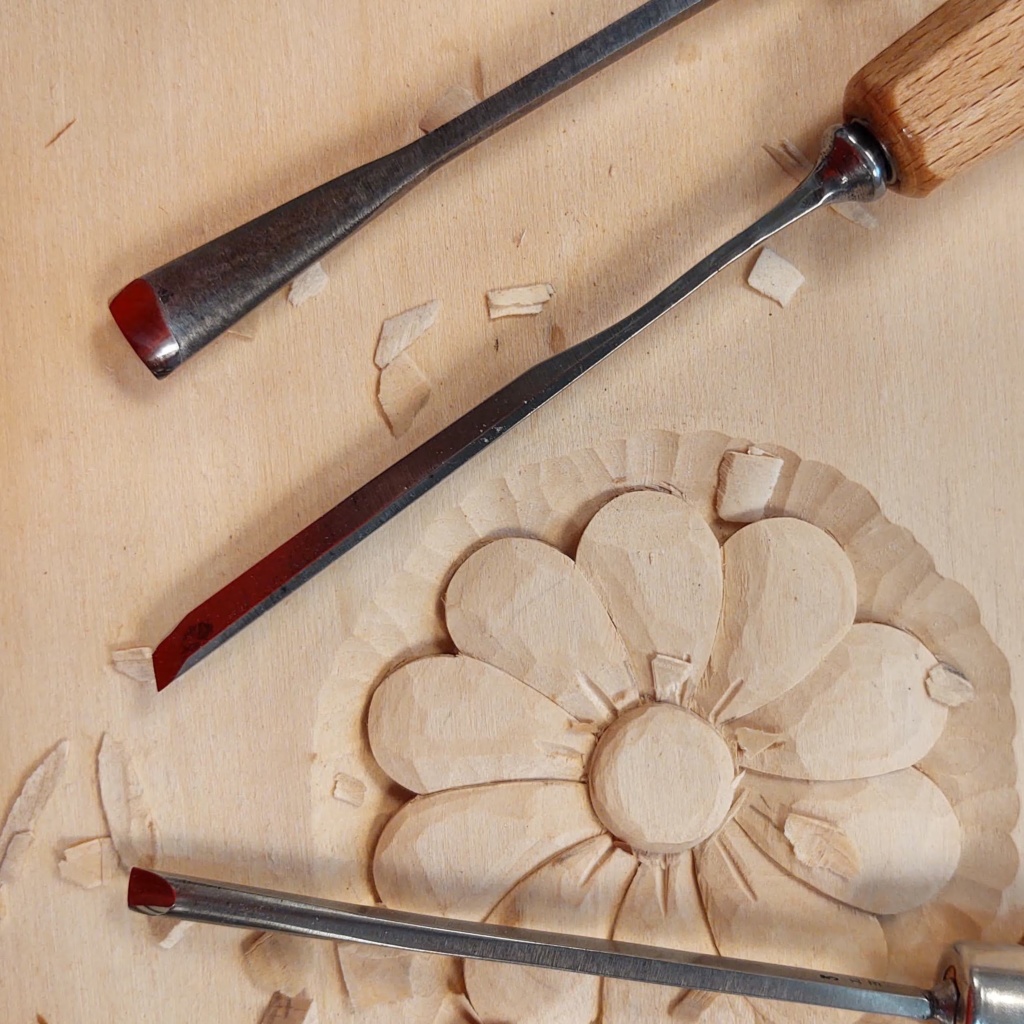
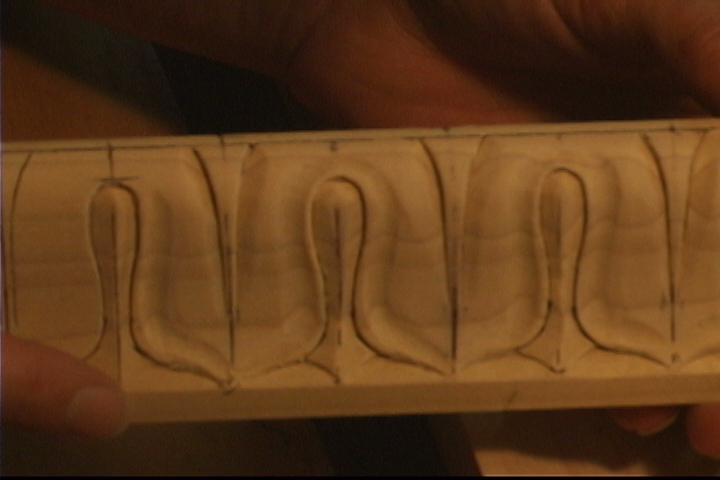
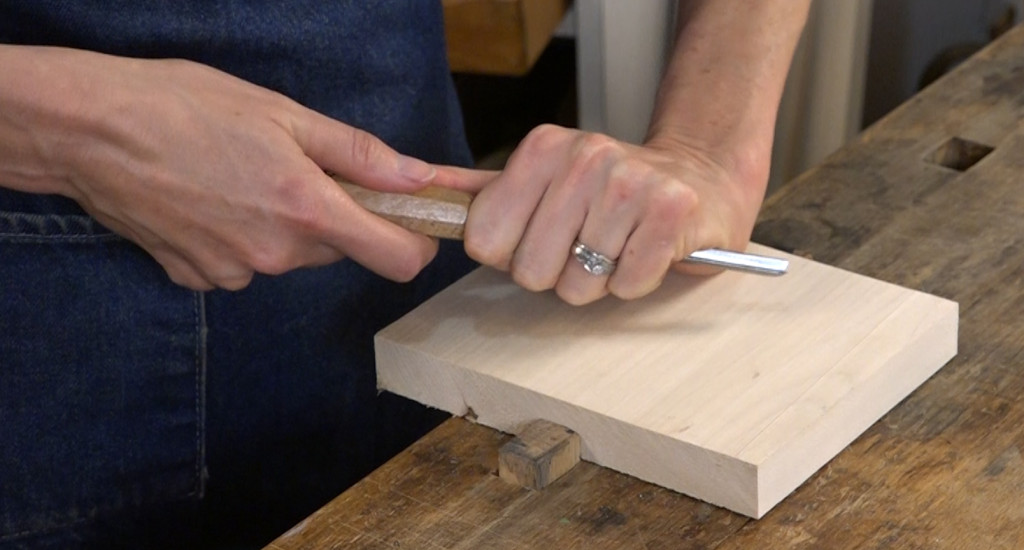
This Beginner Lesson is available to FREE Members. Your carving experience will be so much more enjoyable with sharp tools! This video teaches you how to sharpen and touch up the most frequently used tool, the curved gouge.
- Lesson Contents: single episode, Guide to Beginner Lessons, Basic Tool List, Guide to Sharpening the Curved Gouge
- Skill Level: Beginner
= More Lessons at the Basic Skill Level =


Thanks I’m more of a visual learner working the off shift and every other weekend and holiday and doing other needed things for wife in free time .So not much chance to take classes . Vidio’s help . Still hit and miss no super sharp edge yet . So I go back and look over and over and try some more .
How about sharing a fish tail vidio could have sworn you had one made . Same as for the curved gouge ?
Mark,
Glad you’re enjoying the videos. I also am a visual learner – that’s probably why I started these videos – it’s how I understand.
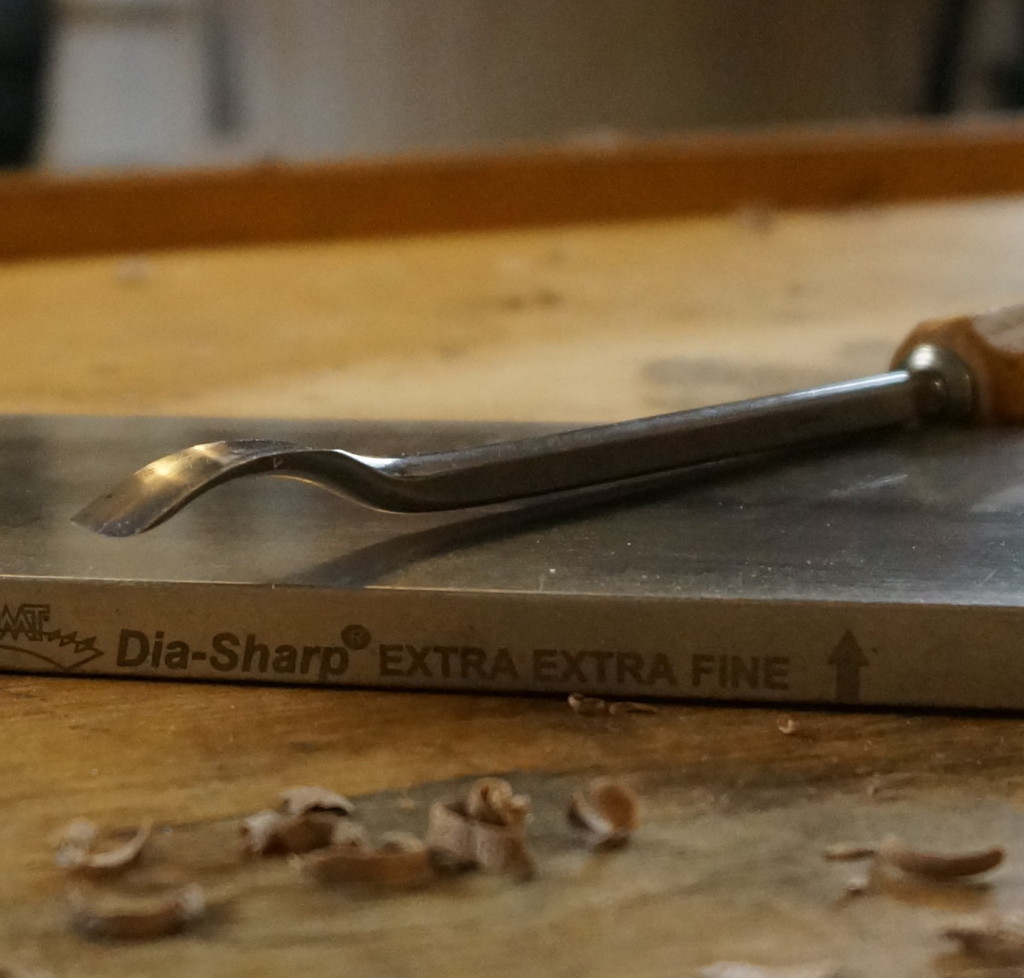
The process of sharpening is exactly the same for a fishtail. Just make sure you don’t twist the tool too much, or those nice sharp corners of the fishtail will be rounded over.
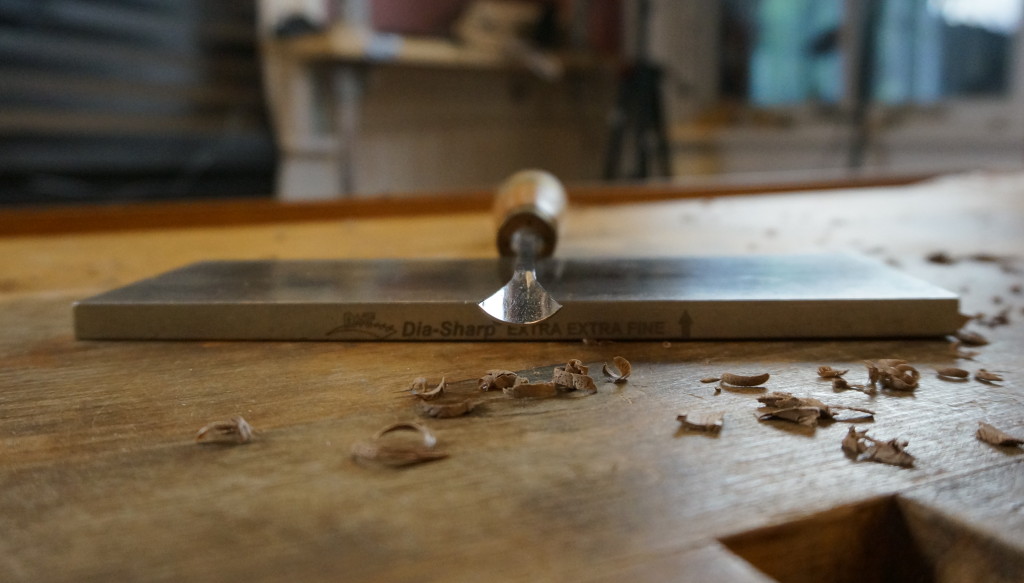
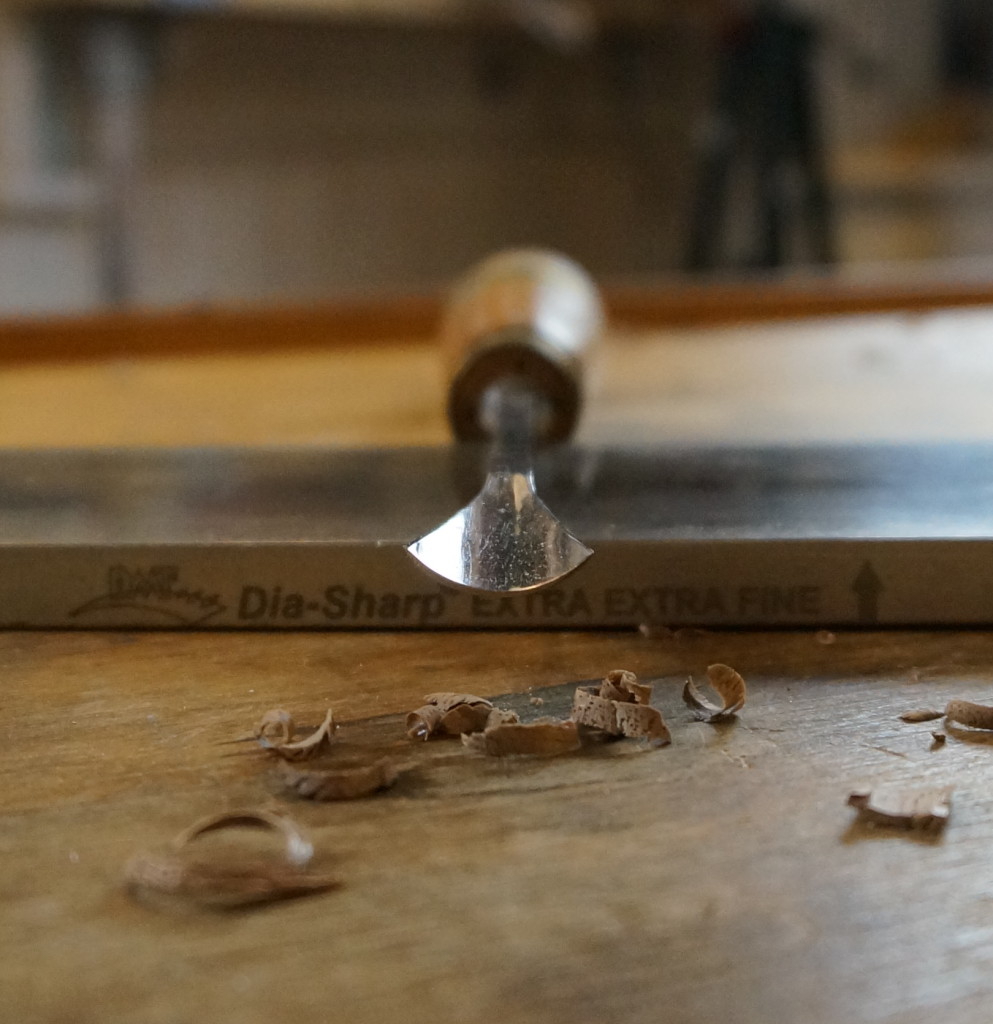
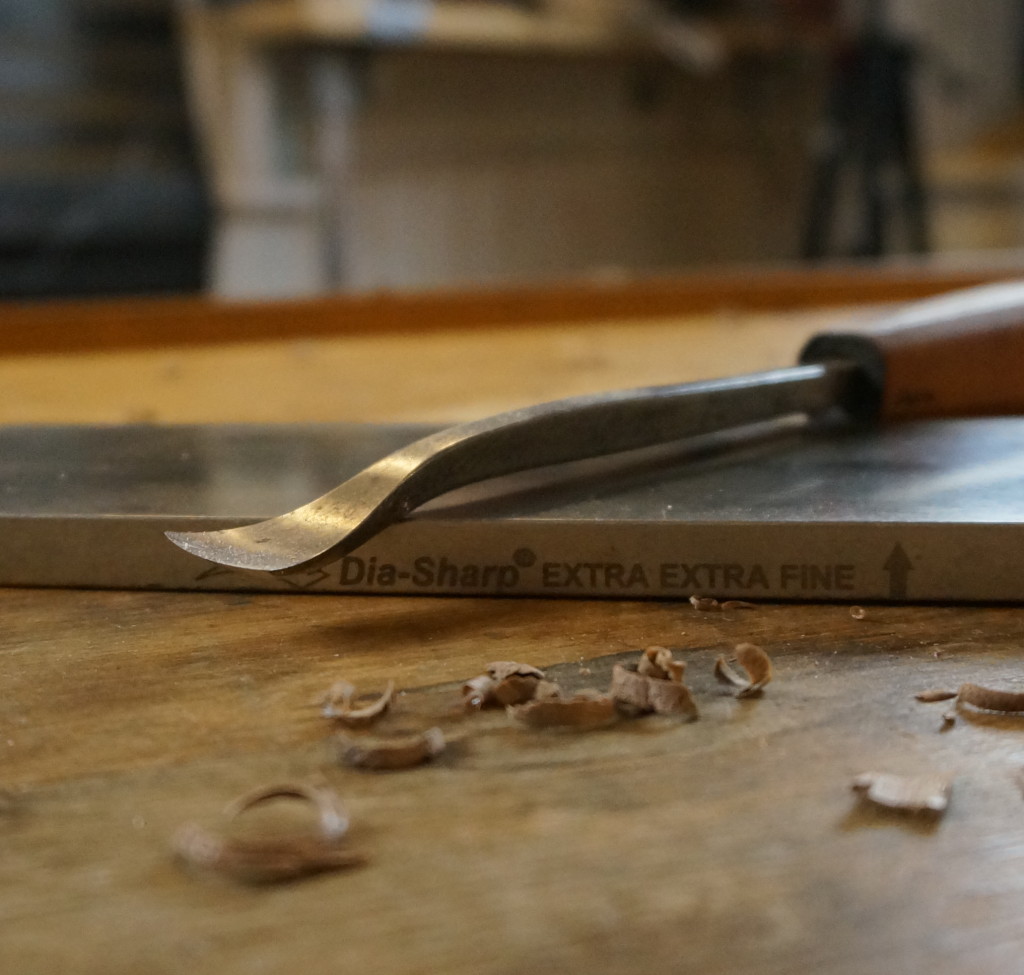
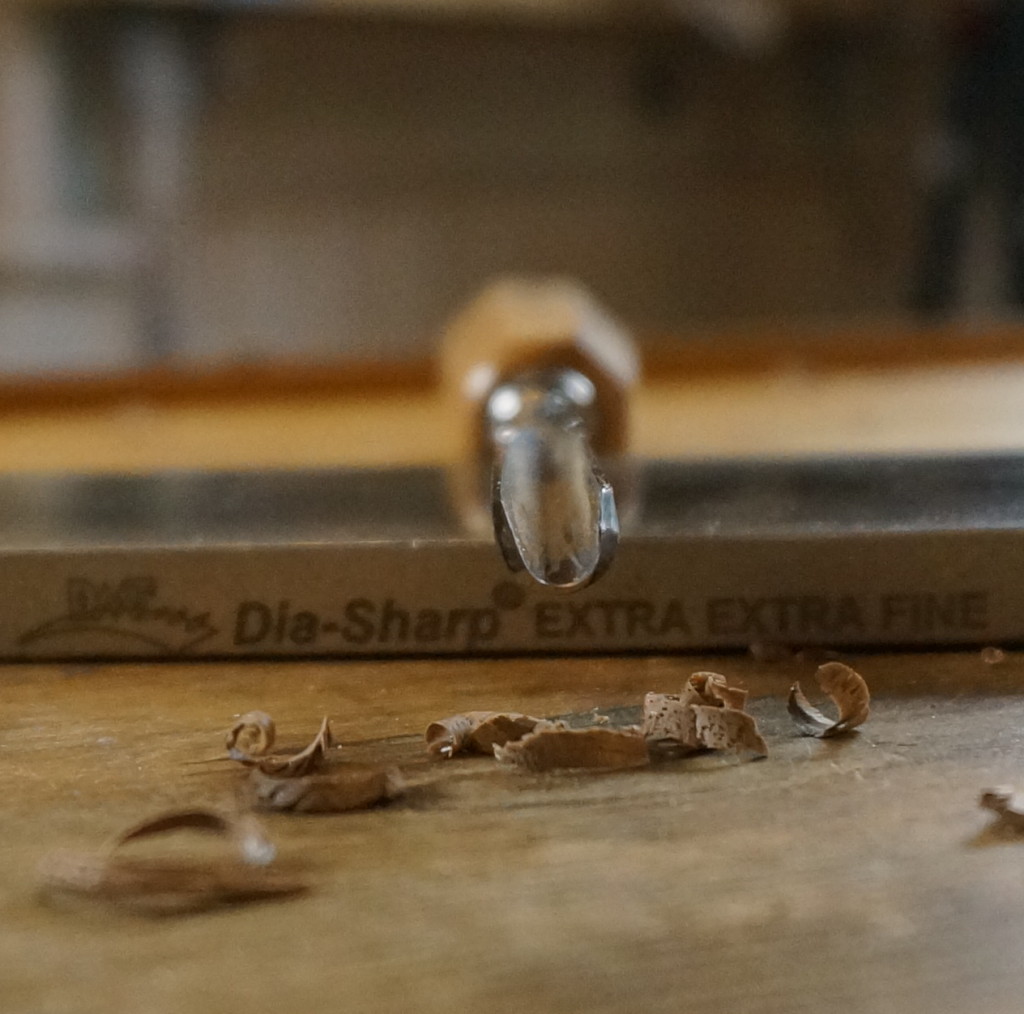
Hello, Mary. Quick question about the video: is that water or oil on the diamond stone?
Thanks, Byrom
I use water with diamond stones. DMT recommends either water or water with a little detergent. Make sure you wipe them off as soon as you finish using them.
Hello, Mary. What is possible online these days is amazing and your website is fantastic. I have collected a number of sharpening stones (Shapton, Trend, Norton) for my planes and chisels. I am just starting to collect what I need to explore carving. For the inside edge, I was wondering if I could get away with Flexcut’s Slipstrop or will I be better off getting slipstones, leather, and polishing compound? I ask because the Slipstrop appears to have everything I would need at the end of sharpening but might not replace the slipstone.
Thanks Brian!
Since the slip stones actually are removing that wire edge, they do need to be a little more aggressive than just a strop. So I would recommend getting a slip stone, or you will be stropping it a LOT to remove that wire edge burr. Happy sharpening!
Hi Mary,
you suggested a “beginner’s starter group of tools” thank you…….do you have a “beginner sharpening equipment list”? Such as how many stones of which type /size and grit and the slip stones and stroping equipment needed?
thanks,
glenn
I stick with diamond stones – 1200 and 8000 grit. Then you could probably do most of the sharpening of the inside of the gouge with one slip stone with a curved side and pointed side. One flat strop will do the trick, but curved shapes with leather strop help. Dan’s Whetstone is a good supplier for slip stones. I sell DMT stones at my store, and I just recommend making your own strops using old leather belts or leather scraps from leather repair stores. It’s on my list to put together a recommended list of suppliers, but don’t have one yet.
Are ramelson tool good? They have a hardness of 58-61 rockwell. What is the hardness of Pfeit tools? Ramelson tools are cheaper. I want to buy good tools the first time. Edge retention is a must.
Hello Bill, I’m not really familiar with these tools, but here’s what Bob Easton knows about them.
“I have a few of these. It’s true that the steel is good and holds an edge well. They are acceptable tools for detailed small carvings, but woefully small for the kind of carving that Mary teaches. I also find them uncomfortably small to hold and use. If you already have some, keep them for occasional fine detail work, but buy regular full size tools (like Pfiel and others in Mary’s lists) for normal carving.”
Hope this helps to decide. Happy Carving!
When sharpening gouges on the diamond stones, how much downward pressure or force do you use on the stones? Does it vary according to the “grit” of each stone or is it relatively consistent throughout the range of grits? Also, the same question would apply to the use of leather strops. I have seen some that seem to really be bearing down a lot with the gouge on strops, and others seem to be just brushing softly against the leather. Does one work better than the other? Or, is excessive force, with both stones and strops, doing more harm than good to the edge? Thank you for your help.
Lee
Hello Lee,
The most important thing to consider is how confident are you that the gouge is placed correctly on the stone? When first learning to sharpen, it is important to press lightly because of the possibility of it being placed at a wrong angle. However, once you are confident that it is consistently staying at the correct angle, any amount of pressure that is comfortable can be added. There have been times when I want to remove a lot of metal quickly so I use a course stone with maximum pressure. As long as you move to finer and finer stones to finish, it should not be harmful to the tool to put a lot of pressure. Again, the caution is if it is in the wrong position and you put maximum pressure, it can go bad a lot quicker – before you realize it.
As for strops, I put considerable pressure on this also. And again – a caution as to the angle that the tool is placed. A strop can easily dull a gouge if it is angled too high.
Another thing to consider is that the process of putting more pressure with your fingers may cause the rotating movement to distort. Put enough pressure where you can still comfortably rotate the gouge along the stone without the downward pressure affecting the movement.
Hope this helps. Happy carving!
Dear Mary, Thank you so much for taking the time to create these extremely helpful videos. I was wondering if there is an alternative to slip stones or how they can be made? I have tried to find them but they are not available in India where I belong. Could you please recommend any alternatives. Thank you very much again for your teaching.
Hello Rebuka,
Glad you are enjoying the videos, and that is a great question! And the answer is yes. If you can get very fine grit sandpaper (2000 to 8000 grit), you can wrap this around curved pieces of wood and use them the same way as a slip stone. You can also take different sized dowels and wrap them with this sandpaper. Sometimes this kind of sandpaper can be found at auto supply stores because it is often used for fine sanding when painting automobiles. Good luck!
Thanks a ton Mary! I am trying to find the fine grit papers now 🙂
Good luck!
Mary, I have been using three wood strips (12″ long) with each one holding a
320 grid; 600 grit; and 1500 grit, water proof paper. This seems to work well along with my leather
honing stick. My question is, which polishing compound is preferred – I have
been using the green and red on the leather strop?
Hi Ralph,
First of all, I would be cautious to use the 1500 grit paper as the final honing, as this may end up being too rough. If you can see actual scratch marks on the back of the gouge and not a mirror finish, then I would suggest using a finer grit for this. However, I have not used this process much, so a 1500 grit paper (slightly worn) may be equivalent to a 6000 or 8000 grit diamond stone. You really just need to experiment with this.
The honing colors are different with different brands, so I do not know what either the green or red refers to. Again, you will need to do trial and error. So far as I have found, any polishing compound that I have used has never been too rough to use on leather. Again, if you see actual grooves or scratches (even if slight) from the polishing on the leather strop, then it is definitely too rough. Test it and see if it truly polishes the gouge. There is the small possibility of using a polishing compound that is too rough that will actually reshape and round the bevel, but this is not likely with what is available.
This is so valuable! It is one thing to own a tool, but knowing how to keep it useable is another thing. Thanks for you presentation.
Happy Carving! (and sharpening)
Hi Mary, great lesson, I struggled with getting the angle correct on gouges until you showed how to lock the arm against the body. I am finding that the center of the gouge is getting ground down lower than the edges, what do I need to do to get an even edge across the gouge?
thank you.
Hi Jesse,
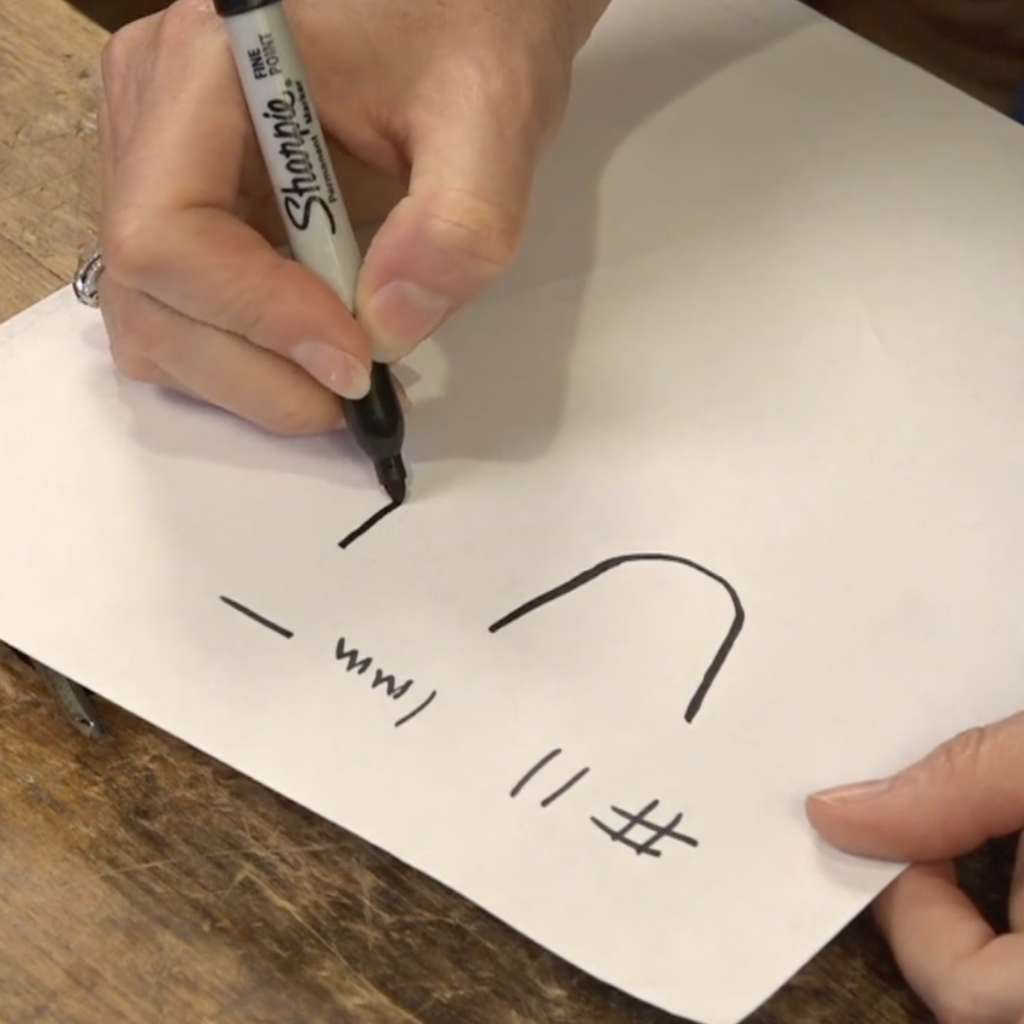
Usually that means you are not rotating the gouge enough and the outside corners of the gouge is not touching the stone. Have you tried to use the Sharpy marker method? It will show you exactly where the bevel hits the stone and you will find out quickly whether you cover the whole surface of the bevel.
I’m having the same problem as Jesse- The center grinds faster. The gouge is sharp, just misshapen. I’ve used the sharpie trick, and have given extra strokes to just the edges. Now I have a gouge that looks like the “happy worm” carving exercise. 🙂 I must be using more pressure at the center of the stroke since I’m confident I’m getting all the way to the edges.
So, how do you fix this? Is this like a moulding plane and I should grind dead across the blade at 90 degrees to the edge, rather than 25-ish, to get it flat, then re-establish the bevel?
Hi Ed,
It is possible that you pressed too hard at the center and not enough at the outside corners. If the sharpy trick definitely showed it touched the whole bevel surface, then that is most likely the issue. The way to resolve it from that point is to run the gouge along the stone, lightly pressing as the center of the gouge passes the stone, and pressing harder towards the outside corners (basically a reverse of how this shape was created). However, now with the “happy worm” shaped edge, you will most likely need to start over. The only issue I have with flattening the blade at 90 degrees is that if you don’t figure out the correct movement on the stone, you will “find” the happy worm again. It will appear nice and straight for a while, but if the cause of why it became misshapen in the first place is not sorted out, it will simply come back again. The most important thing to do is to make sure you are making a very even rotation with equal pressure as you run it along the stone. Go ahead an try grind the blade to 90 degrees, then try and make a very smooth and even rotation on the stone. Keep adding the sharpy mark to make sure it stays correct. I hope this helps.
Ok, it’s fixed: A few minutes edge-on on the fine, then on the superfine to get the bevel back, and then sharp on the xx-fine. Looking edge-on showed where material had to come off to get a uniform bevel back.
I think this may have less to do with pressure and more to do with timing. I think I might be twisting through the wings quickly and dwelling in the center, so even though the sharpie comes off because I’m covering the whole edge, the center wears faster because it had more time on the stone. So, I slowed down and focused on being smooth and even, feeling more like a pendulum, and watching the water squeeze out from the edge uniformly back and forth as I rocked to help stay even, if that makes any sense. I doubt I’m cured, but we’ll see if I mess up less. 🙂
I’m also starting to wonder if some of the original bad shape (center worn back) developed on the stop.
Glad you hear you fixed it! The main thing to concentrate on is consistency of movement.
It’s possible that stropping could have affected it, but it was most likely altered from the stone. It would take a long time for a strop to actually change the shape of the metal. Slightly rounding of the bevel occurs if you only use the leather strop for weeks or months, but I have never seen that actually cause the tool to become misshapen as you have described.
Enjoy your nice, sharp tool!
…just to add: The size of the defect is small, so when I say “grind dead across at 90 degrees,” I could likely do it by hand with a fine or medium stone and then use the fine or medium to get the bevel back. I’m just not sure if that’s the right way to go about fixing this.
Thank you for this lesson.I finally got the sharpening process right. I bought a Wade & Butcher in cannel gouge that I successfully changed to an out cannel gouge.Following your lesson I was able to put a razor sharp edge on it. What a joy to use. After that I sat down and sharpened all of my cheaper tools to razor edges. I’ve been using what I thought were sharp tools for years but this took me to a new skill level. Your videos are great learning tools and I look forward to watching the rest of the lessons. It’s nice to know an old dog like me can still learn new tricks..You are an awesome teacher.
Thank you Joseph! Feels good to carve with sharp tools, doesn’t it?? Just a note about the in cannel gouge – if it gets dull quickly, you may have gone past the tempered part. If so, find someone who know metal working (or do it yourself) and see if they can re-temper just the end of the tool. Often there is no more than 1/2″ of the end of the tool tempered.
Excellent Vidio from an old carver in Scotland.
Thank you!!
Hello Mary,
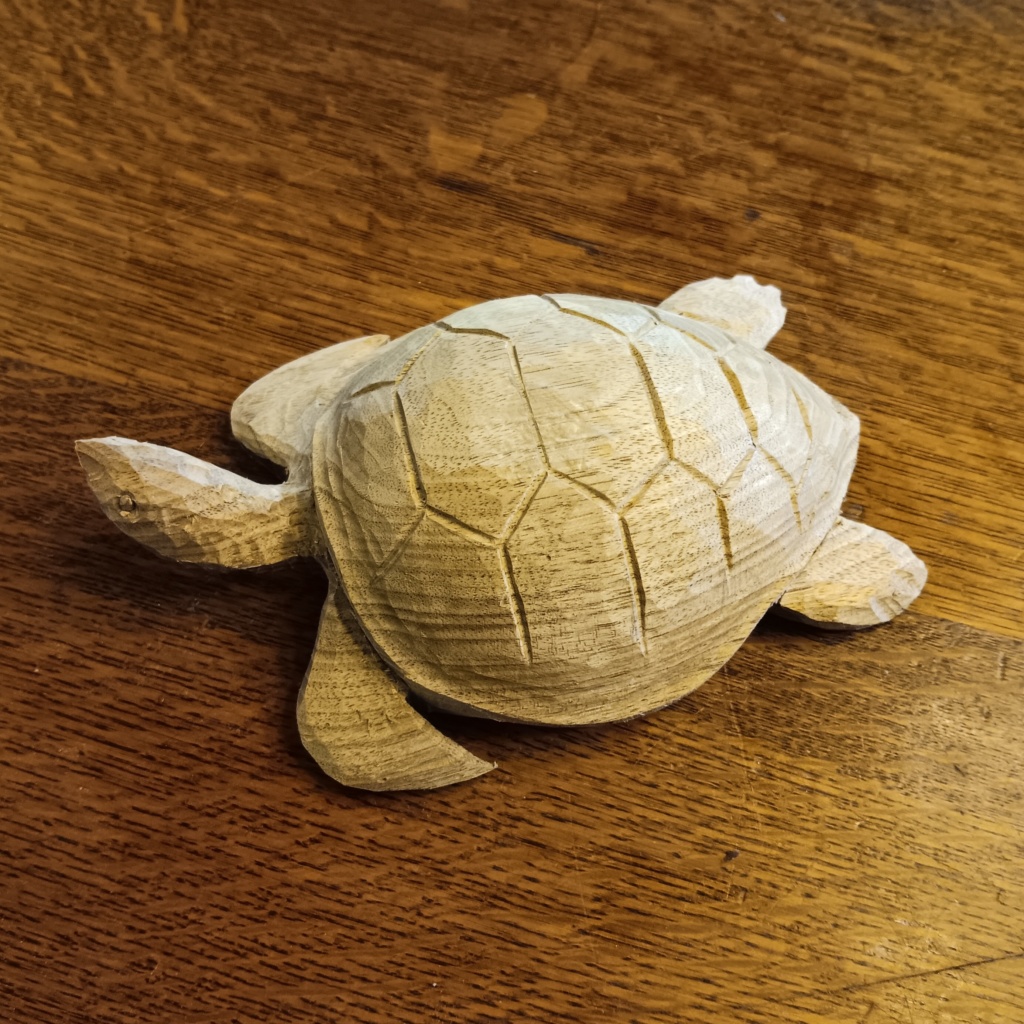
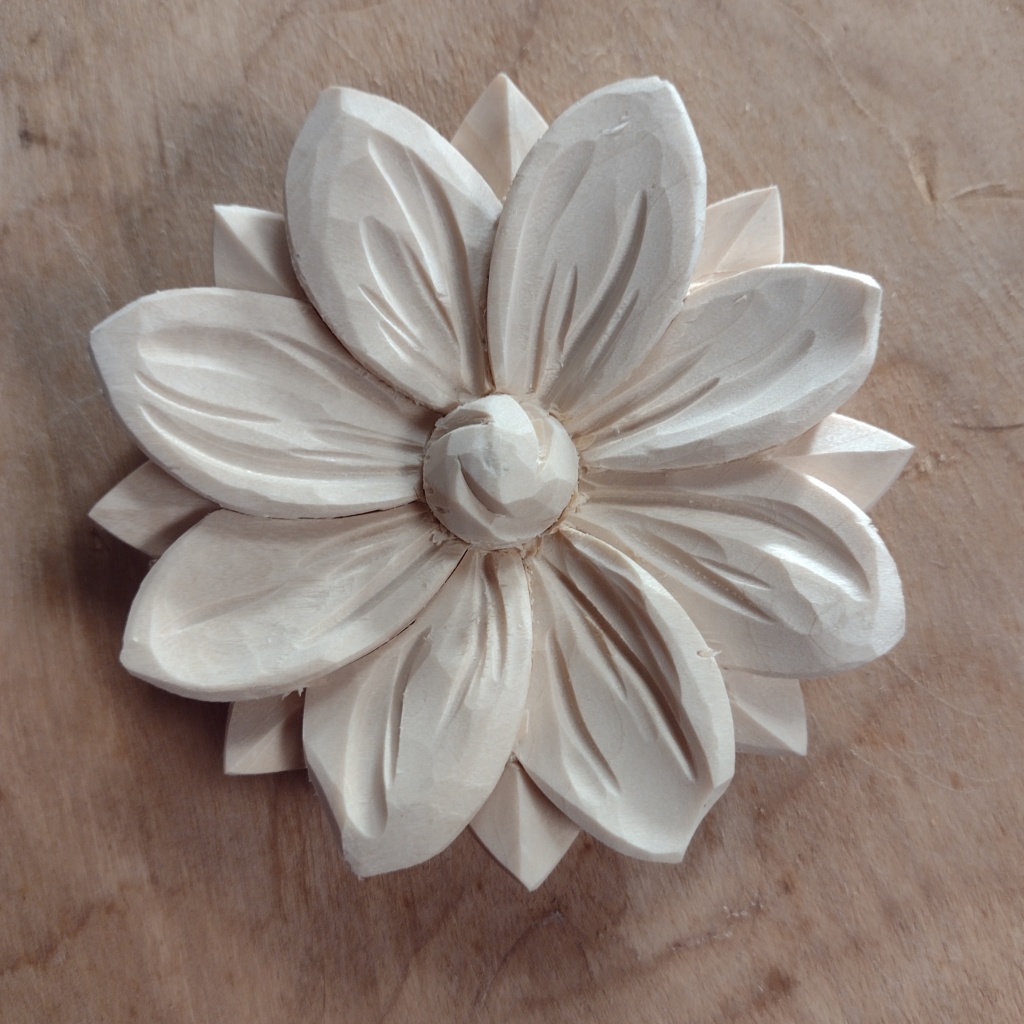
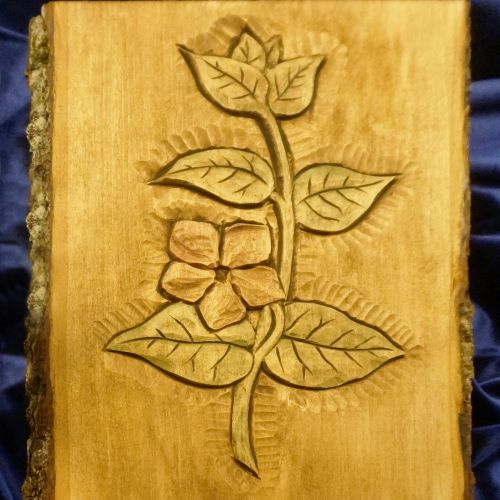
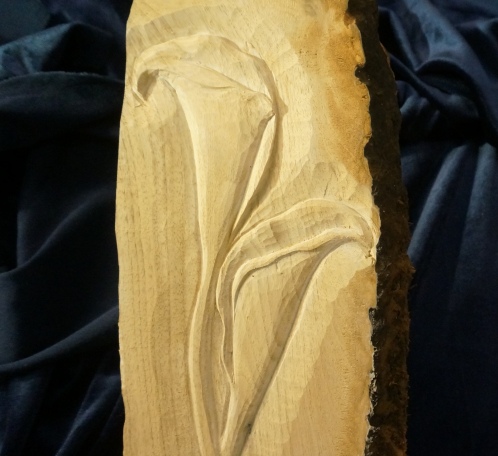
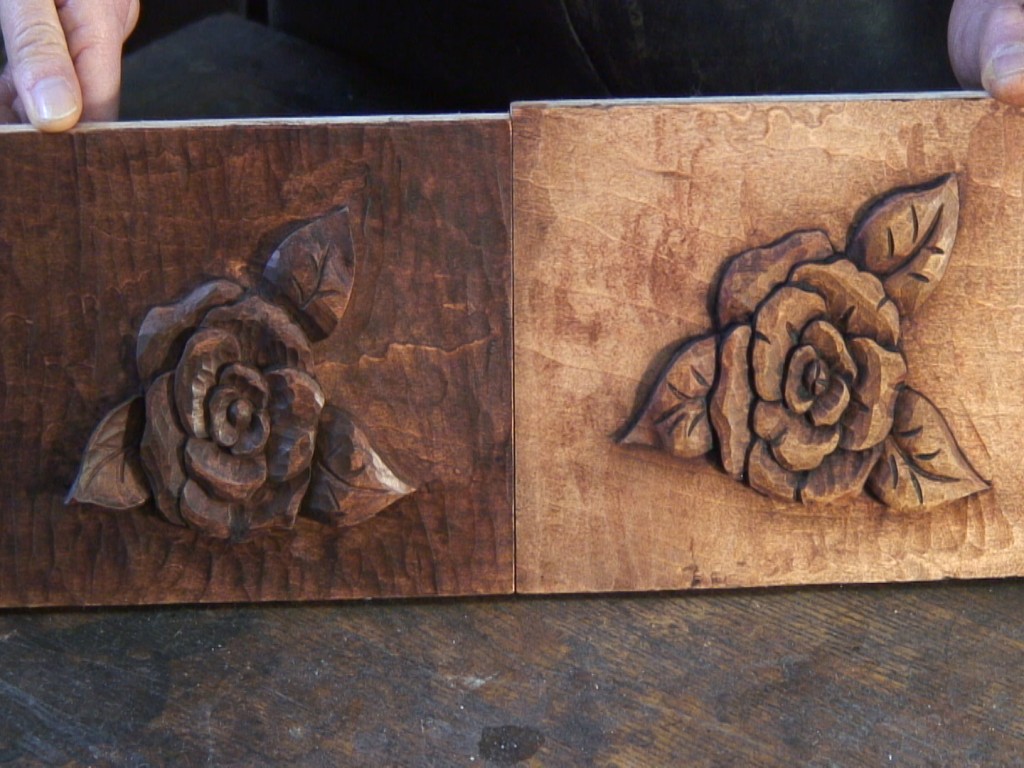
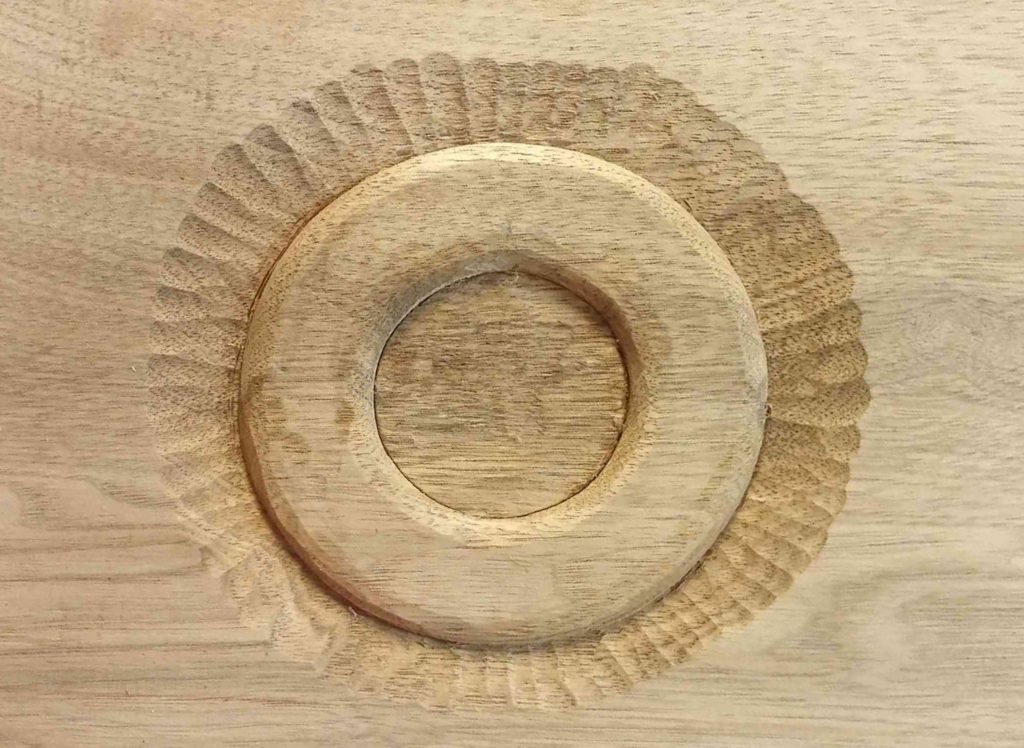
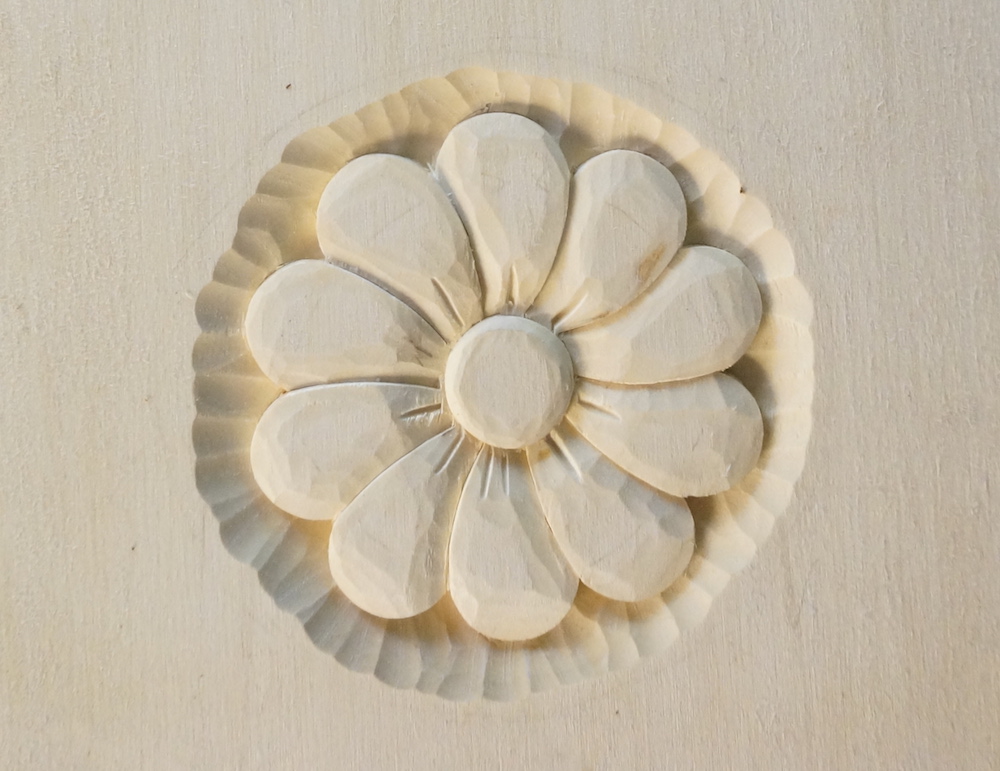
I’ve carved 4 donuts and 2 flowers so far. Since I’m both a new carver and an old guy so I’m not picking it up very quickly. But I really want to so that when I can’t do other things because of age I’ll be able to carve. I’m wondering if there is some way to tell if I’m getting my tools sharp? When I sharpen a knife, I can hold up a piece of paper and just slice thru it and leave no tears. I think I’m sharpening correctly. I’m using your sharpie trick. I am able to remove the mark with hardly any effort at all and doing it consistently across the surface, but I can’t seem to get the beginnings of a burr. Thank you so much for putting these videos together. I’ve watched this sharpening video twice, the donut one a couple of times and sitting down now to watch the flower carving for the third time.
Hello Bud,
Welcome! Testing a gouge with a piece of paper works also, but it probably isn’t going to be as clean of a cut as what you have seen with a knife. I always test my gouges by carving across grain through some soft wood like basswood. If the surface of the wood is smooth (without any wood catching or raising grain fiber or showing any scratch marks along the surface) then it should be sharp enough. The more you carve, the more you will recognize a really sharp tool just by making a cut. Have fun!