This is a brief introduction to "Carving a Camellia."
This Beginner Lesson is available to FREE Members.
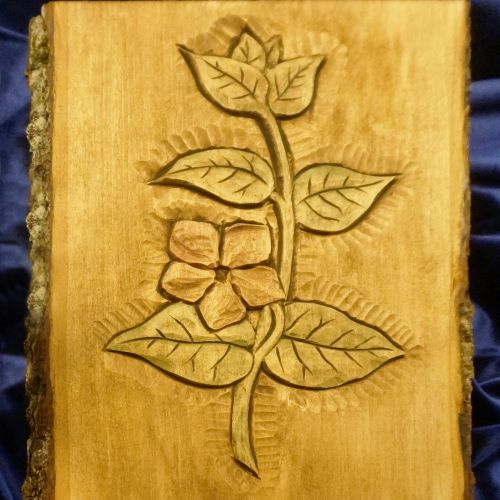
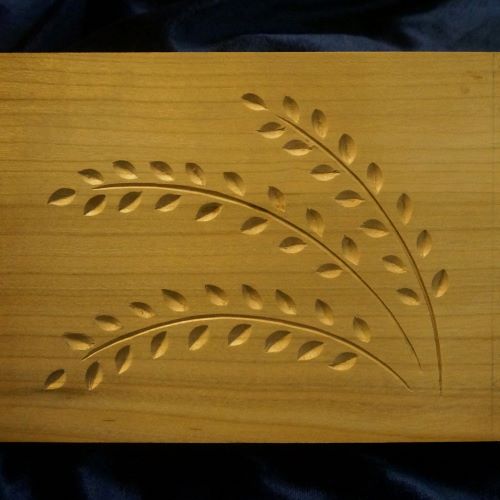
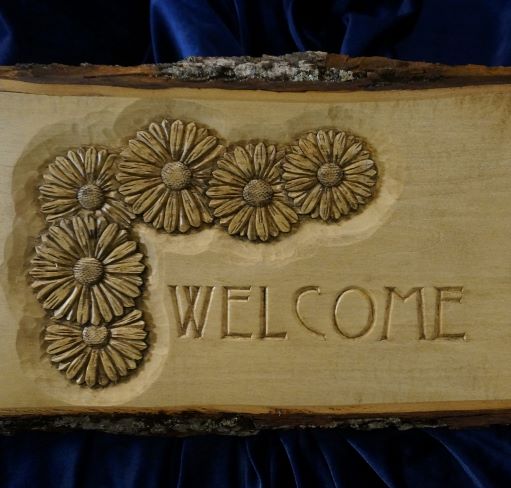
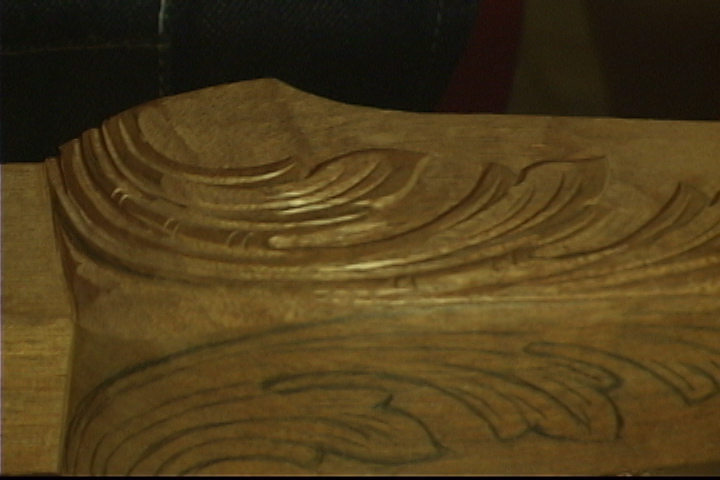
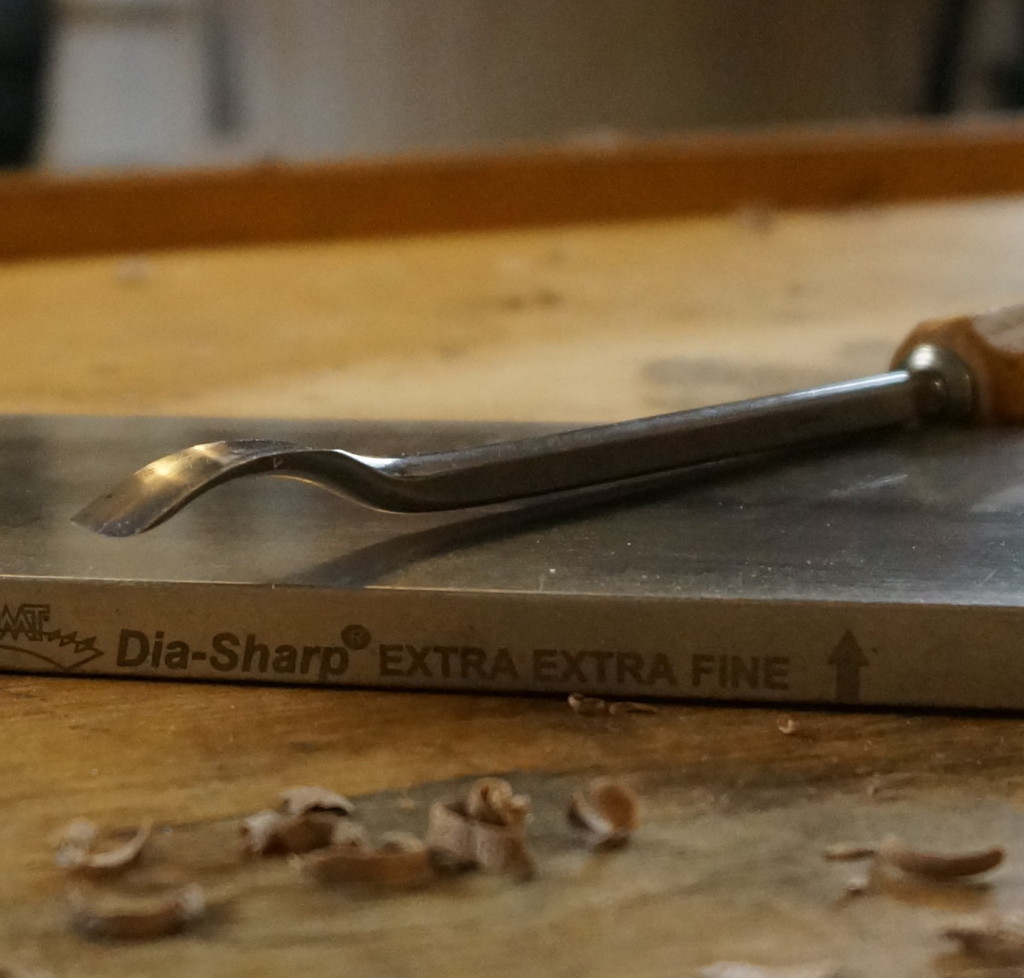
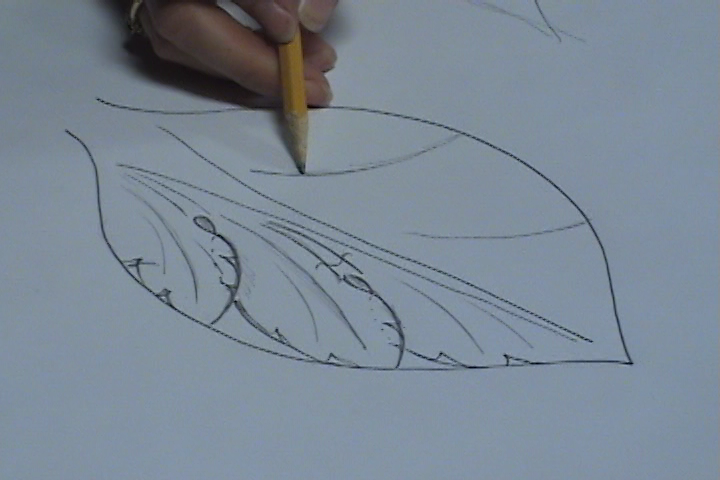
This lesson shows how to carve a camellia flower (similar to a rose). It covers a lot of wonderful carving techniques - working with the grain, creating depth by making overlapping petals, and working with different gouges.
- Lesson Contents: 2 episodes; template, tool list, photo, and written instructions in Episode 1
- Type of Wood: Basswood
- Dimensions: 5-1/4"w x 4"h x 3/16"d
- Skill Level: Beginner
= More Lessons at the Basic Skill Level =
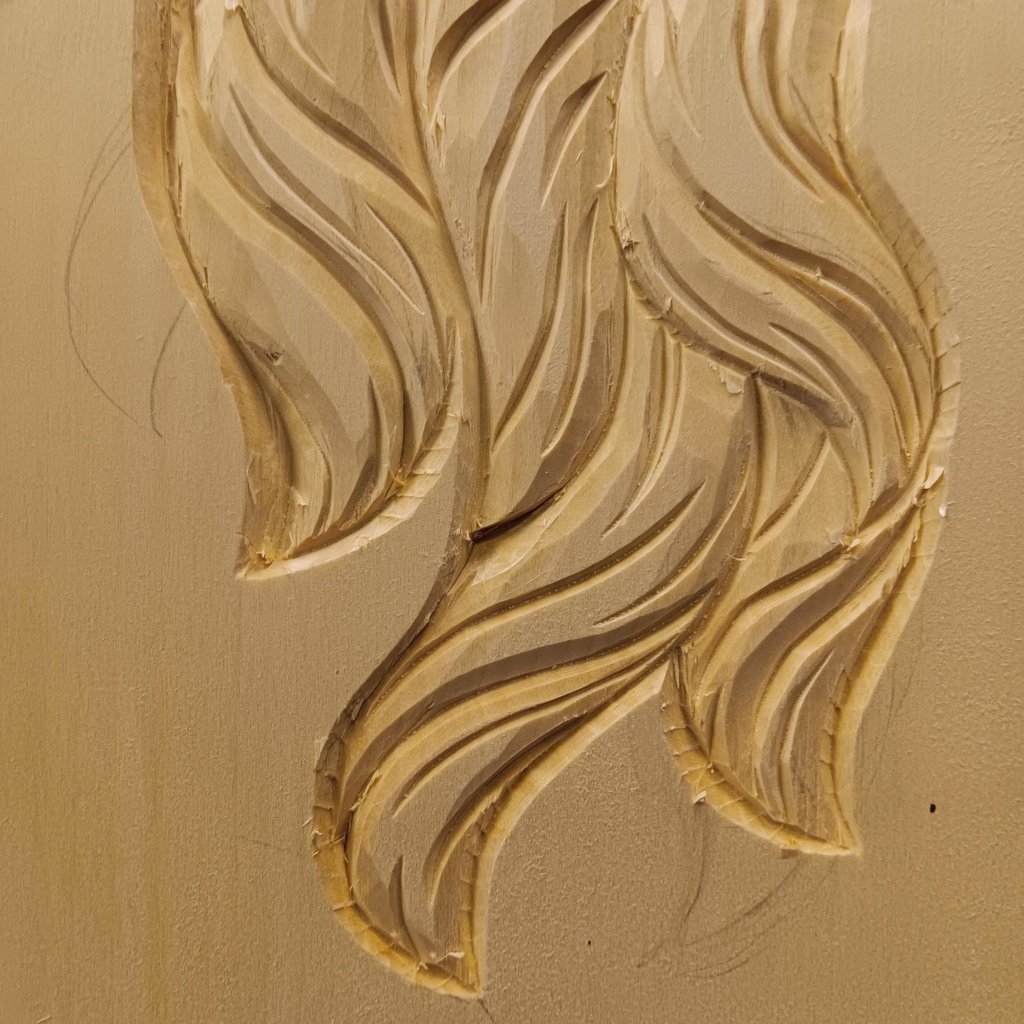

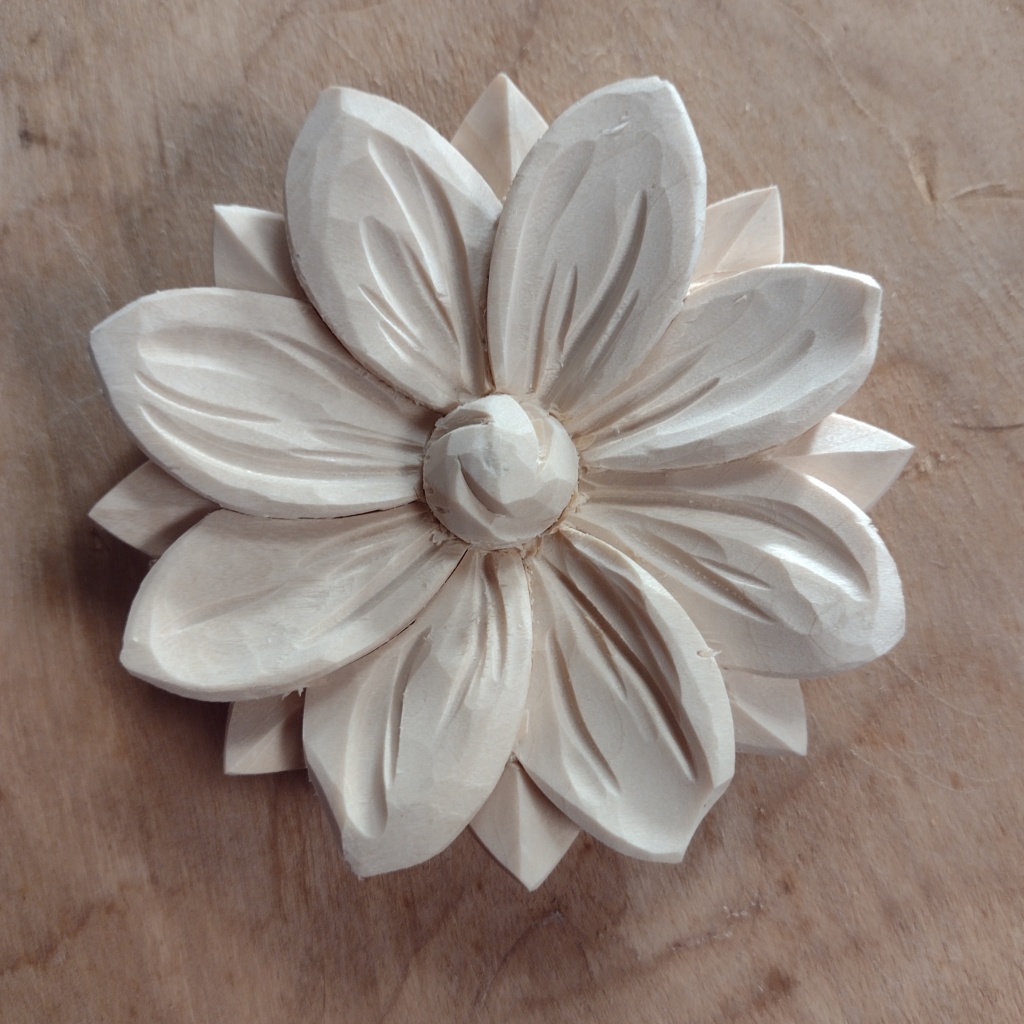

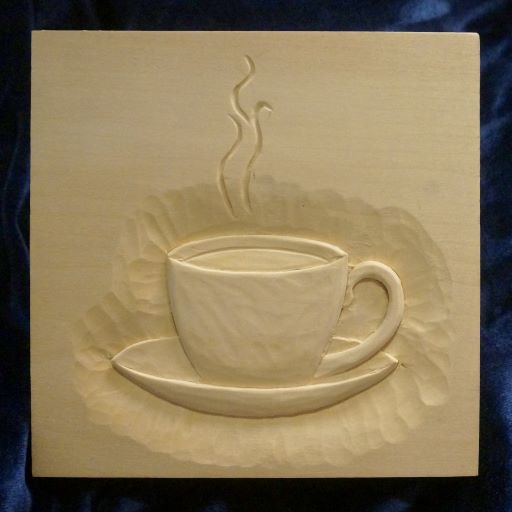

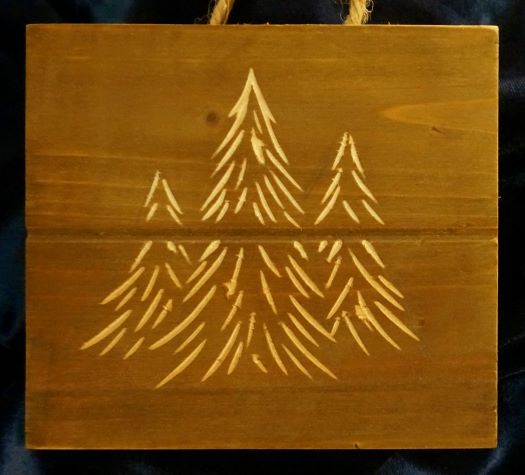


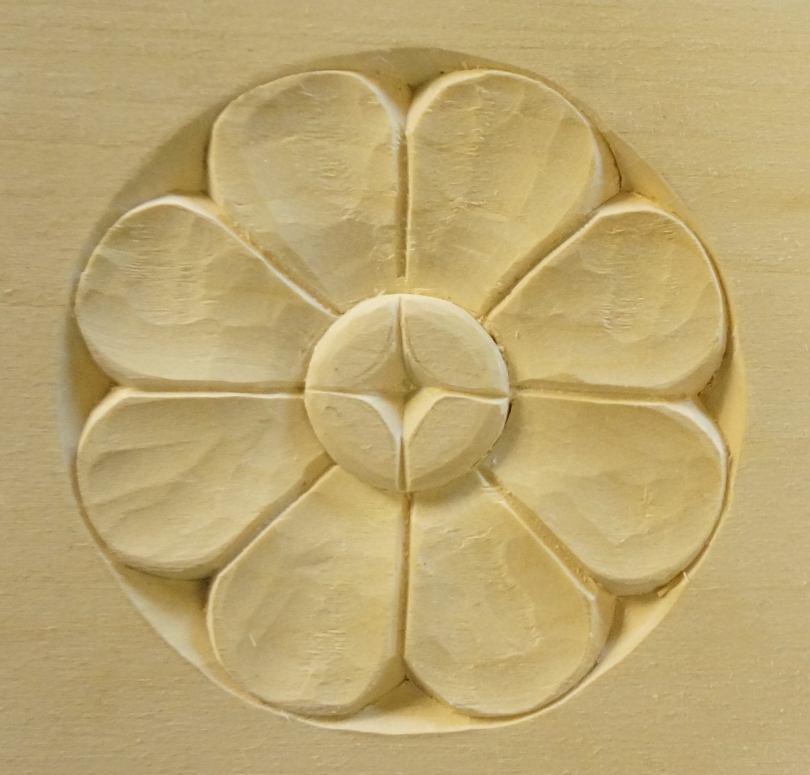

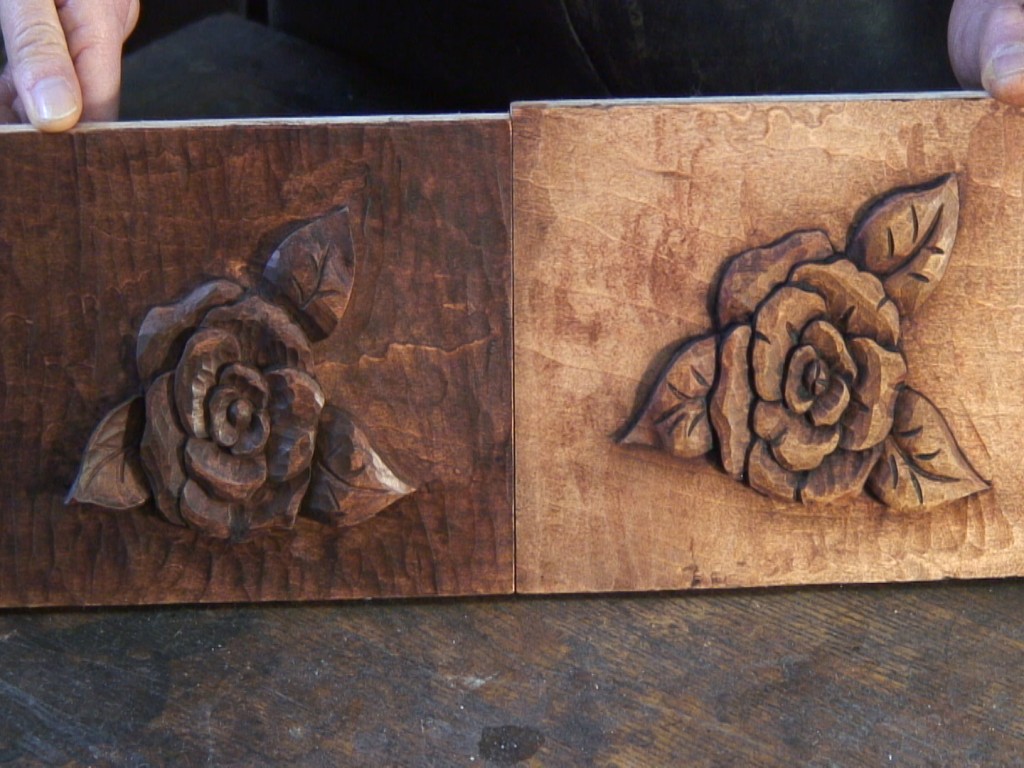

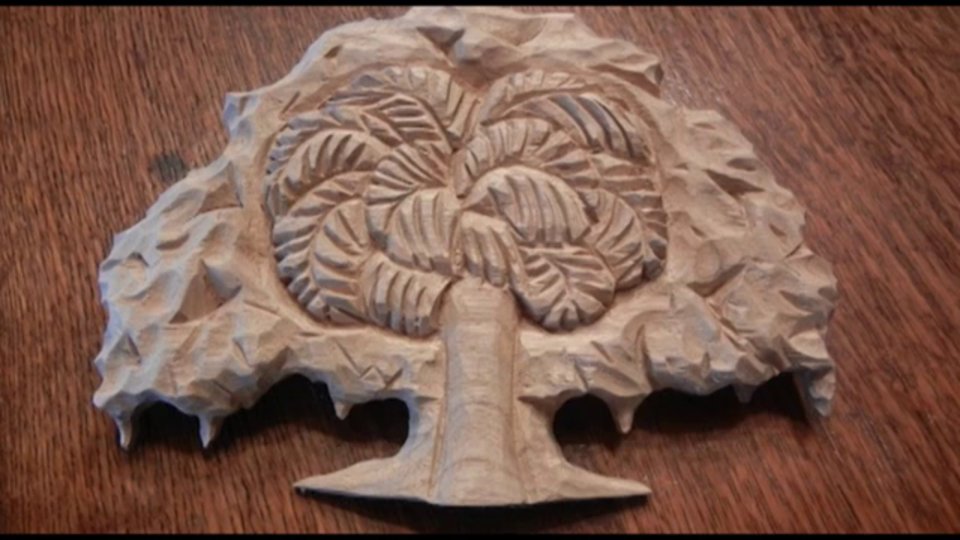
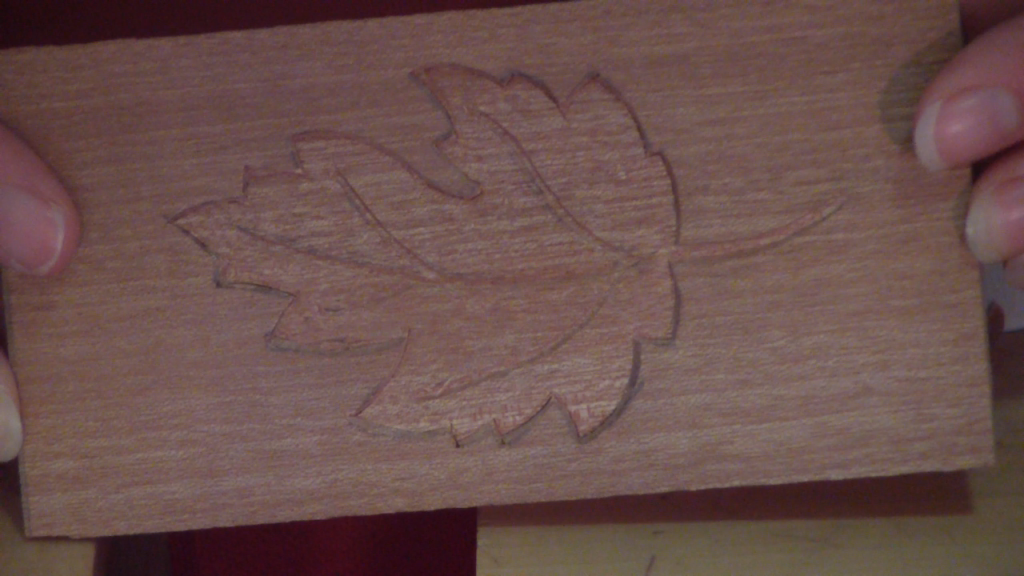

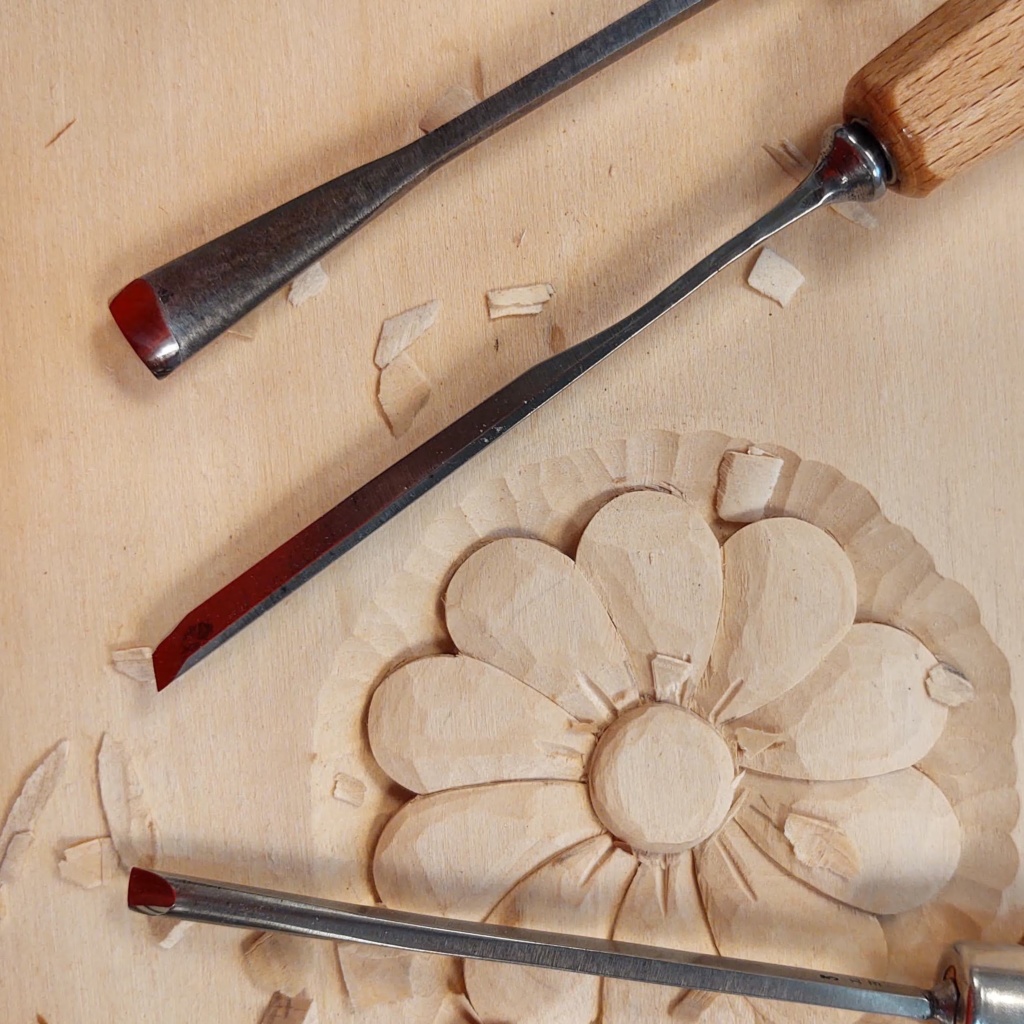


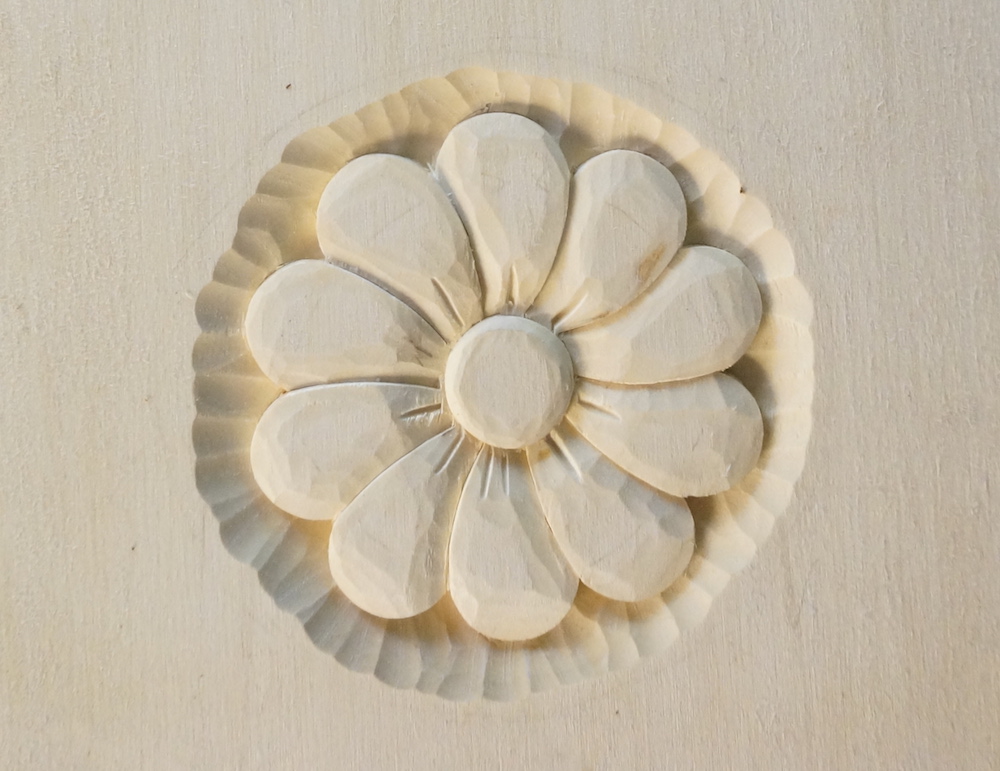

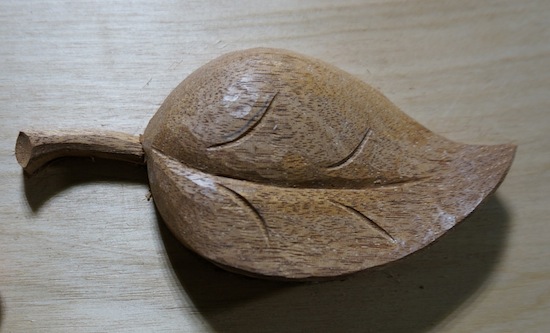
Just curious to know Mary if this camellia flower should be further refined or not. I kind of like the tool marks because it does illustrate that it has been carved with hand tools, but what would you do?
You can certainly clean up the tool marks if you wish. Quite often the lessons I show really get up to a certain point of making the details, but if I wanted it to be really “cleaned up” I might spend another 20 or 30 minutes going over the surfaces and getting rid of tool marks. You can also sand the surface, but I try to resist that – I simply don’t like sanding, and it also changes the surface of the wood. Sometimes it’s the only way to get the desired affect. Just be careful not to lose any of the sharp details with sanding.
Then again, the tool marks make it really hand-carved.
Ruth
Thank you. Found them. Its amassing to go through lesson 13 and see a teacher, teach something she loves.
I DO love to carve! Have fun!
Estou verdadeiramente aprendendo muito
Mais do que eu imaginava
Obrigado
Claudio J Oliveira
Translation:
I am truly learning a lot
More than I imagined
Thank you!
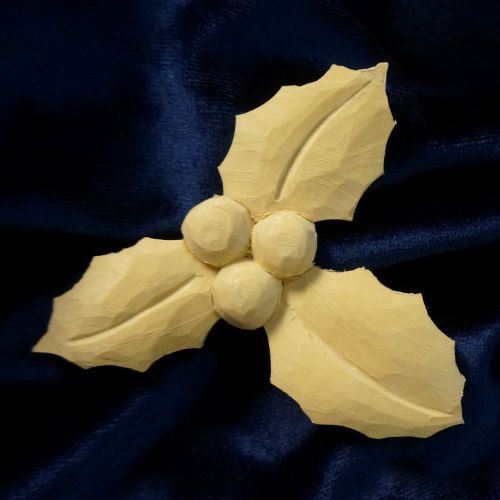
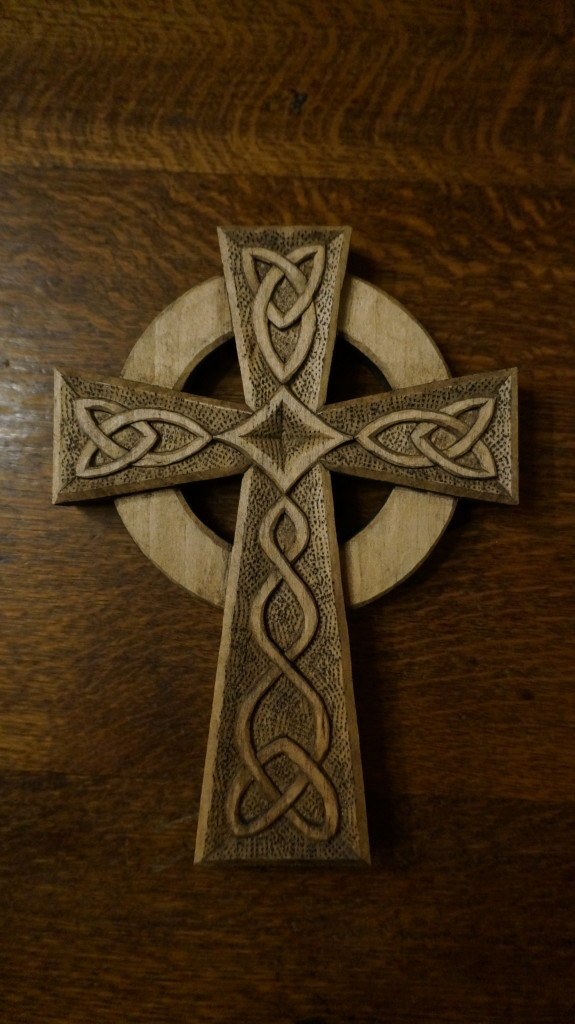
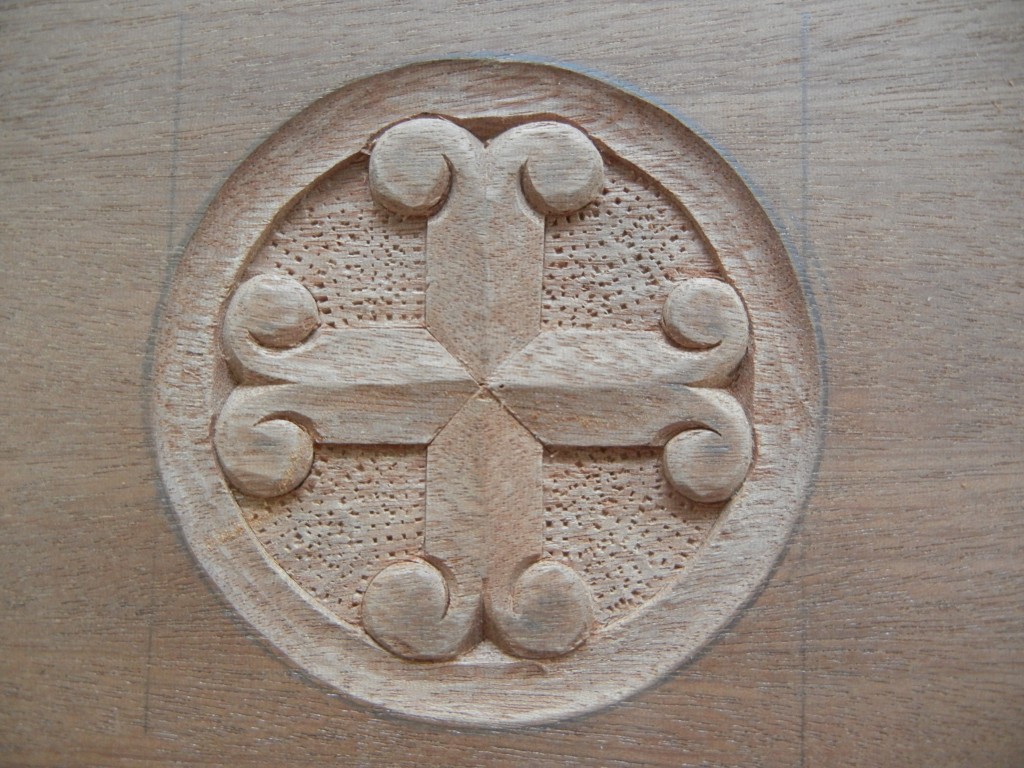
I did the Celtic clover leaf recently. It can be very mind numbing. I have to do more work on it to clean it up, but love the look.
Have fun!
Hi all. I have some questions for Mary.
1. Lighting. I find my hands are always blocking the light. In low relief carvings like the camelia flower, I need to see the shadows. What do you do for lighting??
2. Cleanup. I notice that you frequently blow off the chips. When I do that, they end up all over the place. Do you cleanup before or after a session?
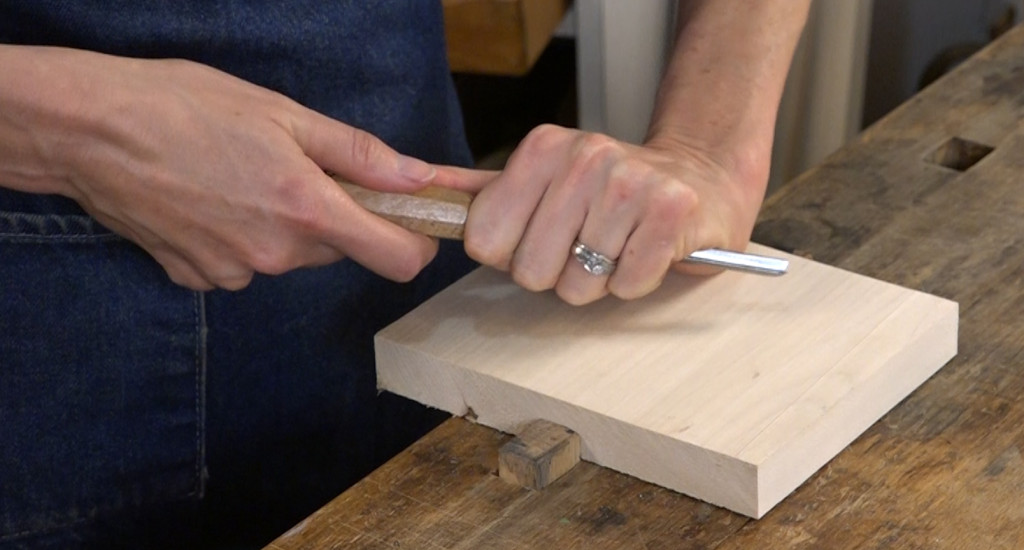
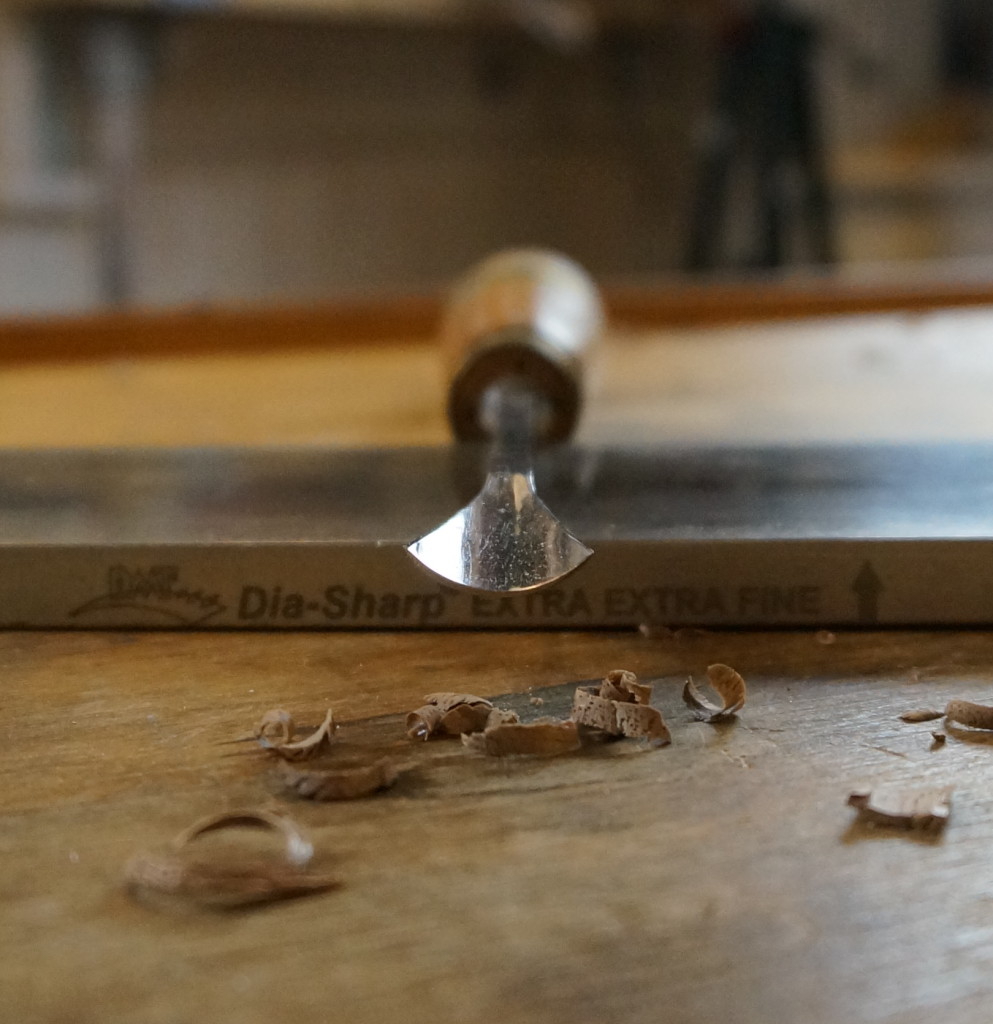
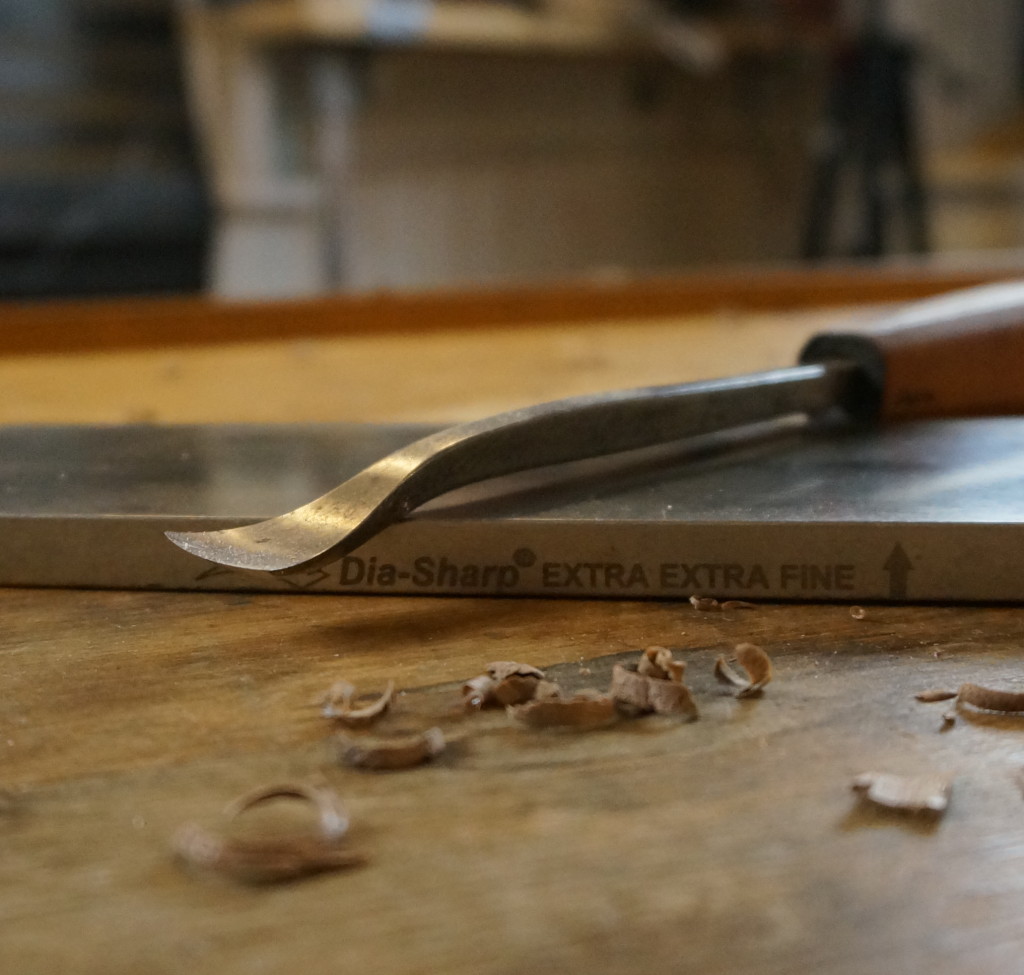
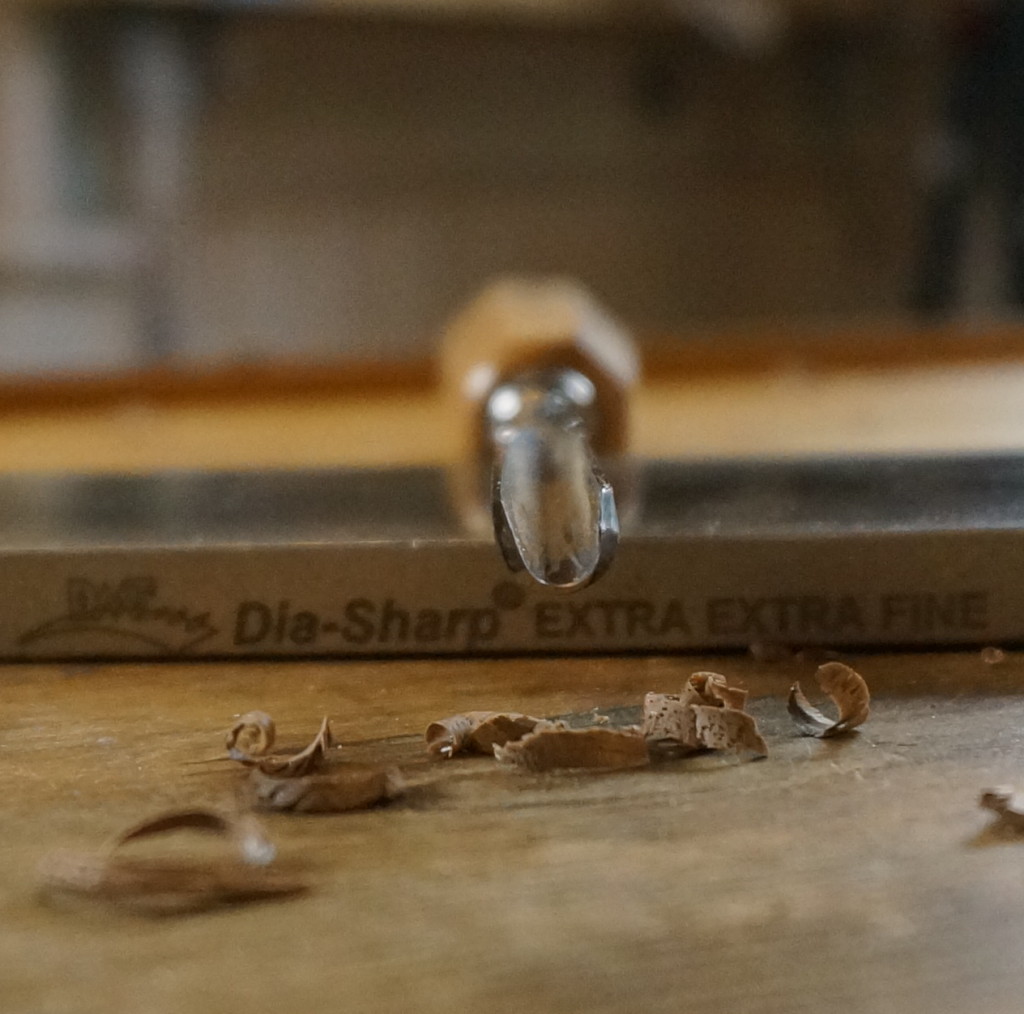
3. Starting a session. Seems to me I heard you say you sharpen your tools before you start. But as a novice, I don’t know which tools I’m going to use. I don’t have a fractions of the tools you have, but if I sharpened all of them, even just a honing, it would be time to prepare dinner. Is it reasonable/efficient to sharpen as you pick up a new tool?
4. btw, this is a lot of fun!!!
Hi dan, in answer to your questions:
1. I try to have side lighting on my bench to show shadows. A small table lamp works.
2. :)) I wish I was that disciplined. Maybe I like the clutter, but I don’t get too stressed about the cleanliness of my shop. Maybe I need an apprentice to clean my shop every evening…
3. I don’t sharpen all my tools before each lesson, but strop them on the leather if necessary. With each lesson I show what tools I use at the beginning, so hopefully that will narrow it down. I also really try and limit the gouges I use in a lesson to the bare minimum.
4. Great!!
What tools can I use to clean up the rough spots on basswood. That are hard to get at between narrow openings that gouges won’t fit. Chipping away or Sanding basswood leaves too much fuzz
I often use tiny, very fine riffler or needle files to get into those inside corners. Also to “compress” the fuzzies, a bamboo skewer presses the fibers into the wood. Sometimes a combination of both work well – first the files, and then sort of burnish the wood with bamboo skewers to remove some of the scratch marks from the file.
Thank you so much for your advice the rifflers and bamboo skewers worked wonders on the basswood to smooth out all the fuzz and hard to reach areas
Happy Carving thanks again
Tony Risolo
Hi Tony,
Great! I’m glad that helped!
Hi Mary,
This is the project that solidified my decision to really get into wood carving. After finishing it I showed the piece to my fellow retirees at our weekly breakfast and I got a lot of complements. I became a yearly member today and watch you on Twitch.
Hi Wade,
Great news! I love to hear from people inspired to carve! Thanks for joining as a Premium Member.
Happy Carving!
Hi Mary ,I am in the process of carving a work boot in the round.This is my first project in the round,do you have any tips for shaping it?
Hello Colin,
That would probably be more of a “whittling” project, where you would hold it in your hand and carve with smaller knives or small palm gouges. You will probably find youtube videos on this type of carving, but this isn’t really the style I teach.