This Beginner Lesson is available to FREE Members.
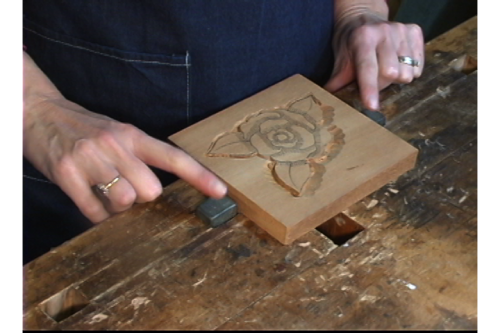
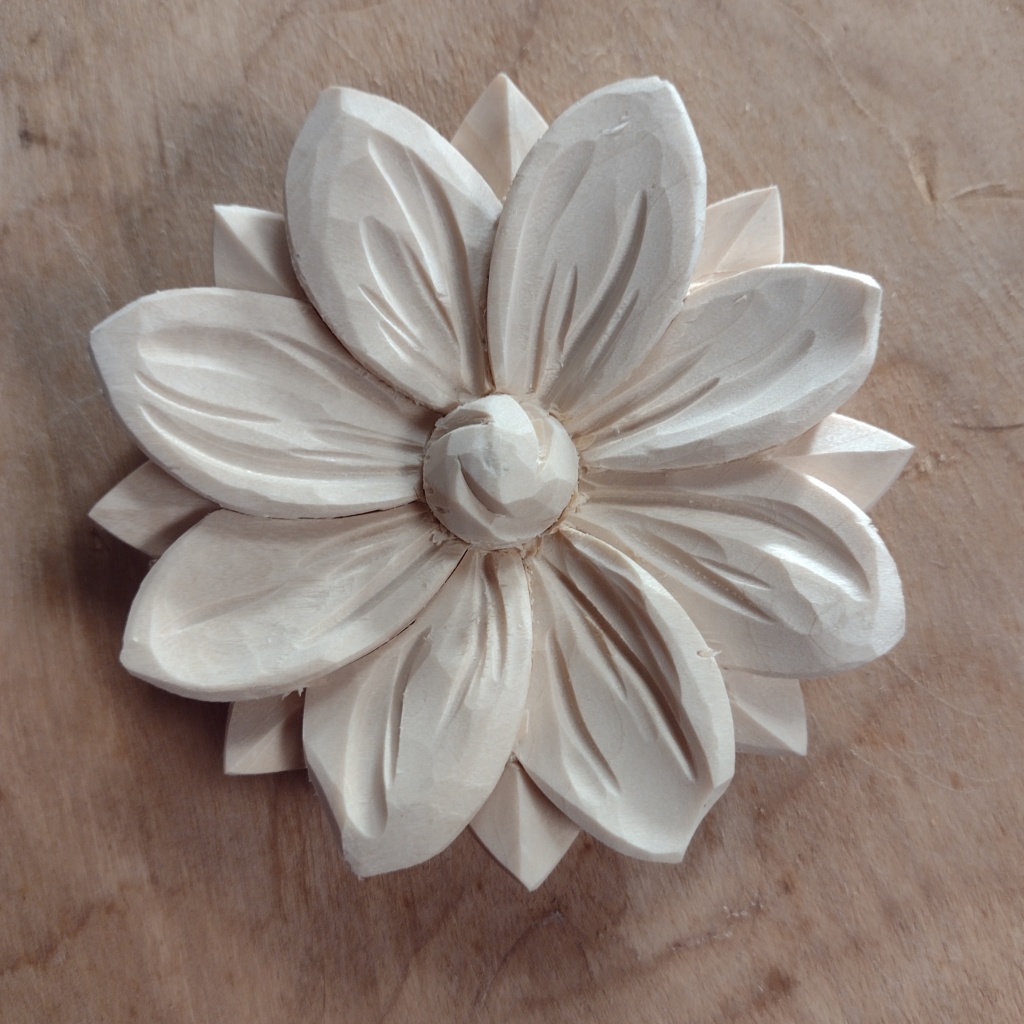
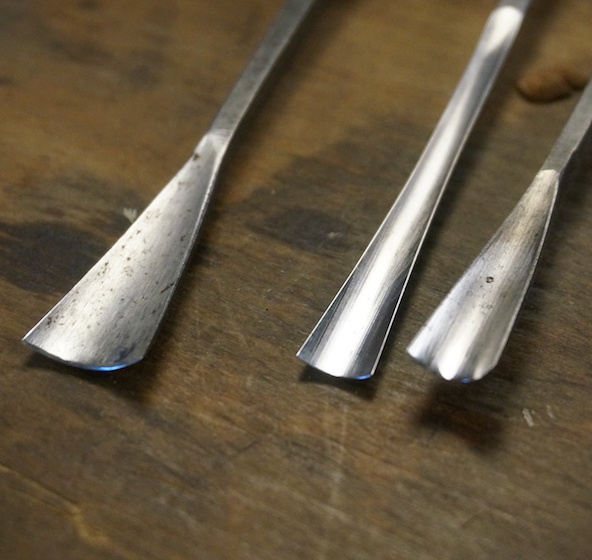
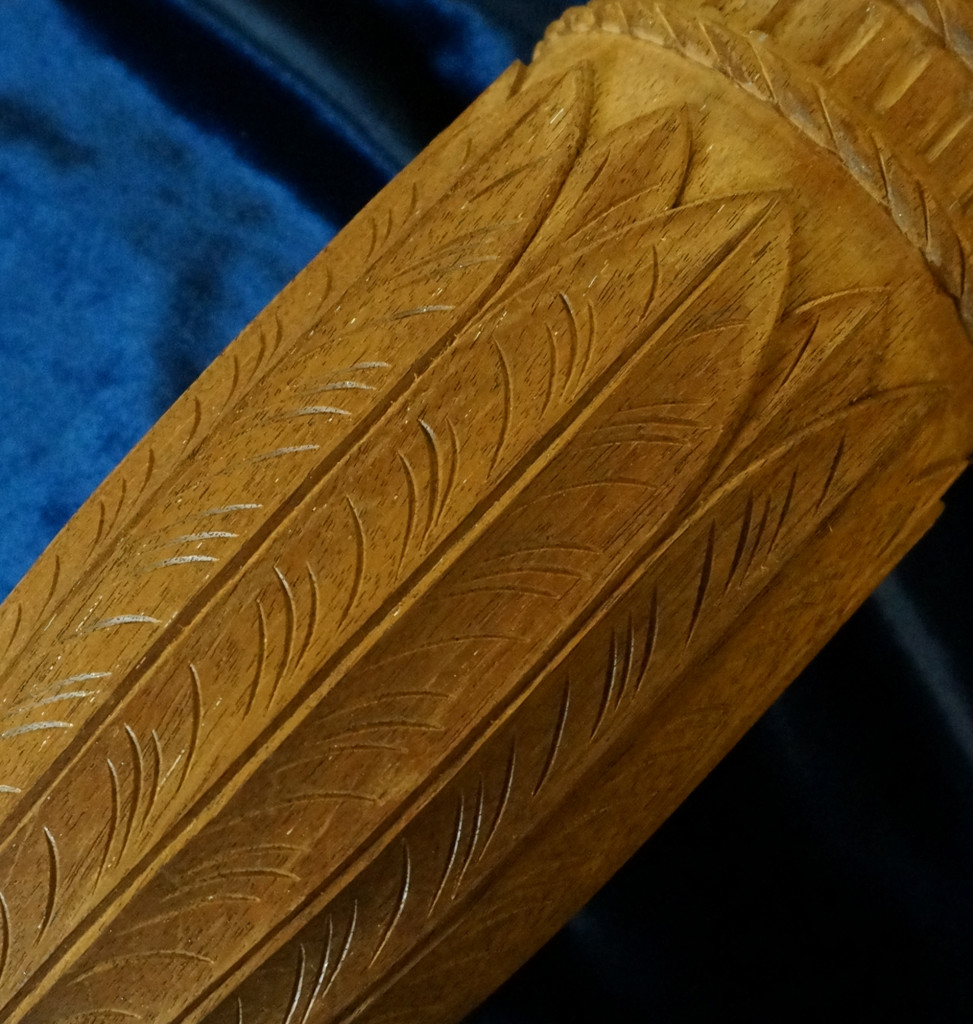
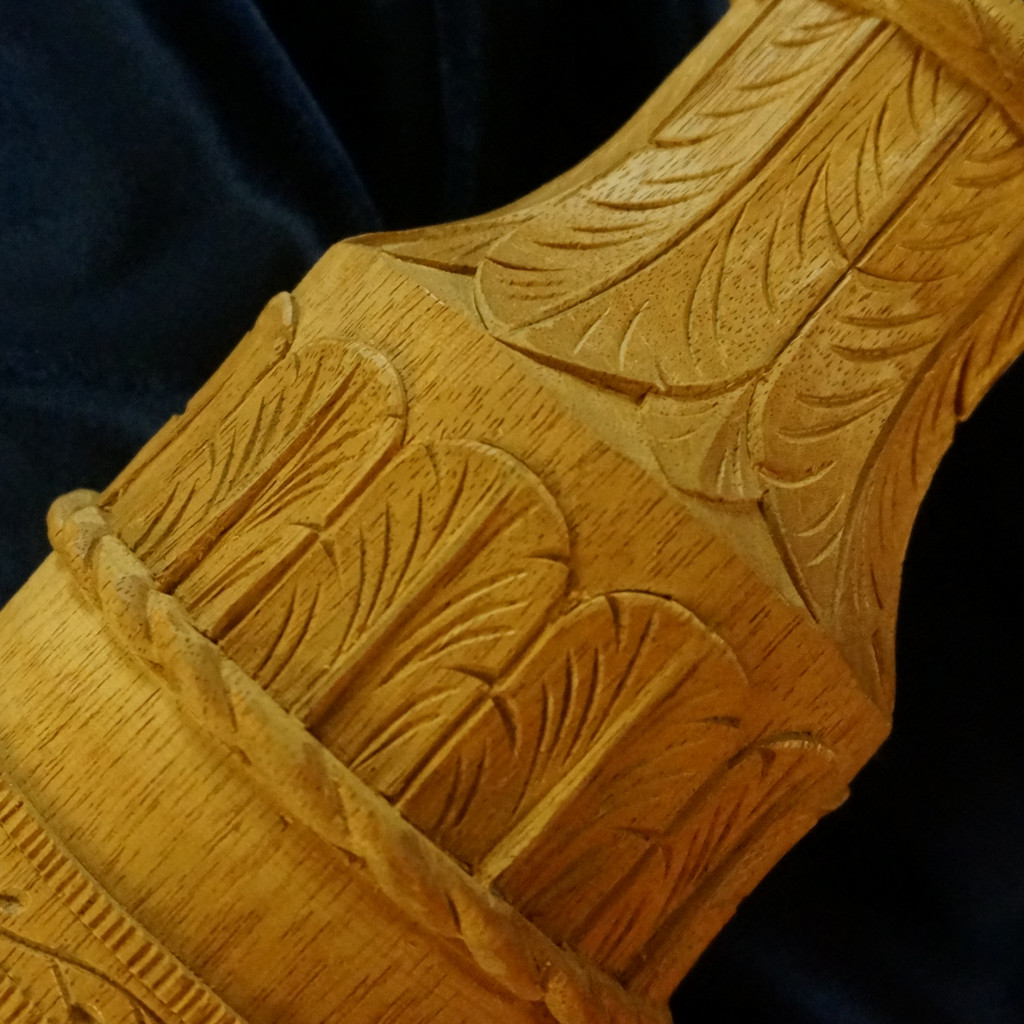
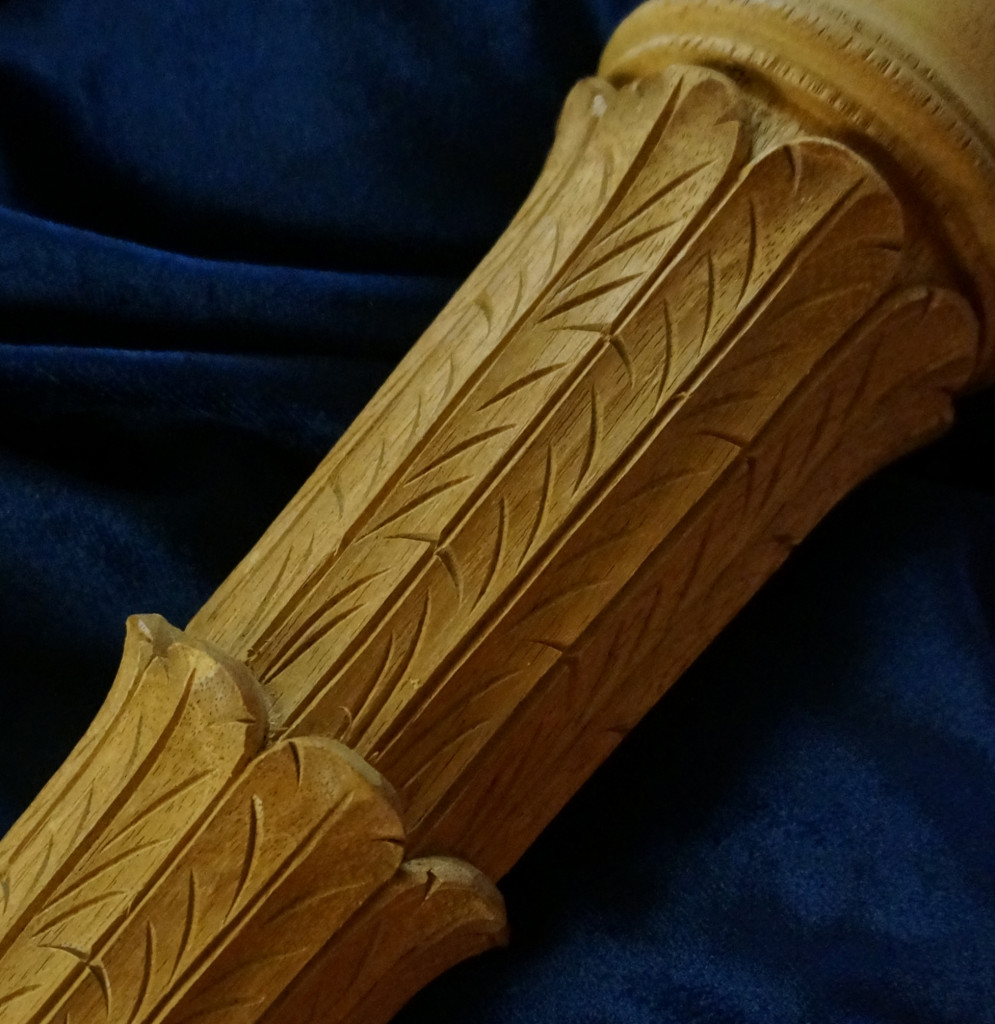
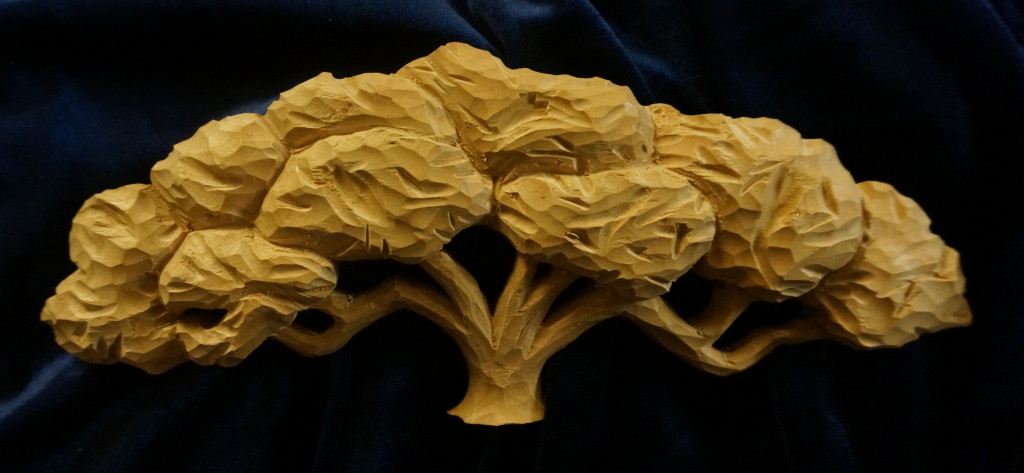
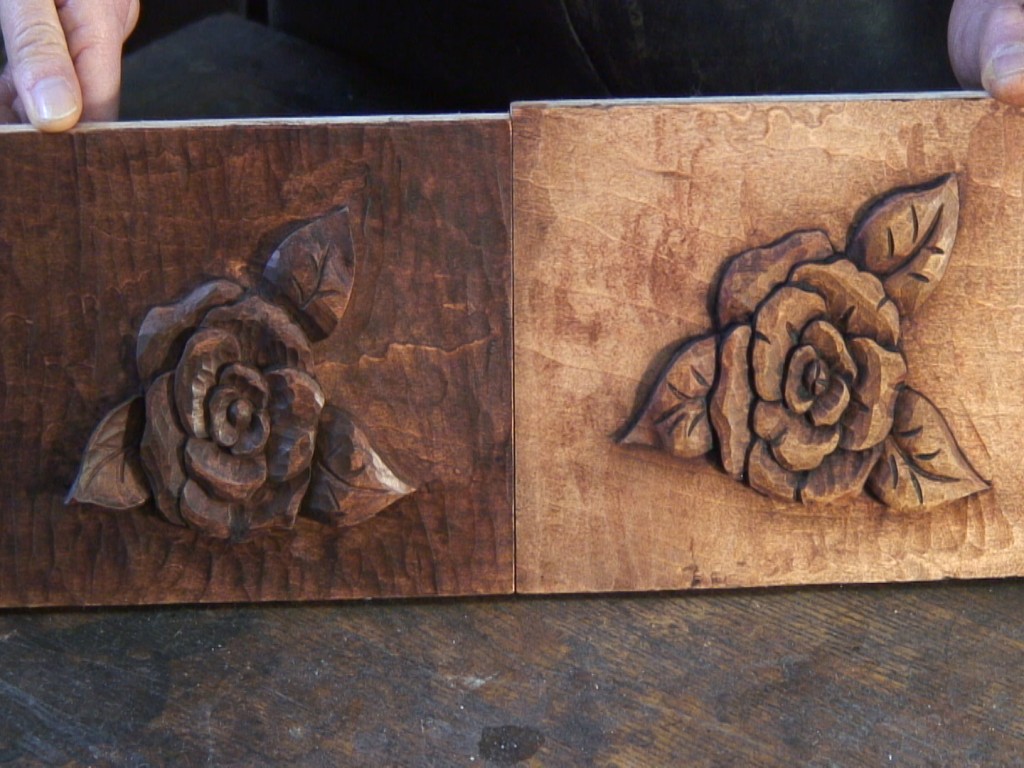
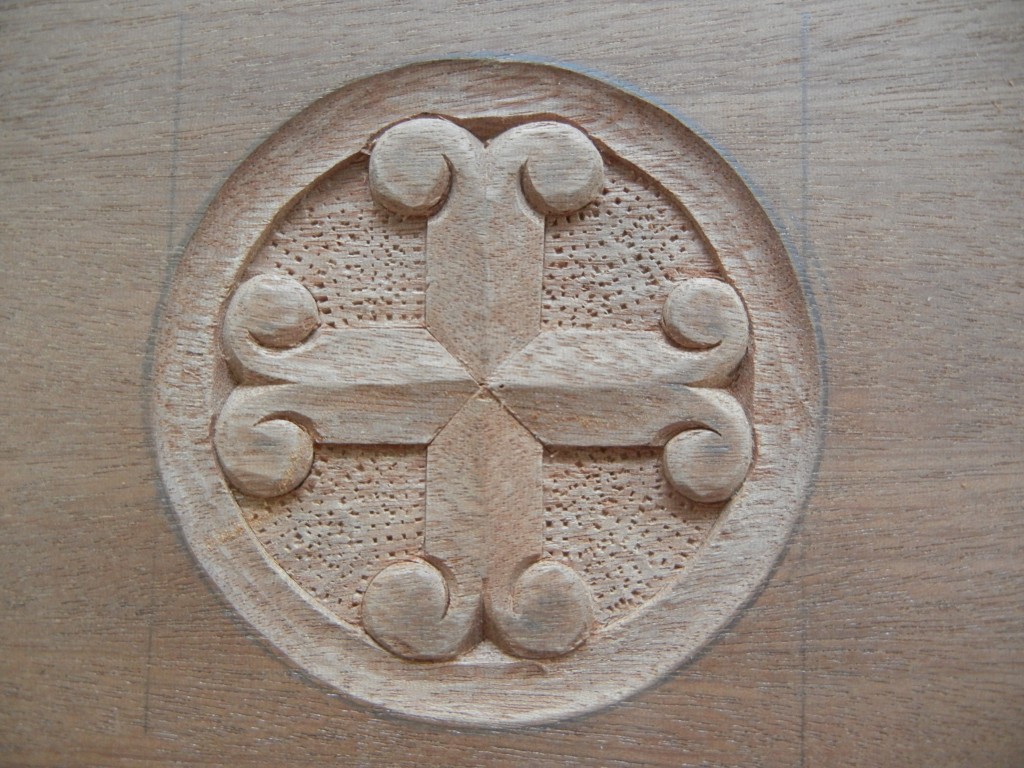
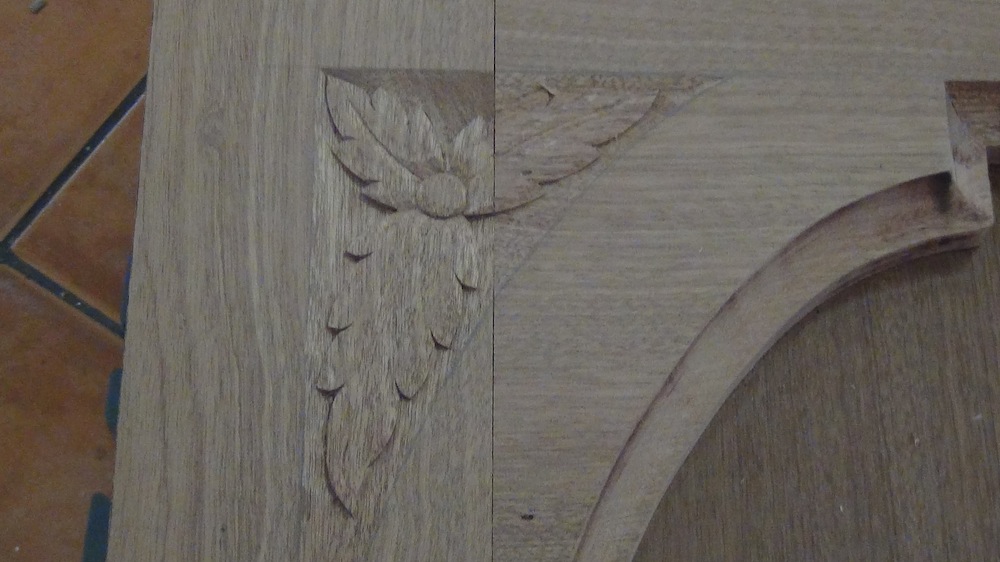
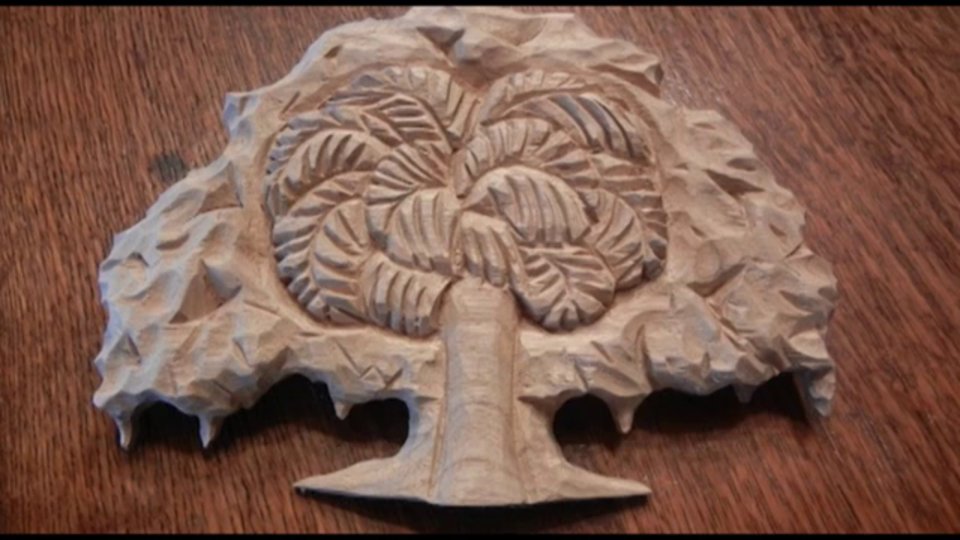
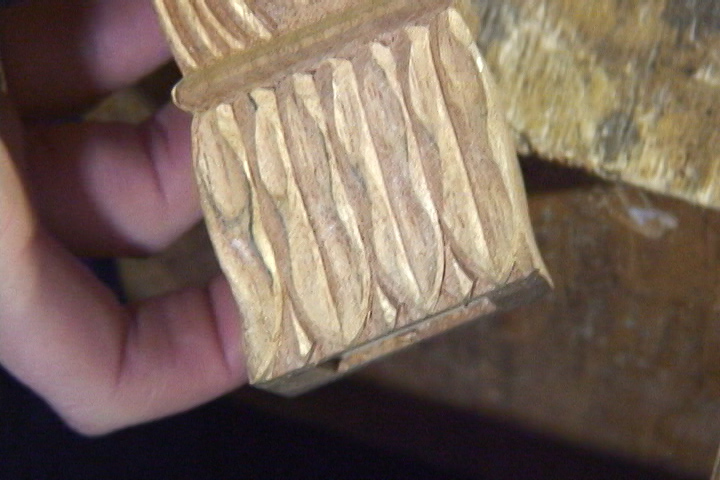
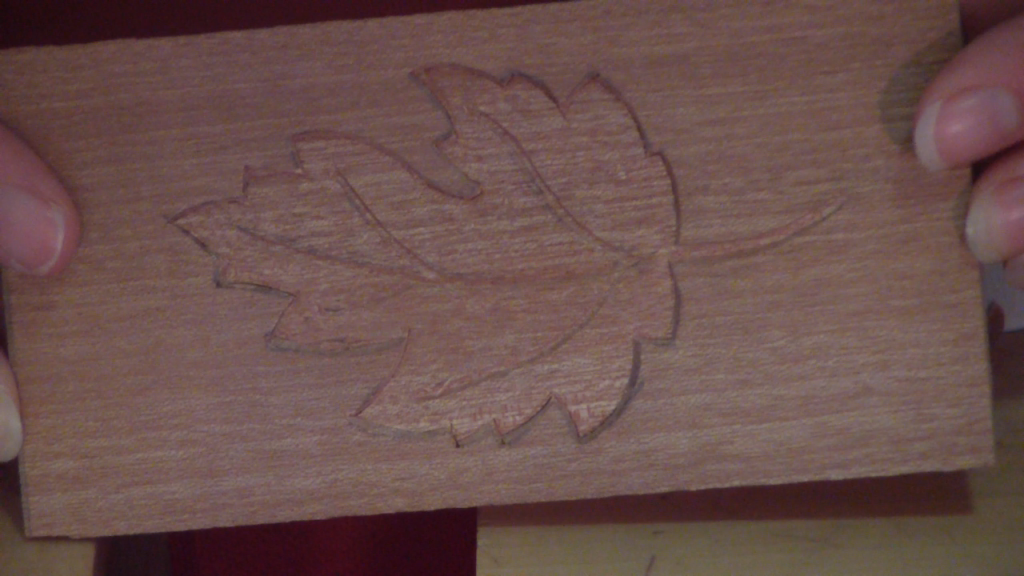
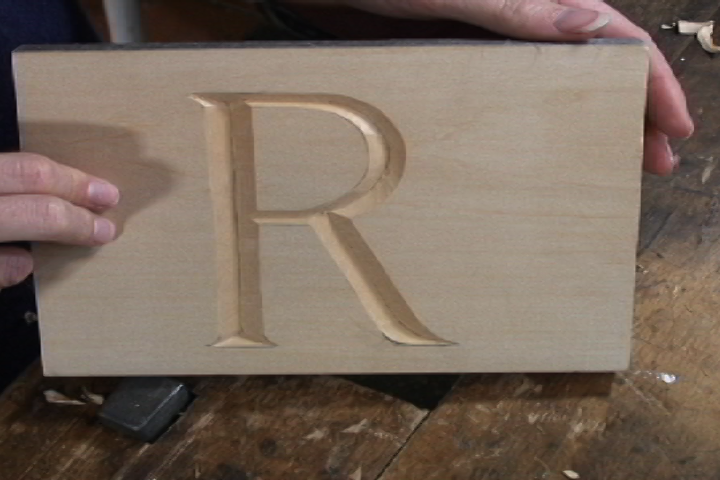
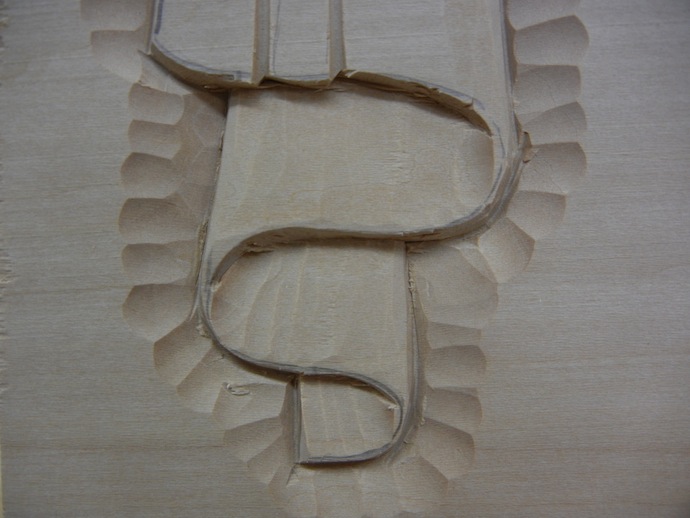
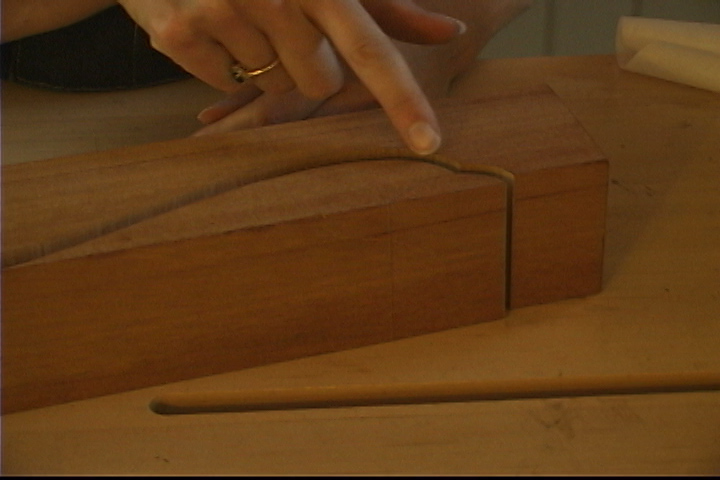
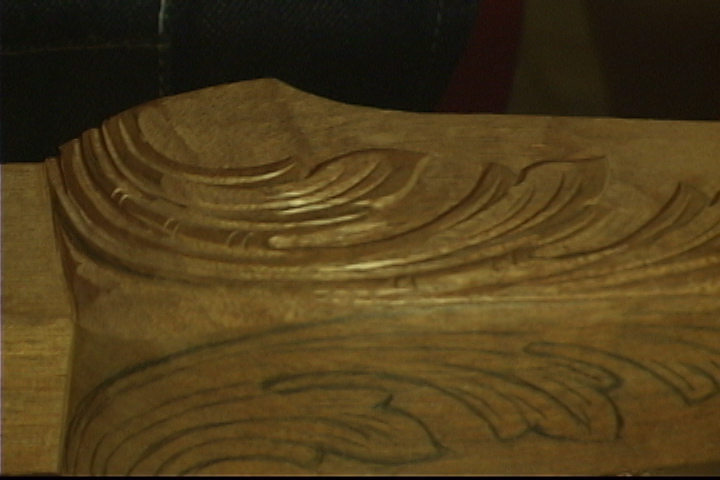
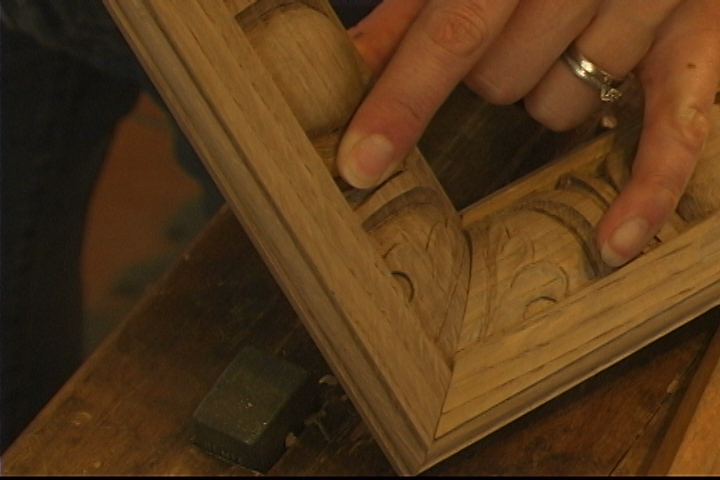
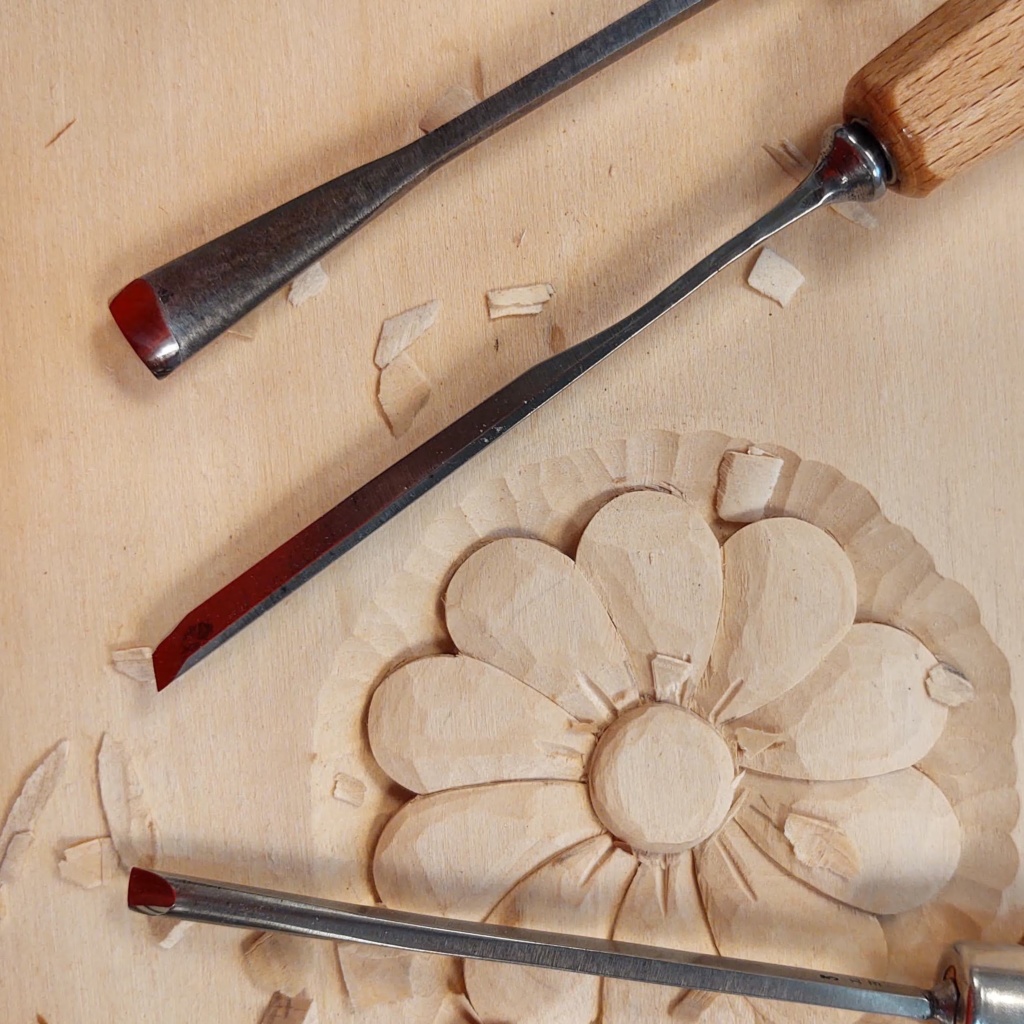
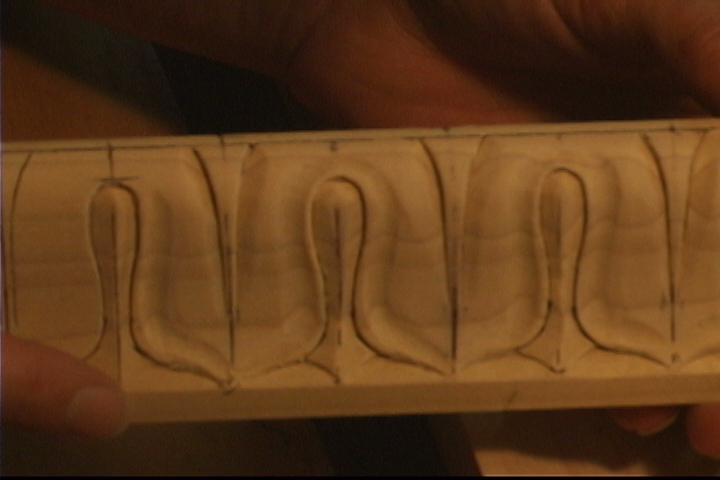
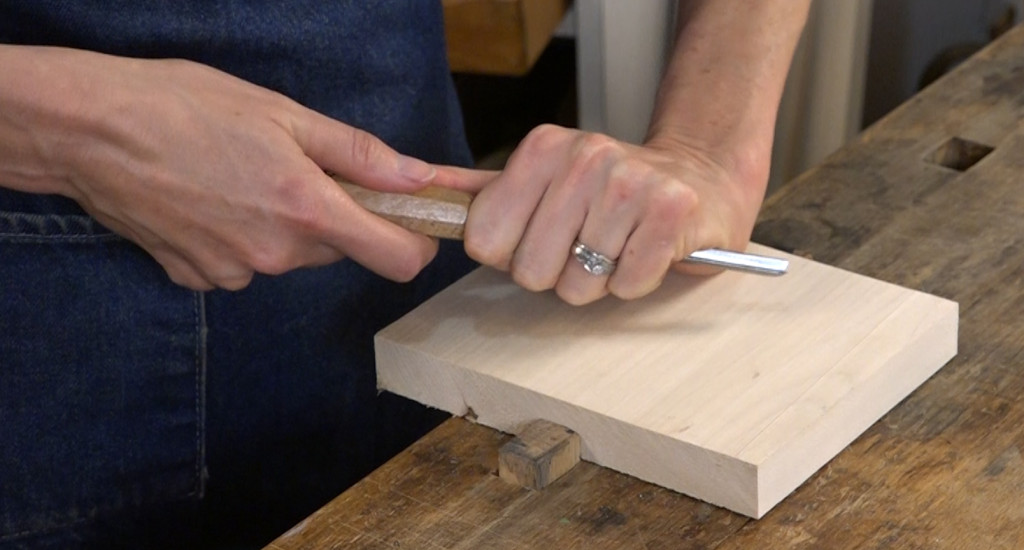
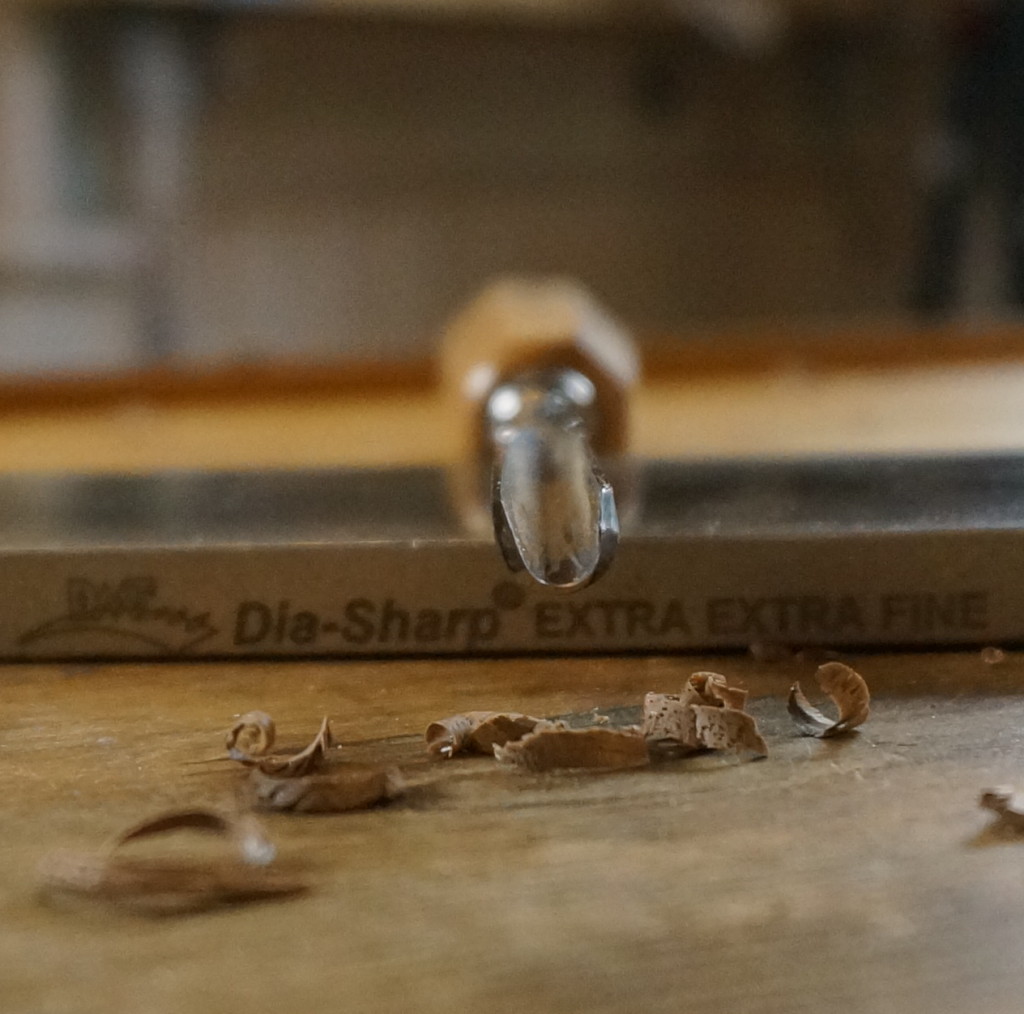
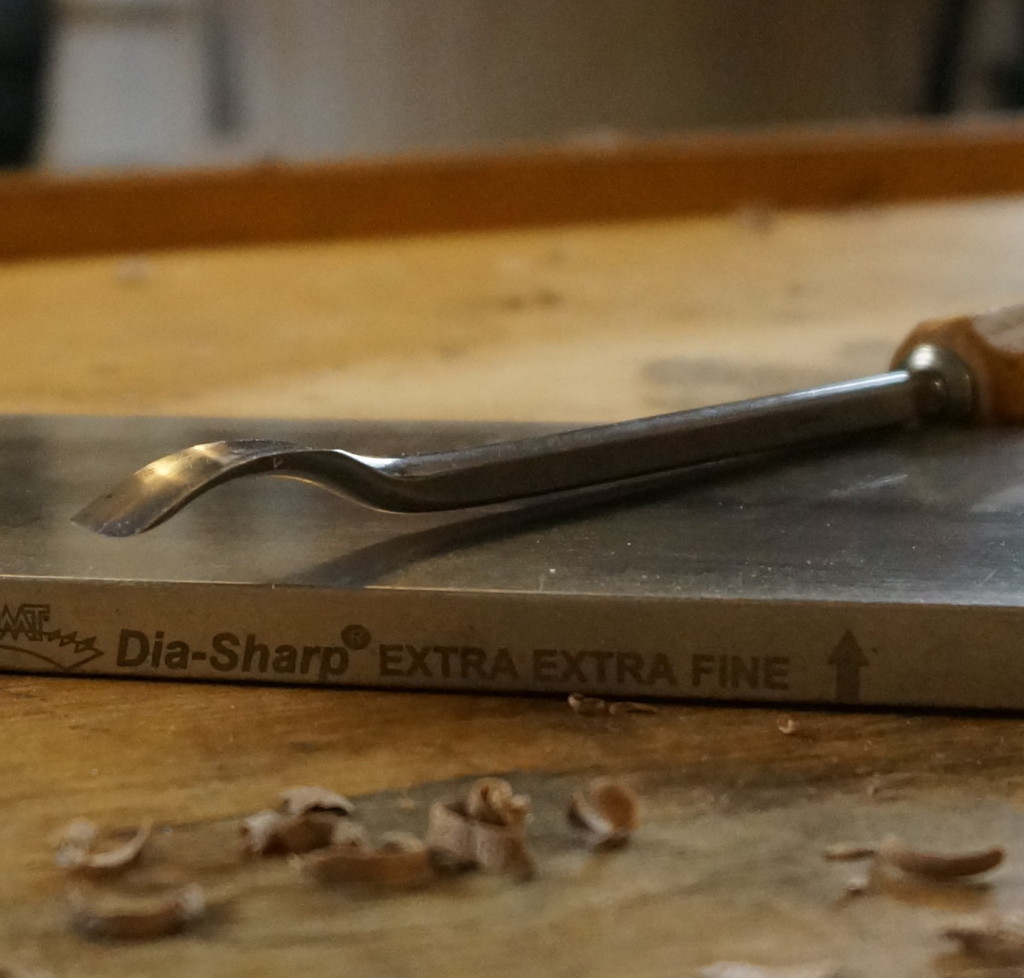
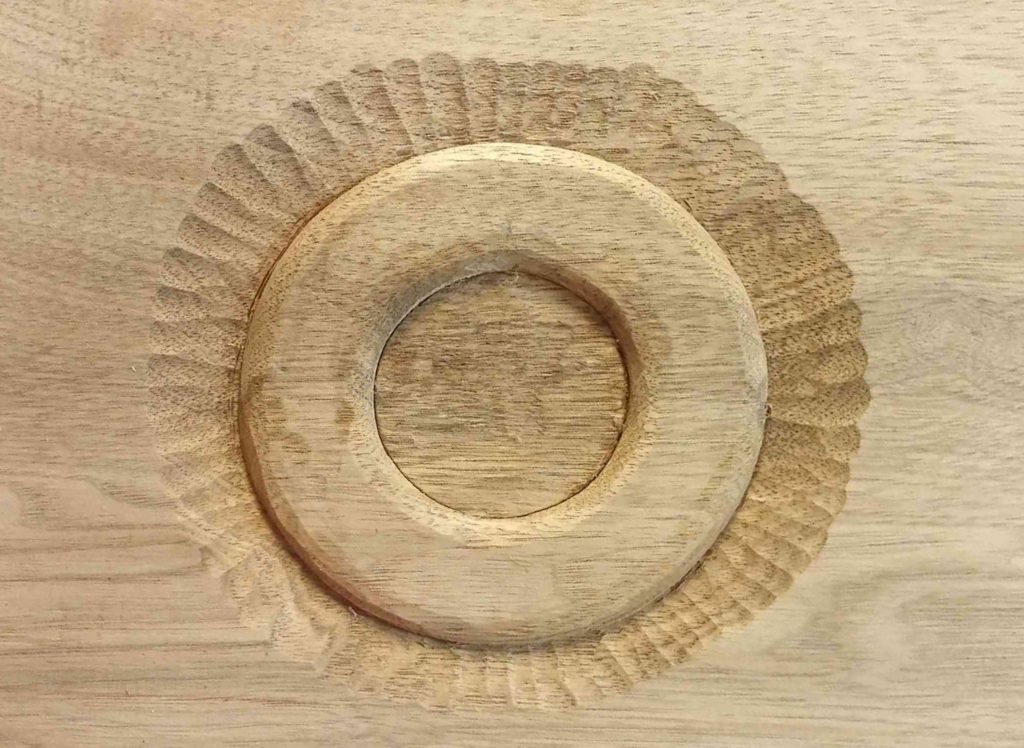
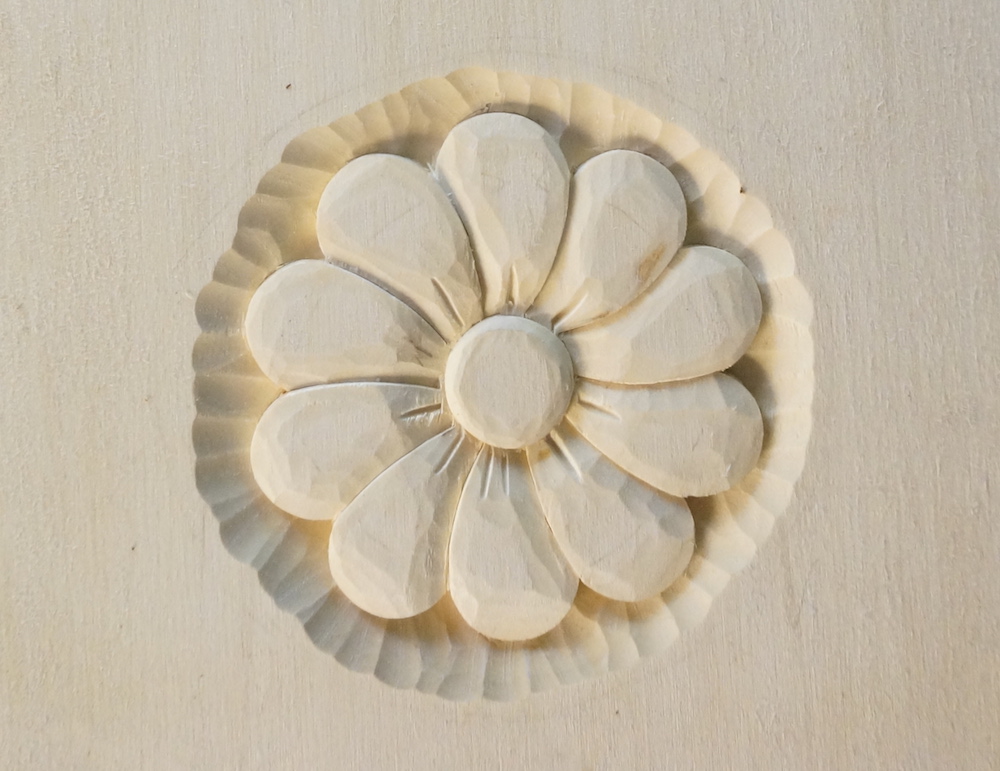
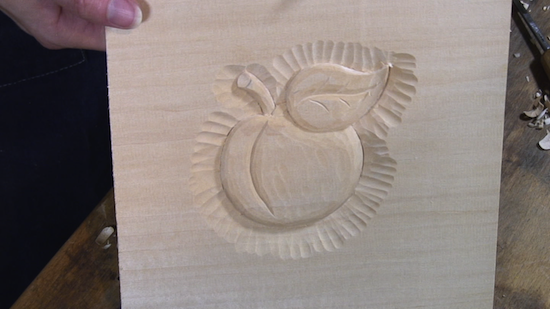
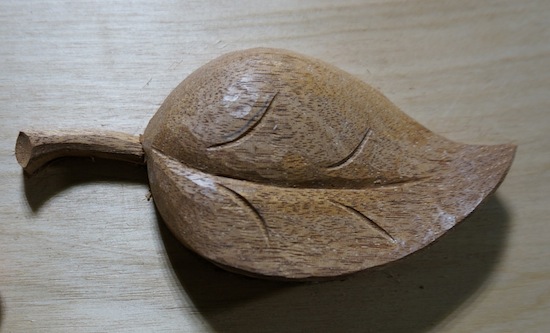
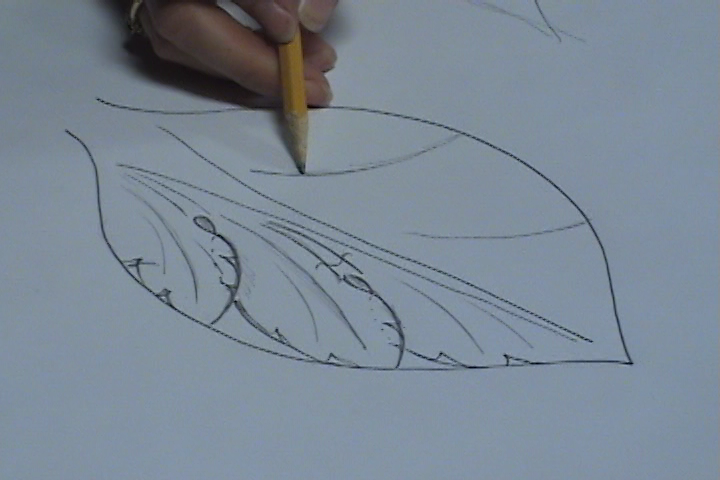
This lesson shows various techniques in preparation of carving, such as safety, clamping techniques, preparing wood, and many more tips and tricks.
- Lesson Contents: single episode
- Skill Level: Beginner
= More Lessons at the Basic Skill Level =


very good.
Thank you!
I watched the. first. vedo and as to the clamping. You can make a clamping device by taking a board 3/4 and drilling random 3/8. wholes all over and using 3/8 dowels to hold the work. This way you do not need to glue down the work and you can hold any size small or large and just take out the dowels to remove the work
Hello Walter, If I understand you correctly, the wood would be pressed against these dowels, correct? If you are used to this process, that is fine, but if you are not, it could easily slip out of these if you switch directions of the cut. I prefer to have everything held solidly with no possibility of the carving shifting. But again, it really depends on what you are familiar with and feel safe with. Often I have students who bring this device to class and I like to quickly switch from right to left hand while carving. I often cause the wood to slip out of the dowels because I am not used to this clamping technique, and carve in the direction to cause it to slip away from the dowels. Just be careful whatever clamping technique you use. Make sure it won’t slip or move.
I use a board with holes in it, too but the holes are in an even grid 2″ apart. Then I drive homemade wedges (maple) between the carving blank and the peg to hold the wood in place. If the hole is too far from the blank, I place a small piece of scrap wood against the blank and drive the wedge between the scrap wood and the peg. Using four pegs, you can hold the wood very securely, but change the position of the blank easily if it needs to be moved. But I have nailed thin strips of wood to the lower left corner of the peg board so that I can fit the carving blank into the corner and secure the blank with only two pegs and wedges.
Thanks!
To release carpenter’s glue, try applying apple cider.
Oooops. Apple cider vinegar.
I have not tried this, but will try it out. Thanks!
I have a 18″ x 18″ plywood board with walls going up on two sides (forming a corner) and the bottom is covered with a rubber shelf liner. This shelf liner keeps the above from sliding on a table or workbench. I do not secure my workpiece but push it into the corner formed by the walls of the worksurface. I can freely rotate the work-piece and push it back into the corner. I make all the cuts toward the walls.
Hi Richard,
I have seen that used quite often. The difficulty I have always found is that if you are used to having the wood clamped tightly in bench dogs (and therefore can carve in any direction without it moving), it takes a little getting used to where you can only carve in the direction of the “border” of this holder, or it will slip out. If that’s all you use, then you simply only carve in those directions. If you go back and forth between clamping it solidly, and then using this, it can be quite disconcerting when the wood shifts from under you when you are not expecting it. This is a great way to hold carvings if you do not have bench dogs, and just want to brace it to any surface – like if you are camping and want to carve on a picnic table 🙂
Very useful. Thanks.
Thank you!
Mary may I am approaching 80 years of age do you think it is too late to start carving I love watching you carve and it looks fascinating I have been an amateur woodworker making projects with machinery table saw second hand saws second joiners planers hand chisels and so on I’ve always been curious about carving I would like your opinion
Hello Carlos,
It’s never too late to carve! I had a 96 tear old apprentice who started carving when he was 89. So… nope!