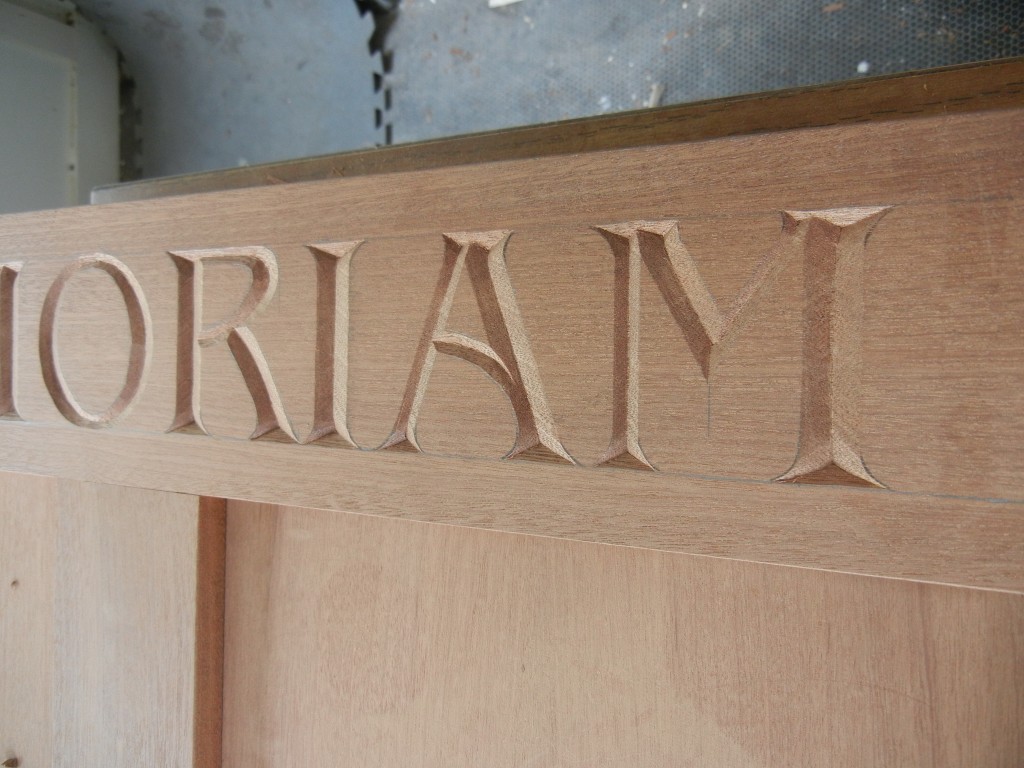
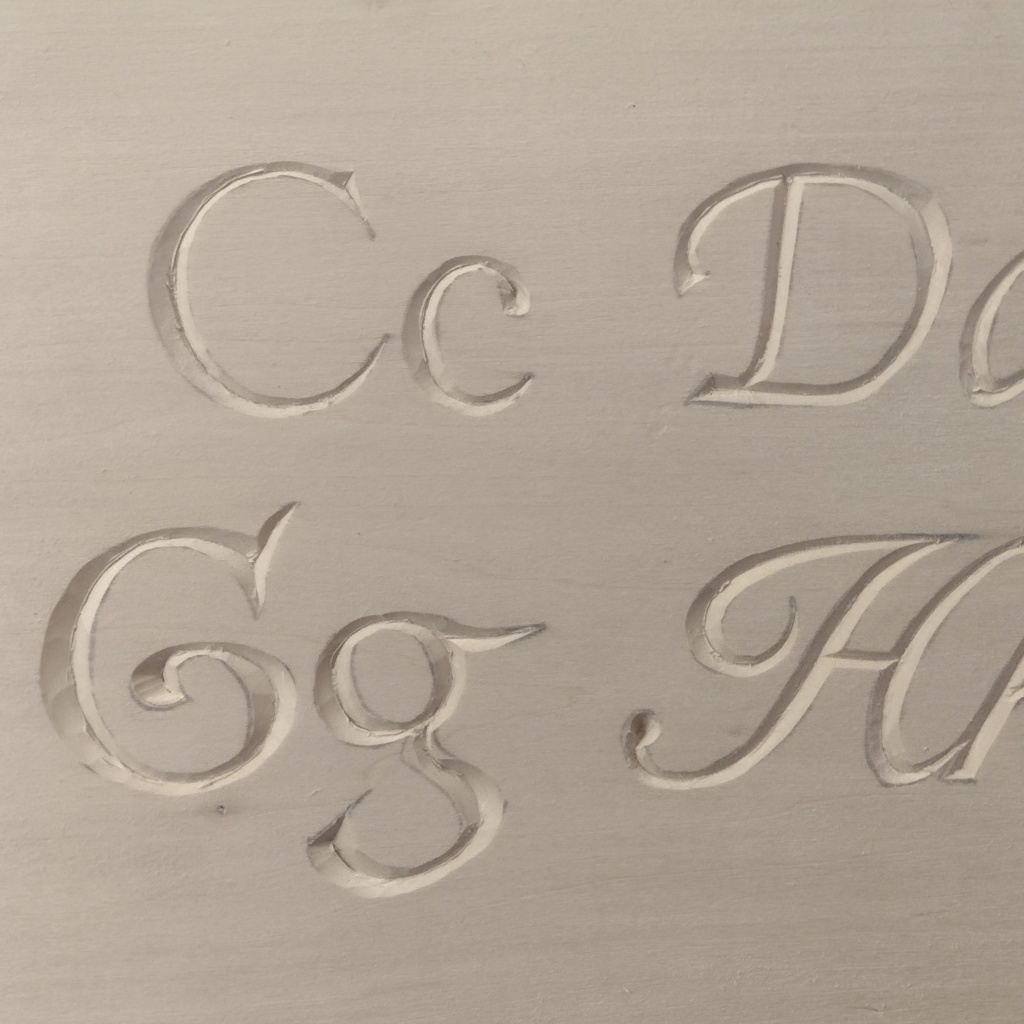
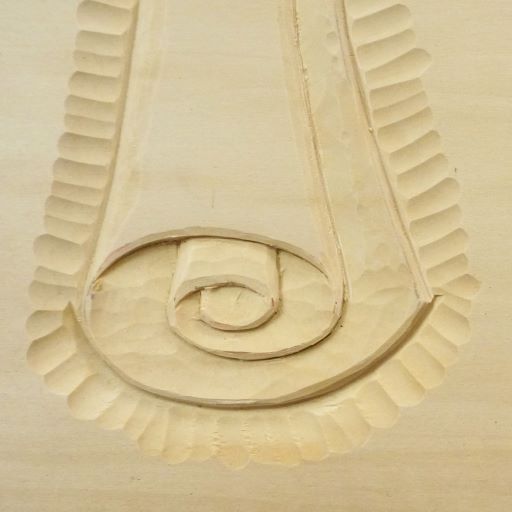
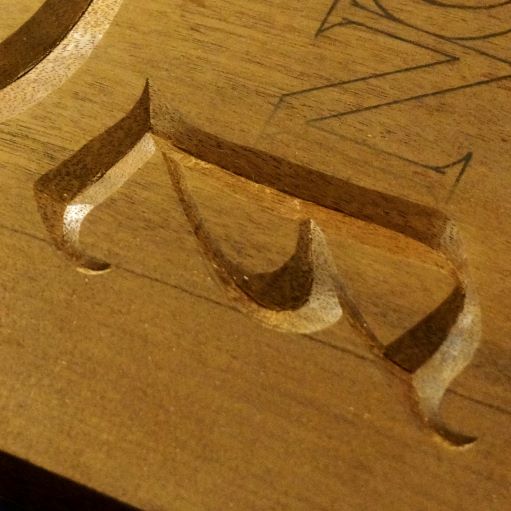
This lesson shows how to carve a stylized, serif lettering in capitals. With the examples "M", "A", "R", "I" and "O" you will get an understanding of how these lines differ from their traditional forms to carve a stylized alphabet and possibly even design your own!
- Lesson Contents: 2 episodes; click here to access Episode 1
- Type of Wood: Mahogany
- Dimensions: letters are 3" tall
- Skill Level: Intermediate
NOTE: Fonts are often copyrighted. Please research specific fonts before using them in carvings you intend to sell.
= More Lessons at the Intermediate Skill Level =


Hi Mary,
What about the rest of the letters?
Thanks
CHARLES F
Hello Charles,
Did you see the other lettercarving lesson showing S and R?
The combination of these two lessons show all of the parts used in most letters. I think the only thing left is a horizontal part of an E or F, and those shouldn’t be hard.
From doing technical support for Mary’s sites, I remember her mentioning that there’s another lettercarving lesson in her queue. But, don’t let that stop you from getting to the shop and carving letters. 🙂
Hi Charles and Bob.
You’re correct, Bob, in that the letter carving lessons that I have currently (with serifs) go over most of the details of letters. Details of the ends of letters are similar for many letters. I will be adding another letter carving lesson within the next few weeks where I will be carving smaller san-serif letters (without the turned ends details of the letters).
Thanks!
Mary, what tools are required for this lesson?
Thanks,
Bill
Hi Bill,
The tools are a 6mm v-chisel and various flat chisels (1,14mm and 1,25mm). I’m not sure why they aren’t listed, but will update these.
Hey Mary,
Like all the free lessons, don’t have a good set of tools yet, only have exactly type tool sets, very small, haven’t had the money to get decent tools yet, I keep looking for older tools and larger, not much in my area so far. As soon as I can I want to get to the lessons I have to pay for but I don’t get much money, I had to take early retirement due to triple bypass surgery, but Love working with wood
Hello Elizabeth,
Thanks so much for joining! You can start with 2 or 3 tools, and then built up your supply as your skills and interest grow. Be careful to get cheaper tools, as they will just be frustrating and will potentially cause you to be frustrated with not being able to get them sharp. It’s best to invest in really good quality tools from the start, but just pace yourself with one or 2 at a time when you can afford them.