Mary May - Woodcarver
  • Blog Home
  • Mary’s Carving School
  • Home
  • Wood Carving Projects
  • Carving Reeds
  • Carving reeds

Carving reeds

December 6, 2011 / Mary May / Carving Reeds, Wood Carving Tips
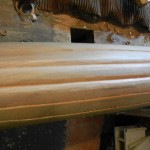
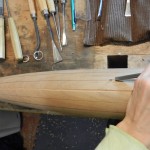
Partially finished reeds
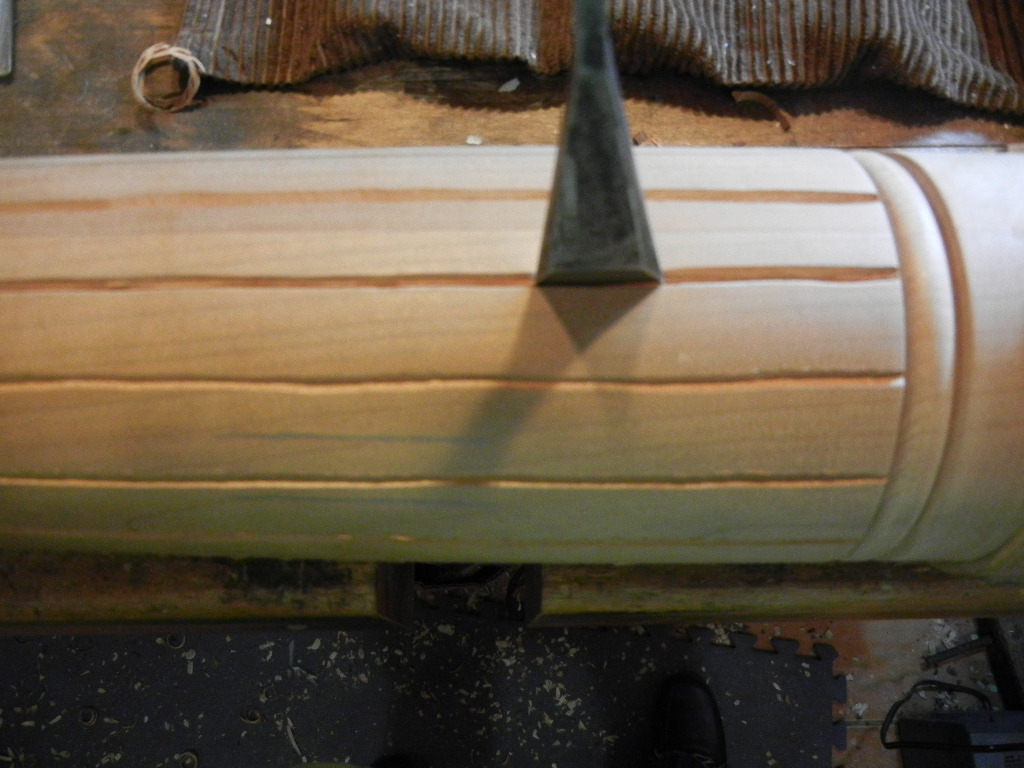
Using #4, 12mm to round over reeds

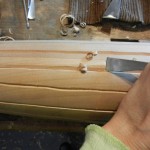
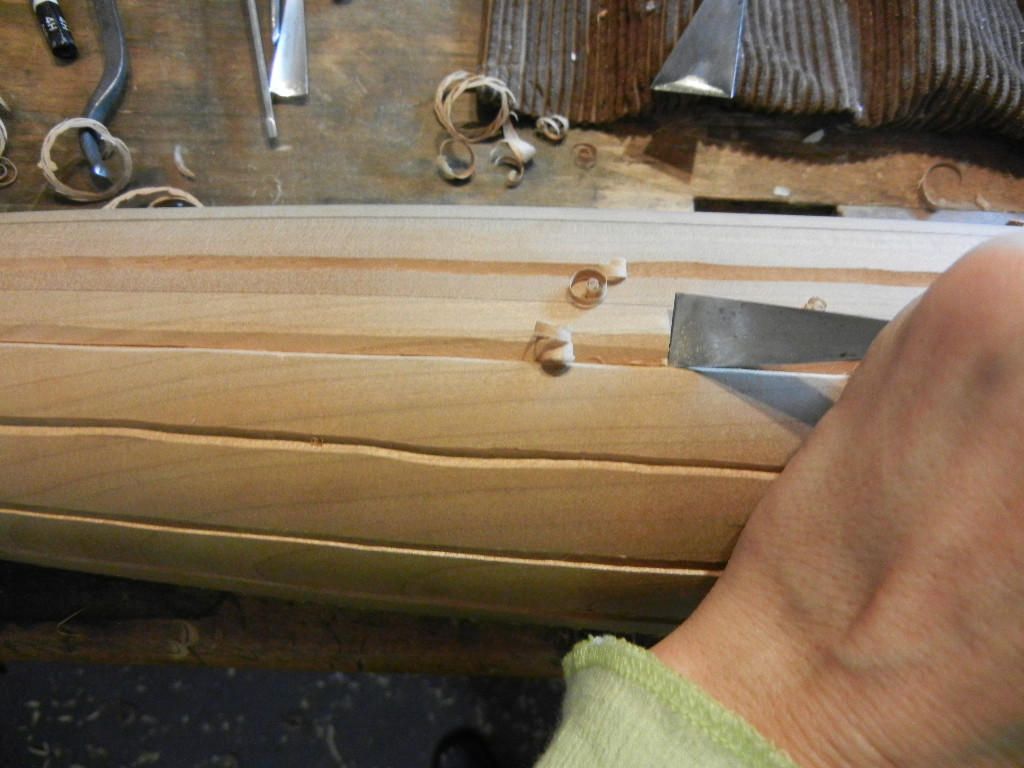
Using flat chisel with bevel side down to get much of the wood away
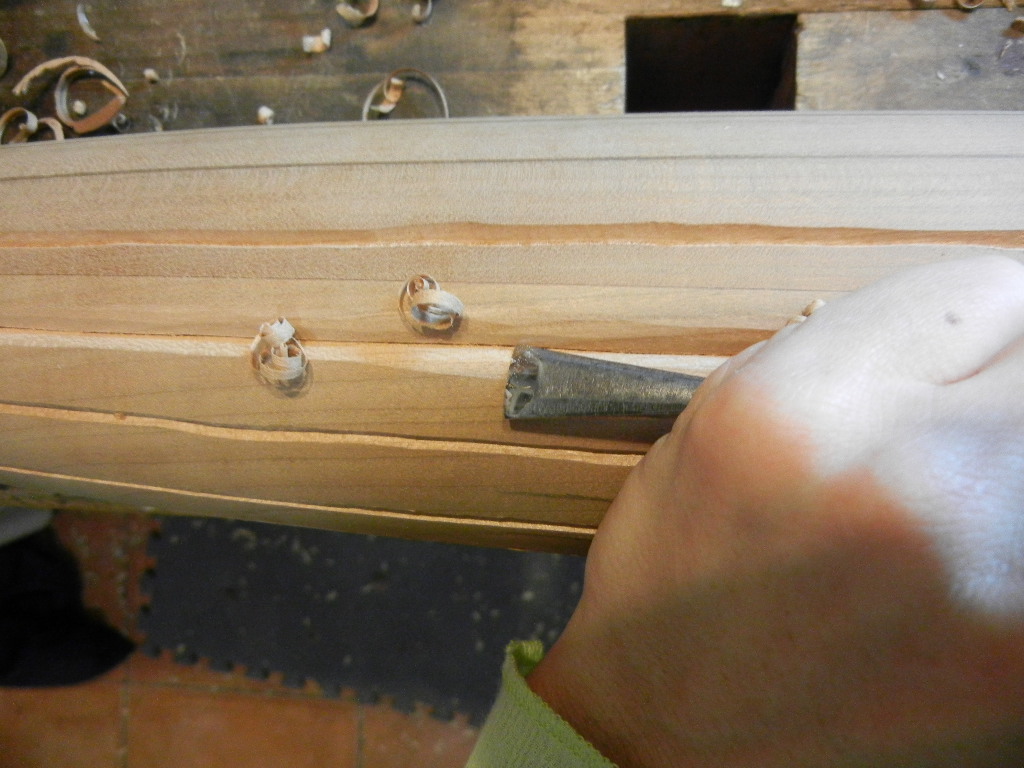
Defining straight line with straight chisel

Carving lines with initial v-cut
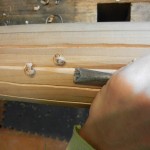
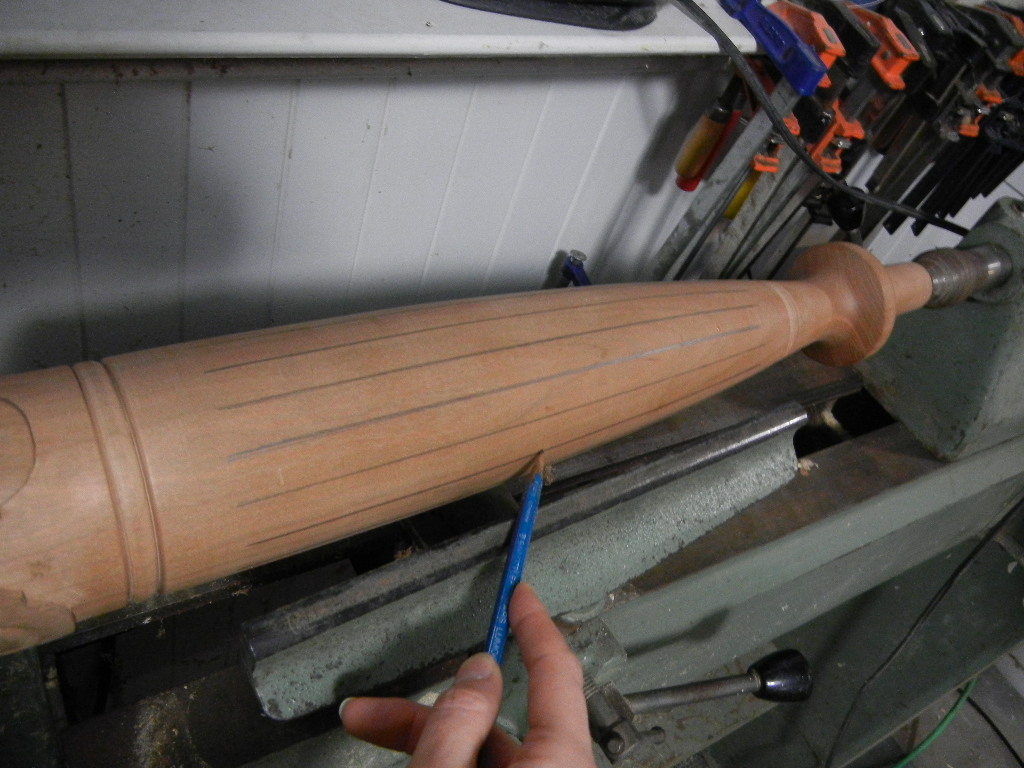
Using Indexing ring on lathe to locate lines

(I made a previous post and mistakedly called this carving “flutes”. I get to use the excuse that my carving teacher was Greek – it’s all greek to me?)

I have a project at the moment where I am hand-carving reeds on a turned leg. It would take longer to set up a router jig (which is where my husband’s expertise comes in) than it would to carve them, so I’m just going for it. If I had more than 2 legs to carve, I may have set up something mechanized. But, after all, I love to carve, so why not carve???

STEP 1:
I start out using an indexing ring on my lathe to draw the lines equal distance apart. My indexing ring has 48 points, so I decided to use every third one to get a total of 16 lines around my turned leg. What a great technique! Before I had a lathe, I just drew them on as accurately as possible, but the process of drawing on that many reeds and that long of a leg would have taken longer than the actual carving. And it would have been difficult to get them straight and accurate.

STEP 2:
Next, I took my 5mm v-chisel (60 degree angle) and carved down almost to the final depth of the groove down each of the lines (starting at 1/8″ and getting slightly shallower as the leg tapered toward the thinner bottom). As you can see in the photos, this is not an exact science, and the v-chisel can create a wavey line. The wood is cherry, so it was necessary to use a mallet to get the v-chisel down these lines. I use the v-chisel simply to get the bulk of the wood away so that when I make that final cut on that line with a flat chisel, it will eliminate any splitting of the wood. If I made that flat chisel cut as deep as I need without the initial v-chisel cut (I am cutting this 3/16″ at the deepest point) could damage the wood – not to mention I would have to hit it pretty hard to make it go that deep. Also, it would be more difficult to gauge the depth.

STEP 3:
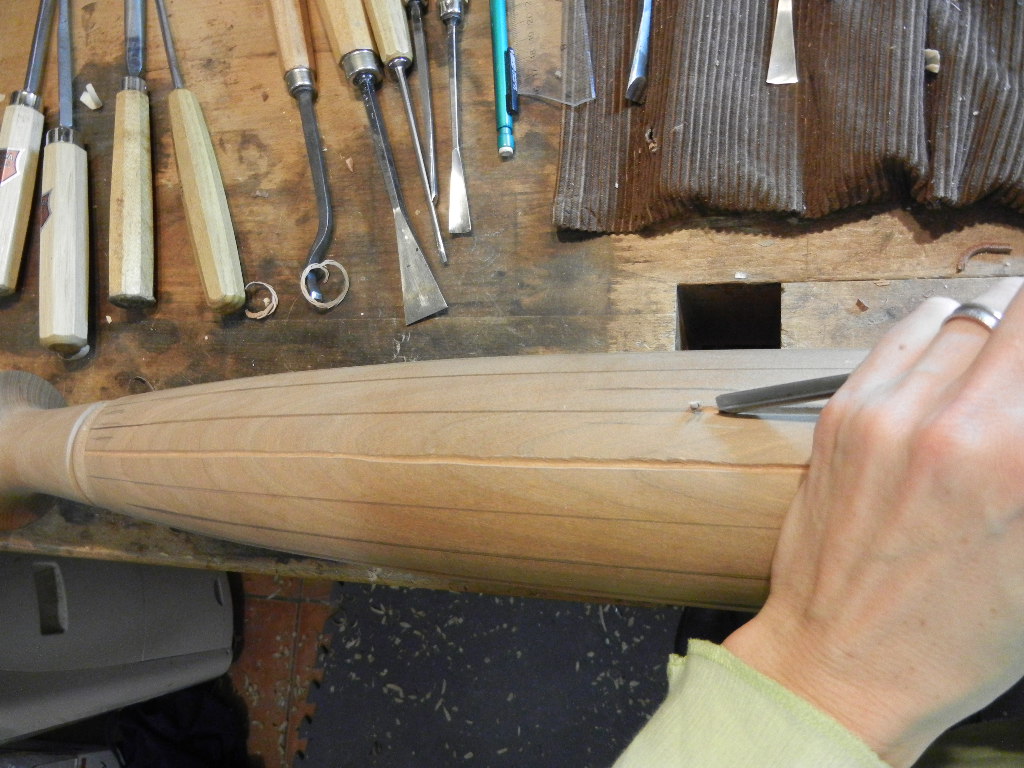
Next, I take the largest flat chisel I have and make as straight of a cut as I can down the length of the line – I end up cutting slightly deeper than the depth I will round it over to – just to assure that it will be a nice clean, sharp corner.

STEP 4:
Next I take a straight chisel, a #3, 12mm, and a #4, 12mm and with a combination of all of these, I round over the reeds. I use the flat chisel when the other curved gouges dig in if they are cutting upside down. When I use the flat chisel, I use the bevel towards the wood because it allows me to lift the chisel off the wood and not have my hand crowded between the chisel and wood. Occasionally I am able to use the curved gouges upside down to actually utilize the curved shape (here is one argument for making a slight bevel on the inside of the gouge – it allows you to lift the gouge off the wood a little higher)

STEP 4:
Then, when all is finished, I take a VERY fine riffler file and run it down the groove, and sand the reeds smooth (since this is cherry, I need to be very careful not to leave sanding marks). I try to get the shaping done with the gouges and just remove any facets with the sand paper.

This technique of carving also works if you are carving that classical fan design. Using the straight chisel (as long as it is cut in a straight line without it wandering off) ensures a clean line. If the v-cut goes off a little (step 2), straighten it out with the flat chisel (step 3).

Now, the trick is to keep the same curvature and depth all the way around. So often if you have many reeds to carve, by the time you get to the other side and meet the first one you carved, they are completely different! As you carve them, you get the technique down, you get more confident, you go deeper, the shape changes slightly, and then you have to go back and fix the first ones… 

And then to make two legs the same… well, you won’t ever be looking at 2 legs at the exact same time, so you can get away with some things…

Comments are closed.

Watch a Sample Lesson from my Online School

Your Free Membership offers 12 Free Lessons. See more at My School of Traditional Woodcarving.
Facebook You Tube Google plus Linked In twitter-24

Recent Posts

  • Carving the Acanthus Leaf Book with Videos and Study Casts
  • Last Chance to Pre-Order Carving the Acanthus Leaf Book
  • Enter to win FREE resin castings of acanthus leaves
  • Preview a FREE Chapter of my Carving the Acanthus Leaf Book
  • Carving the Acanthus Leaf – Now Available for Pre-Order
news-sm

Keep up with my online Woodcarving School

A weekly newsletter tells of the latest video episode. My monthly newsletter announces upcoming video lessons, carving tips and tricks, a free template and class schedule.

Categories

  • Acanthus book
  • Acanthus Leaves
  • American College of the Building Arts
  • Antique furniture reproduction
  • Book Review
  • Brookgreen Gardens
  • Cartouche
  • Carving wildlife
  • Carvings for churches
  • Chair Carving
  • Charleston Rice Bed
  • Creche
  • europe trip
  • Finials
  • Fleur-de-lis
  • Grinling Gibbons
  • Guest Blogger
  • Handworks Show
  • intaglio- maple leaf
  • Magazine articles
  • On-Line Woodcarving articles and TV interviews
  • Online carving school
  • People
  • Philadelphia Highboy
  • Savannah
  • Scrolls
  • Shows
  • Society of American Period Furniture Makers
  • Tools
  • TV Shows
  • Uncategorized
  • Videos
  • Violin Scroll
  • WIA Show
  • Wood Carving Education
    • Ball and claw foot
    • letter carving
    • Mary's story
    • Tips & Tricks
    • Woodcarving classes
  • Wood Carving Projects
    • Acanthus Leaf Repair on Tables
    • Bed Carving
    • Carving faces
    • Carving Hands
    • Carving Reeds
    • Celtic design
    • Church carving in Savannah
    • Coat of Arms
    • College Sign
    • Corinthian Capitals
    • Deep relief carving
    • Dragon Carving
    • Egg and Dart Molding
    • Kings Head Bracket
    • Misc. Antique Furniture Repair
    • Newport Shell
    • Period Furniture Carving
    • Picture Frame
    • Rosettes
    • Shell and Acanthus Leaf
    • Shell Niches
    • Shell wall sconce
    • Sunburst
  • Wood Carving Tips

Archives

  • January 2018 (1)
  • November 2017 (1)
  • October 2017 (2)
  • September 2017 (1)
  • July 2017 (1)
  • April 2017 (1)
  • March 2017 (1)
  • January 2017 (3)
  • December 2016 (2)
  • July 2016 (1)
  • May 2016 (1)
  • April 2016 (1)
  • March 2016 (1)
  • February 2016 (1)
  • January 2016 (2)
  • November 2015 (3)
  • October 2015 (3)
  • July 2015 (1)
  • June 2015 (2)
  • May 2015 (2)
  • April 2015 (4)
  • March 2015 (4)
  • February 2015 (5)
  • January 2015 (9)
  • December 2014 (8)
  • November 2014 (6)
  • October 2014 (6)
  • September 2014 (9)
  • August 2014 (4)
  • July 2014 (8)
  • June 2014 (2)
  • May 2014 (8)
  • April 2014 (13)
  • March 2014 (3)
  • February 2014 (1)
  • January 2014 (3)
  • December 2013 (1)
  • November 2013 (1)
  • October 2013 (5)
  • September 2013 (5)
  • August 2013 (2)
  • July 2013 (8)
  • June 2013 (3)
  • May 2013 (3)
  • April 2013 (5)
  • March 2013 (9)
  • February 2013 (3)
  • January 2013 (3)
  • December 2012 (6)
  • November 2012 (5)
  • October 2012 (5)
  • September 2012 (4)
  • August 2012 (4)
  • July 2012 (6)
  • June 2012 (5)
  • May 2012 (7)
  • April 2012 (8)
  • March 2012 (7)
  • February 2012 (9)
  • January 2012 (11)
  • December 2011 (8)
  • November 2011 (7)
  • October 2011 (21)
  • September 2011 (18)
  • August 2011 (7)

Blogroll

  • Bob Easton
  • Giant Cypress
  • High Rock Woodworking
  • Matts Basement Workshop
  • Modern Woodworkers Association
  • Penultimate Woodshop
  • Renaissance Woodworker
  • The Sunday Woodcarver
  • The Wood Whisperer
  • Tom's Workbench
  • Wood Central
  • Wood Net
  • Wood Talk Online

Links

  • Alan Breed
  • Alf Sharp
  • American College of the Building Arts
  • Charles Neil Woodworking
  • Charles Ramberg Furniture Maker
  • Christopher Schwarz
  • Connecticut Valley School of Woodworking
  • Dan Hamilton
  • Greg Guenther Wood Group
  • Highland Woodworking
  • Kelly Mehler School of Woodworking
  • Lucy Churchill
  • Lumber Jocks Woodworking Showcase
  • Marc Adams School of Woodworking
  • Mark Van Abbema
  • Philip Lowe
  • Pro Woodworking Tips
  • Ronnie Sextion
  • Society of American Period Furniture Makers
  • Studio 3d Creations
  • Thaddeus Stephens College of Technology
  • The Acanthus Workshop, LLC
  • The Mill, Inc
  • The Renaissance Woodworker
  • The Woodwright's School
  • Wood Carving Guide
  • Woodcraft Supply
  • Woodworking Workshops of the Shenendoah Valley
Mary May - Woodcarver - Copyright © Cornerstone Creations, LLC, 2015
Privacy Policy

Thank you

Your feedback have been received.

Close