
I don’t get an opportunity to carve “in-the-round” very often. And when I do, it’s always an interesting challenge. The thought process and the technique of discovering the shape is a completely different world than relief carving.
In relief carving, your main focus will be on overlapping elements, tricking the eye by creating an illusion of depth in a shallow amount of wood, and making shadow lines and exaggerated curves to create an appearance of more shape.
In 3-dimensional carving, the first focus is to get the general over-all shape carved, and then move into more of the detail of the carving. There is usually no need to create an illusion of depth – simply because the depth is already there.
If relief carving is your “normal” style of carving and you want to get into sculptural carving, the tendency can be to carve relief carvings on all sides and hope they somehow magically come together into a sculpture. The trick becomes joining it all together into a cohesive shape. It requires working on the entire sculpture and resisting focusing on one area, and then the next, and then the next… It is necessary to rotate the carving quite often to make sure the entire sculpture is developing into its final shape.
Resist working on the details until you are completely satisfied with the overall shape. This applies to both relief carving and sculptural carving. I learned the hard way by spending a lot of time on details, only to discover that I have to carve that area down another 1/8″ or so. All that time and effort was wasted because I just removed all my hard work.
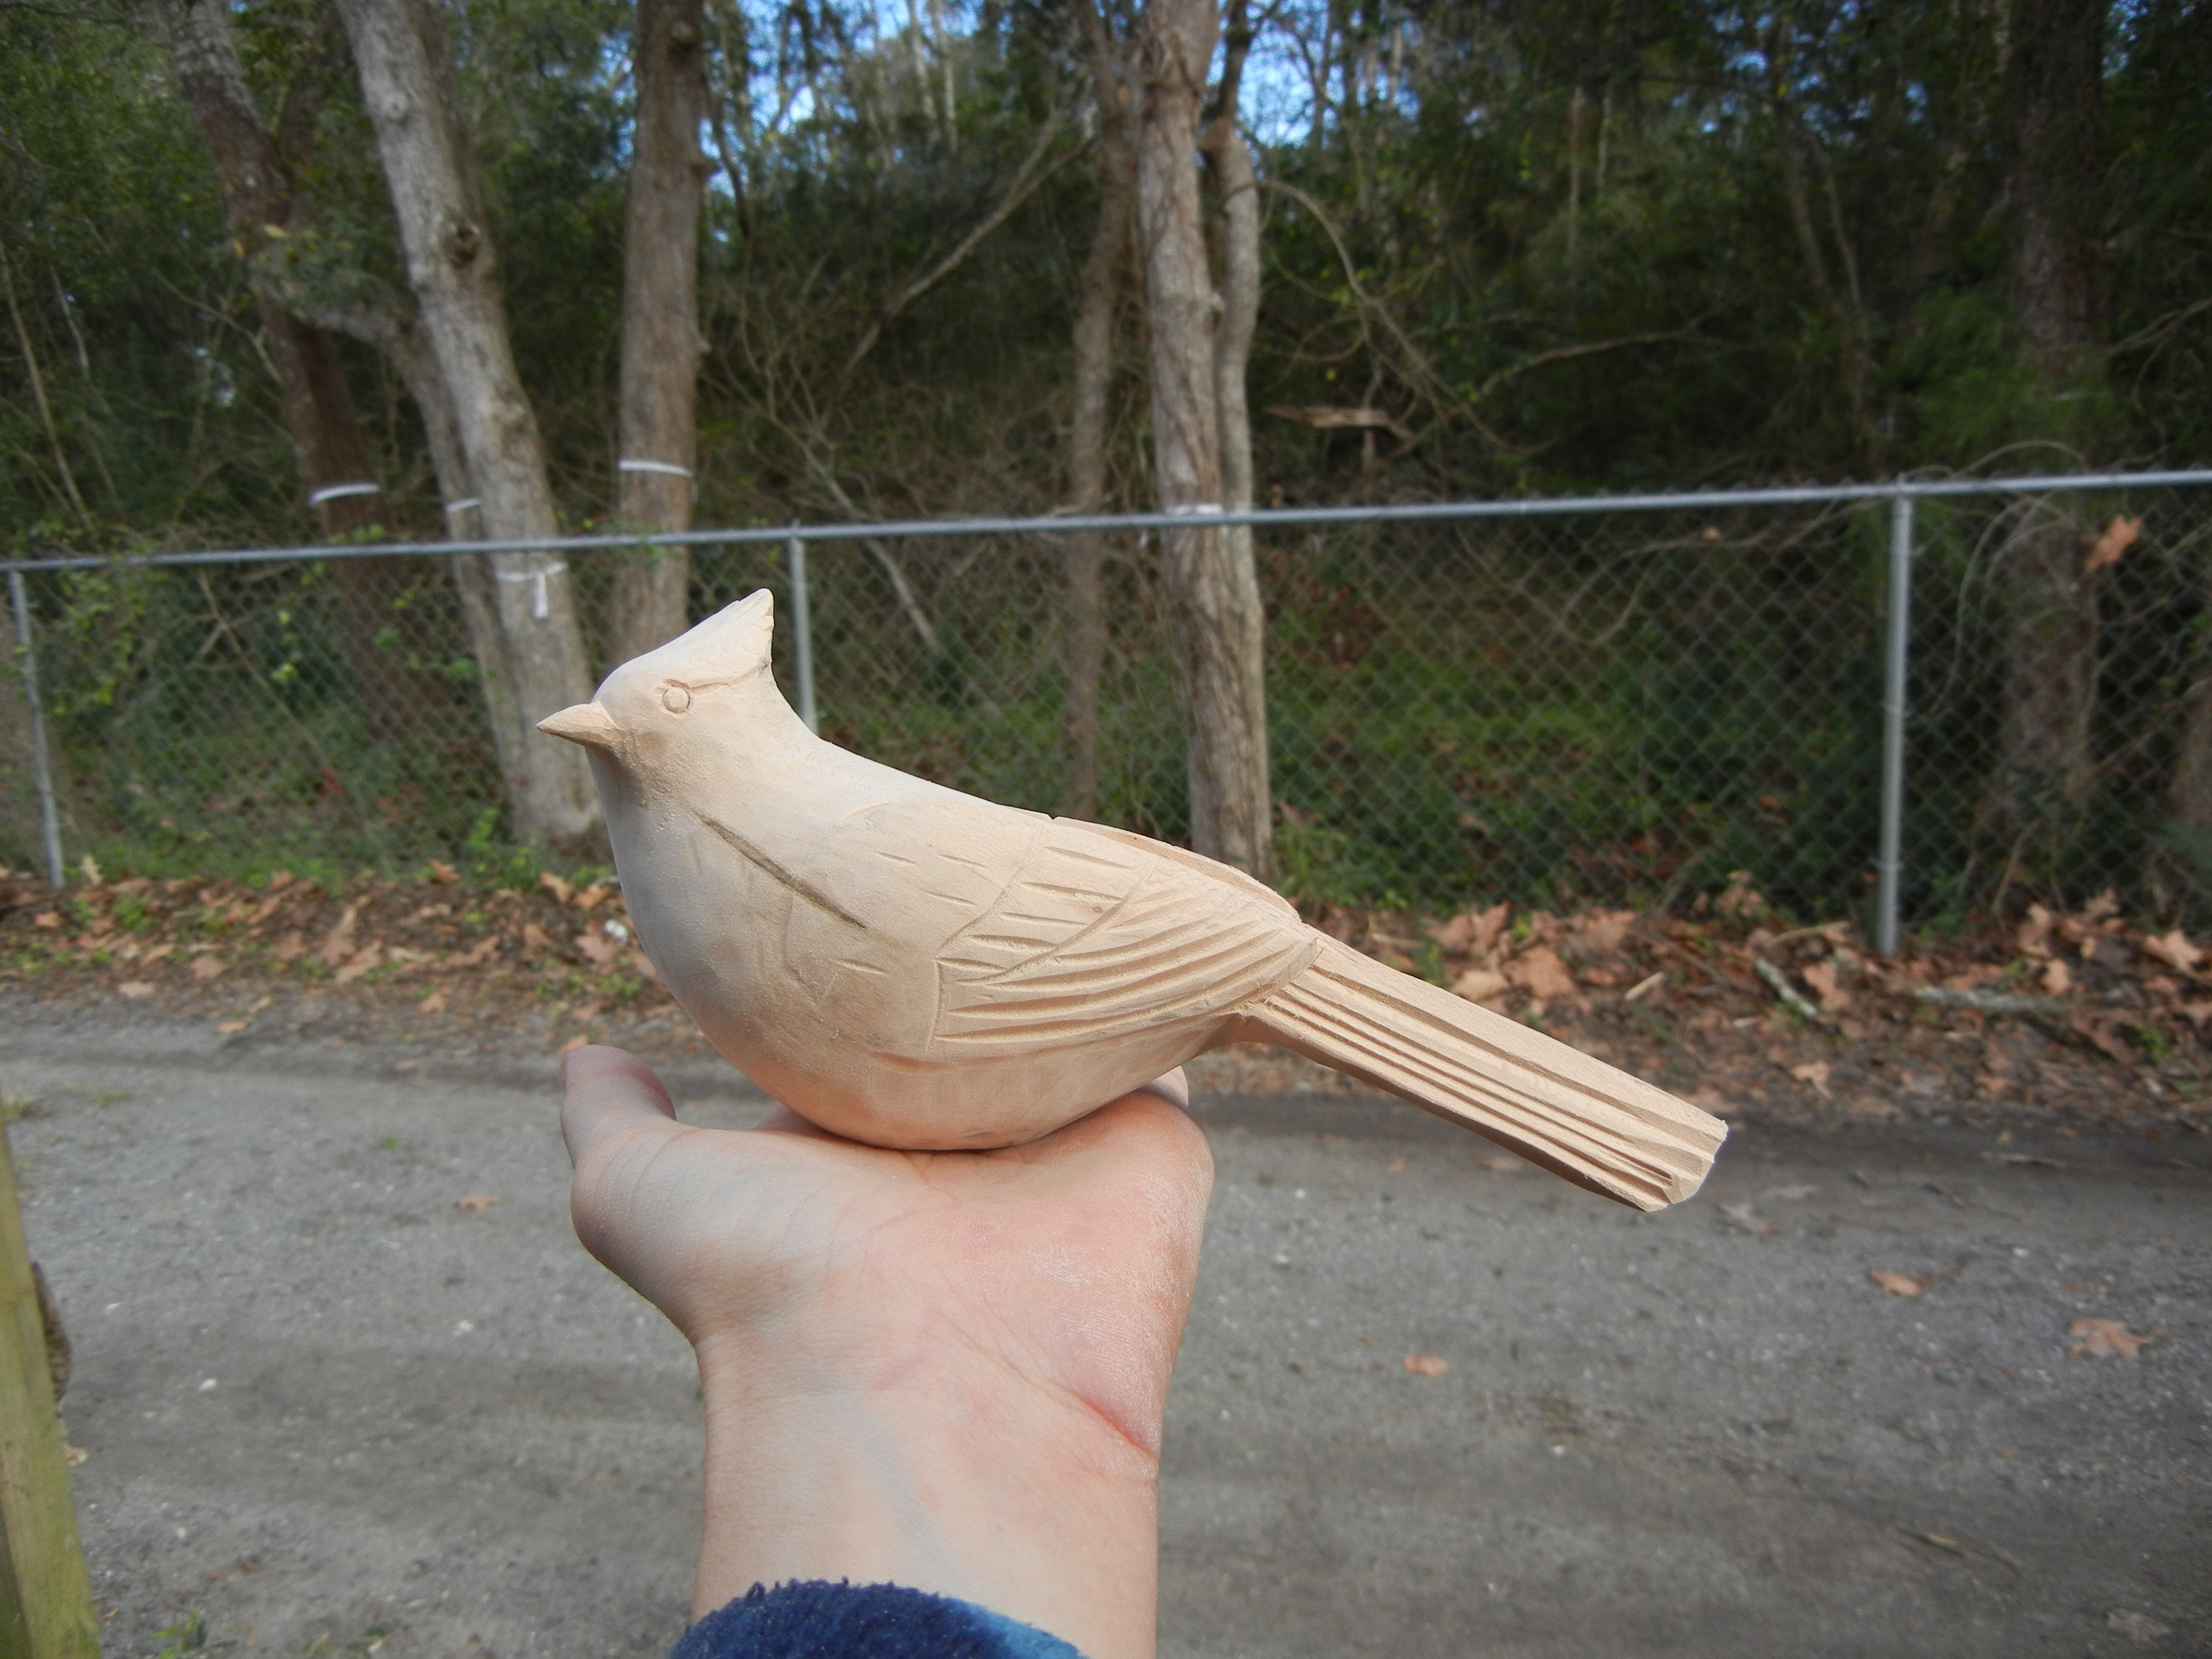
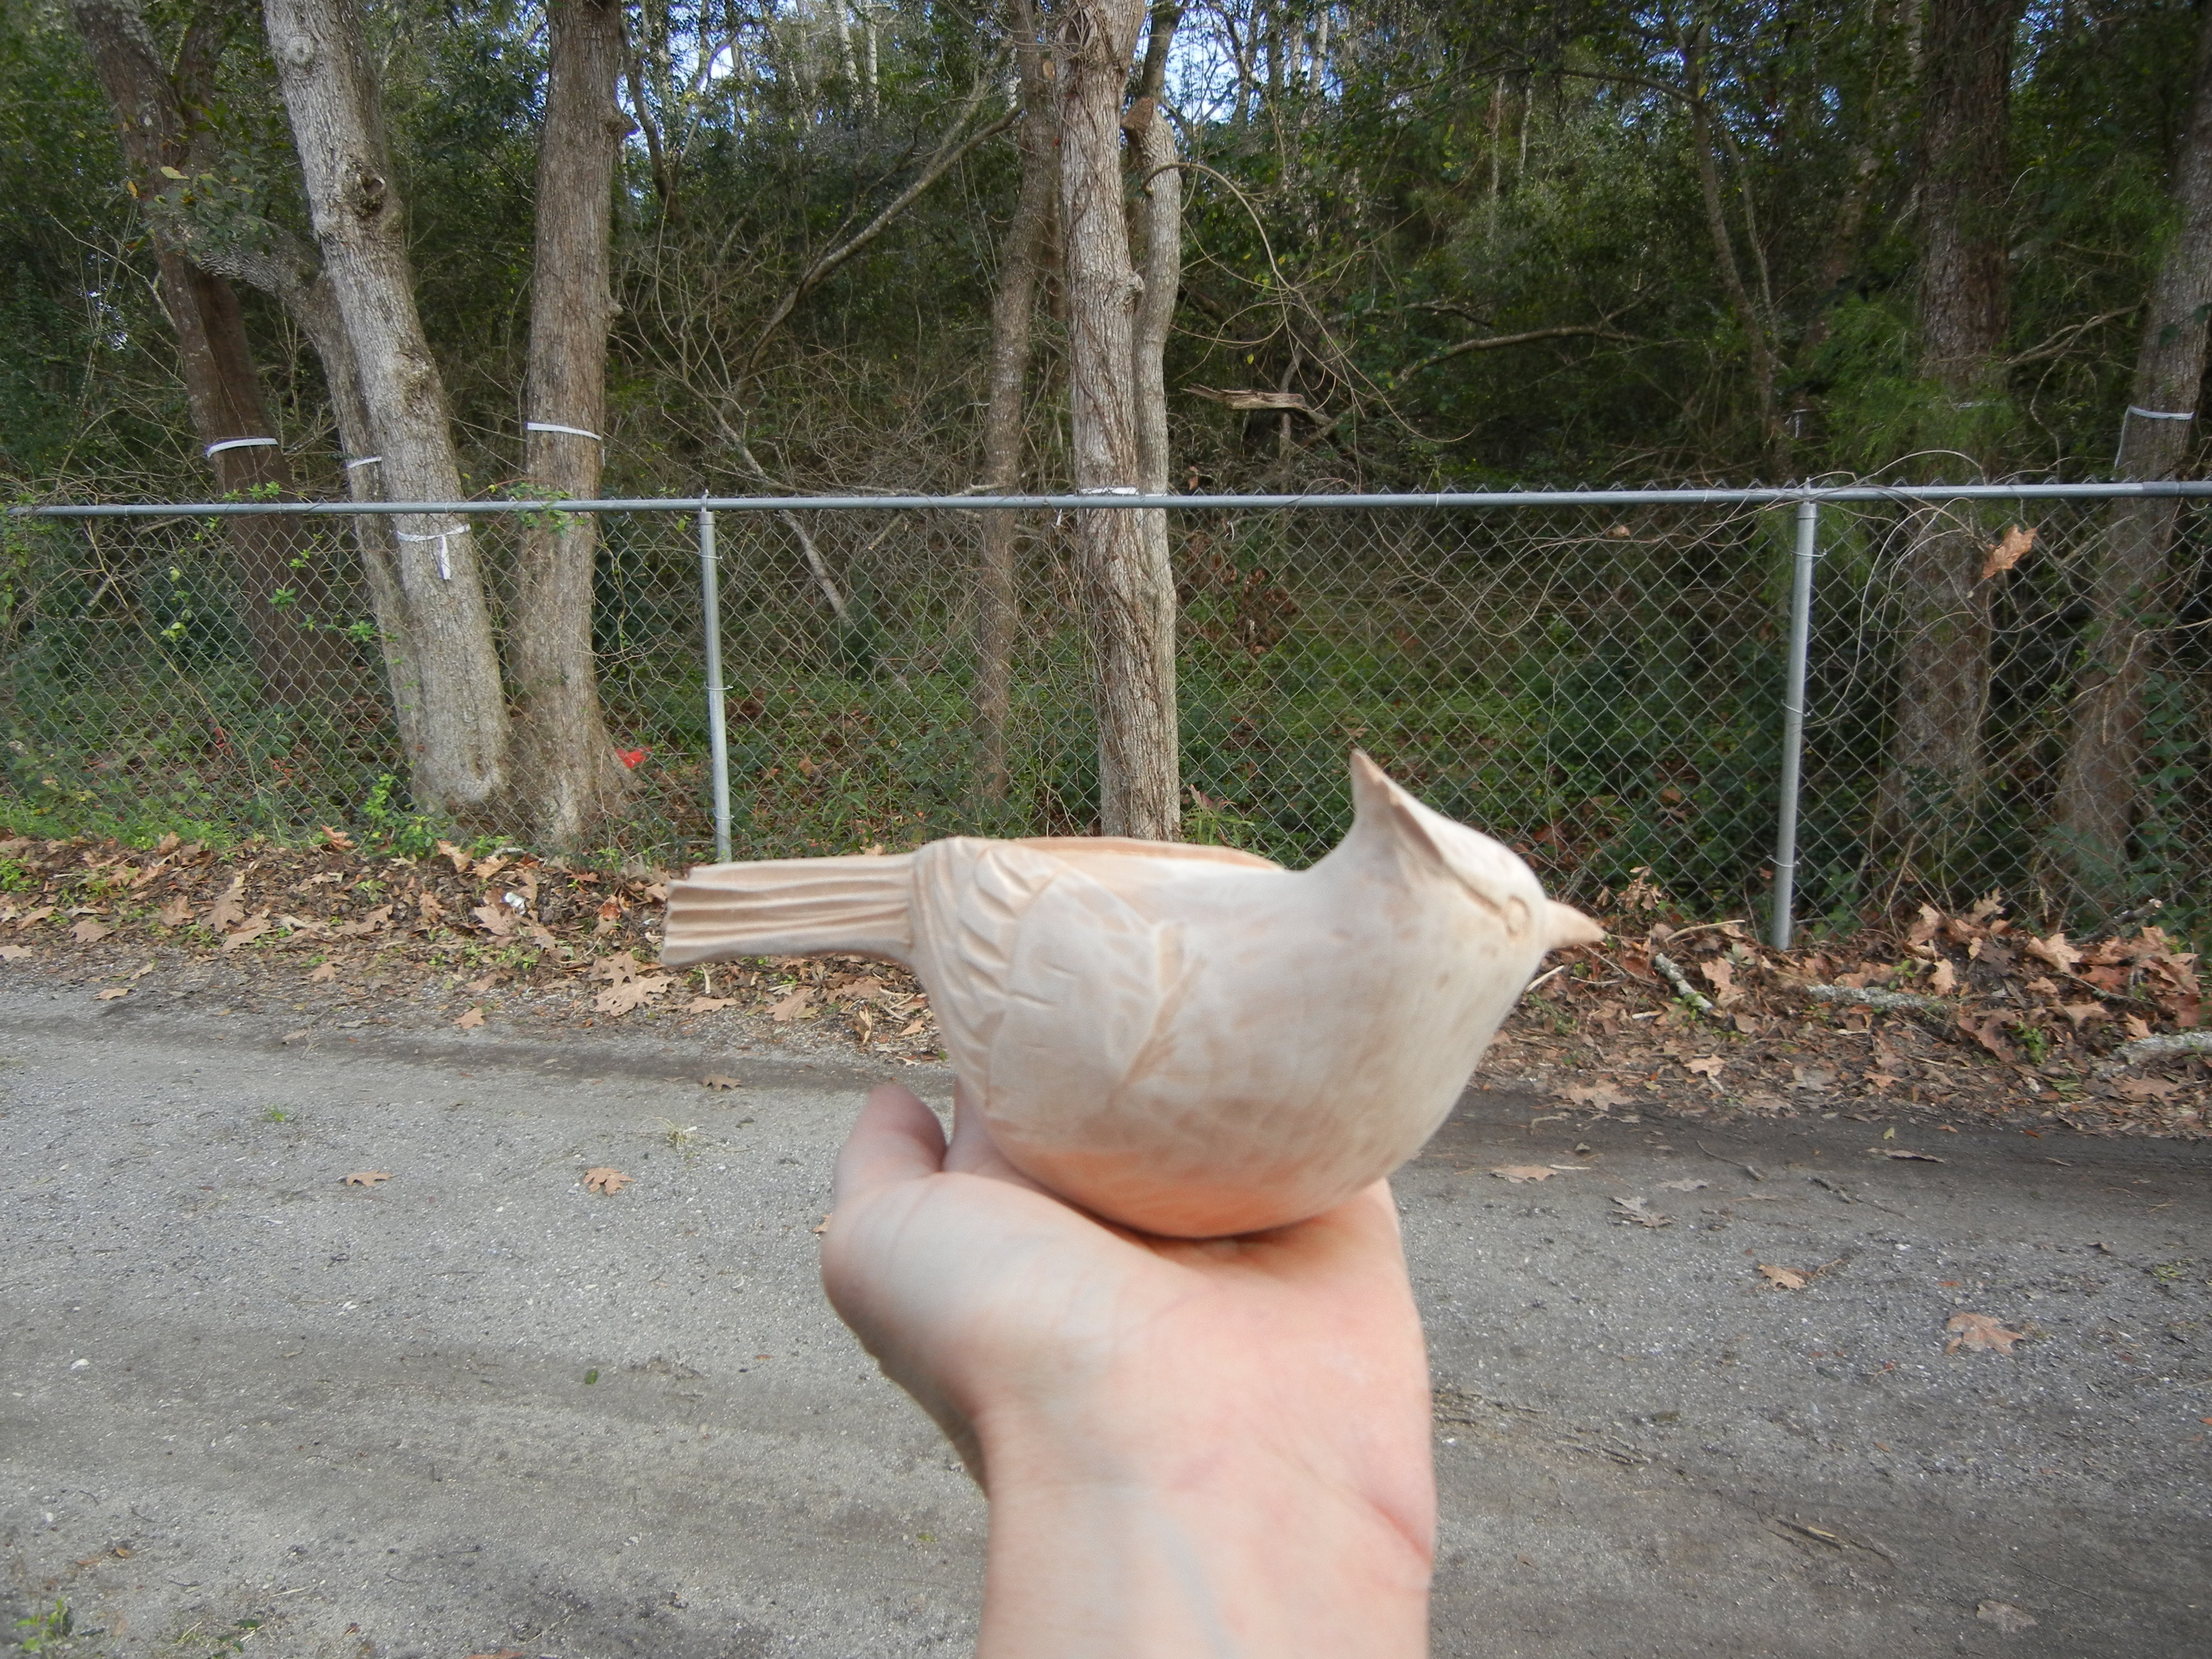
This carved cardinal is going to eventually be a finial for one of the posts of a 4-post bed. The other 3 posts have machine carved pineapples (yech).
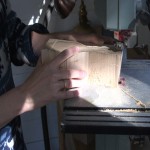
I started by getting a rough profile of the side and top views and transferred this to a 2-3/4″ x 2-3/4″ piece of basswood. Then I cut these profiles out with a band saw. I left a block of wood at it’s belly so I could have something to clamp to. This way I could still use my long handled carving gouges and didn’t need to hold onto the wood while I carve. Those whittling knives scare me!
-
- Step 1: Draw on side view with extra block to clamp.
-

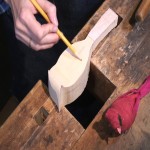
- Step 2: Draw on top view.
-
- Step 3: Band saw out side view, keeping pieces.
-
- Step 4: After taping off-cuts back on, cut top profile view.
-
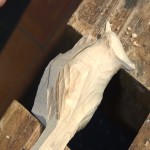
- Step 5: This is what it should look like after band sawing. See Christmas tree ornament as a guide?
-
- Step 6: Start rounding over body.
-
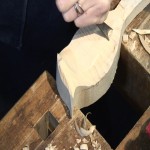
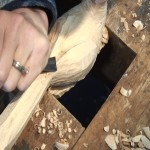
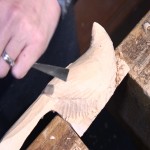
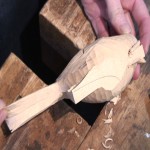
- Step 7: Start shaping the head.
-
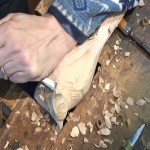
- Step 8: More of the face shaped. Notice how it is held with the extra block.
-
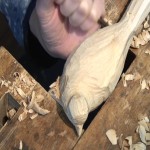
- Step 9: More detailing around the head. Making the head turn is MUCH more difficult than making it look straight ahead.
-
- Step 10: View from top.
-
- Step 11: Shape wings.
-
- Step 12: More shaping of the lower belly.
-
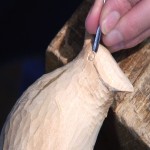
- Step 13: Detailing the eyes.
-
- Step 14: Deatiling the feathers with a v-chisel.
-
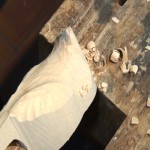
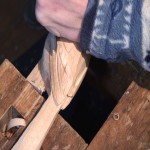
- Step 15: Notice the block at the base is getting smaller and smaller as I round the belly.
-
- Step 16: This is what is remaining of the block.
-
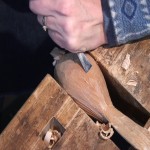
- Step 17: Remove the rest of the block by gently clamping the side of the bird.
-
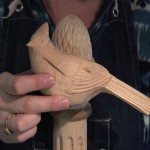
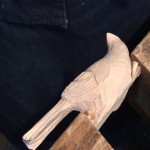
- Step 18: Finished! And sitting in front of one of those awful machine carved pineapple finials… This cardinal will be on one of these posts.
This was a fun project and definitely different than what I normally get to carve. I’m not sure if I will venture into “wildlife” carving, but it is a fun challenge to do every once in a while. There are some amazing woodcarvers out there who make these carvings with simple whittling knives. I am often completely humbled by what incredible carvings they create – without clamping the wood to a bench!
What I love about my job is the variety of work that comes through the door. I think that’s why after nearly 22 years, I still find all aspects of woodcarving fascinating.
Happy (bird) carving!