I recently received a great new commission – to carve the top details for 4 reproduction Philadelphia Chippendale chest-on-chests. These ornate tops are usually seen on highboys from around 1760 to 1780, but occasionally are added as decorative tops (or bonnets) of chest-on-chests. Quite often the chest-on-chests have a simple flat top.
The following is a photo that my carving will be roughly based on.
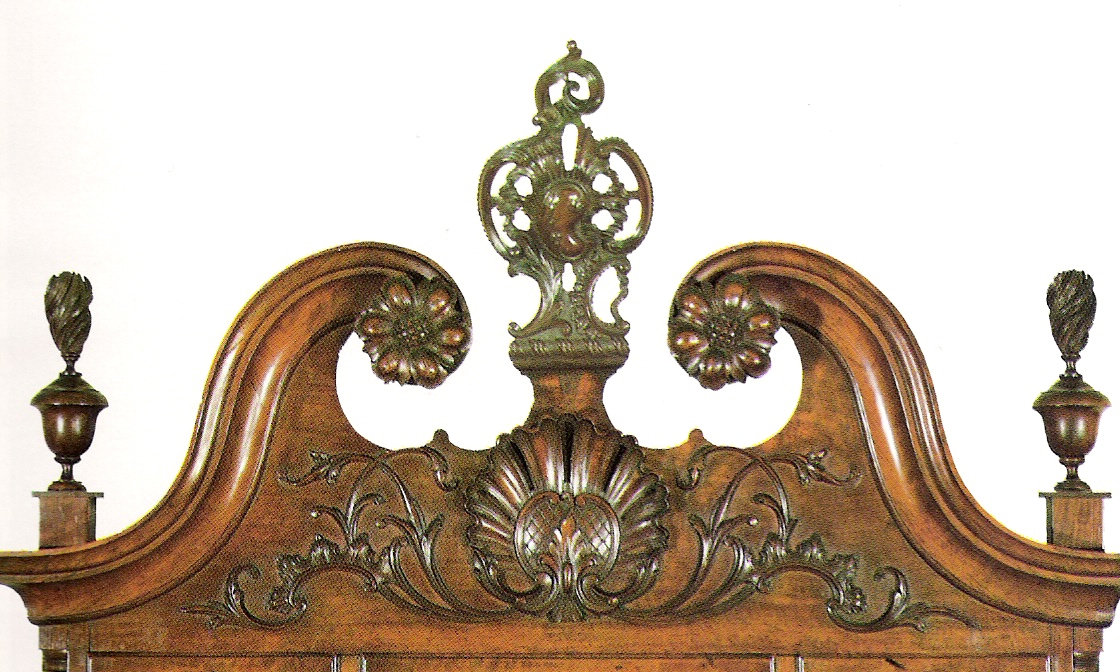
Top of a Philadelphia Highboy from around 1760.
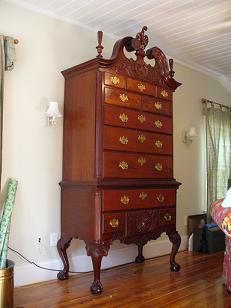
Very similar style Philadelphia Highboy that I carved details for about 8 years ago.

Details of Philadelphia Highboy that I carved.
The first step is – how to get the design to the wood in the most accurate and efficient way possible. Since I am carving 4 of these, it would be best to get a clear, durable and accurate template made of each detail that I can use for all pieces of furniture.
Ideally, I would get a thick piece of flexible plastic. I often use a disposable cutting board or chopping mat that I purchase at a flea market (those booths where there are boxes filled with really inexpensive Chinese made things that you can never imagine needing – except for now). You can also use plastic page dividers at office supply stores. What you want to look for is something clear enough to see the design through, thick enough so you can run your pencil along the edge as a template, and textured enough so you can draw on at least one side of it.
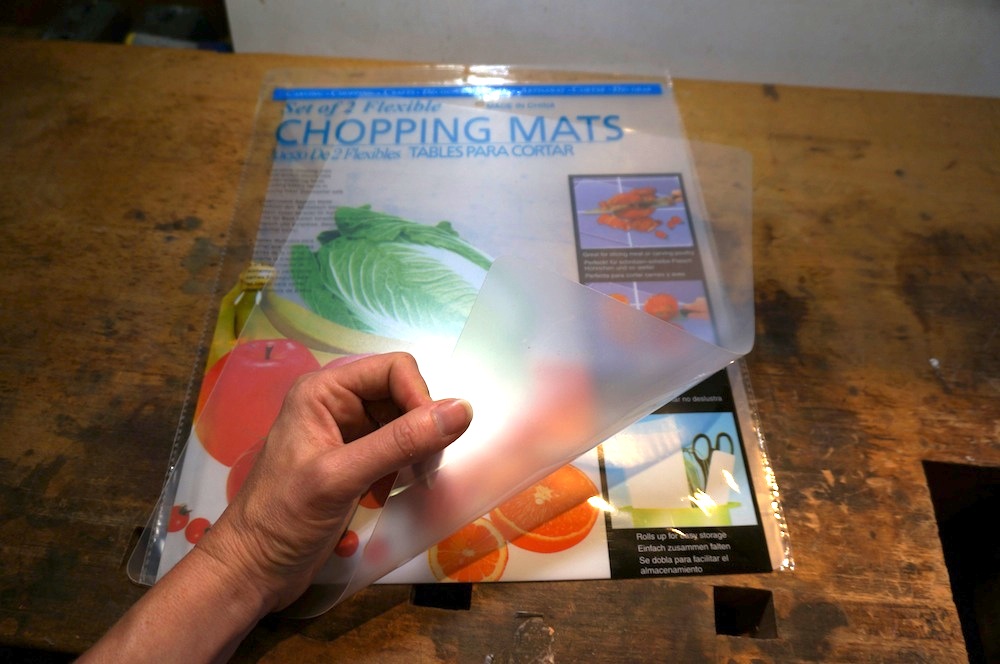
Stiff plastic for template material.
However… I did not use this process because when I started, I did not have any of this thick plastic to use. So I used the next best thing I had in my shop and settled on velum or tracing paper. Great for tracing a design, but not great for use as a template because it is so flimsy and you can’t run your pencil along the edge easily. So the process I went through was a little more laborious because I really do want the template to be on a stiffer material that I can trace around.
After enlarging the photo of the original to full-size, I traced over the leaf design onto velum paper. This is definitely not a real accurate process because of the fuzziness of the photograph as it is enlarged. I got it as close as I was comfortable with for this first step. More detailed drawings were done after this.
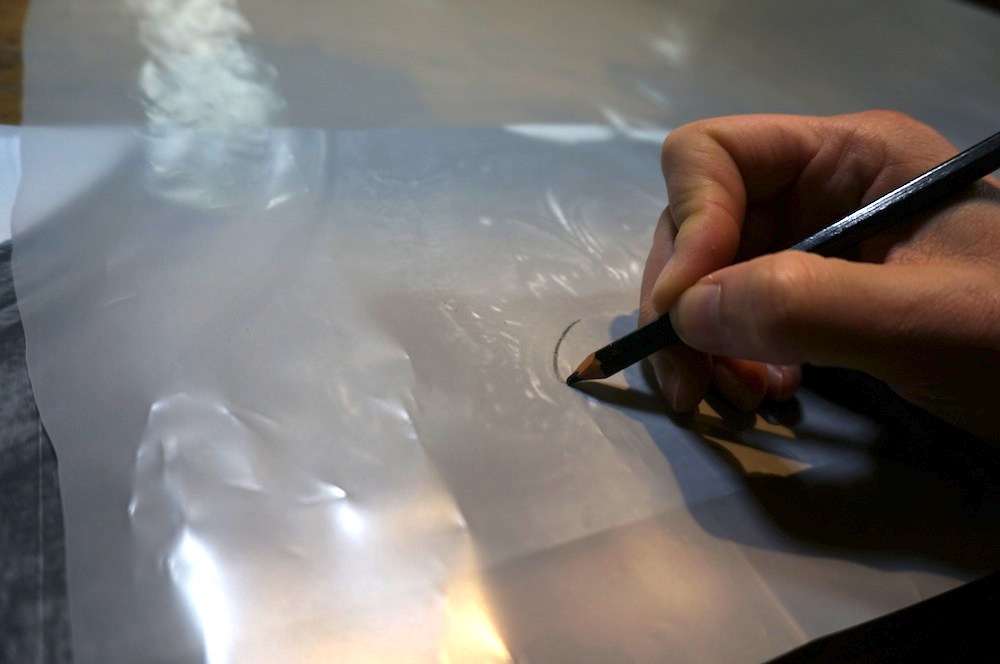
Tracing design onto velum paper.
Next, I cut out the design in the velum paper, taped it to my wood (about 5/8″ thick mahogany) and gently traced it around the outside.
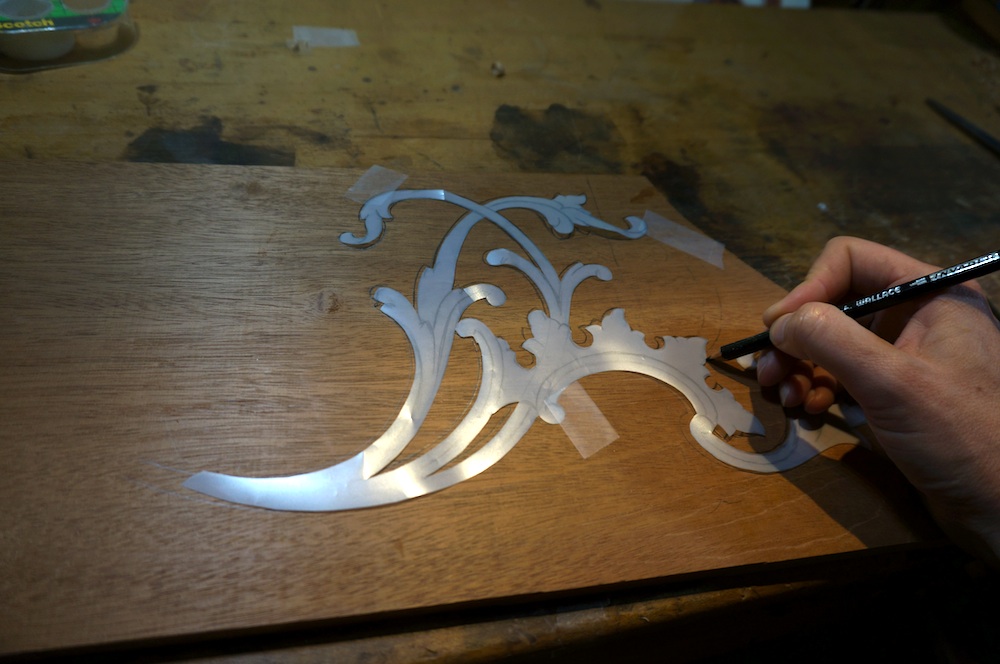
Tracing around template onto wood.
Next I drew the design details accurately on the wood as it should be carved, fixed any parts where the tracing process was a little vague, and did any adjusting with the design. Why didn’t I do this while it was on the velum paper? Good question. And I really had to think about this. There is something about drawing it onto the material that it will actually be carved in where I can visualize it easier and more accurate. If you wanted to, I guess you could do this final detailing on the velum drawing before it was cut out. But if you do that, then the following steps will make no sense… so let’s not confuse things…

Draw accurate design on wood.
Next, I scanned the wood with the drawing on my computer scanner. I had to do some real funky adjusting with the color to make the drawing show up. But it worked! Now I have a file on my computer where there is an accurate, full-size drawing of my design.
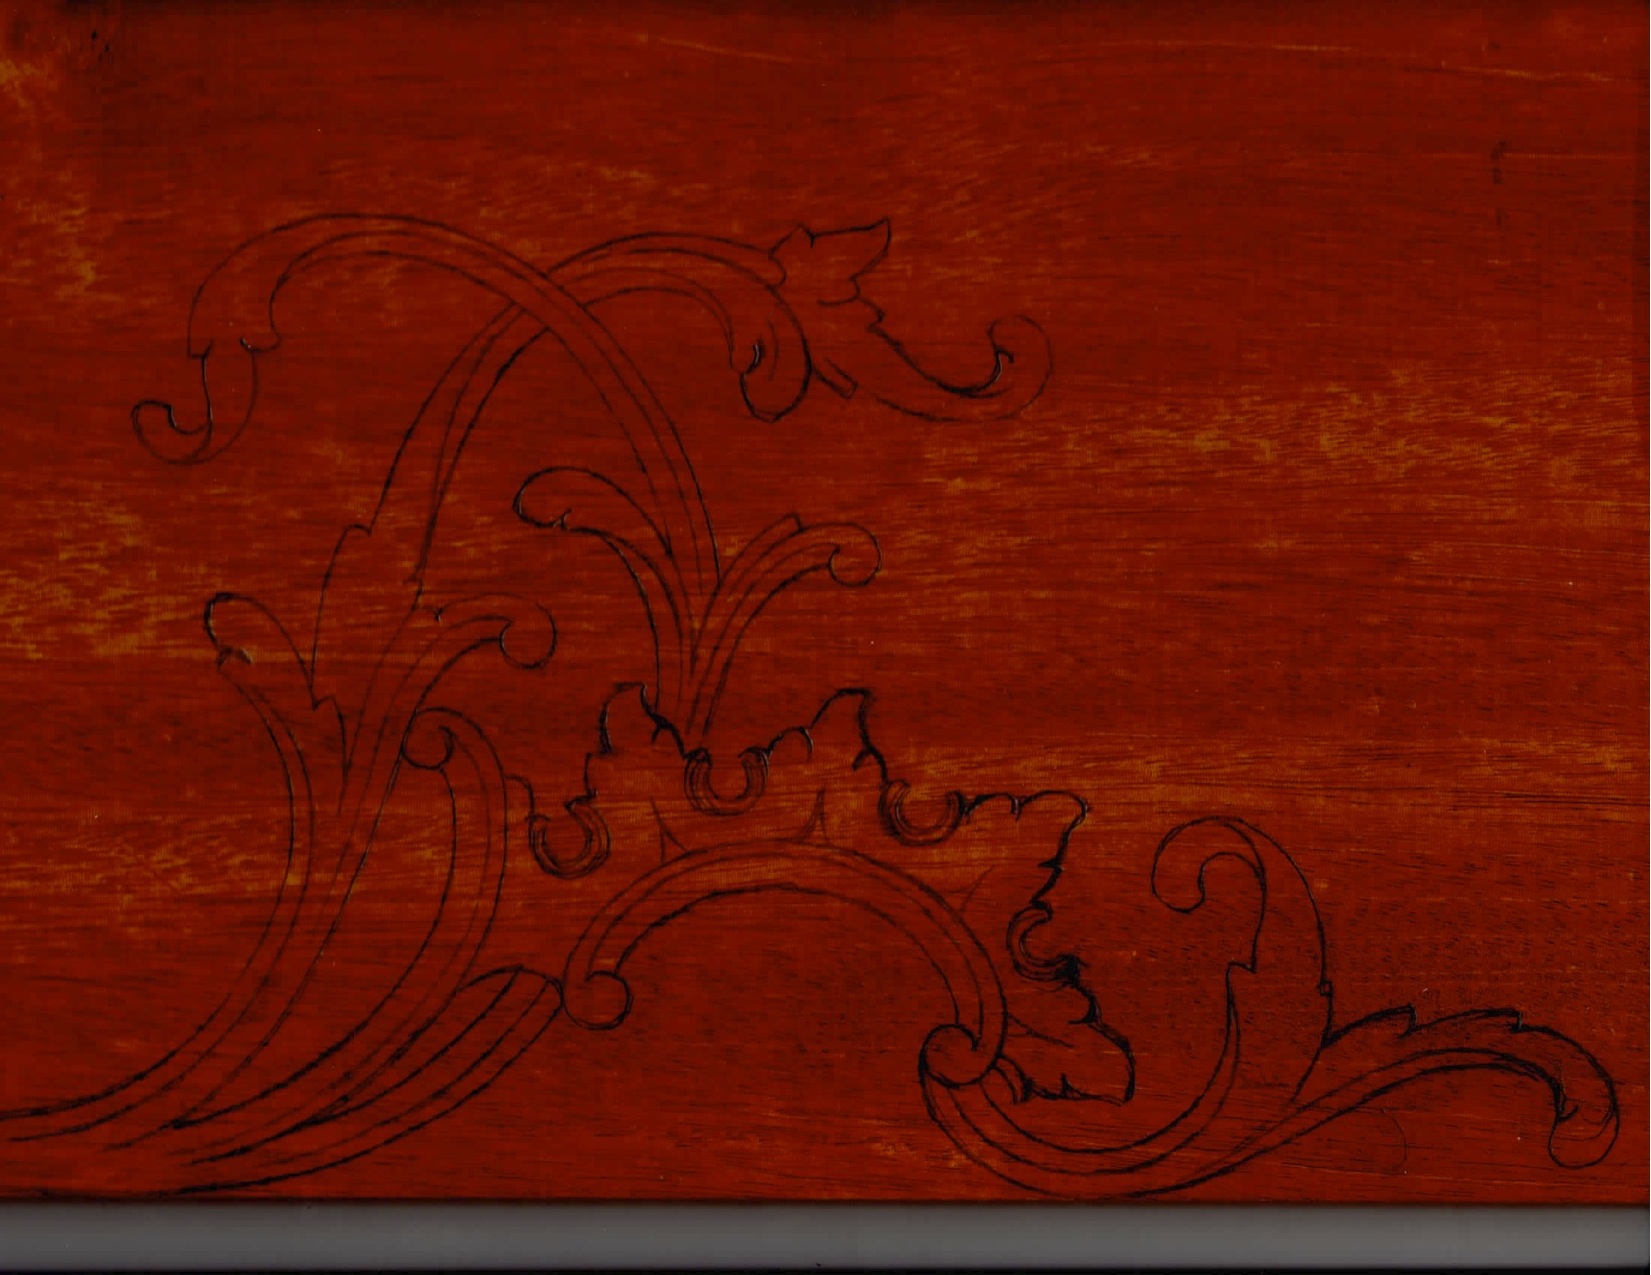
Scanned image of design on wood.
Next I printed this design out, and glued it onto a manilla file folder (or any other thicker cardboard or plastic material) with a light coat of spray glue or you could use glue stick (don’t use glue that will soak into the paper and distort the design). Next, I cut out the outline of the design as accurately as possible.

Design after glued on manilla folder and cut out.
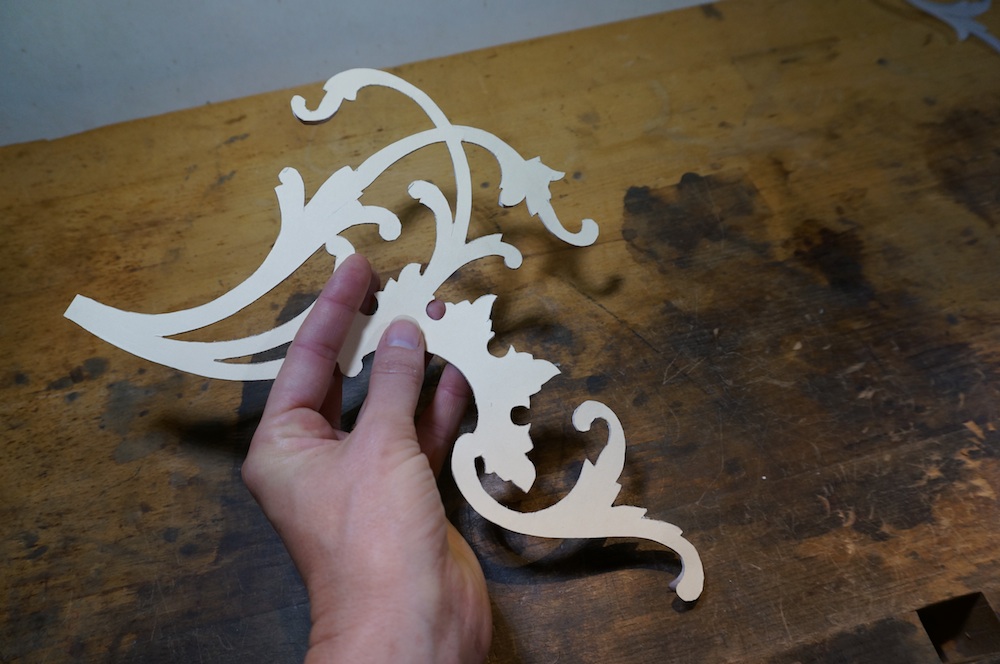
Other side of template
Now this template can be used for all 8 of these cut-outs (2 for each piece of furniture – used in reverse). And since it is in a thicker material, the accuracy of running a pencil along the outside edge makes it all worth the effort!
Like I said, this process was a bit long-winded, and it could have been accomplished much easier if I simply had that thick plastic where I could just trace the design from the photo, and cut out the design. That’ll teach me to make sure I have my shop stocked! I went to the market last weekend and bought 6 packages of the plastic “chopping mats”.
I could also have shortened the process by making the final accurate drawing on the velum paper, gluing that to the manilla folder and cutting it out. But that wouldn’t have been nearly as fun! I’m sure there are some engineers out there that are just cringing at my “meandering” approach.
The moral of the story is… be prepared! Also, if you can’t do it one way (because of lack of organization), there are ALWAYS other ways.
I think I’ll do it differently next time…