-
- Page 1 of how to sharpen a curved woodcarving gouge

-
- Page 2 of how to sharpen a curved woodcarving gouge
I put together this 2 page explanation of how to sharpen a curved gouge in the traditional way. You should be able to print each page.
Before you start to carve anything, it is so important to make sure your gouges are razor sharp. It can be very frustrating to try to carve when the chisels drag and rip through the wood. The difficult part about teaching how to sharpen a gouge is it really is best to actually see the subtle movements – actually watching someone would be best. Reading instructions don’t do the trick completely, but it is a start.
Not to discourage anyone, but my first gouge took about 20 hours to sharpen. I did it the long way around by using a very smooth Arkansas stone, and I had a LOT of metal to remove. I look back now, and I should have used a rougher stone to get most of the metal down (or even put it on a grinder), and then moved to the extra fine stone as the final sharpening. It would have probably cut the time down to about 20 minutes. Ah… live and learn.
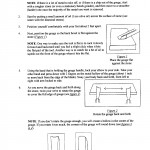
THANKS Mary!
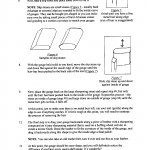
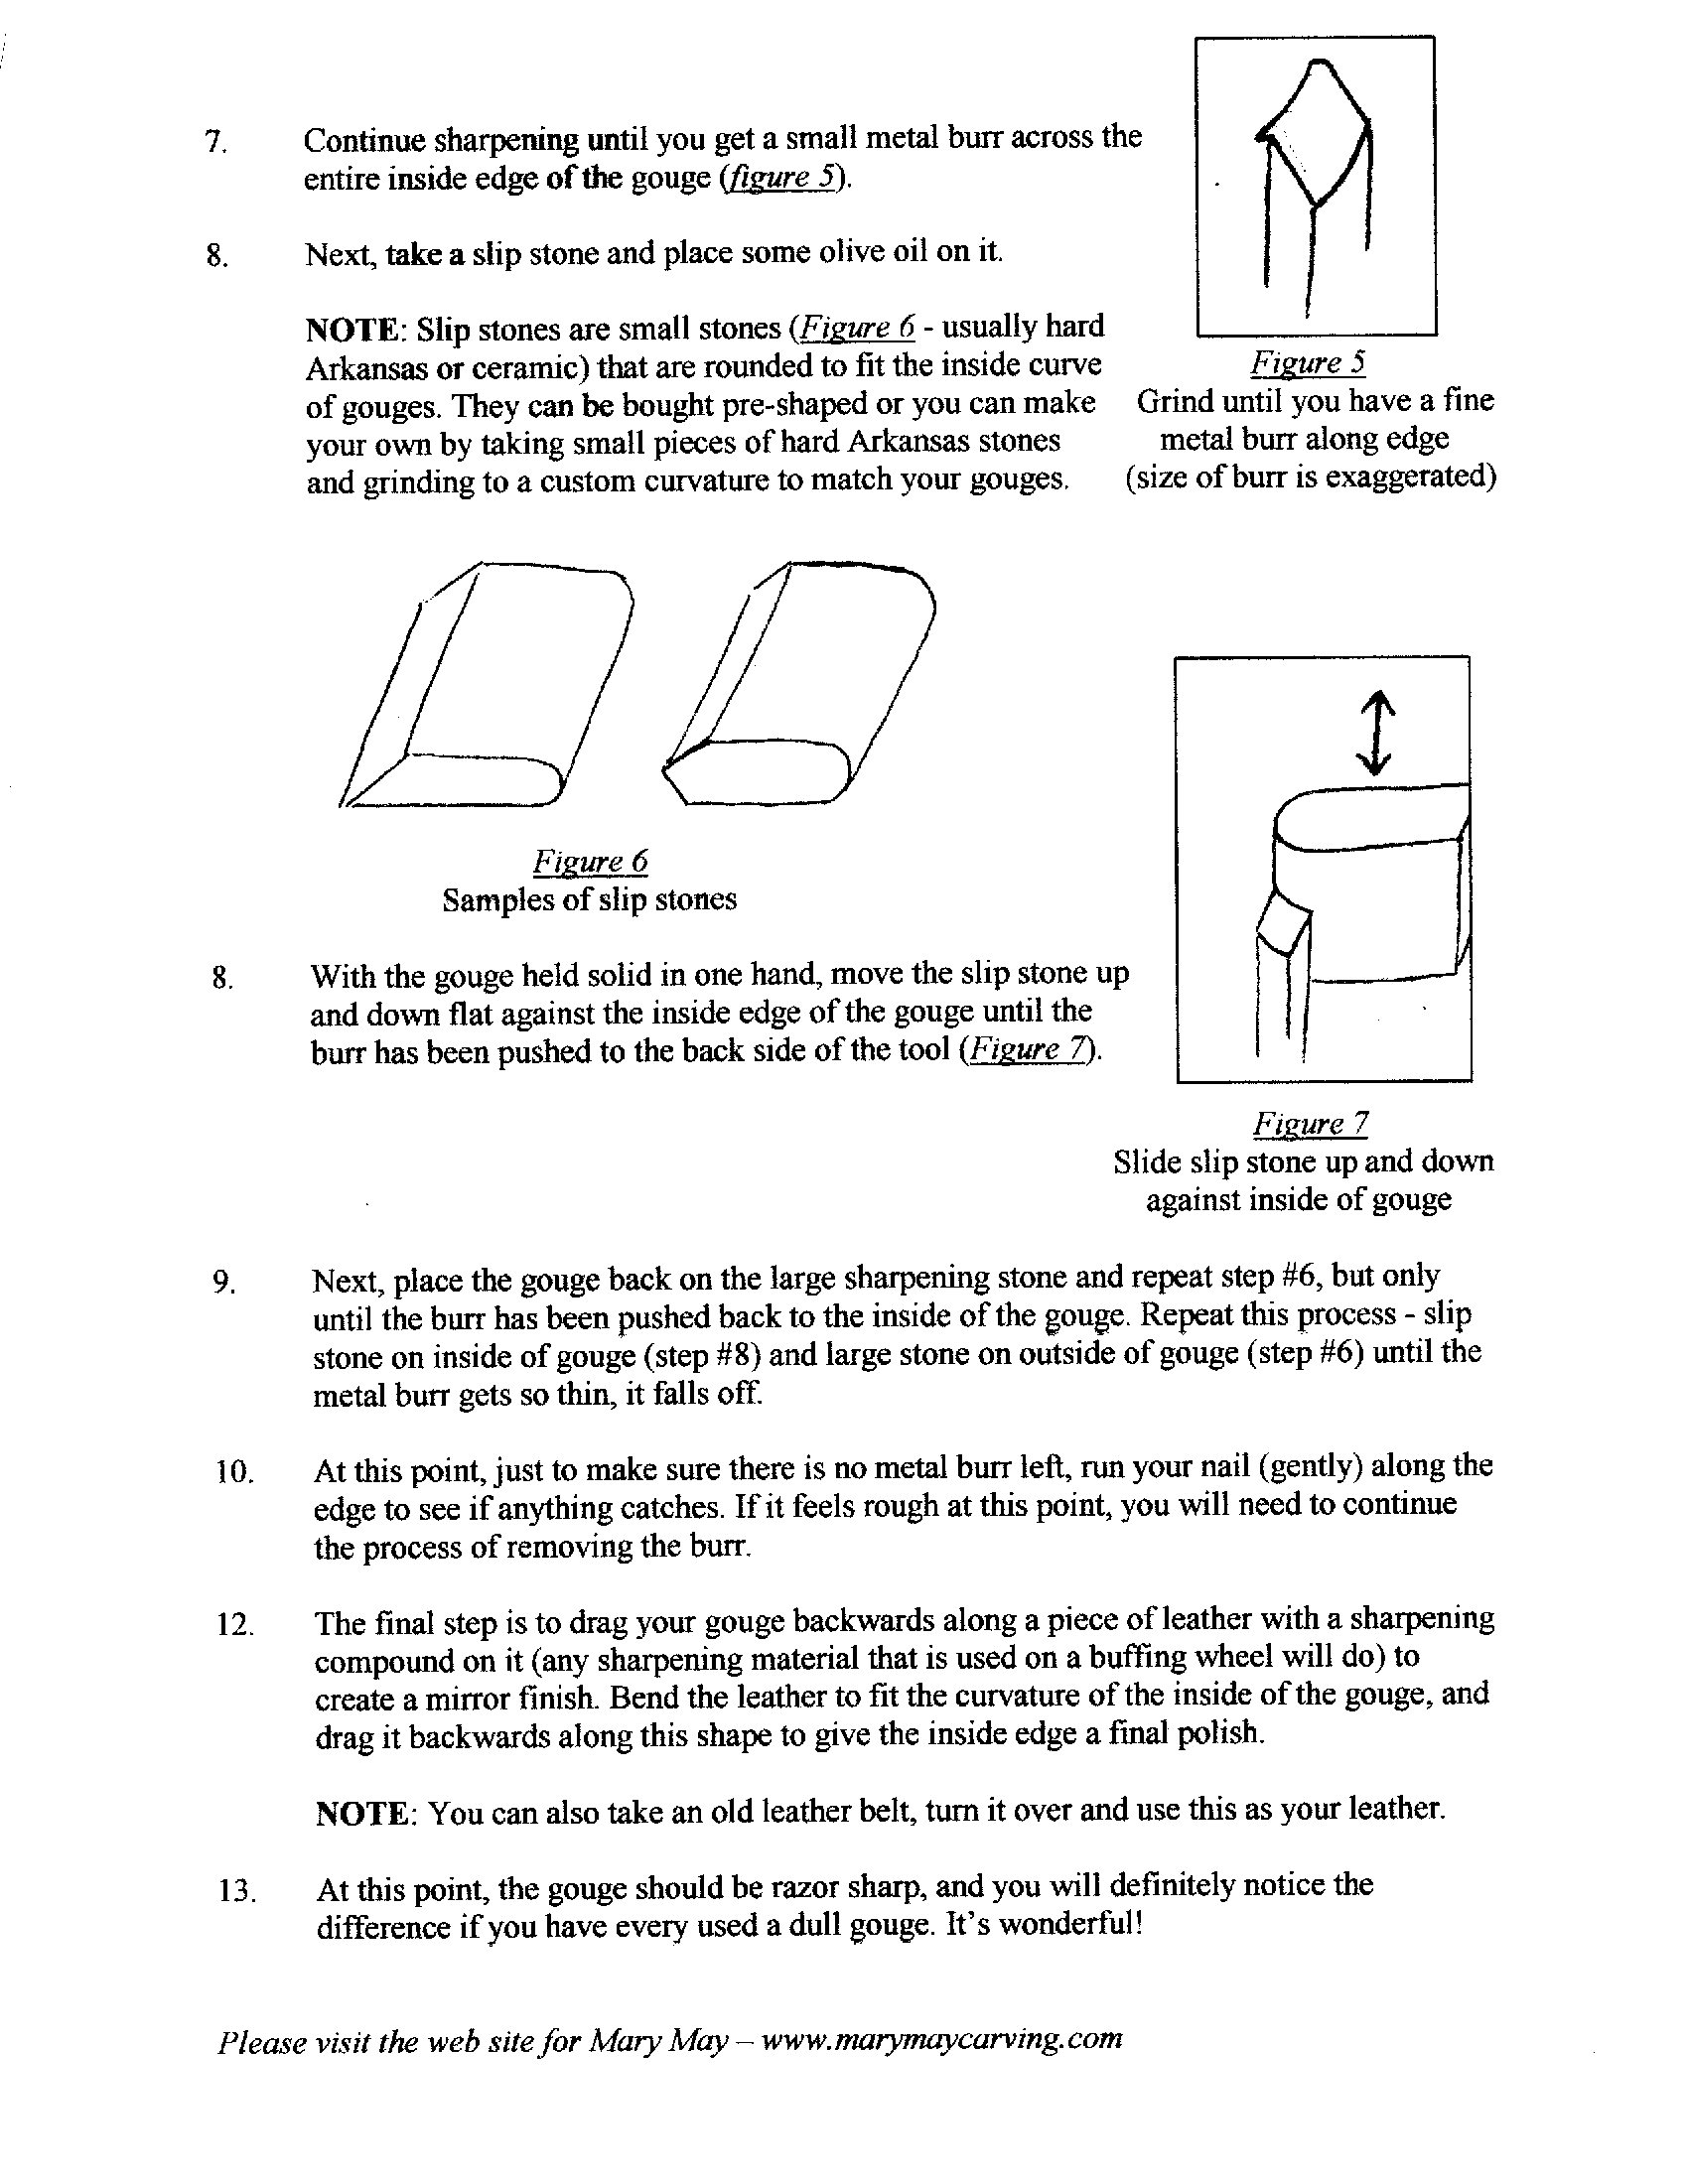
The directions are easily understood and reinforce the method I’ve been using … except the part about the olive oil. 🙂
I love my extra virgin olive oil in all of our cooking, but since it costs 8 times as much as common motor oil, I keep it out of the shop. (Scotch heritage, you know.)
(Now if I can just avoid the hollow center and the rounded corners … both on the same gouge!)
Bob, Supposedly the olive oil prevents pitting in the Arkansas stones. May be an interesting theory, but I’ve never used other oil, so I don’t know. My teacher, Konstantinos Papadakis, is obviously Greek. He was a true advocate of olive oil….. go figure.
hmmmm? I noticed that you show the slip stone applied absolutely flat. From that, I assume then that you don’t use an inner bevel on gouges. Some carvers (such as Chris Pye) advocate an inner bevel to ease using the tool upside down. What is your experience?
THANKS,
Bob, you are correct. That is the way I was taught – to try to keep the bevel inside as flat as possible. You are also corrrect in that putting a slight bevel on the inside of the gouge, you will be able to use it upside down easier – especially for very shallow relief carvings. It is still awkward to use the gouges upside down, but it does make it more accessible. This is not as critical for deeper releif carvings, as your hand does not get caught against the wood when turning the tool upside down. Many times when you buy a new gouge, it may already have a slight bevel on the inside. I just recommend to keep with whatever surface the manufacturer has produced, and you can’t really go wrong. I have had teachers who say “absolutely” do not put a bevel on the inside, and others that say “always” put a bevel on the inside. Consider what type of carving you will be doing, and base it on that.
Is there a tool or jig out there that will help me flat grind (as opposed to hollow grind) the bevel on a curved gouge. I currently use a Jet wet.
Hmmm. I’m sort of a traditionalist when it comes to sharpening. I like to be able to feel the angle by laying it against a sharpening stone, rocking it forward and backward until it it hits a flat, and then start sharpening by moving the gouge left and right. Not the easiest to get used to, but it is how I have always done it, and it feels the most natural to me. I would not be the best one to recommend jigs for locking in an angle for sharpening. Any other comments or suggestions would be appreciated…
The best way to lock in the angle when I sharpen by feel is locking my elbow to my side, and just turning my wrist for the rotation of the gouge, and moving my body, rather than just my arm – it tends to keep the tool more evenly on the stone. Get the music going, and let your body flow with it…. The faster the music, the faster the sharpening!