Mary May - Woodcarver
  • Blog Home
  • Mary’s Carving School
  • Home
  • Wood Carving Projects
  • Coat of Arms
  • Resin casting of coat of arms

Resin casting of coat of arms

October 15, 2011 / Mary May / Coat of Arms
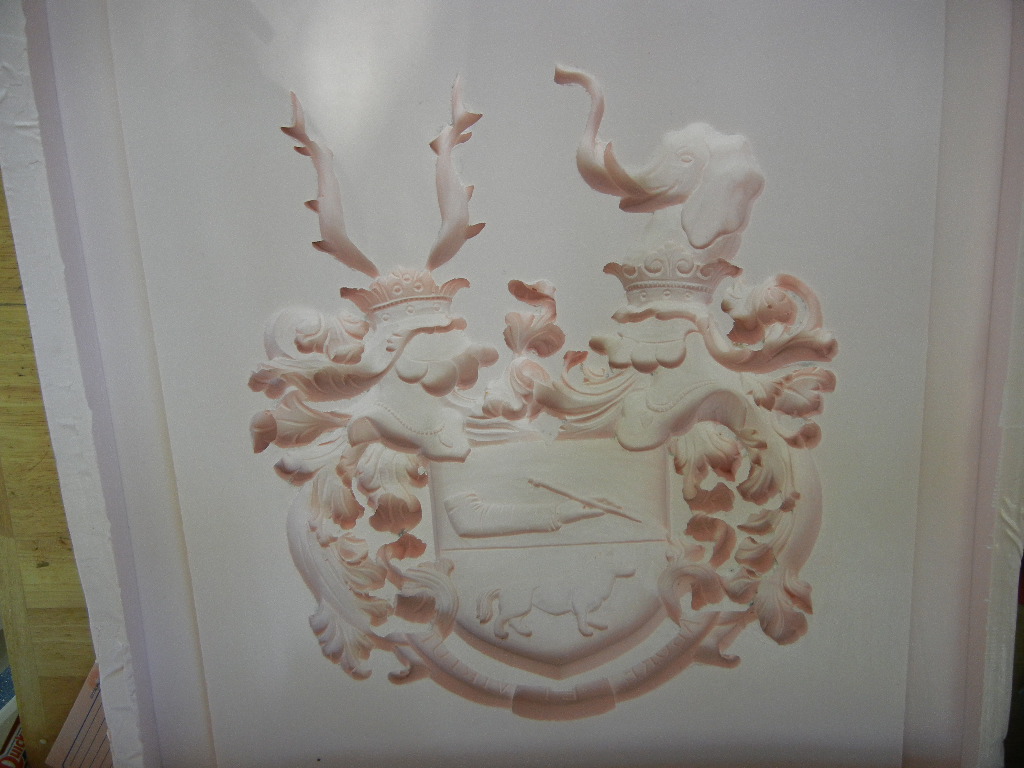
Silicone Rubber mold (believe it or not this is in reverse)
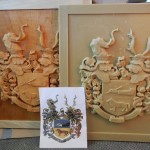
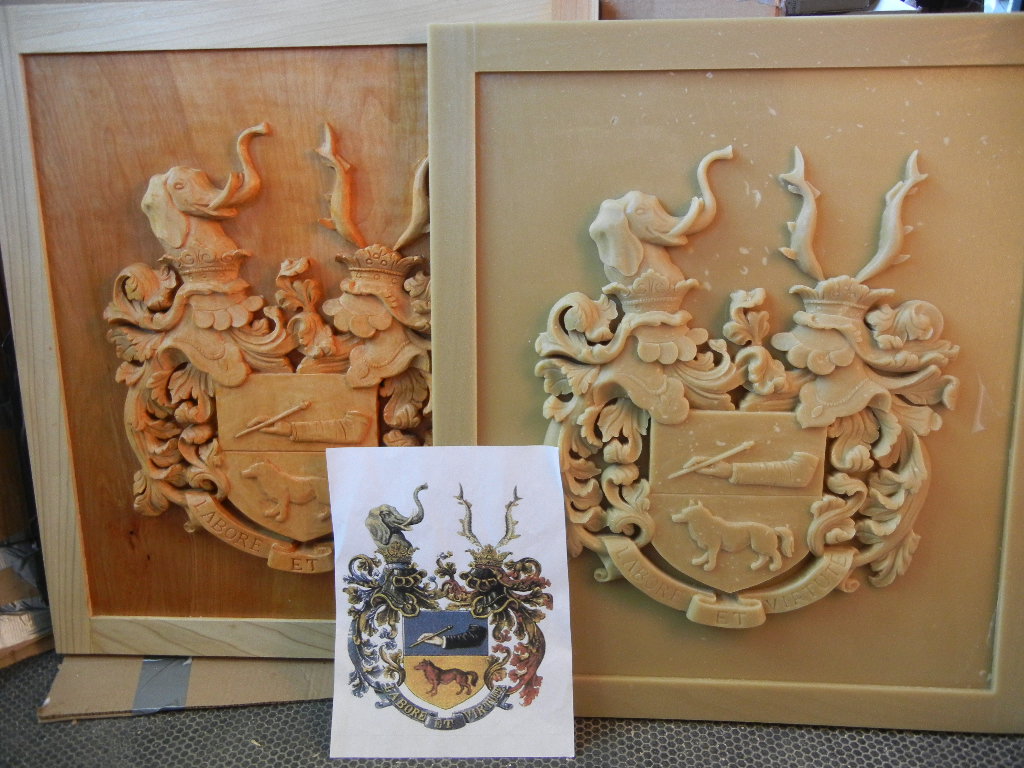
Left – original woodcarving; Right – Resin casting; center – 8-1/2 x 11 copy of original color coat of arms

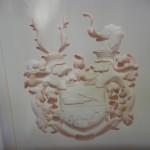
I unwrapped my Christmas present – and Santa was good to me! Only a few little air bubbles, but no big deal. The silicone rubber mold came off easily. The first photo is difficult to picture, but it is in reverse (i.e. the carving is set into the mold rather than sticking out). Sometimes the shadows are very deceiving.

I opened the 2 containers of resin (mixed 1 to 1 equally) and started to stir. Since there was a type of filler (maybe silicone? It was heavy – not micro-baloon) mixed in, it was like stirring peanut butter where the oil had separated, only worse. It took about an hour to stir each container by hand and get the thick sludge at the bottom mixed in. I ended up mixing about 1-3/4 gallon of resin (this was also nerve wracking, as it has 8 minutes of mixing time before it starts to heat up and harden). I had to do it in 4 separate batches because my container wasn’t large enough, and I also didn’t estimate the amount I needed accurately. By the time I was mixing the final batch, the first one that I poured was beginning to harden. It really doesn’t make that much of a difference, except that the back surface was a little uneven because of this. I am pretty sure I can just put a belt sander to it and smooth this.

The best way to figure out the correct amount to mix (which I did not do) is to either pour water (or sand) into the mold first, pour it out into a separate containter, and measure the volume. It would have been difficult with water, as I’m sure half of the water would have ended up on the floor when I tried to pour it off into a separate container. It would have just been too awkward with the size and shape of it. Sand would have been better and more controllable, but still awkward. So… I just jumped right in and hoped for the best.

Make sure before you pour your resin that all water is dried or sand is washed away.

After pouring the resin, I waited about 3 hours and – a successful resin casting! Some slight discoloration from the “peanut buttery” part of resin still not mixed through, but it didn’t change the surface texture.

I still have to make 2 more resin castings, and may try another product – my hand is still aching from the peanut butter stirring.

Stephanie Poe, an very talented faux finishing artist, will be painting both the original woodcarving and resin castings to match the original color of the coat of arms.

As I mentioned earlier, the wooden one will stay indoors, and the resin will be for outside on their call box at the end of the driveway. Once it is painted, the resin should not break down in the SC sun. It may need to be touched up every once in a while, but will definitely last longer than if the wooden one were outdoors.

4 comments on “Resin casting of coat of arms”

  1. Ron Hunt says:
    October 22, 2011 at 8:28 am

    Mary, this is very interesting and something I have wanted to learn/do for years, (but was too scared). We must talk about this.

    Cheers, Ron

    • admin says:
      October 24, 2011 at 9:03 am

      Hey Ron, good to hear from you. Next time you are in town escaping the Canadian snow, give me a call and you can help me make a mess!

  2. Tina says:
    February 3, 2012 at 12:11 am

    I have two carved figurines, and neither I nor the person I got them from can tell if they are wood or resin/polymer. How can one tell for certain? Thank you.

    • admin says:
      February 3, 2012 at 9:39 am

      I guess my first thing would be to go to an area on the figurine that is not visible (such as the bottom surface) and scratch it through the paint to see whether you can see wood crain or not. I would NOT do this if it is an antique and if it will reduce the value. You may want to be on the safe side and take it to an antique dealer or appraiser and they may be able to let you know exactly what it is without damaging it. Sorry I can’t help you more with this. Good luck!

Watch a Sample Lesson from my Online School

Your Free Membership offers 12 Free Lessons. See more at My School of Traditional Woodcarving.
Facebook You Tube Google plus Linked In twitter-24

Recent Posts

  • Carving the Acanthus Leaf Book with Videos and Study Casts
  • Last Chance to Pre-Order Carving the Acanthus Leaf Book
  • Enter to win FREE resin castings of acanthus leaves
  • Preview a FREE Chapter of my Carving the Acanthus Leaf Book
  • Carving the Acanthus Leaf – Now Available for Pre-Order
news-sm

Keep up with my online Woodcarving School

A weekly newsletter tells of the latest video episode. My monthly newsletter announces upcoming video lessons, carving tips and tricks, a free template and class schedule.

Categories

  • Acanthus book
  • Acanthus Leaves
  • American College of the Building Arts
  • Antique furniture reproduction
  • Book Review
  • Brookgreen Gardens
  • Cartouche
  • Carving wildlife
  • Carvings for churches
  • Chair Carving
  • Charleston Rice Bed
  • Creche
  • europe trip
  • Finials
  • Fleur-de-lis
  • Grinling Gibbons
  • Guest Blogger
  • Handworks Show
  • intaglio- maple leaf
  • Magazine articles
  • On-Line Woodcarving articles and TV interviews
  • Online carving school
  • People
  • Philadelphia Highboy
  • Savannah
  • Scrolls
  • Shows
  • Society of American Period Furniture Makers
  • Tools
  • TV Shows
  • Uncategorized
  • Videos
  • Violin Scroll
  • WIA Show
  • Wood Carving Education
    • Ball and claw foot
    • letter carving
    • Mary's story
    • Tips & Tricks
    • Woodcarving classes
  • Wood Carving Projects
    • Acanthus Leaf Repair on Tables
    • Bed Carving
    • Carving faces
    • Carving Hands
    • Carving Reeds
    • Celtic design
    • Church carving in Savannah
    • Coat of Arms
    • College Sign
    • Corinthian Capitals
    • Deep relief carving
    • Dragon Carving
    • Egg and Dart Molding
    • Kings Head Bracket
    • Misc. Antique Furniture Repair
    • Newport Shell
    • Period Furniture Carving
    • Picture Frame
    • Rosettes
    • Shell and Acanthus Leaf
    • Shell Niches
    • Shell wall sconce
    • Sunburst
  • Wood Carving Tips

Archives

  • January 2018 (1)
  • November 2017 (1)
  • October 2017 (2)
  • September 2017 (1)
  • July 2017 (1)
  • April 2017 (1)
  • March 2017 (1)
  • January 2017 (3)
  • December 2016 (2)
  • July 2016 (1)
  • May 2016 (1)
  • April 2016 (1)
  • March 2016 (1)
  • February 2016 (1)
  • January 2016 (2)
  • November 2015 (3)
  • October 2015 (3)
  • July 2015 (1)
  • June 2015 (2)
  • May 2015 (2)
  • April 2015 (4)
  • March 2015 (4)
  • February 2015 (5)
  • January 2015 (9)
  • December 2014 (8)
  • November 2014 (6)
  • October 2014 (6)
  • September 2014 (9)
  • August 2014 (4)
  • July 2014 (8)
  • June 2014 (2)
  • May 2014 (8)
  • April 2014 (13)
  • March 2014 (3)
  • February 2014 (1)
  • January 2014 (3)
  • December 2013 (1)
  • November 2013 (1)
  • October 2013 (5)
  • September 2013 (5)
  • August 2013 (2)
  • July 2013 (8)
  • June 2013 (3)
  • May 2013 (3)
  • April 2013 (5)
  • March 2013 (9)
  • February 2013 (3)
  • January 2013 (3)
  • December 2012 (6)
  • November 2012 (5)
  • October 2012 (5)
  • September 2012 (4)
  • August 2012 (4)
  • July 2012 (6)
  • June 2012 (5)
  • May 2012 (7)
  • April 2012 (8)
  • March 2012 (7)
  • February 2012 (9)
  • January 2012 (11)
  • December 2011 (8)
  • November 2011 (7)
  • October 2011 (21)
  • September 2011 (18)
  • August 2011 (7)

Blogroll

  • Bob Easton
  • Giant Cypress
  • High Rock Woodworking
  • Matts Basement Workshop
  • Modern Woodworkers Association
  • Penultimate Woodshop
  • Renaissance Woodworker
  • The Sunday Woodcarver
  • The Wood Whisperer
  • Tom's Workbench
  • Wood Central
  • Wood Net
  • Wood Talk Online

Links

  • Alan Breed
  • Alf Sharp
  • American College of the Building Arts
  • Charles Neil Woodworking
  • Charles Ramberg Furniture Maker
  • Christopher Schwarz
  • Connecticut Valley School of Woodworking
  • Dan Hamilton
  • Greg Guenther Wood Group
  • Highland Woodworking
  • Kelly Mehler School of Woodworking
  • Lucy Churchill
  • Lumber Jocks Woodworking Showcase
  • Marc Adams School of Woodworking
  • Mark Van Abbema
  • Philip Lowe
  • Pro Woodworking Tips
  • Ronnie Sextion
  • Society of American Period Furniture Makers
  • Studio 3d Creations
  • Thaddeus Stephens College of Technology
  • The Acanthus Workshop, LLC
  • The Mill, Inc
  • The Renaissance Woodworker
  • The Woodwright's School
  • Wood Carving Guide
  • Woodcraft Supply
  • Woodworking Workshops of the Shenendoah Valley
Mary May - Woodcarver - Copyright © Cornerstone Creations, LLC, 2015
Privacy Policy

Thank you

Your feedback have been received.

Close