-

- Step 27: Finished!
-
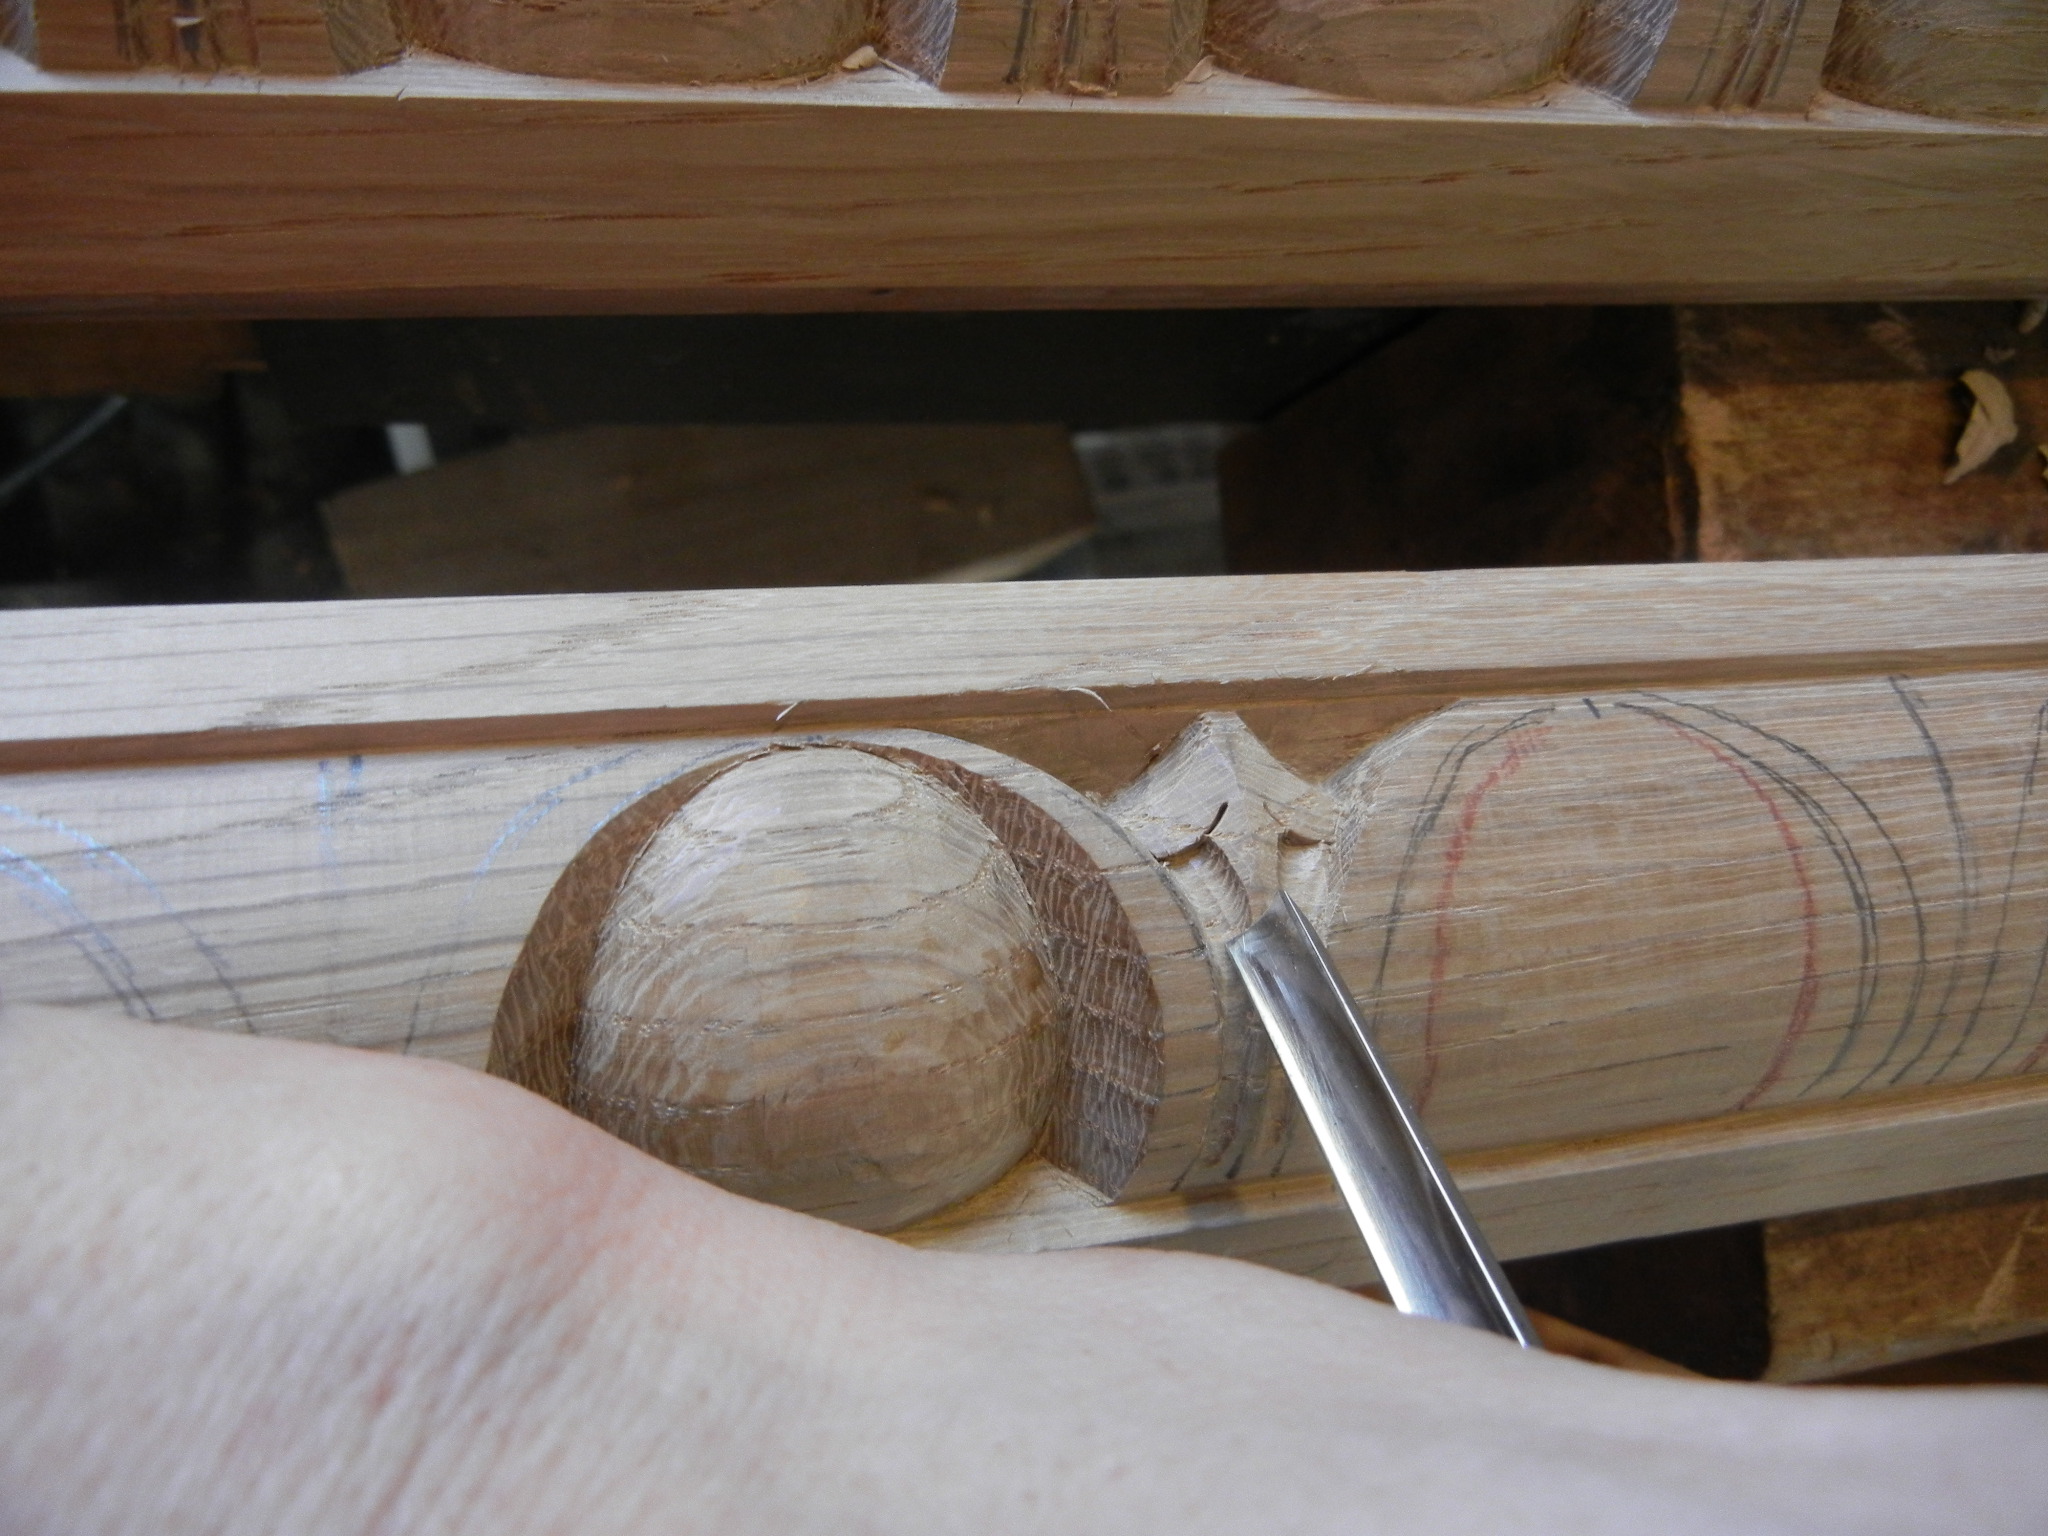
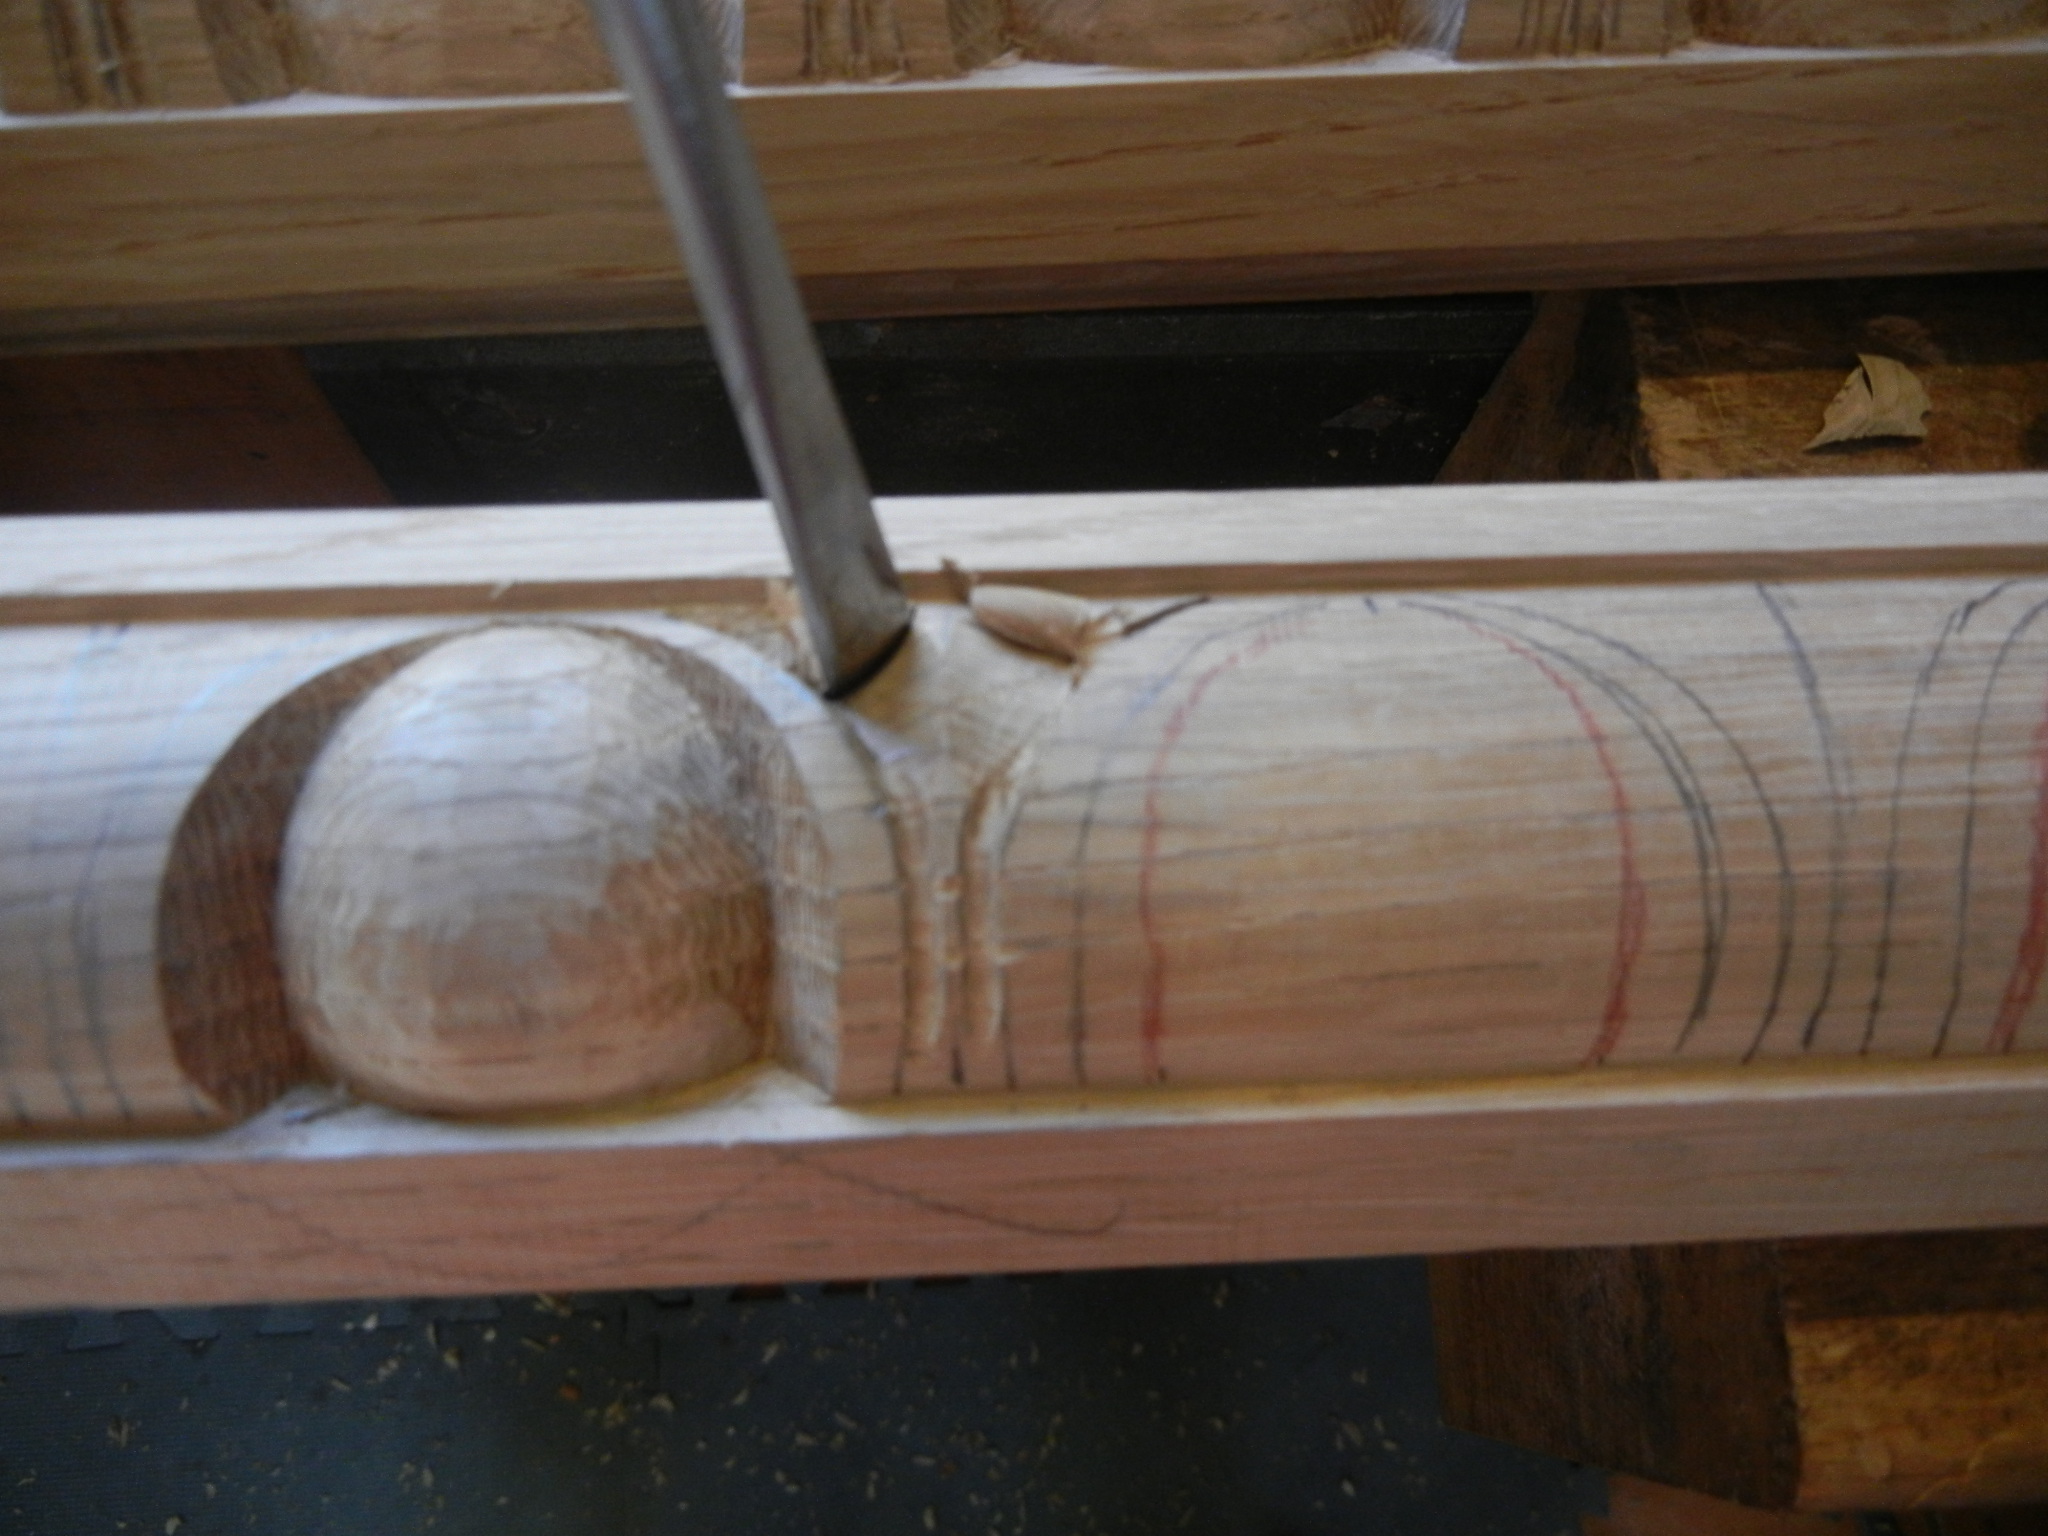
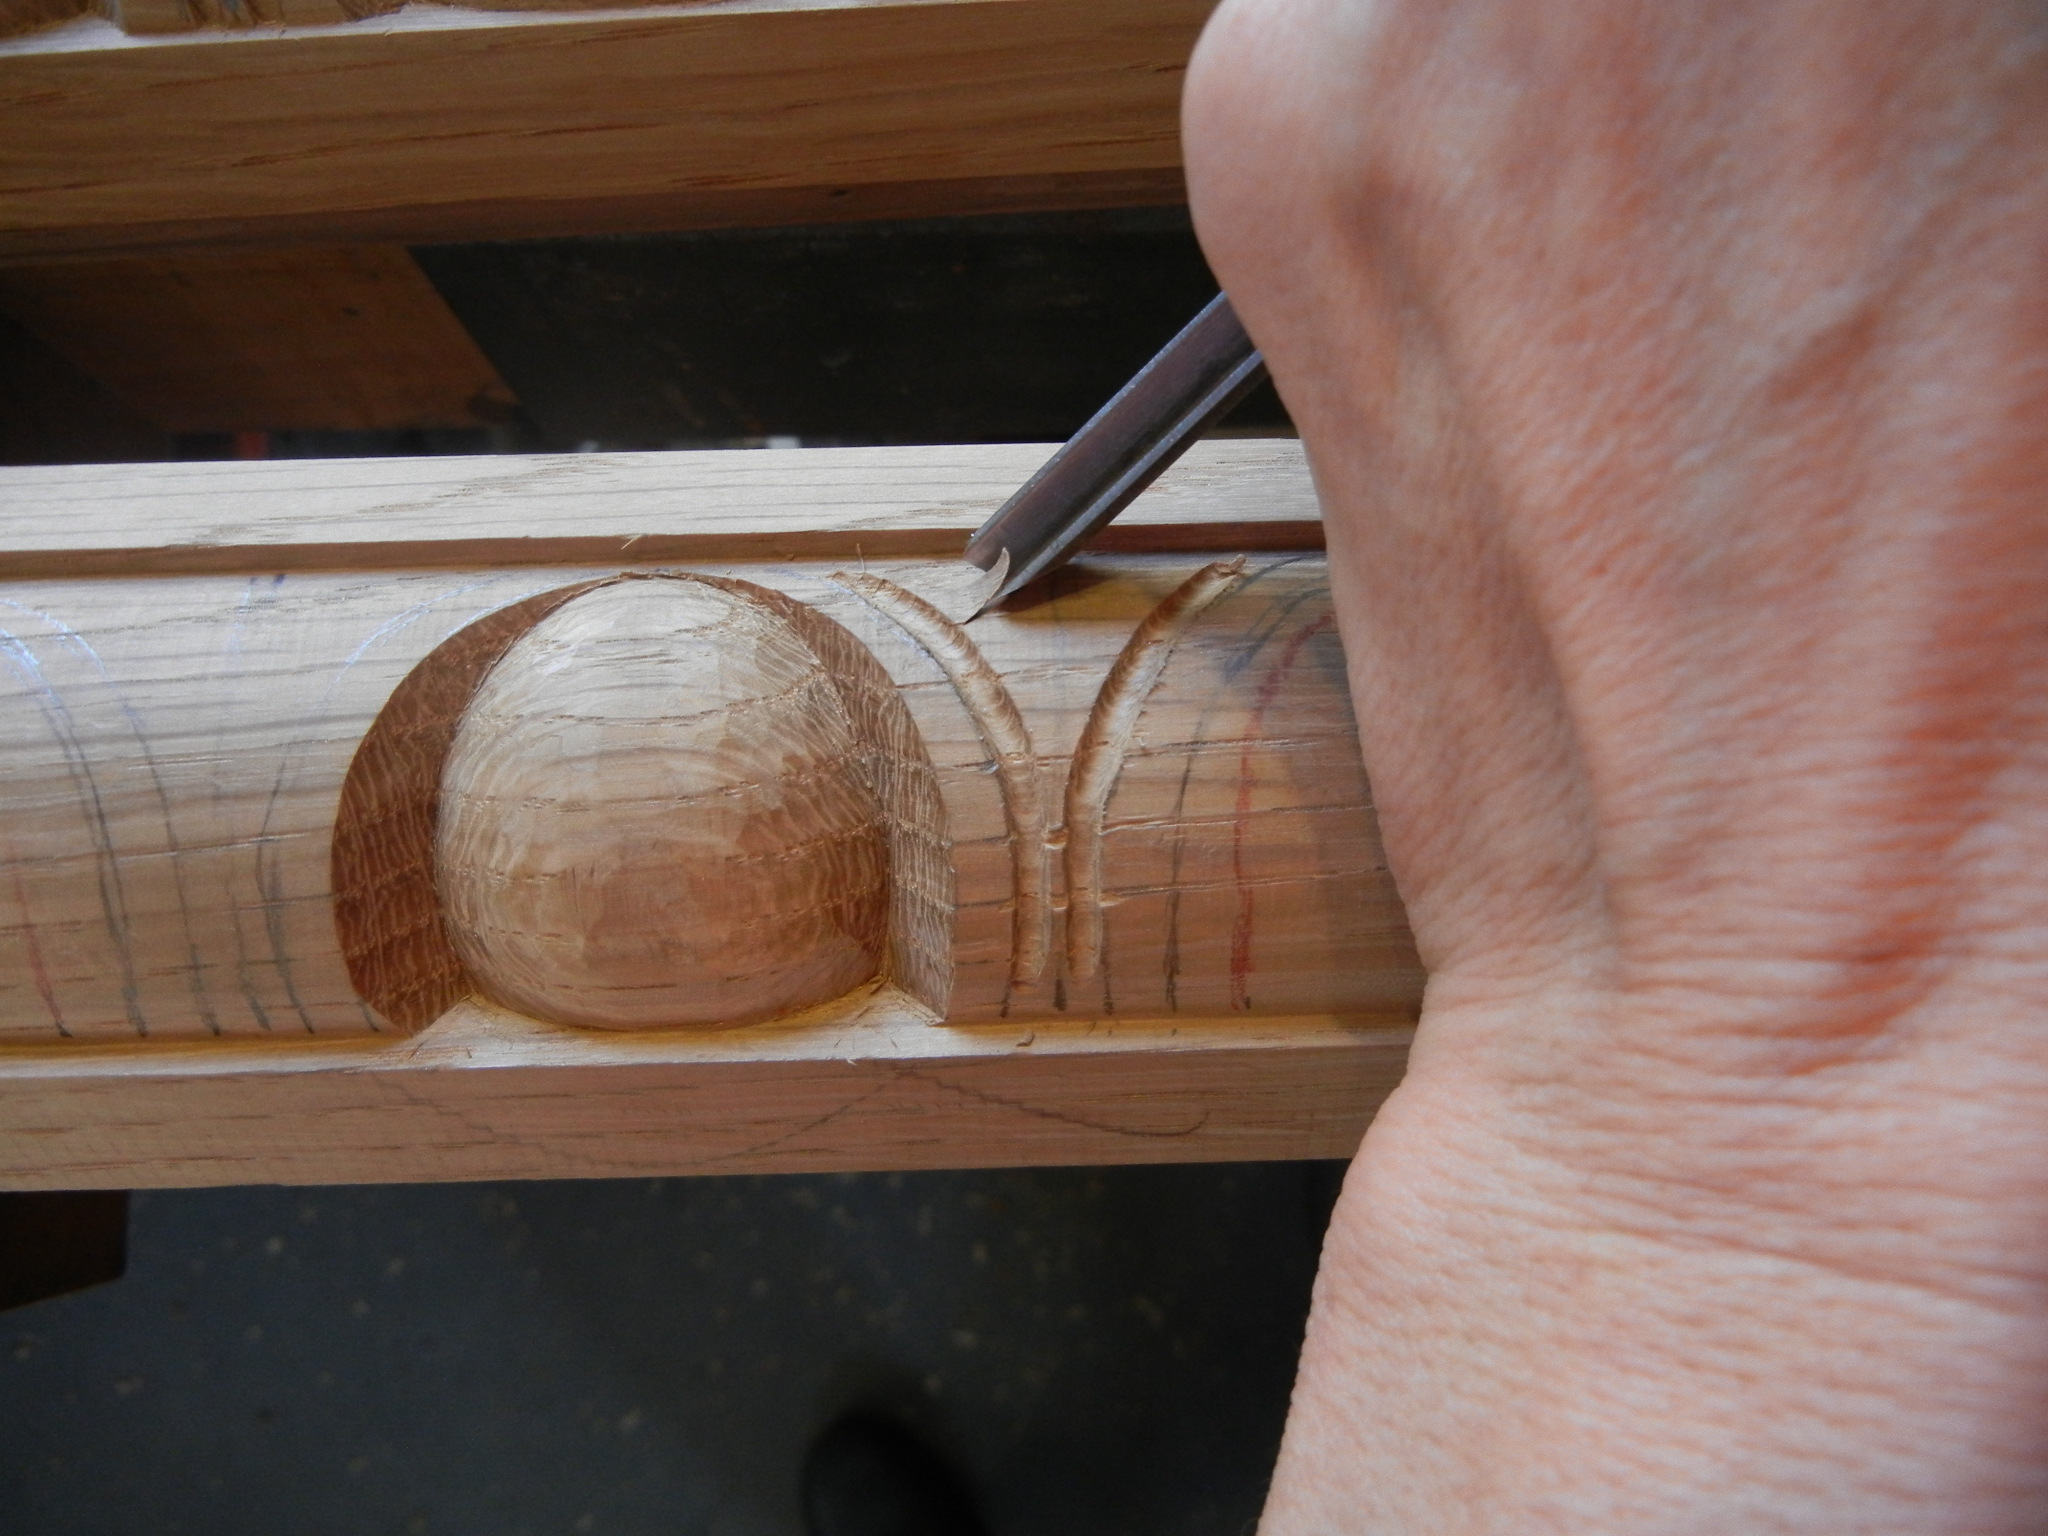
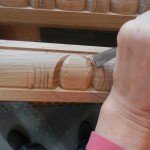
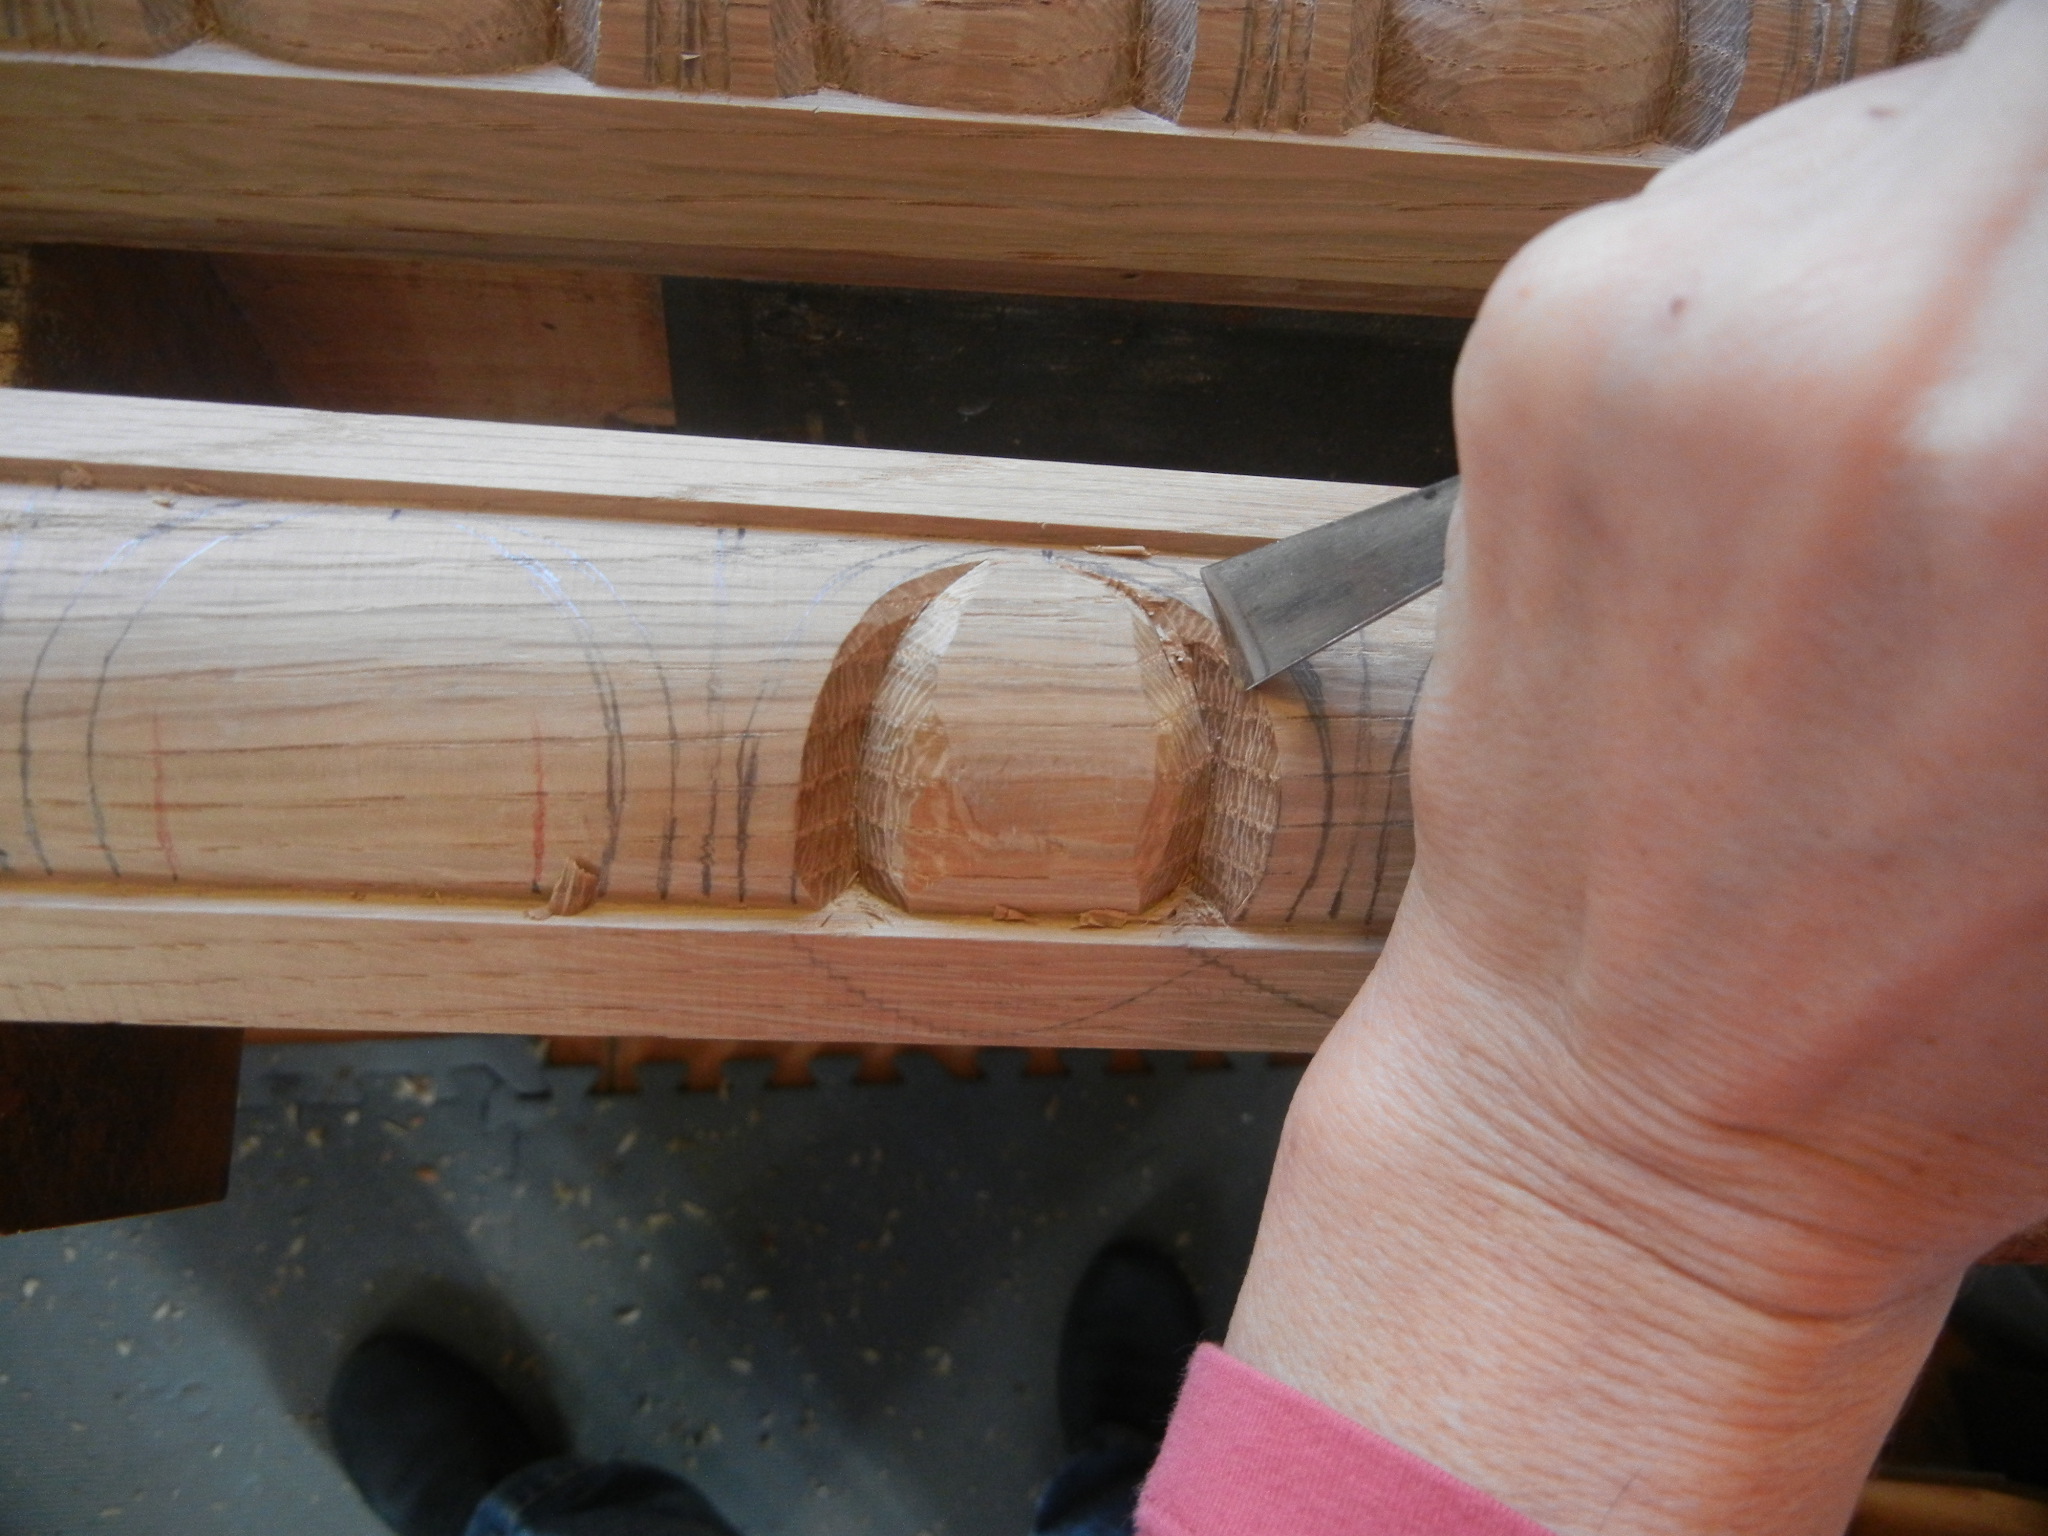
- Step 26: With a #7, 6mm, clean up and define the dart, or arrow-head
-

- Step 25: With a #11, 3mm, carve down this area to detail the dart
-

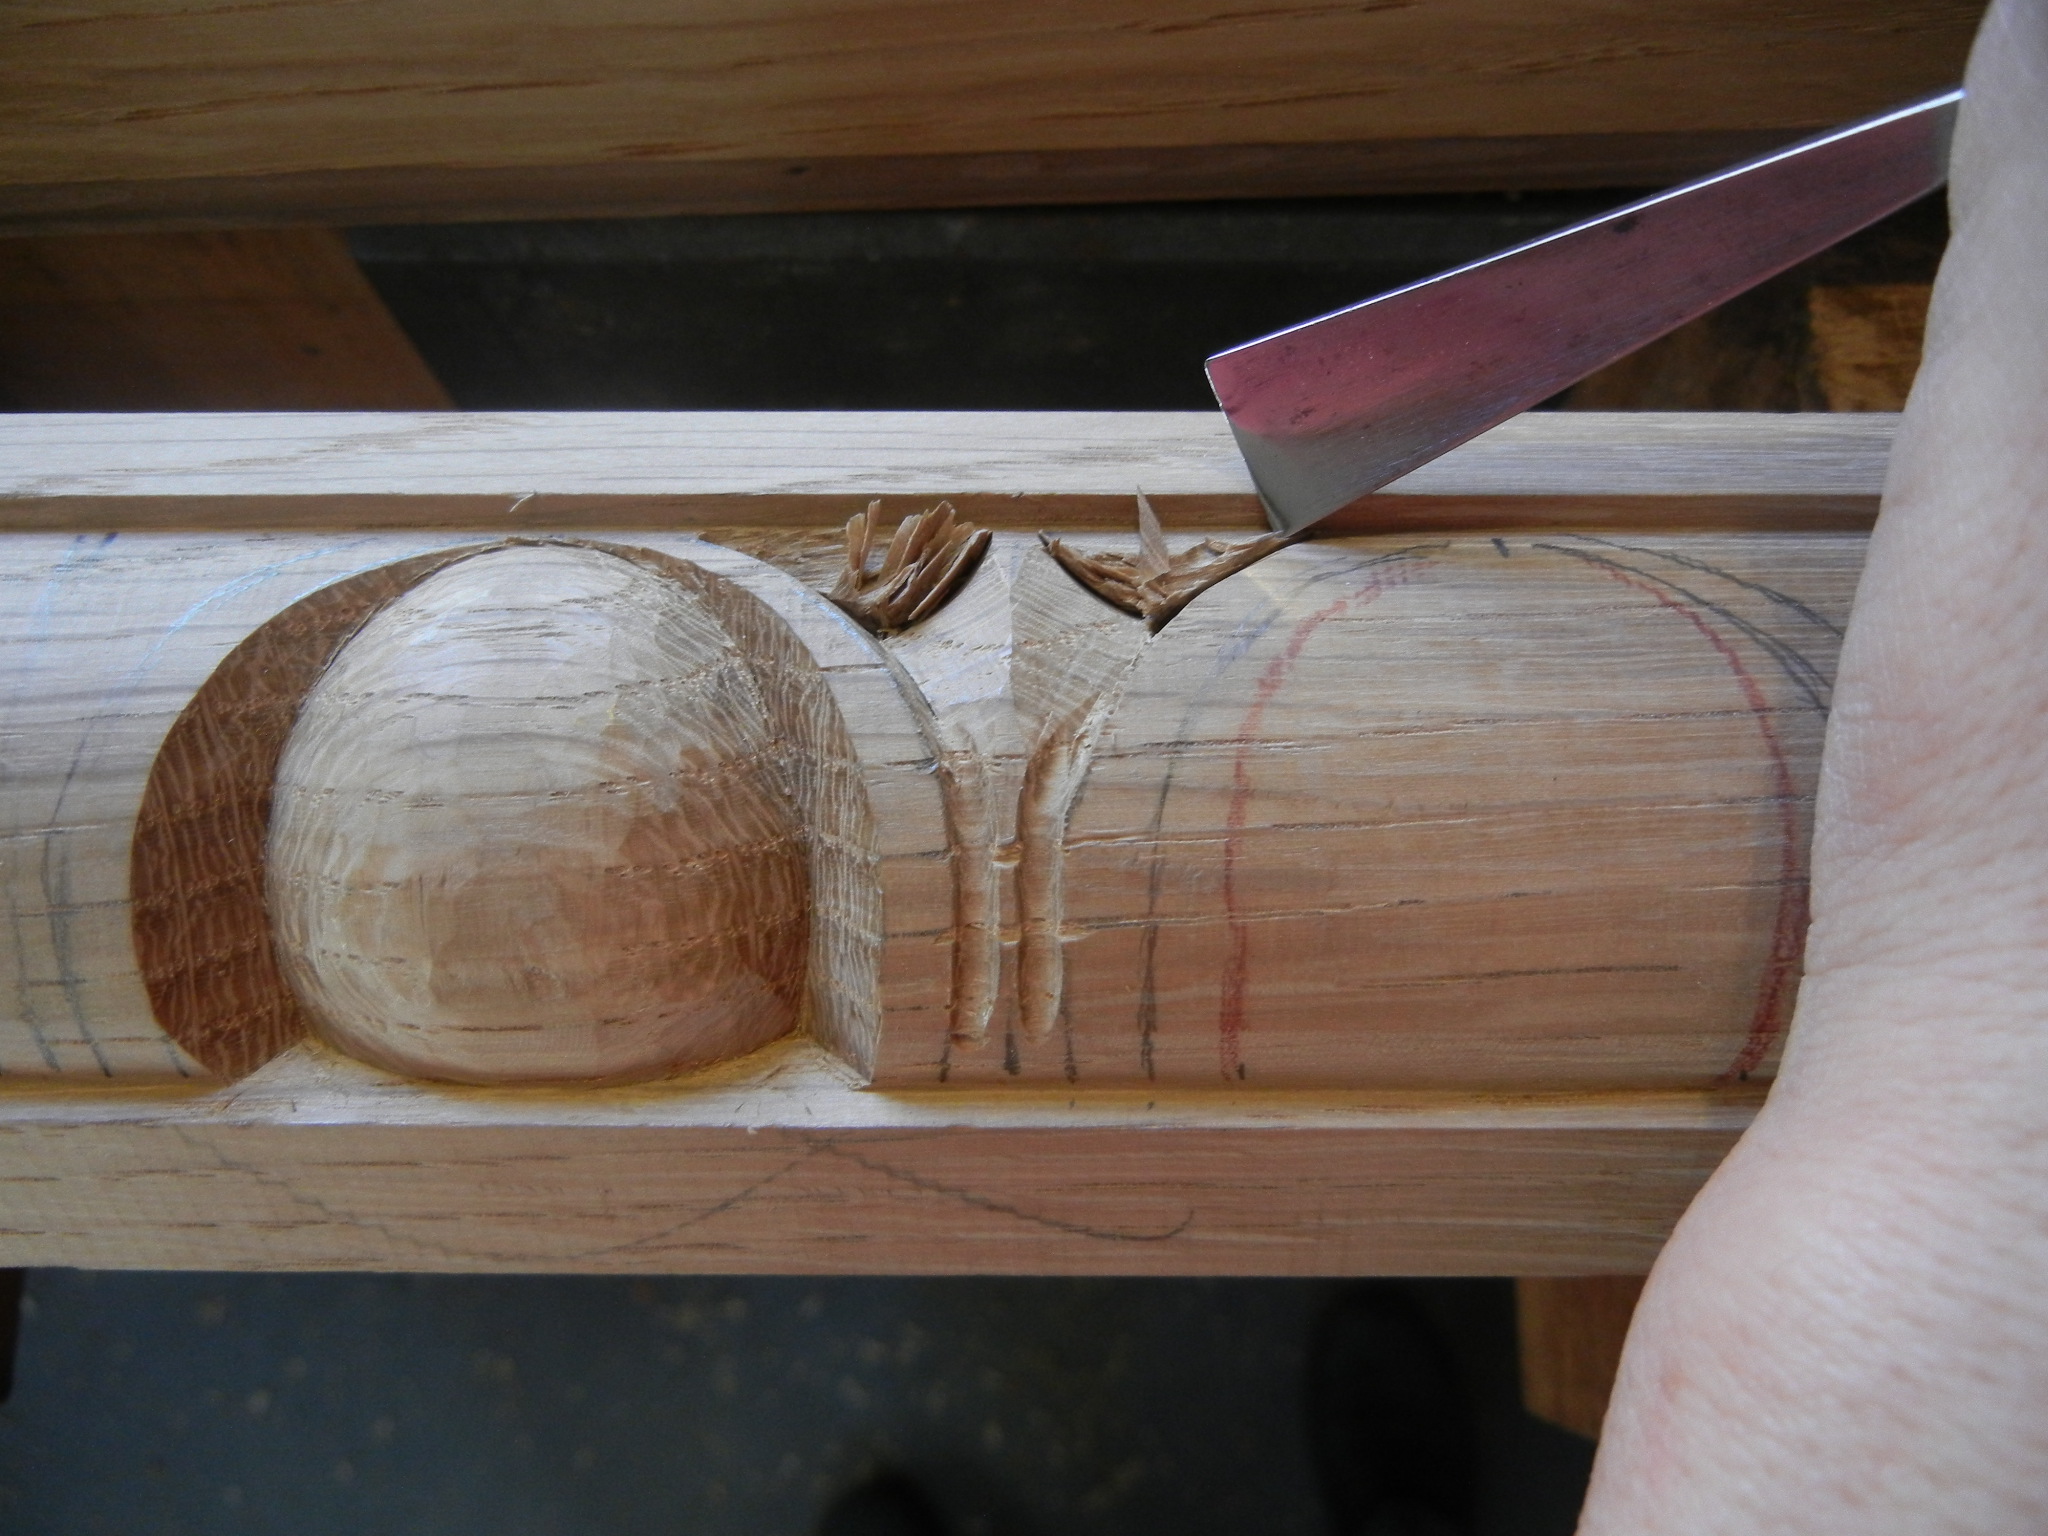
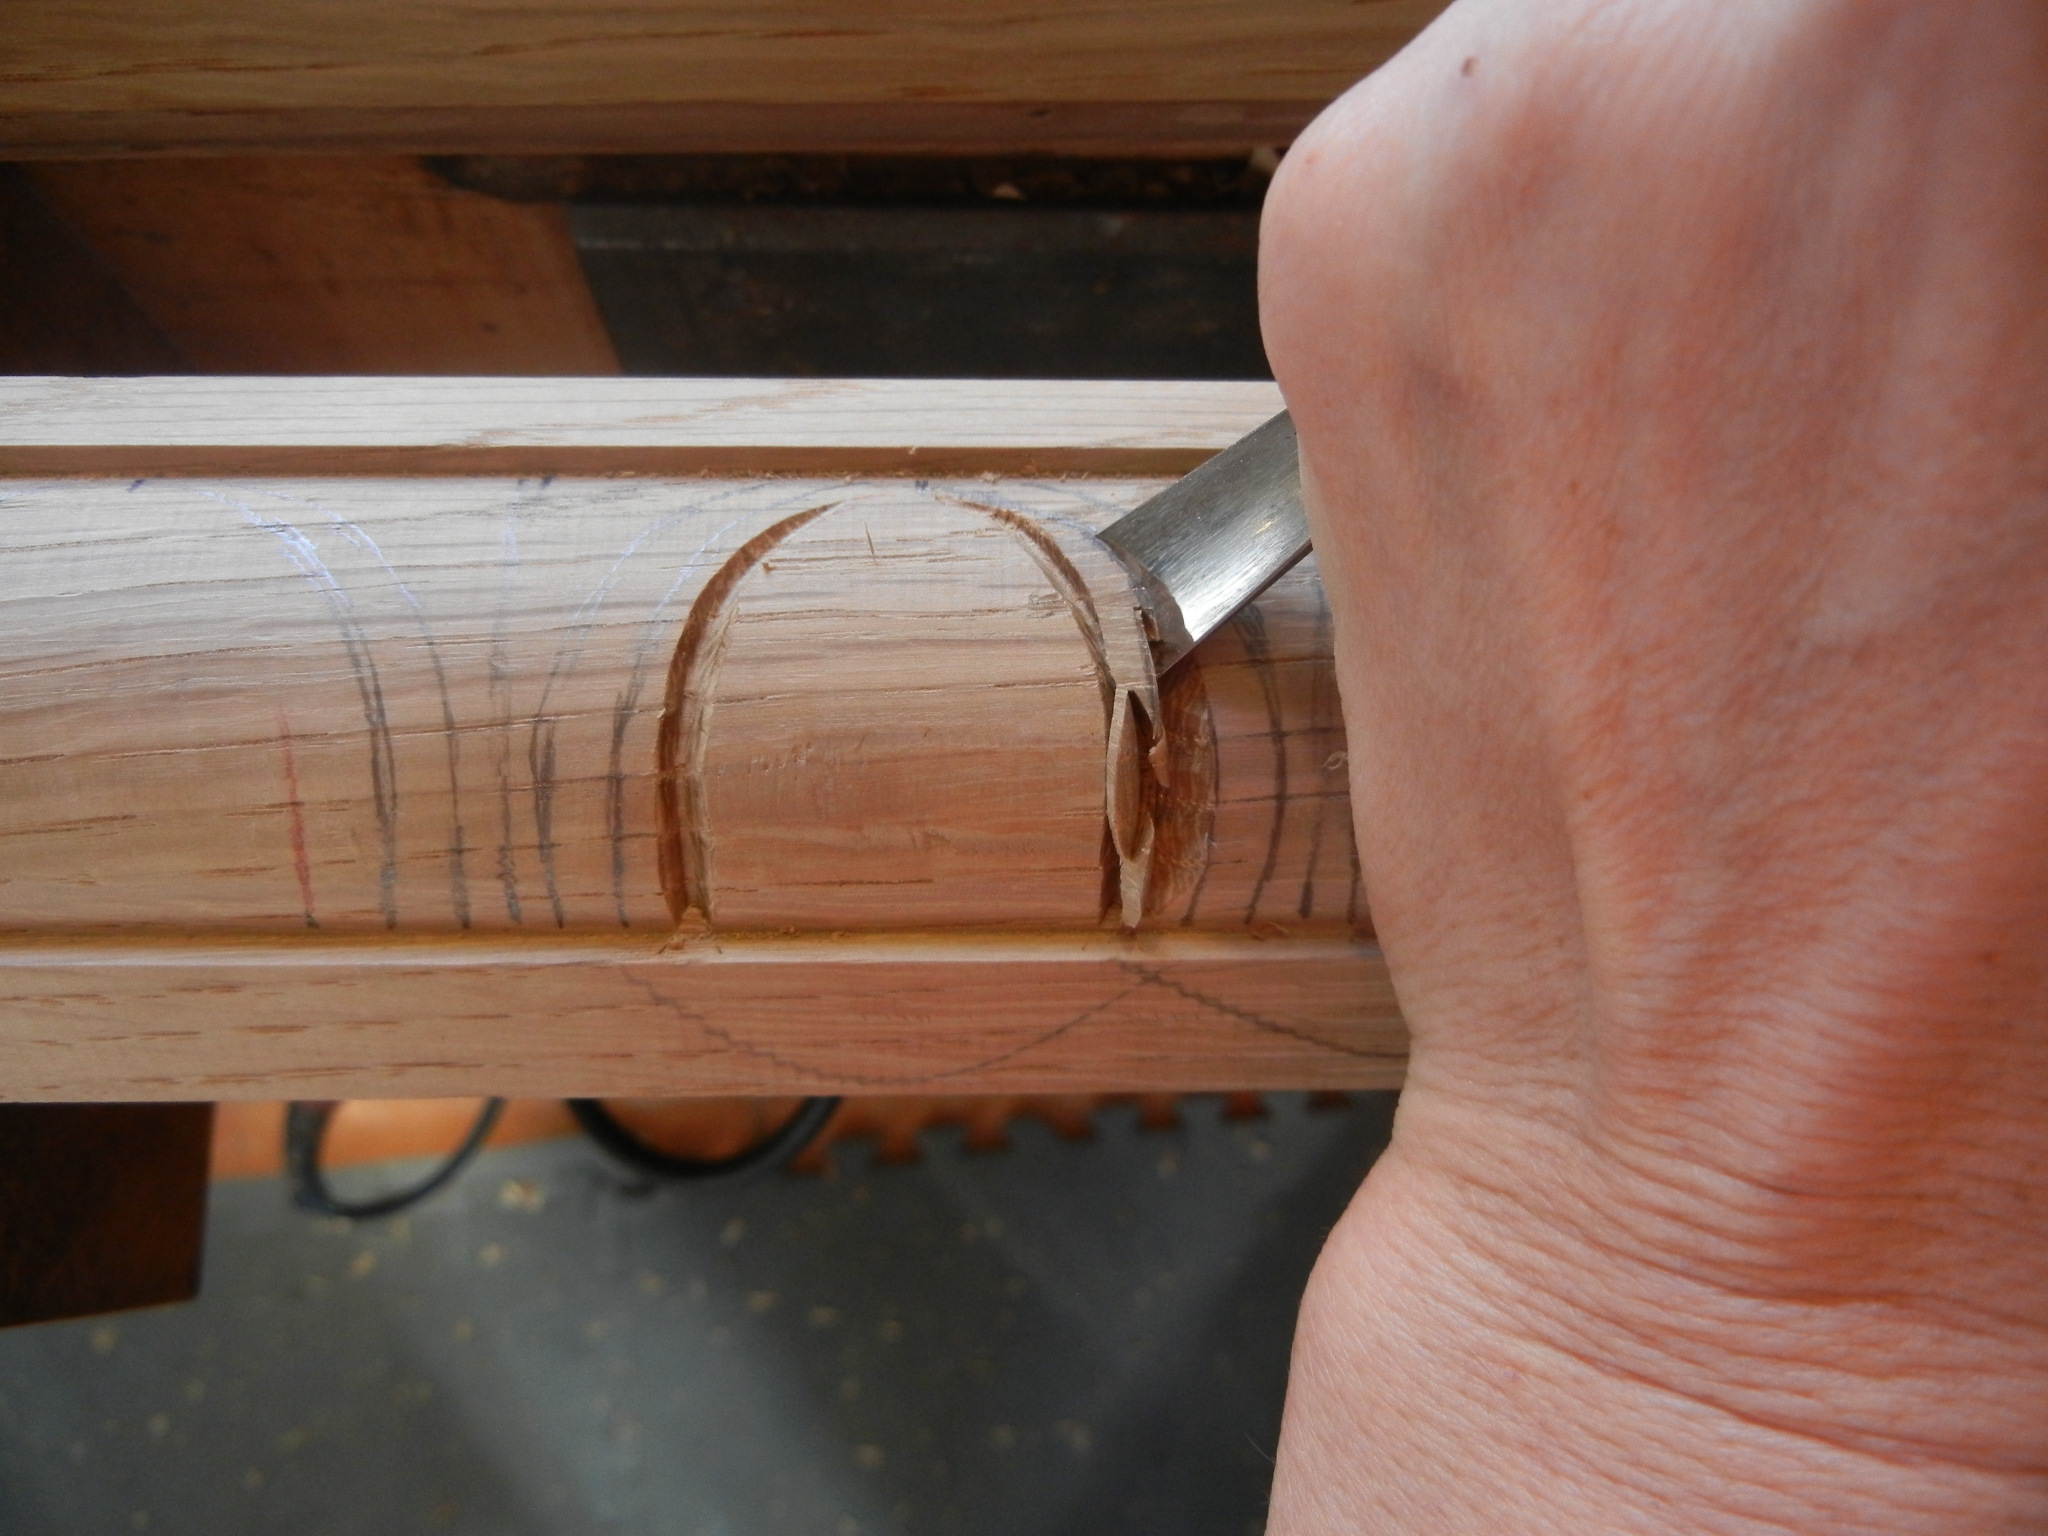
- Step 24: With a #7, 6mm, make a cut parallel to cut in step 23 to form the top of the dart shape
-

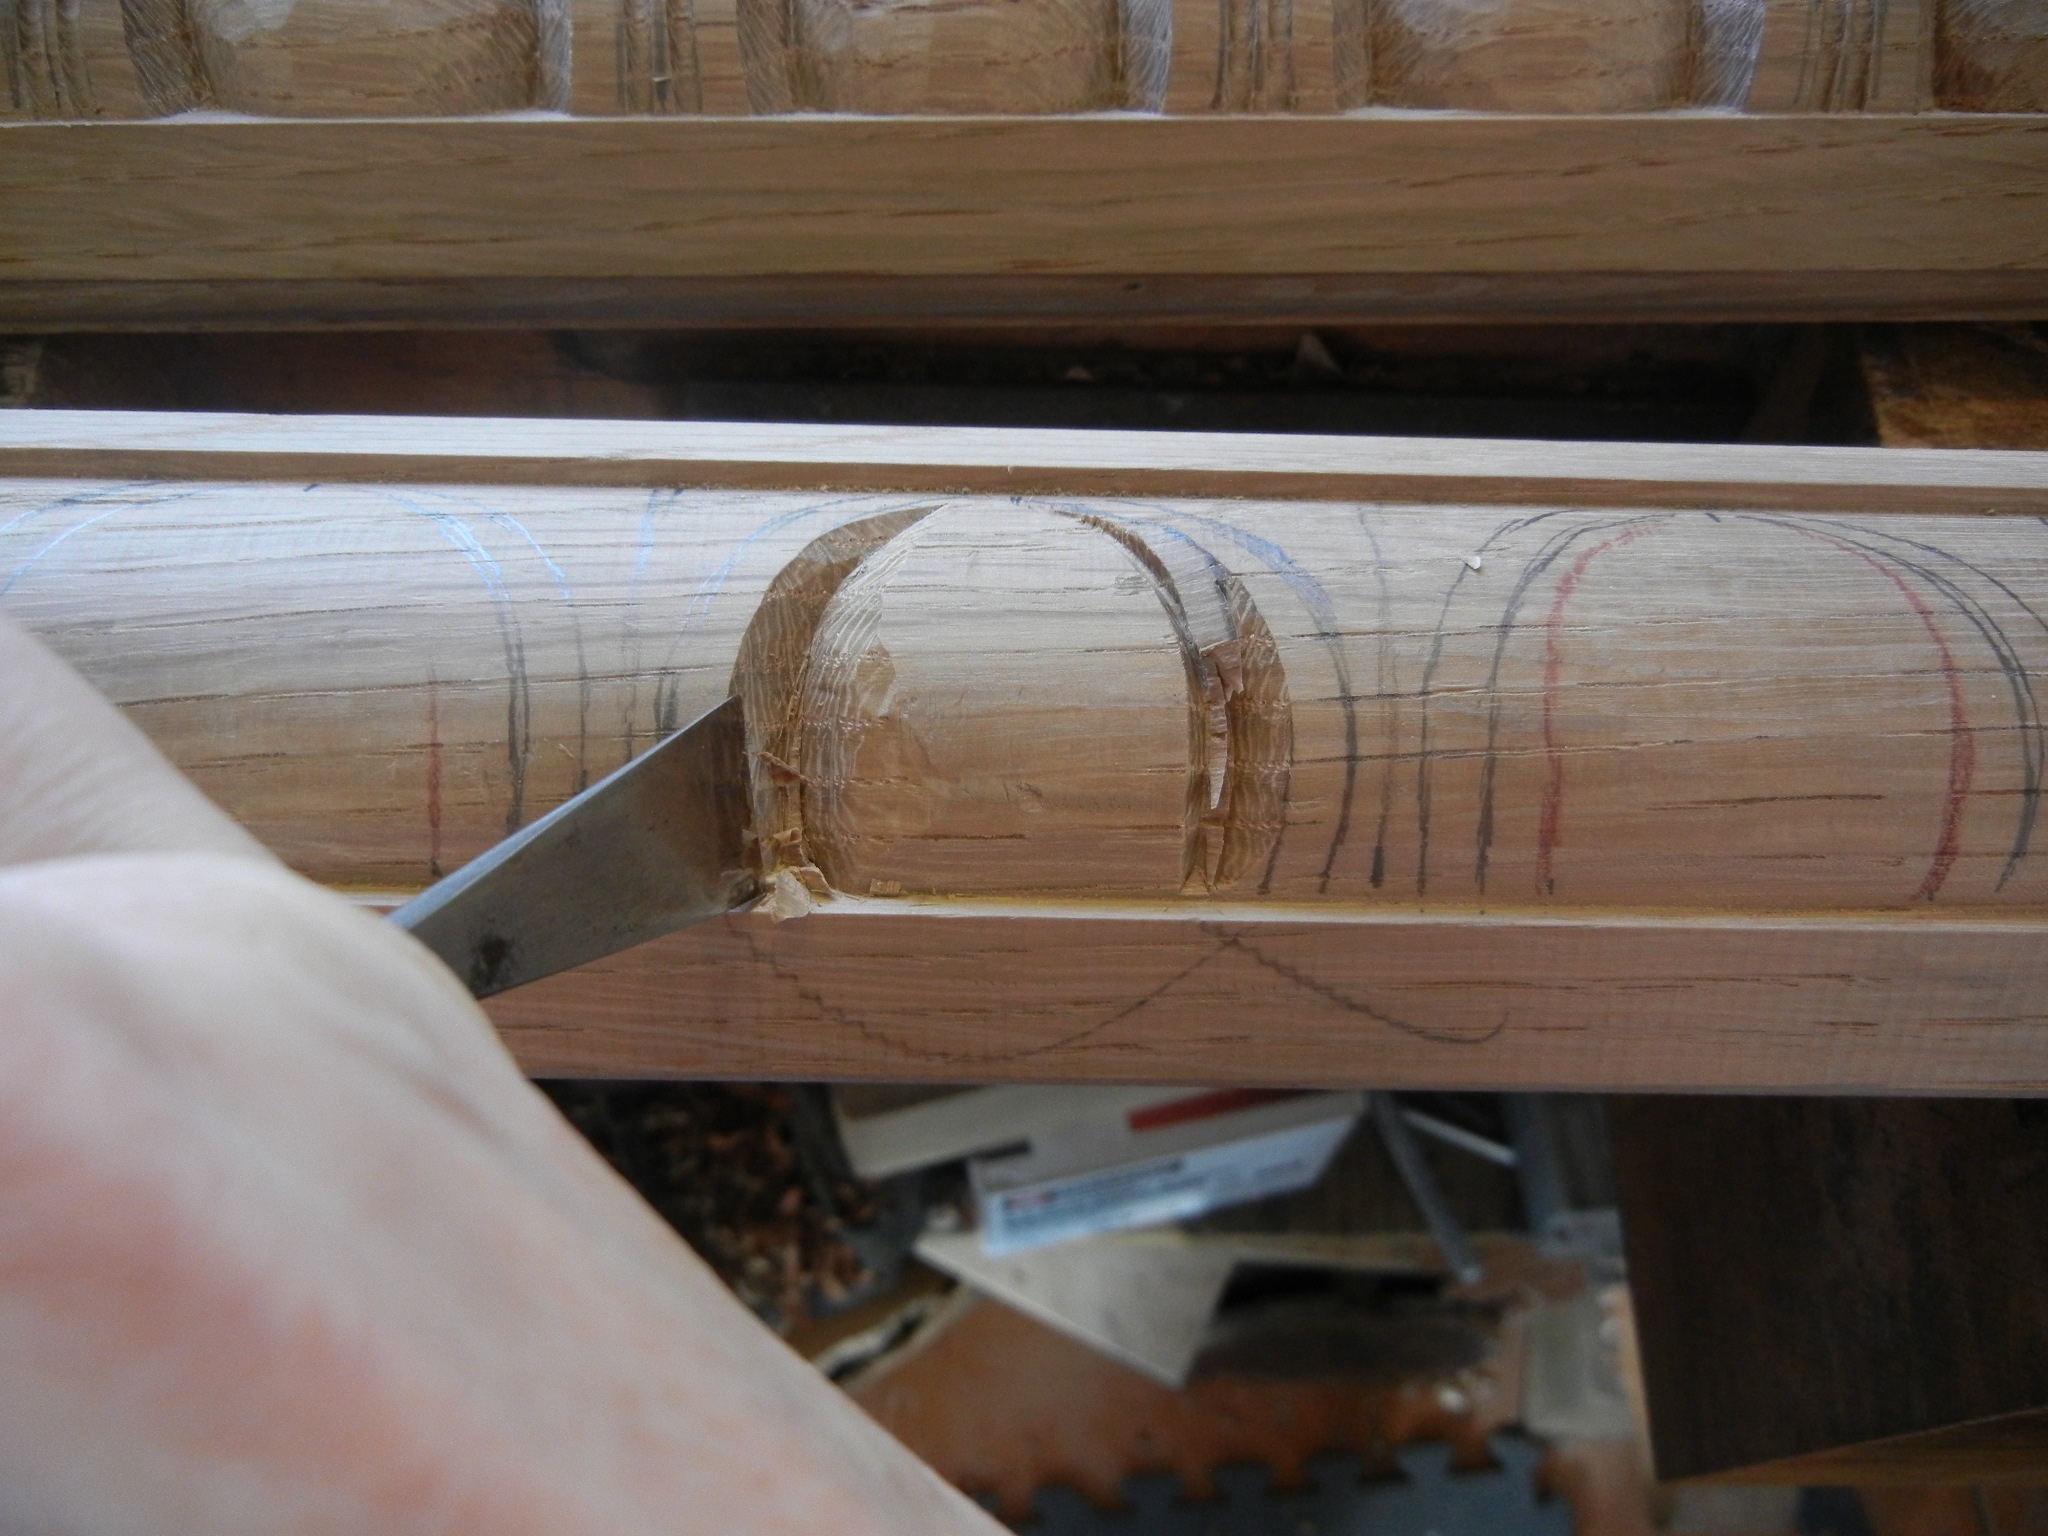
- Step 23: With the #4, 14mm clean out this triangular section
-
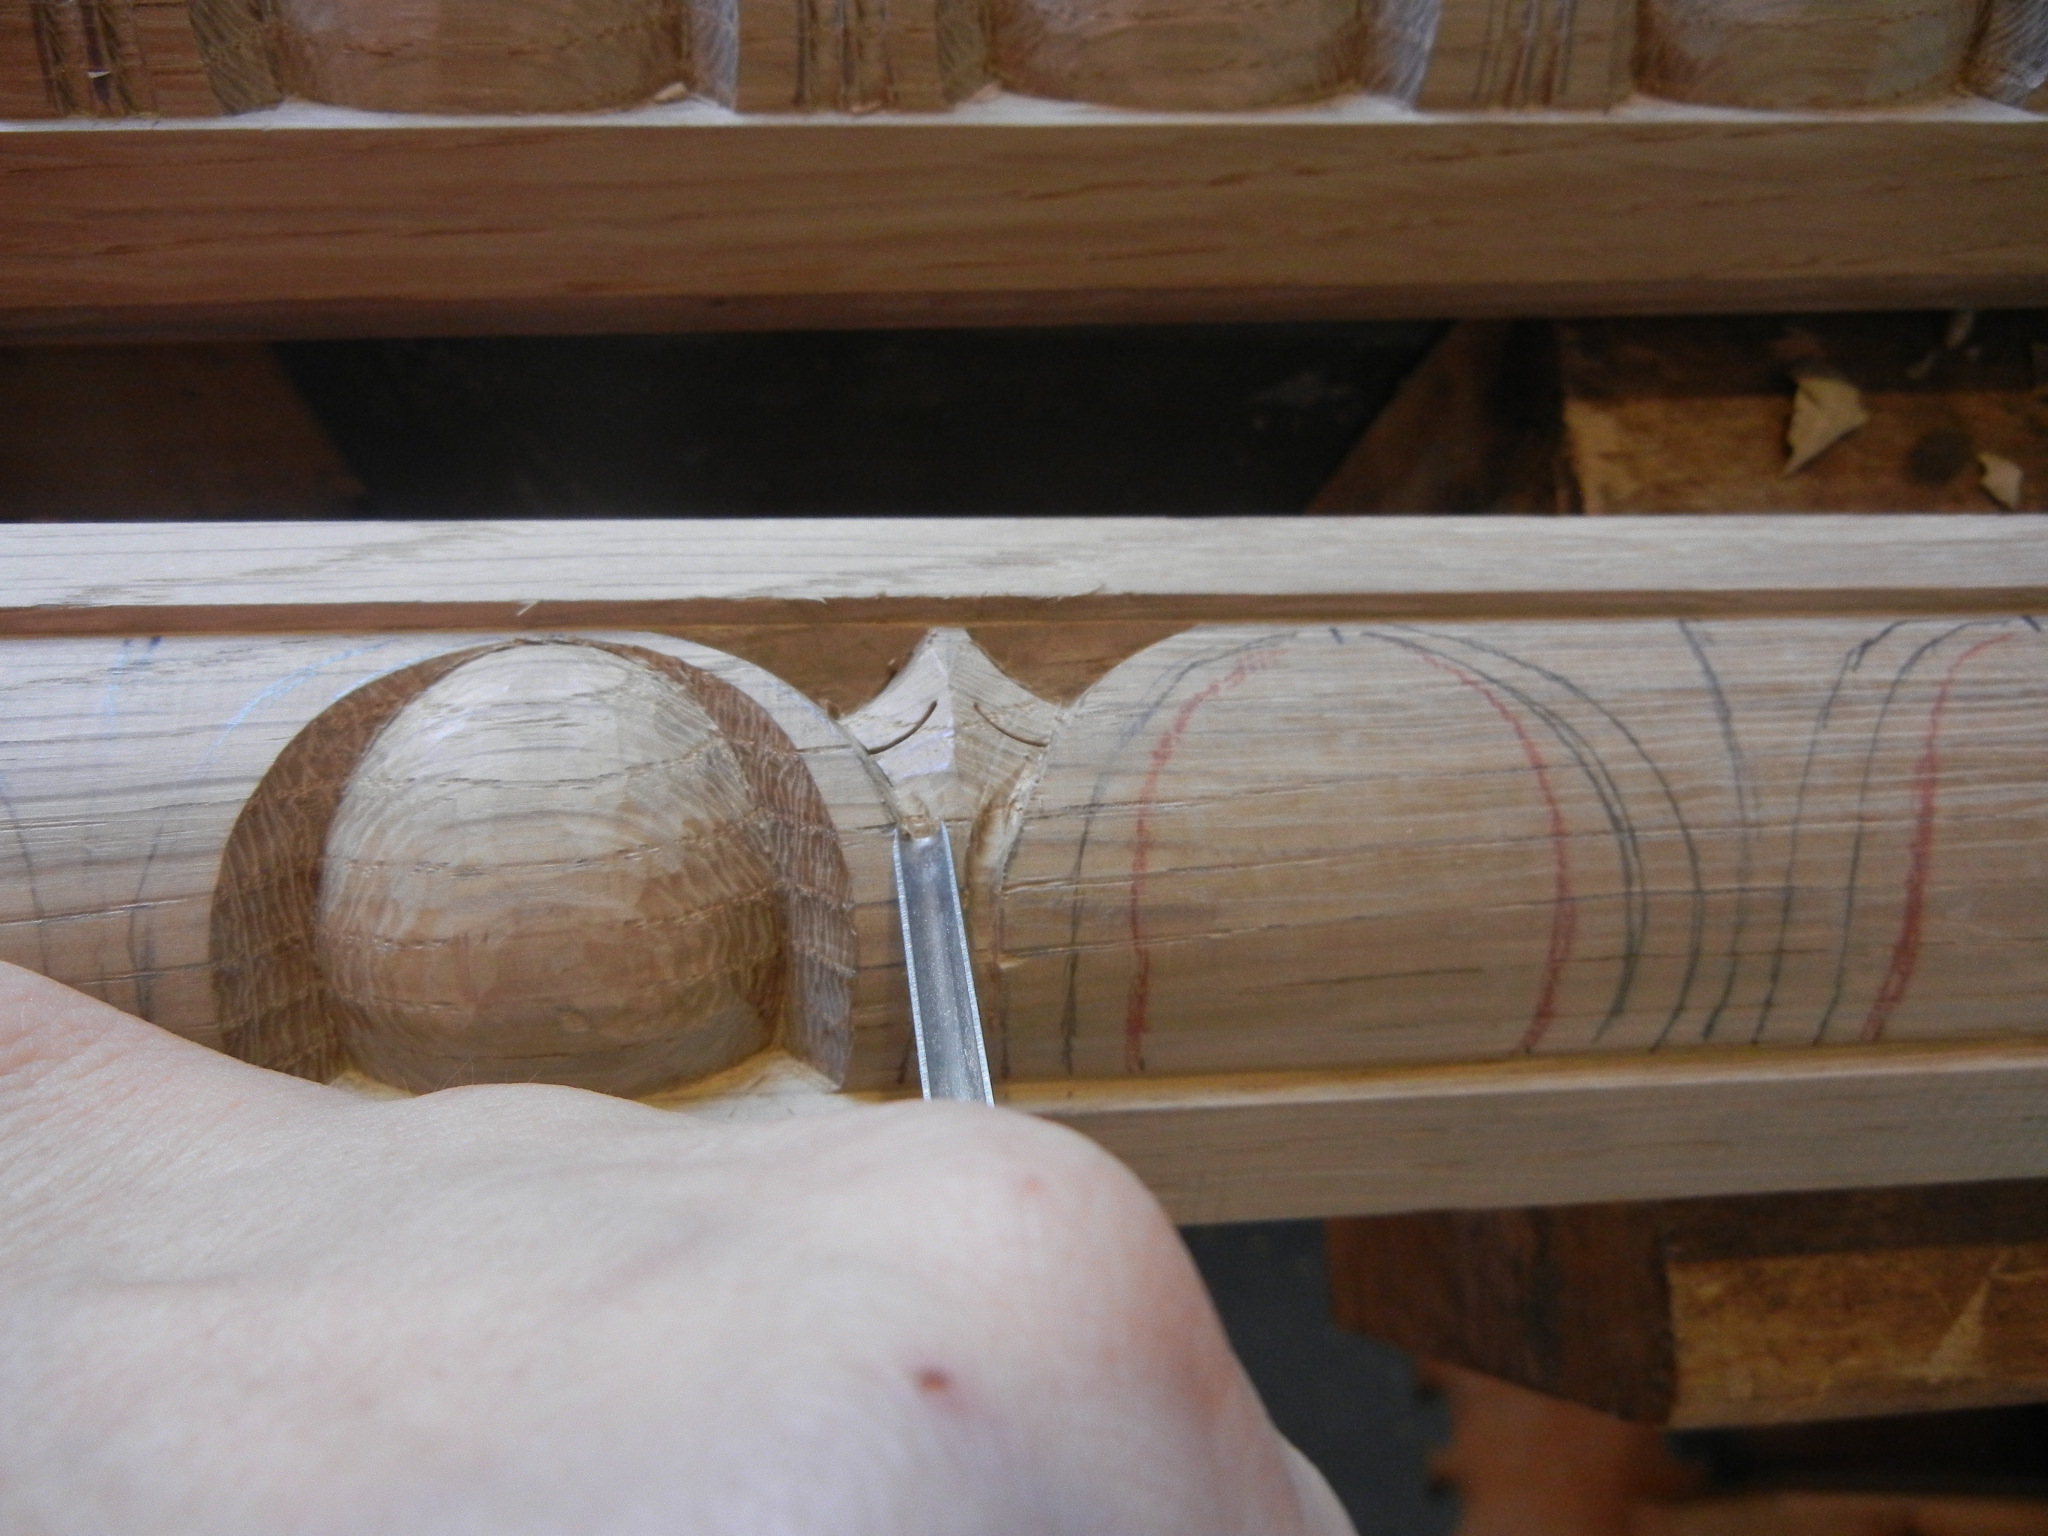
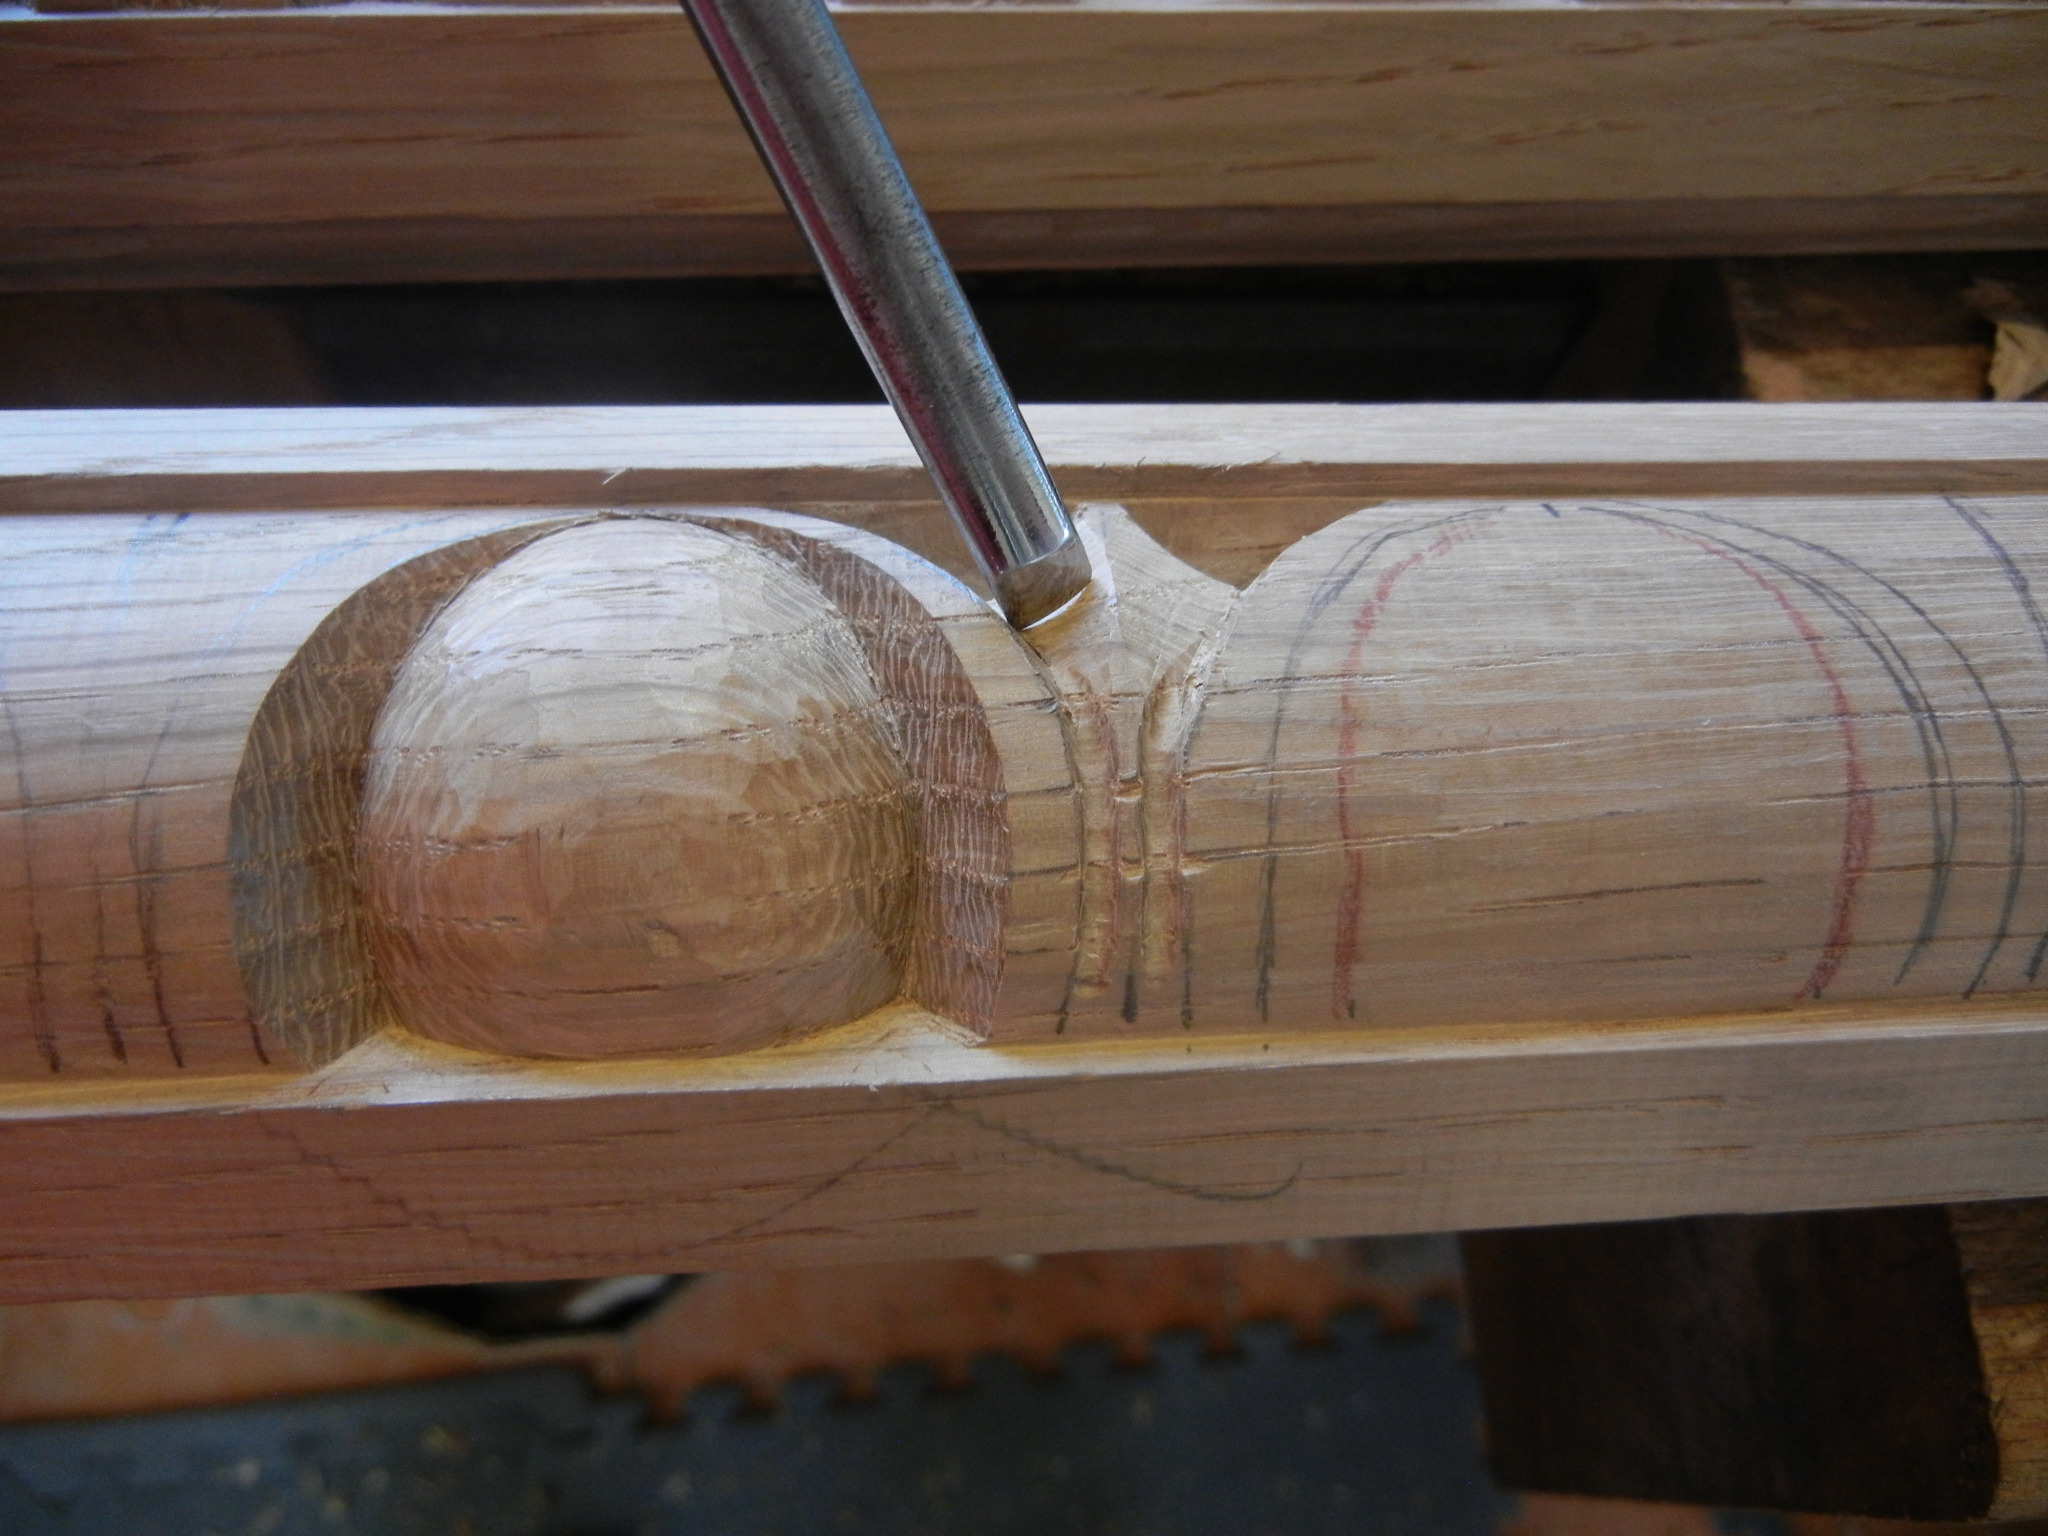
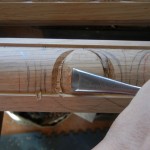
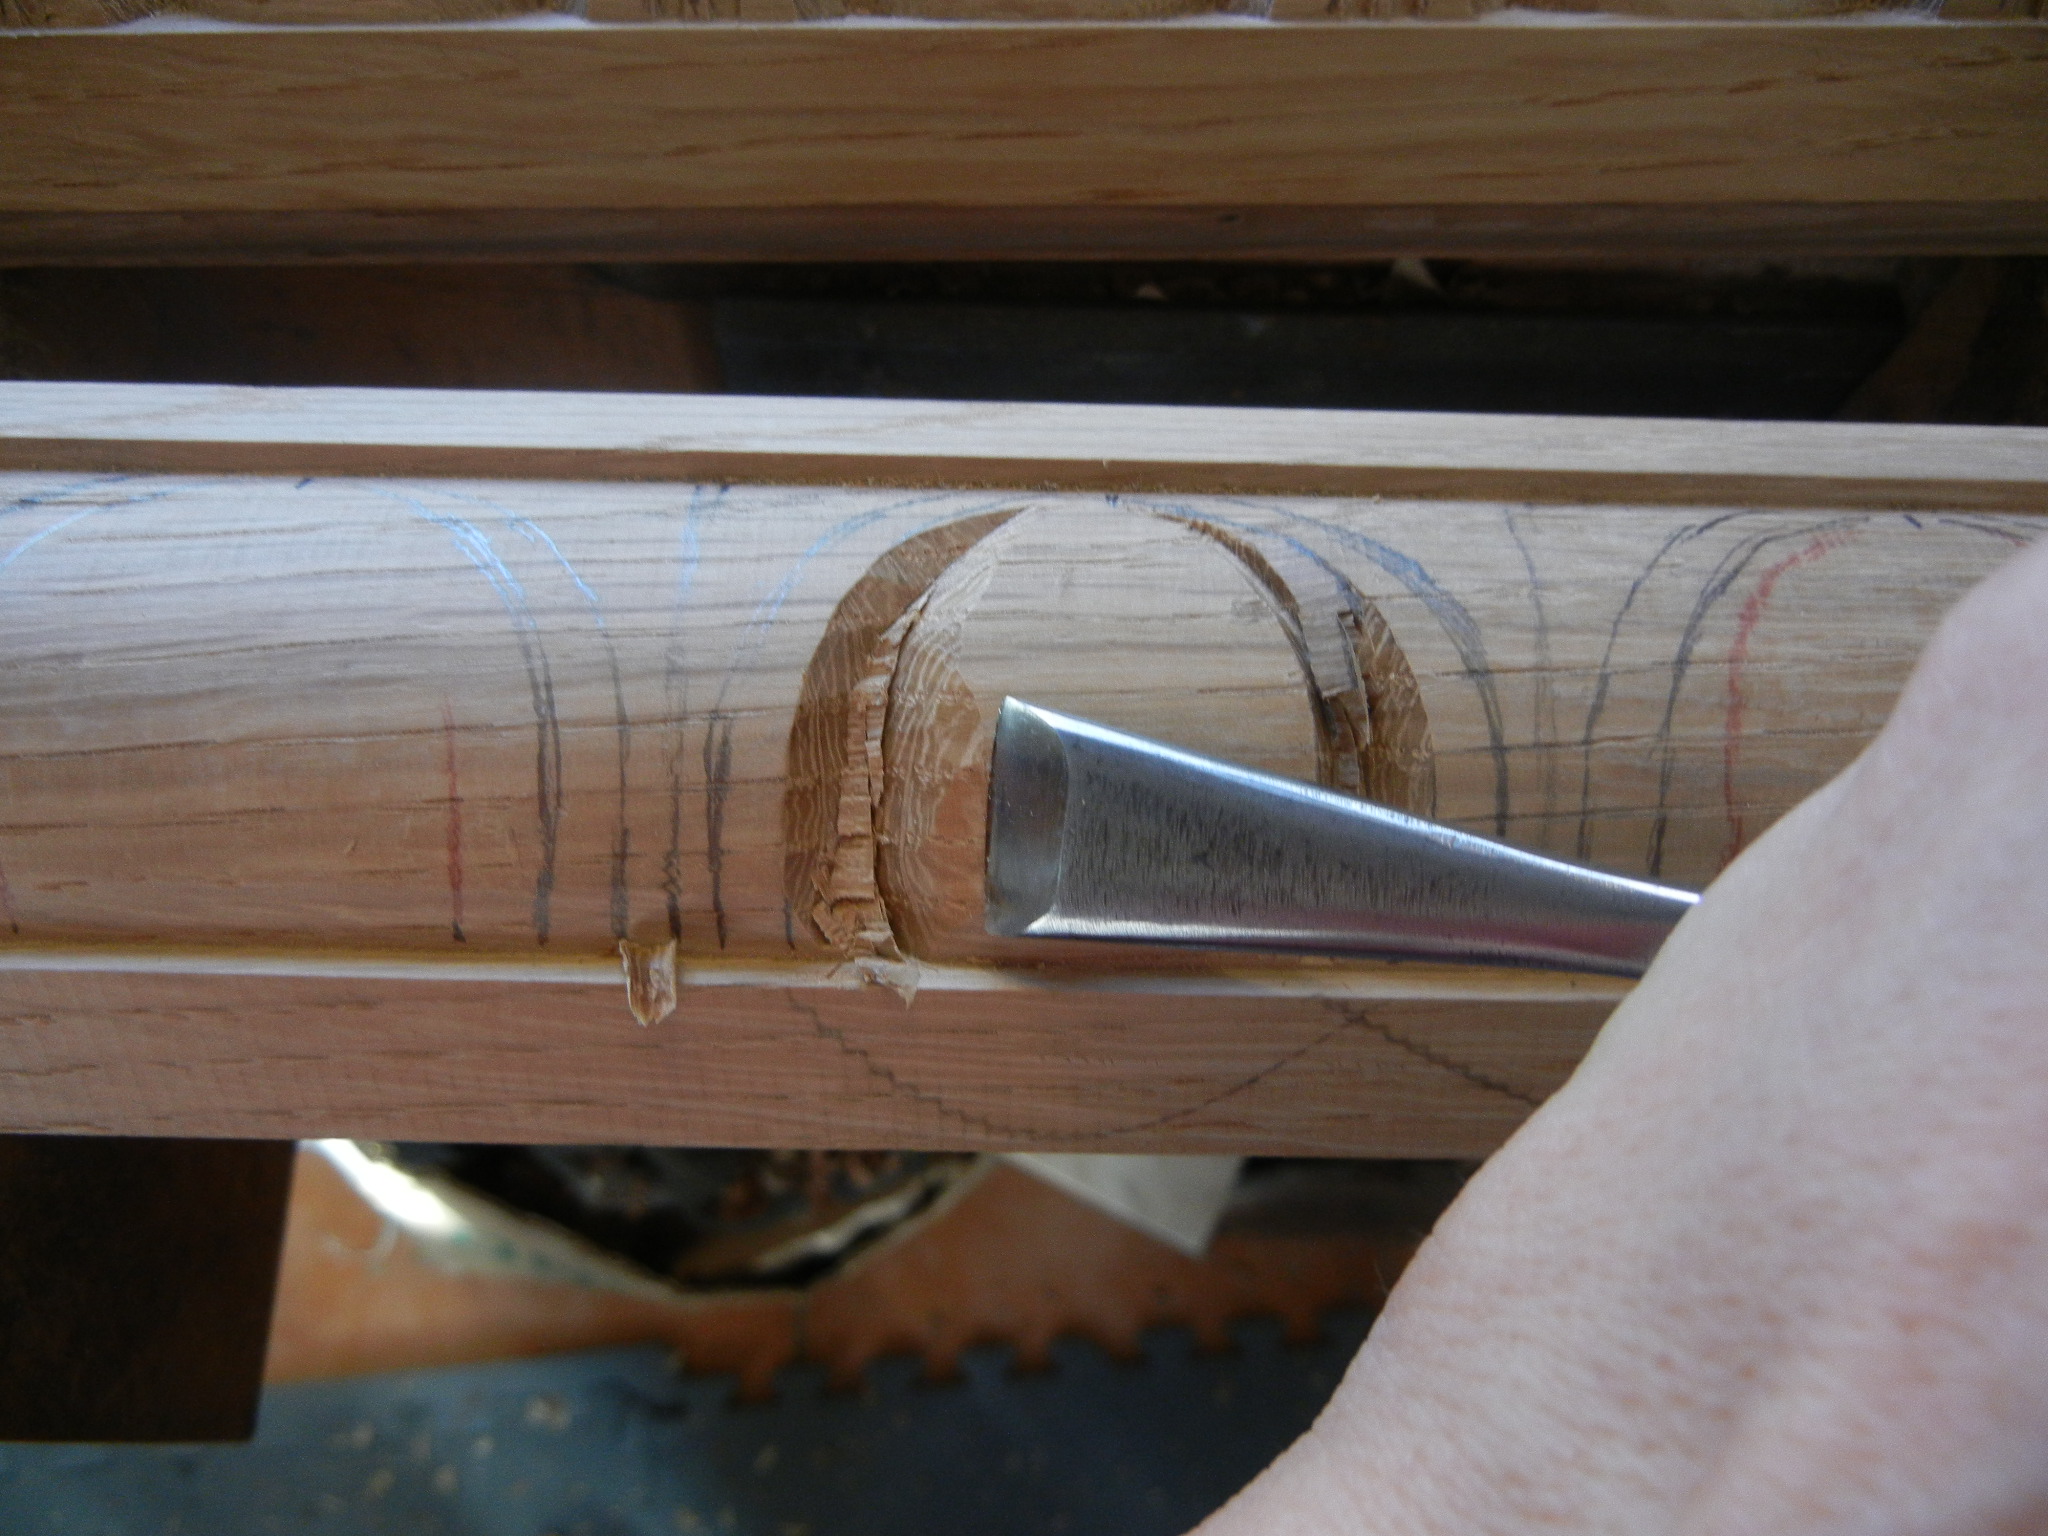
- Step 22: With a #7, 6mm, make a deep cut to form the tip of the “dart”
-

- Step 21: Clean up this angle cut
-

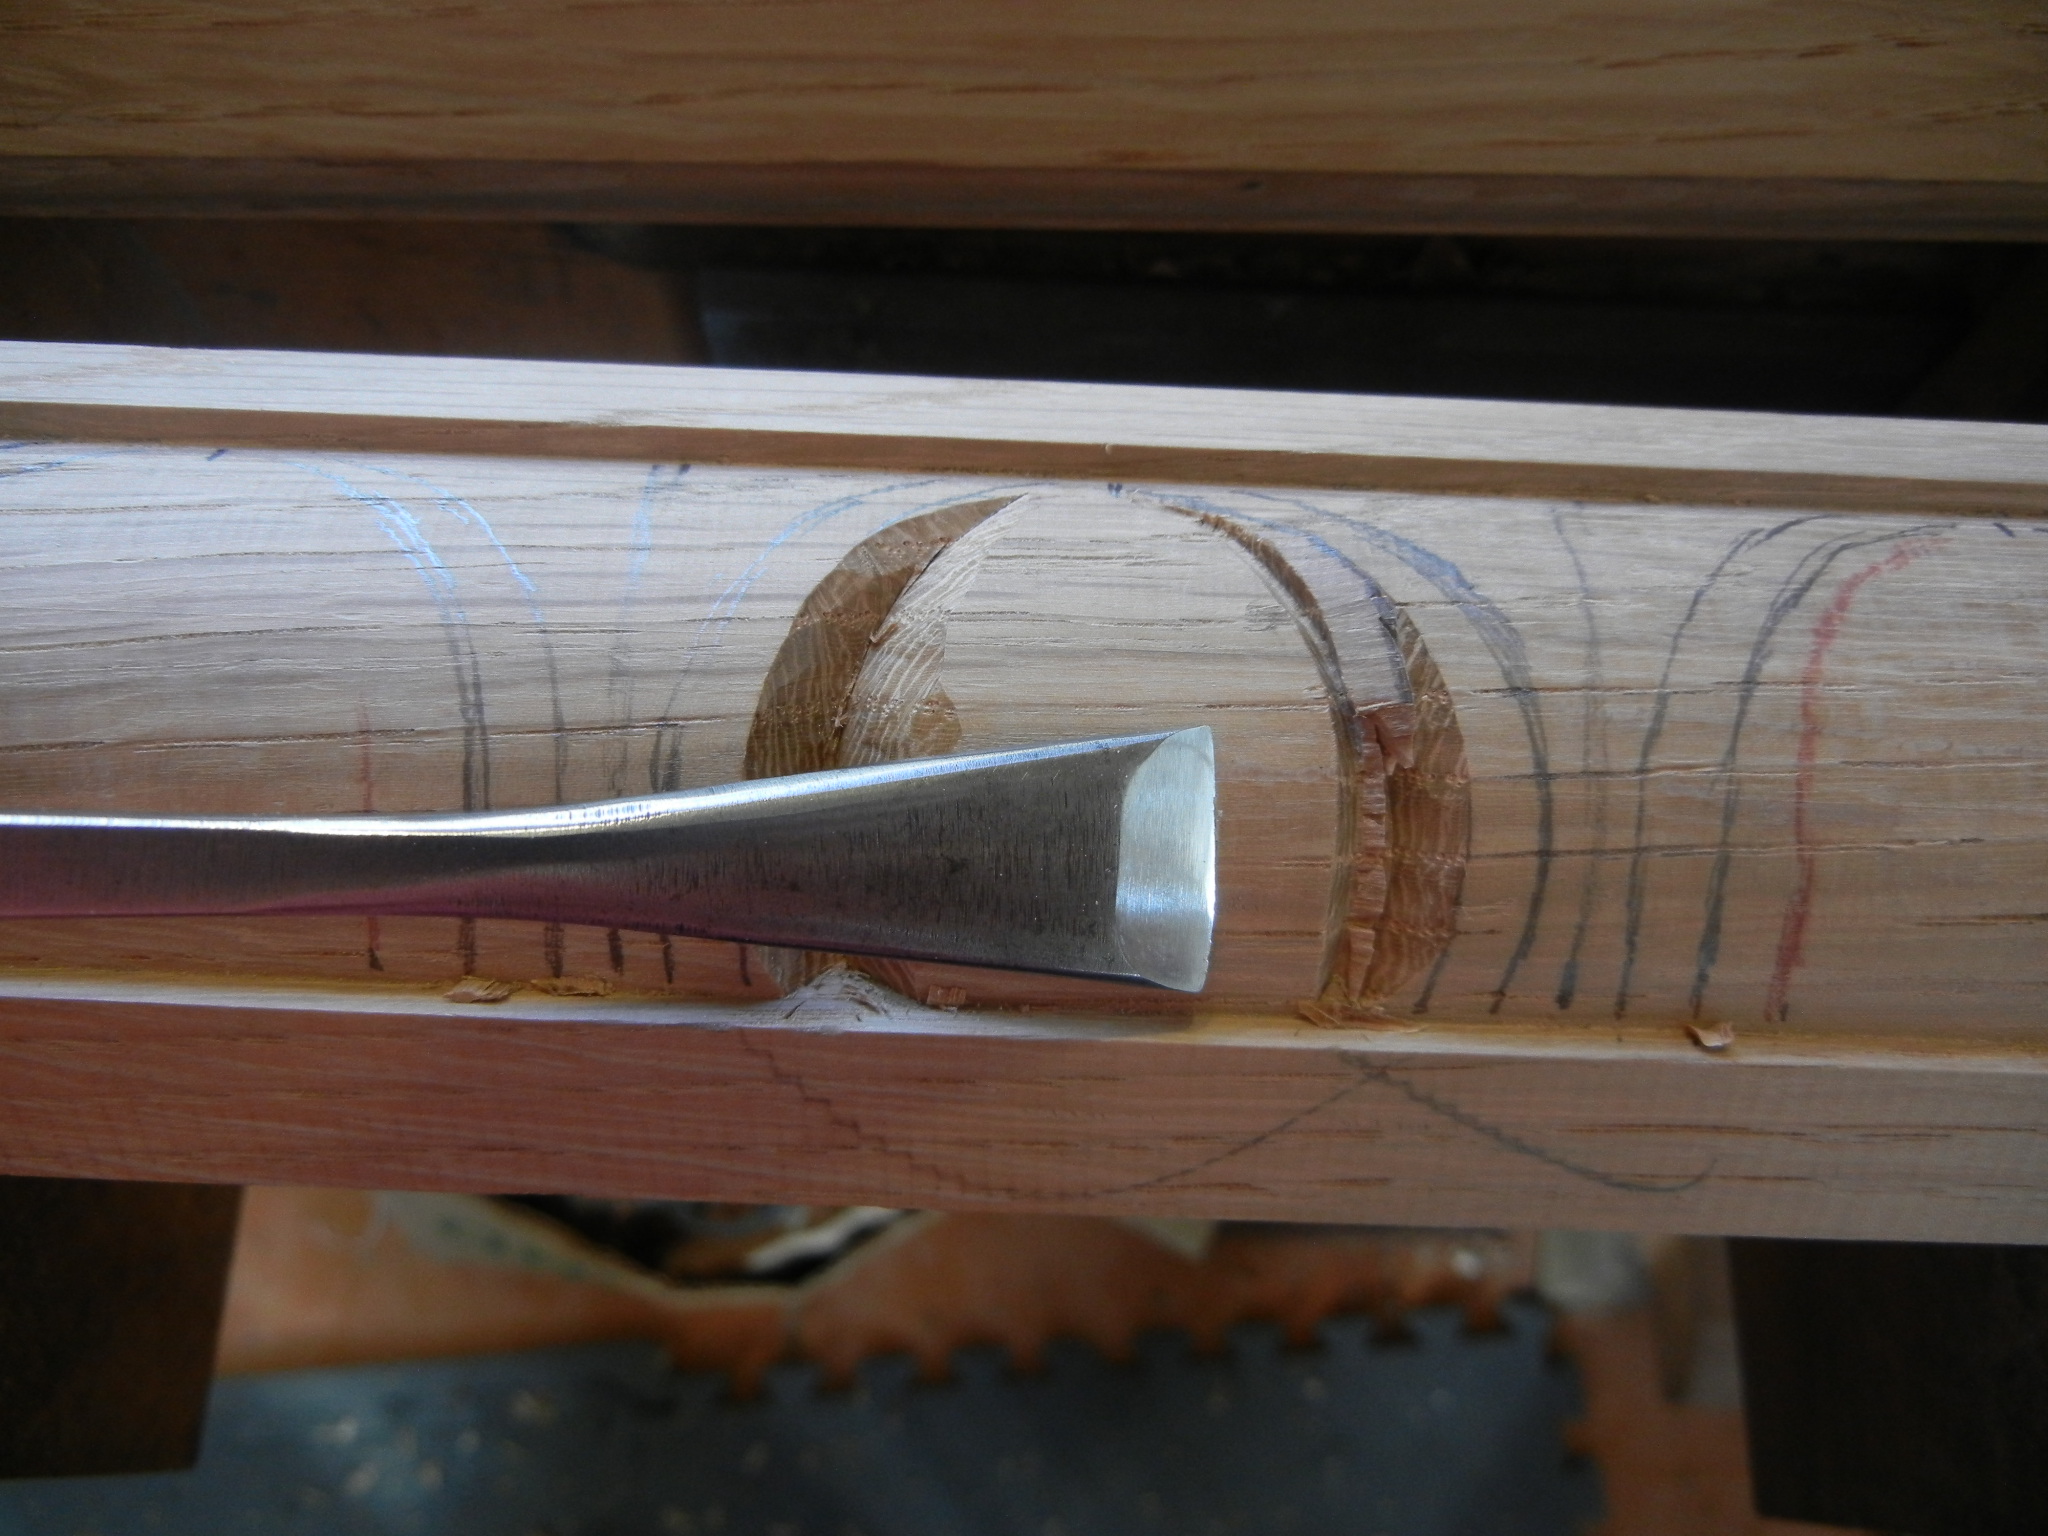
- Step 20: With the #4, 14mm, make an angle cut from the center line of the dart down to the vertical cut made in step 19

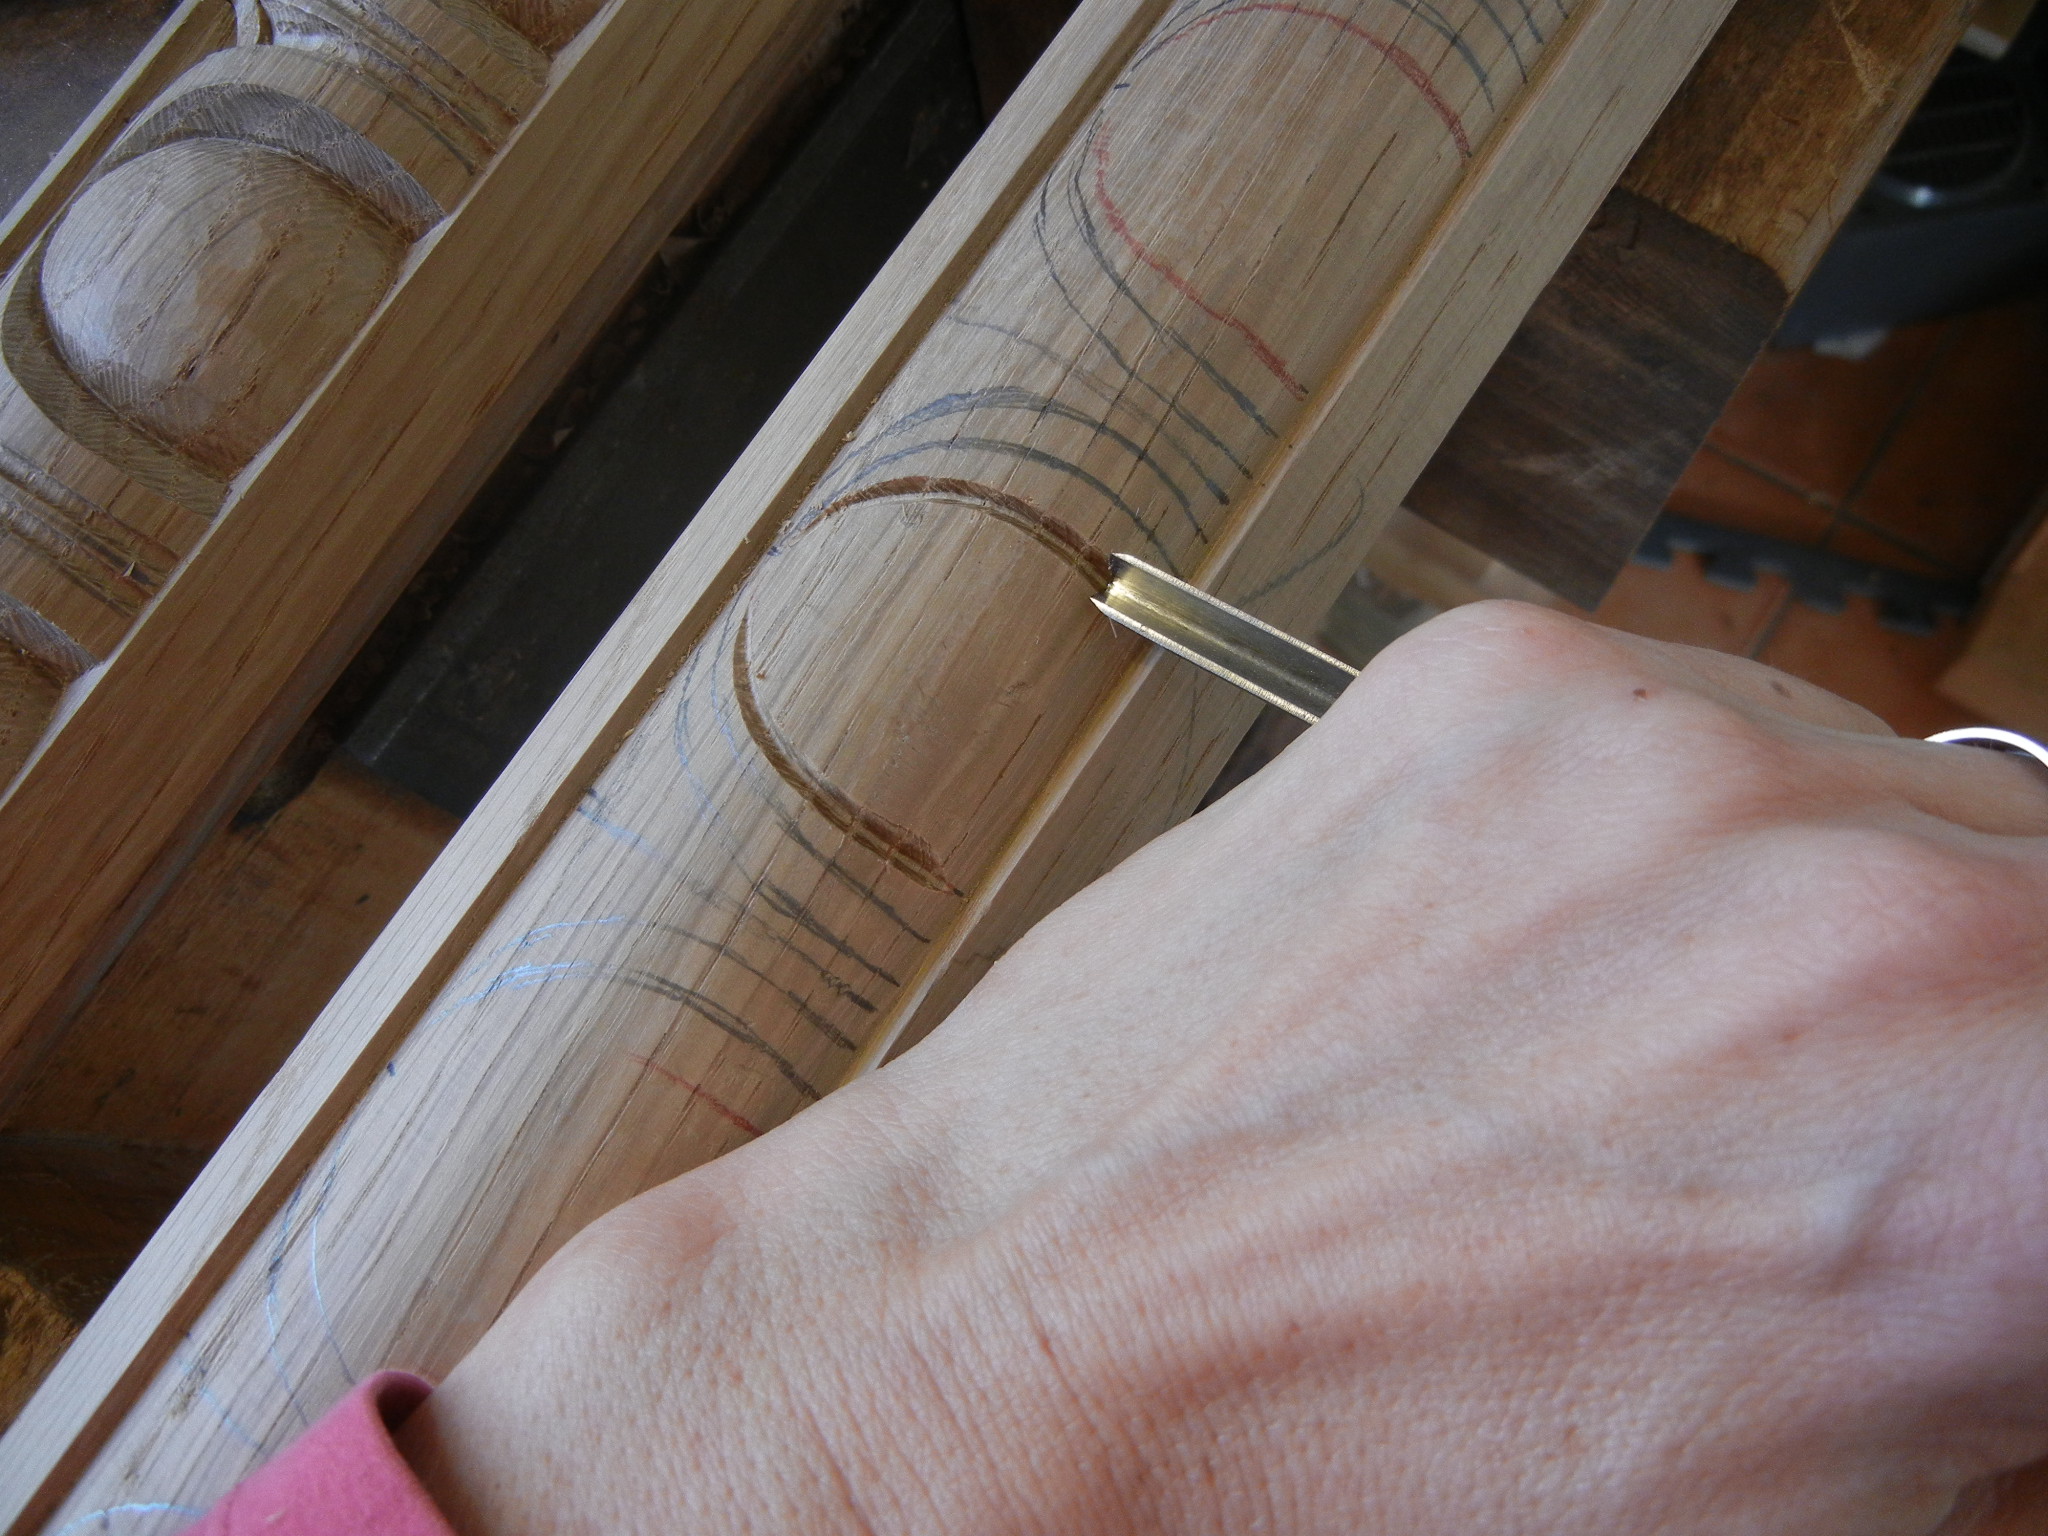
-

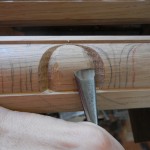
- Step 19: With a #4, 14mm, make a solid cut along the line

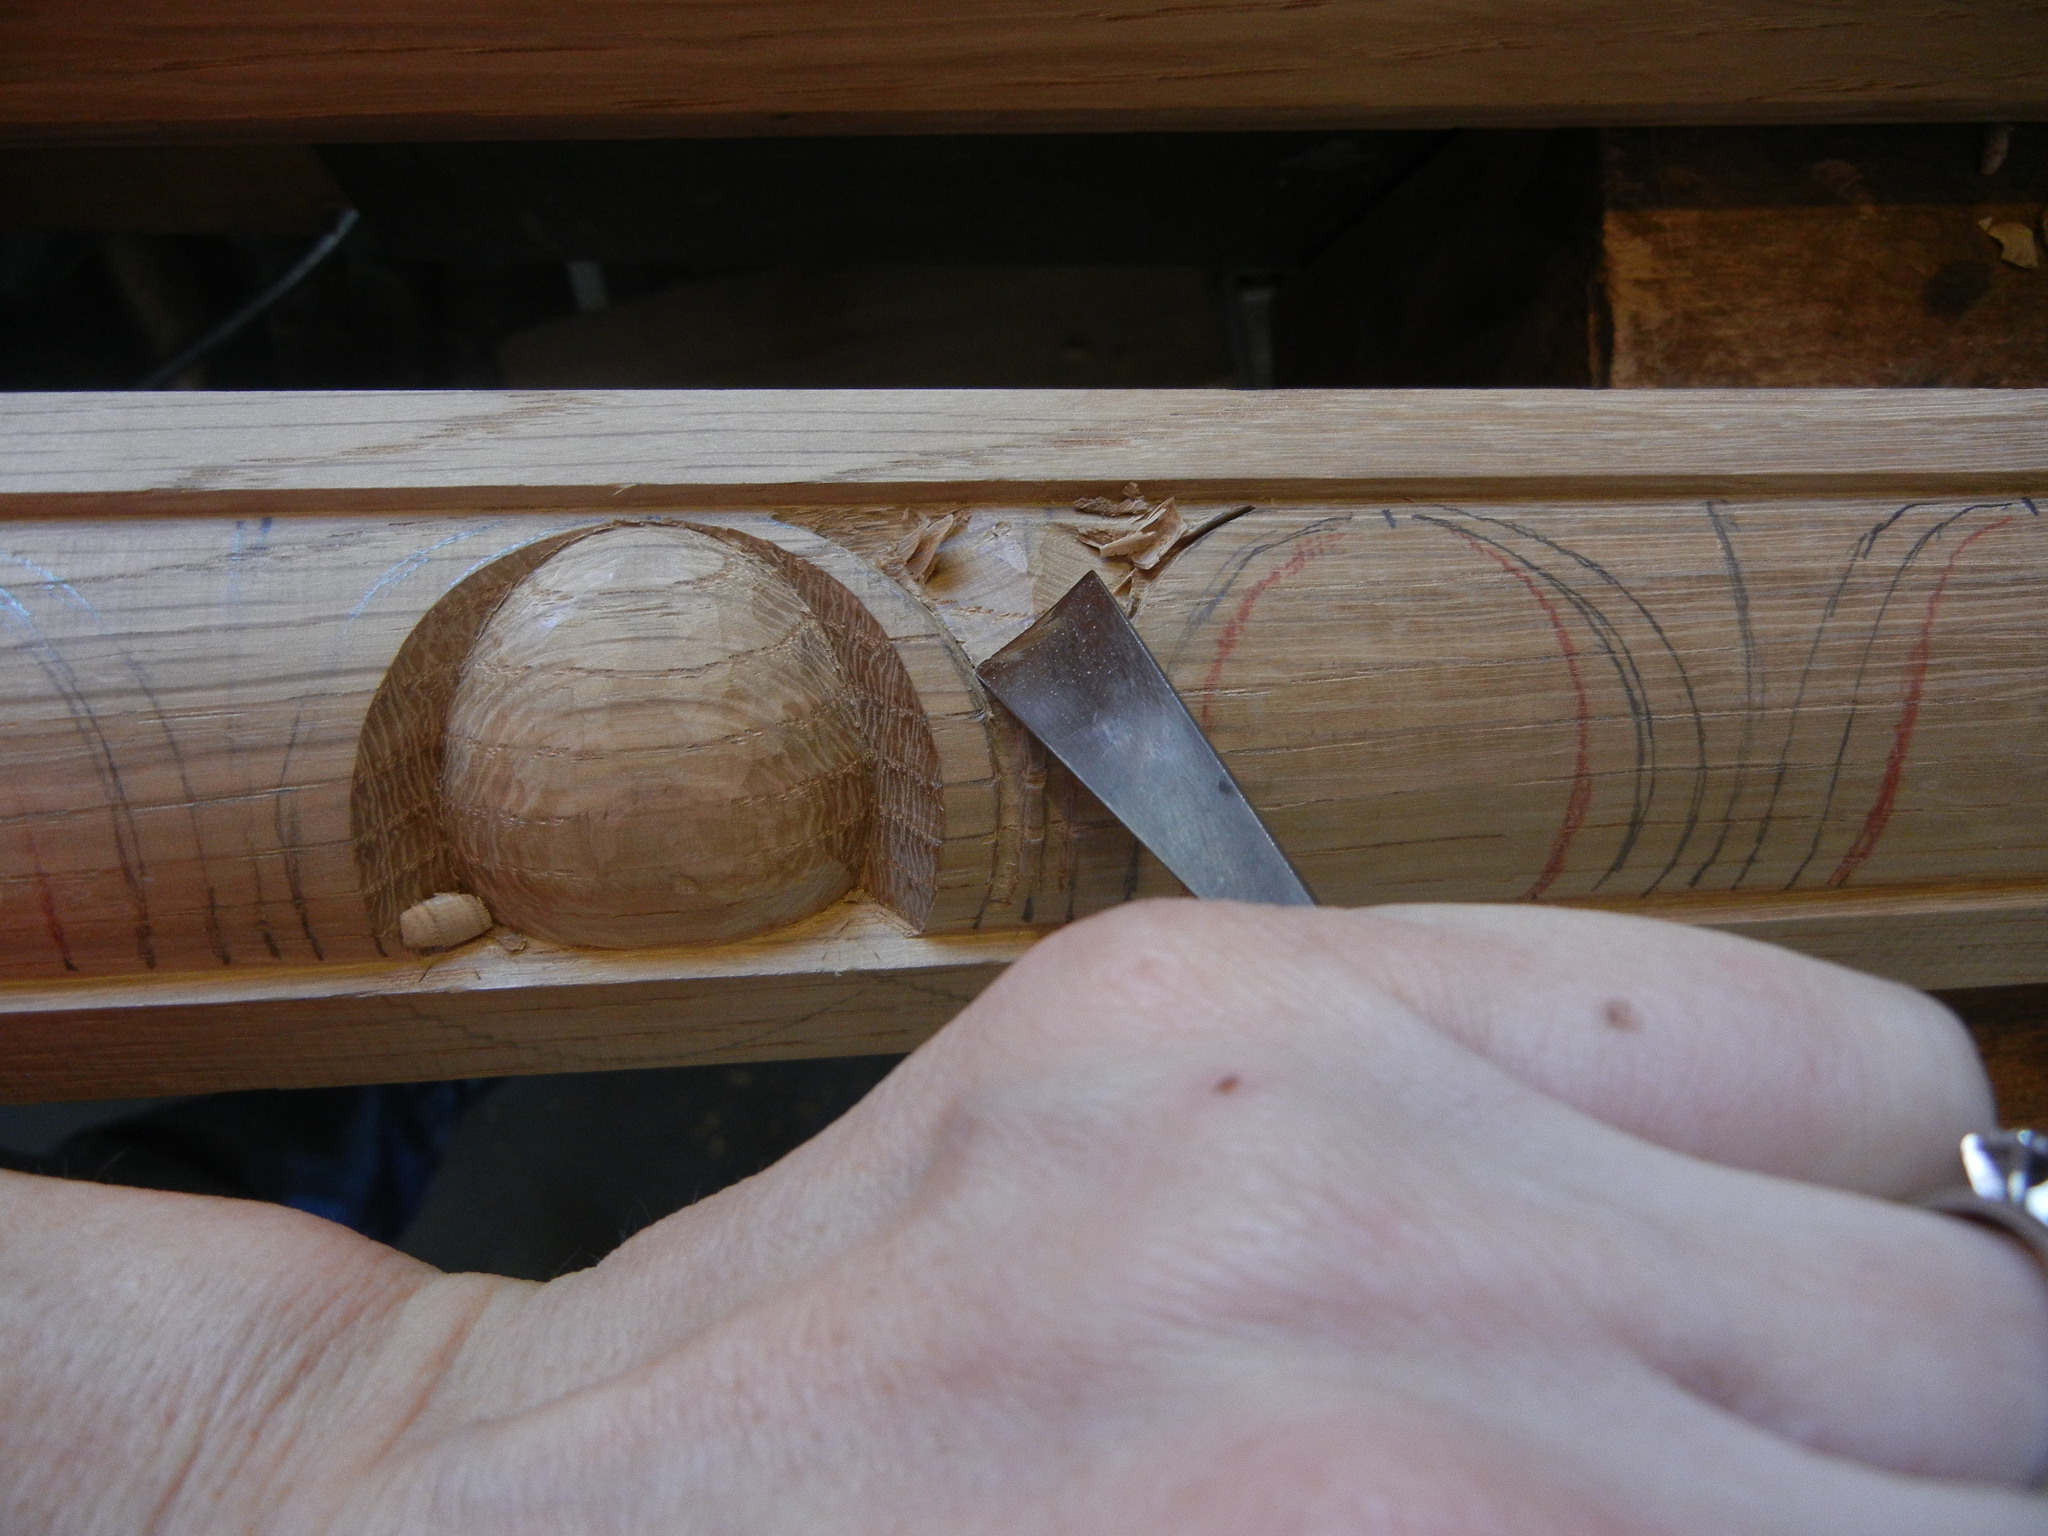
-
- Step 18: With a v-chisel, take the bulk of the wood away at the point of the dart
-

- Step 17: Make a cut all the way along the outside edge of the line drawn

-

- Step 16: To start carving the “dart” start with a #11, 3mm (you can also use a v-chisel if you want a sharper look)
-
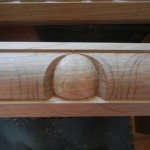
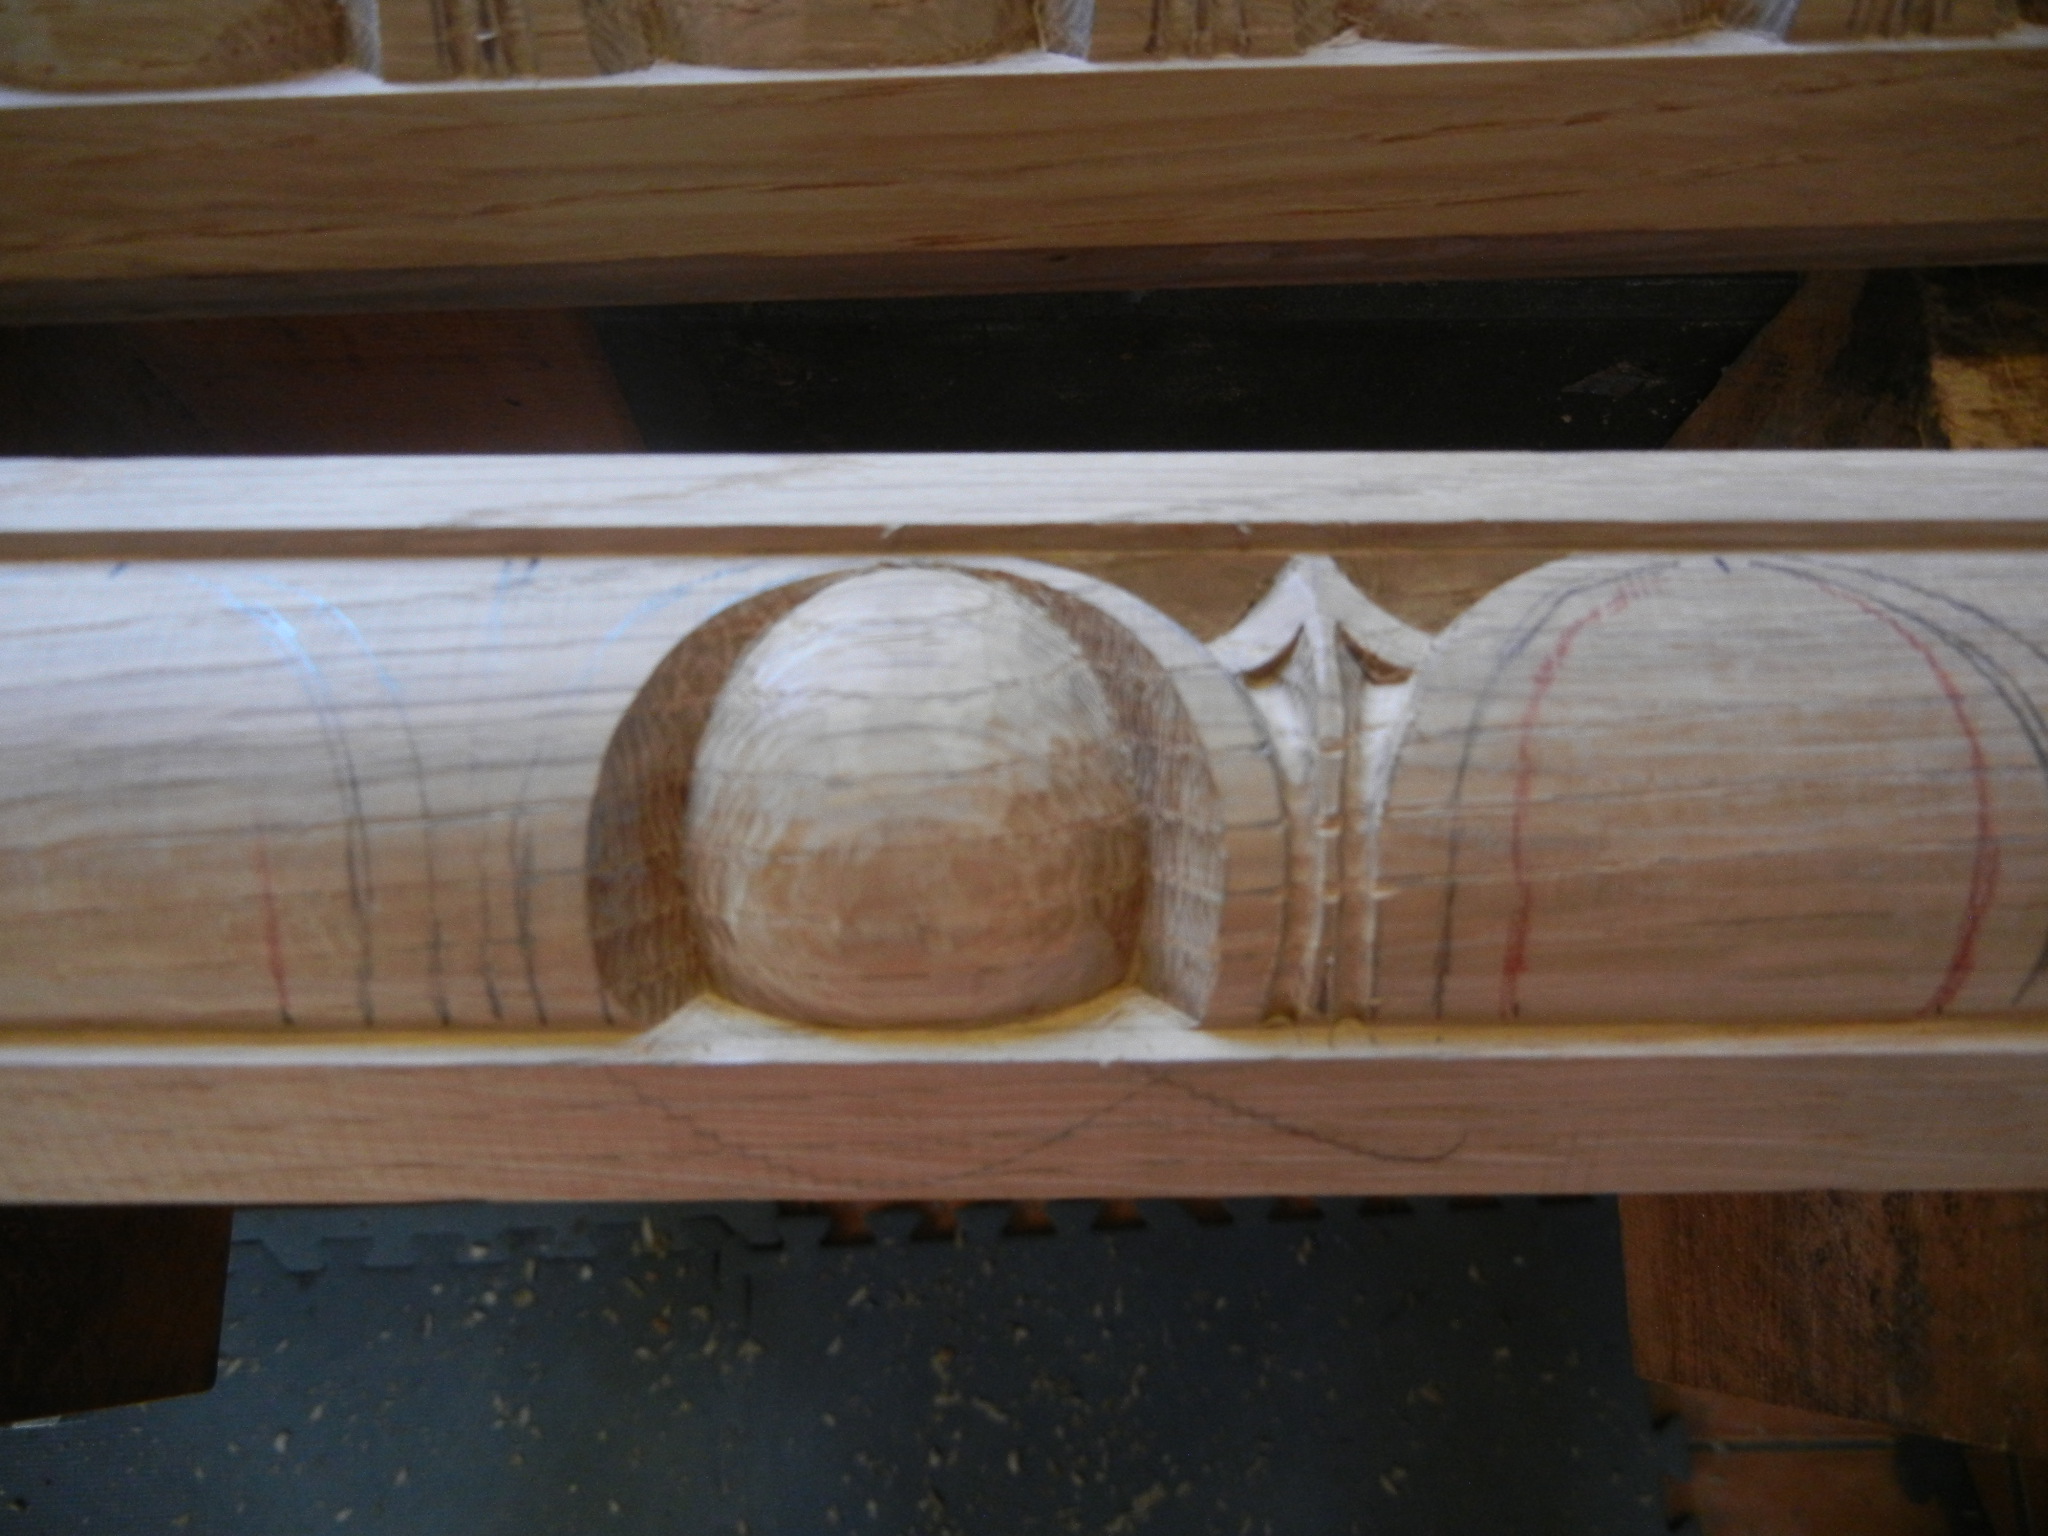
- Step 15: This is what the egg should look like at this point
-
- Step 14: Round over the egg to its final curvature – make sure it is very “egg” shaped

-
- Step 13: Clean up this edge with the #4, 14mm
-

- Step 12: Round over the other side of the egg with the #3, 18mm
-

- Step 11: Sharpen and clean up the edge of the egg
-
- Step 10: Continue to round over egg
-

- Step 9: With a #3, 18mm, (you can also continue to use the #4, 14mm) start to round over the egg to the depth of the v-cut

-

- Step 8: With the #4, 14mm, cut other side of egg, down to the depth of the v-cut

-

- Step 7: With a #4, 14mm cut at about 45 degree angle at edge of egg, down to the v-cut
-

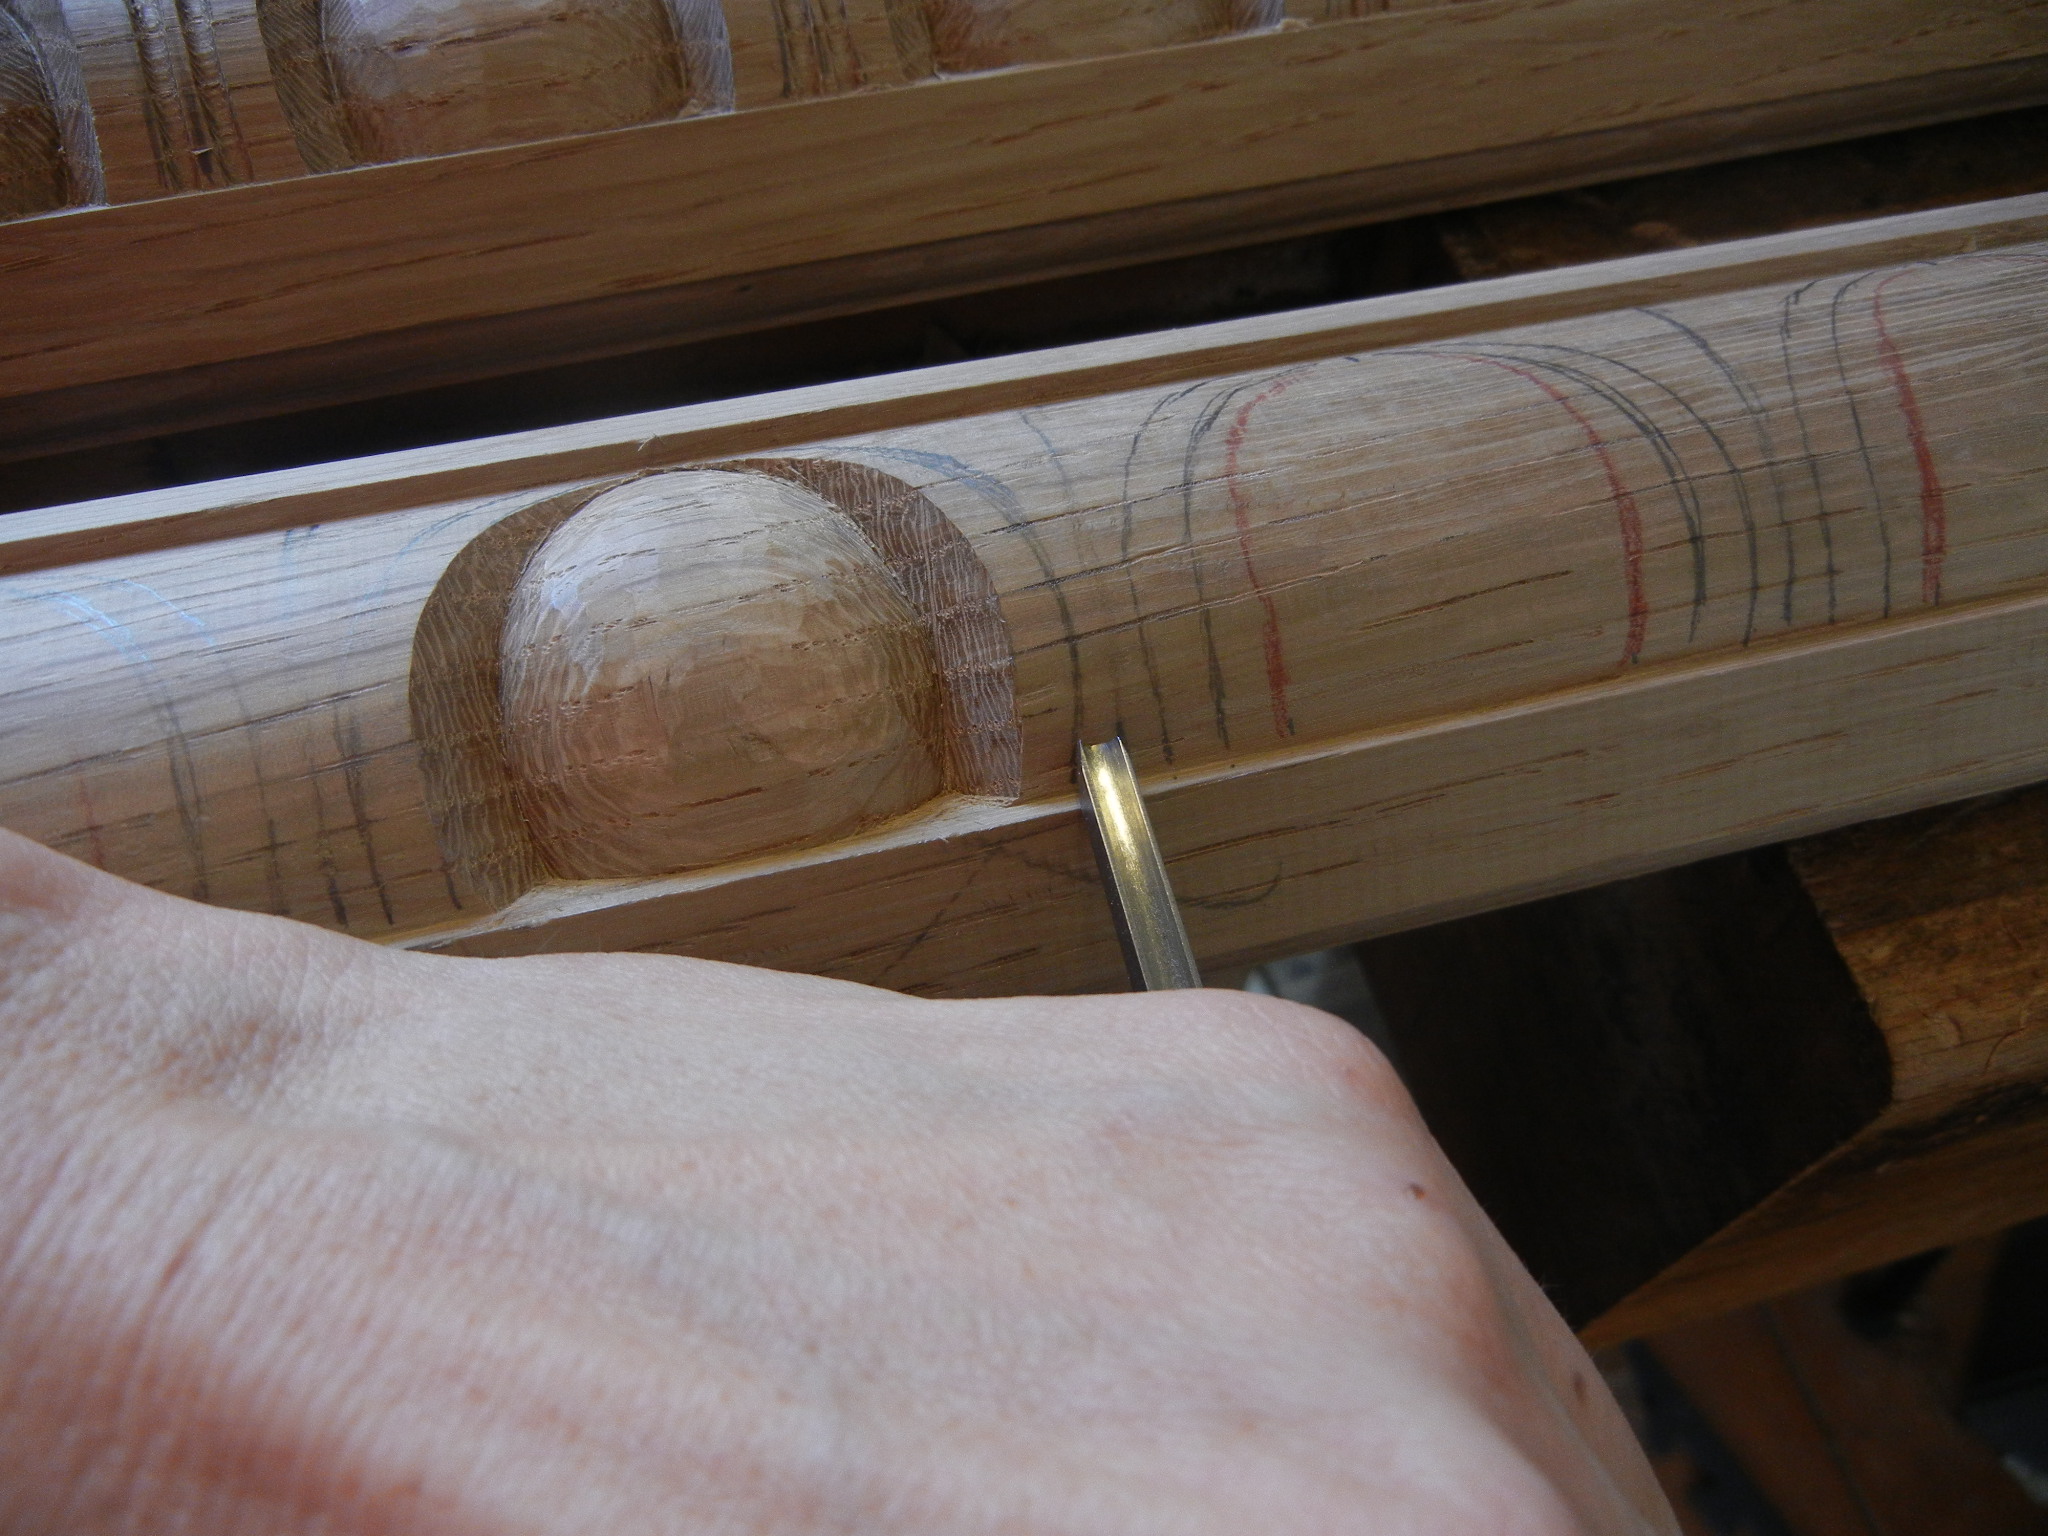
- Step 6: with a 6mm v-chisel, cut right on the RED line (approx. 3/8″ deep, and shallower as it gets to the curved part)
-

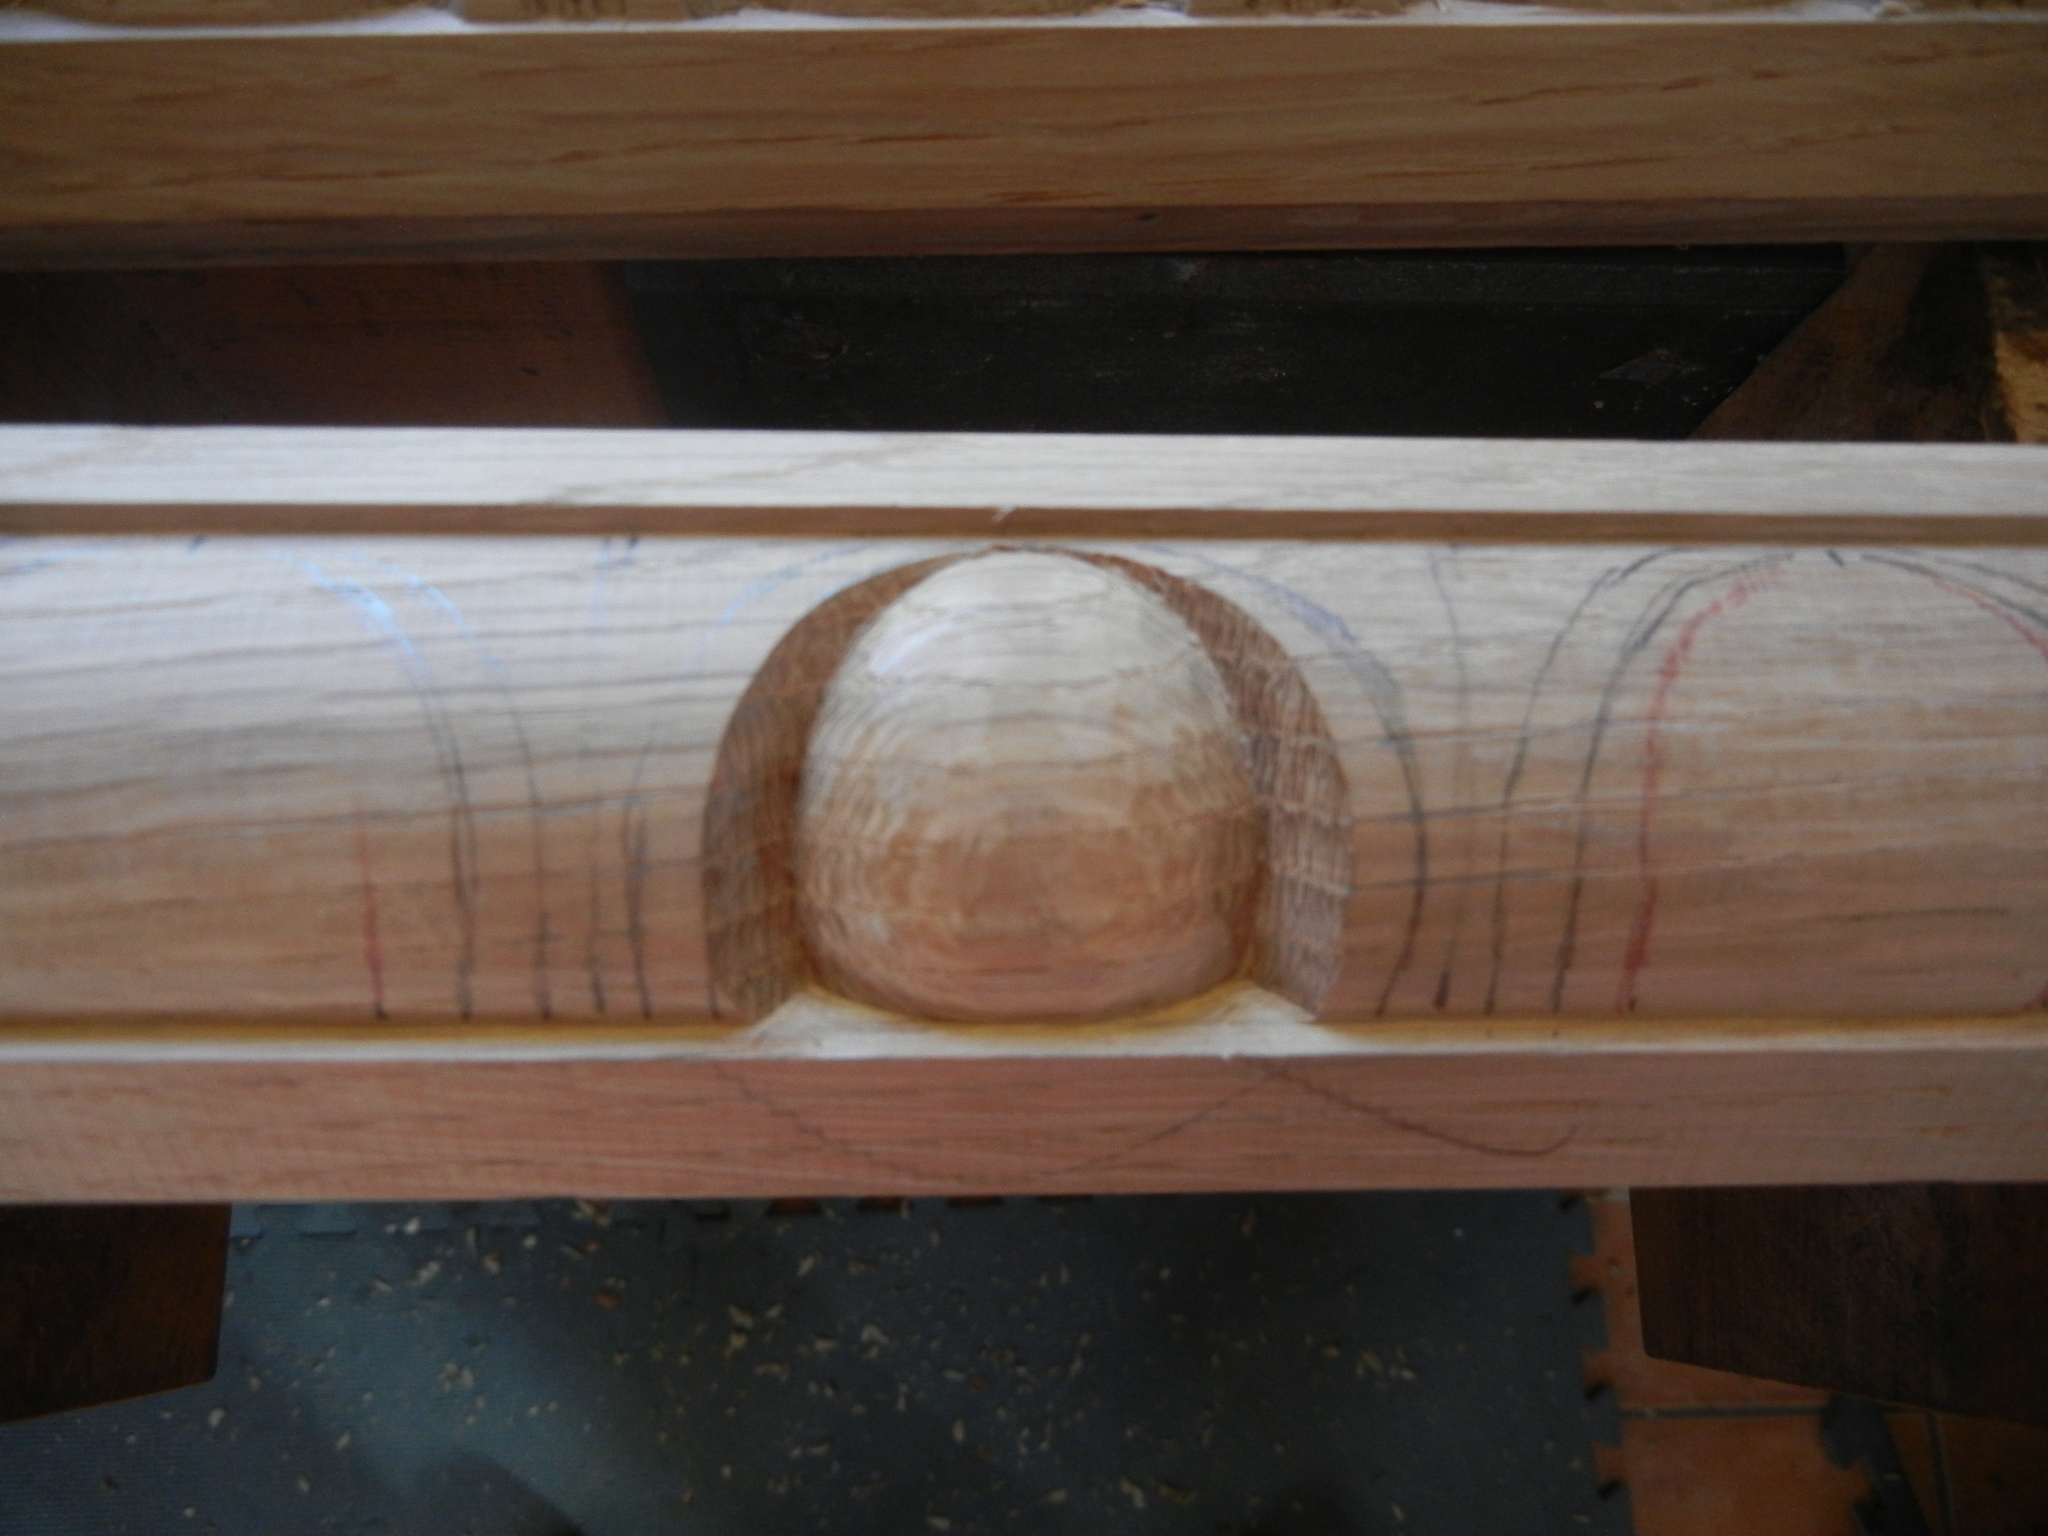
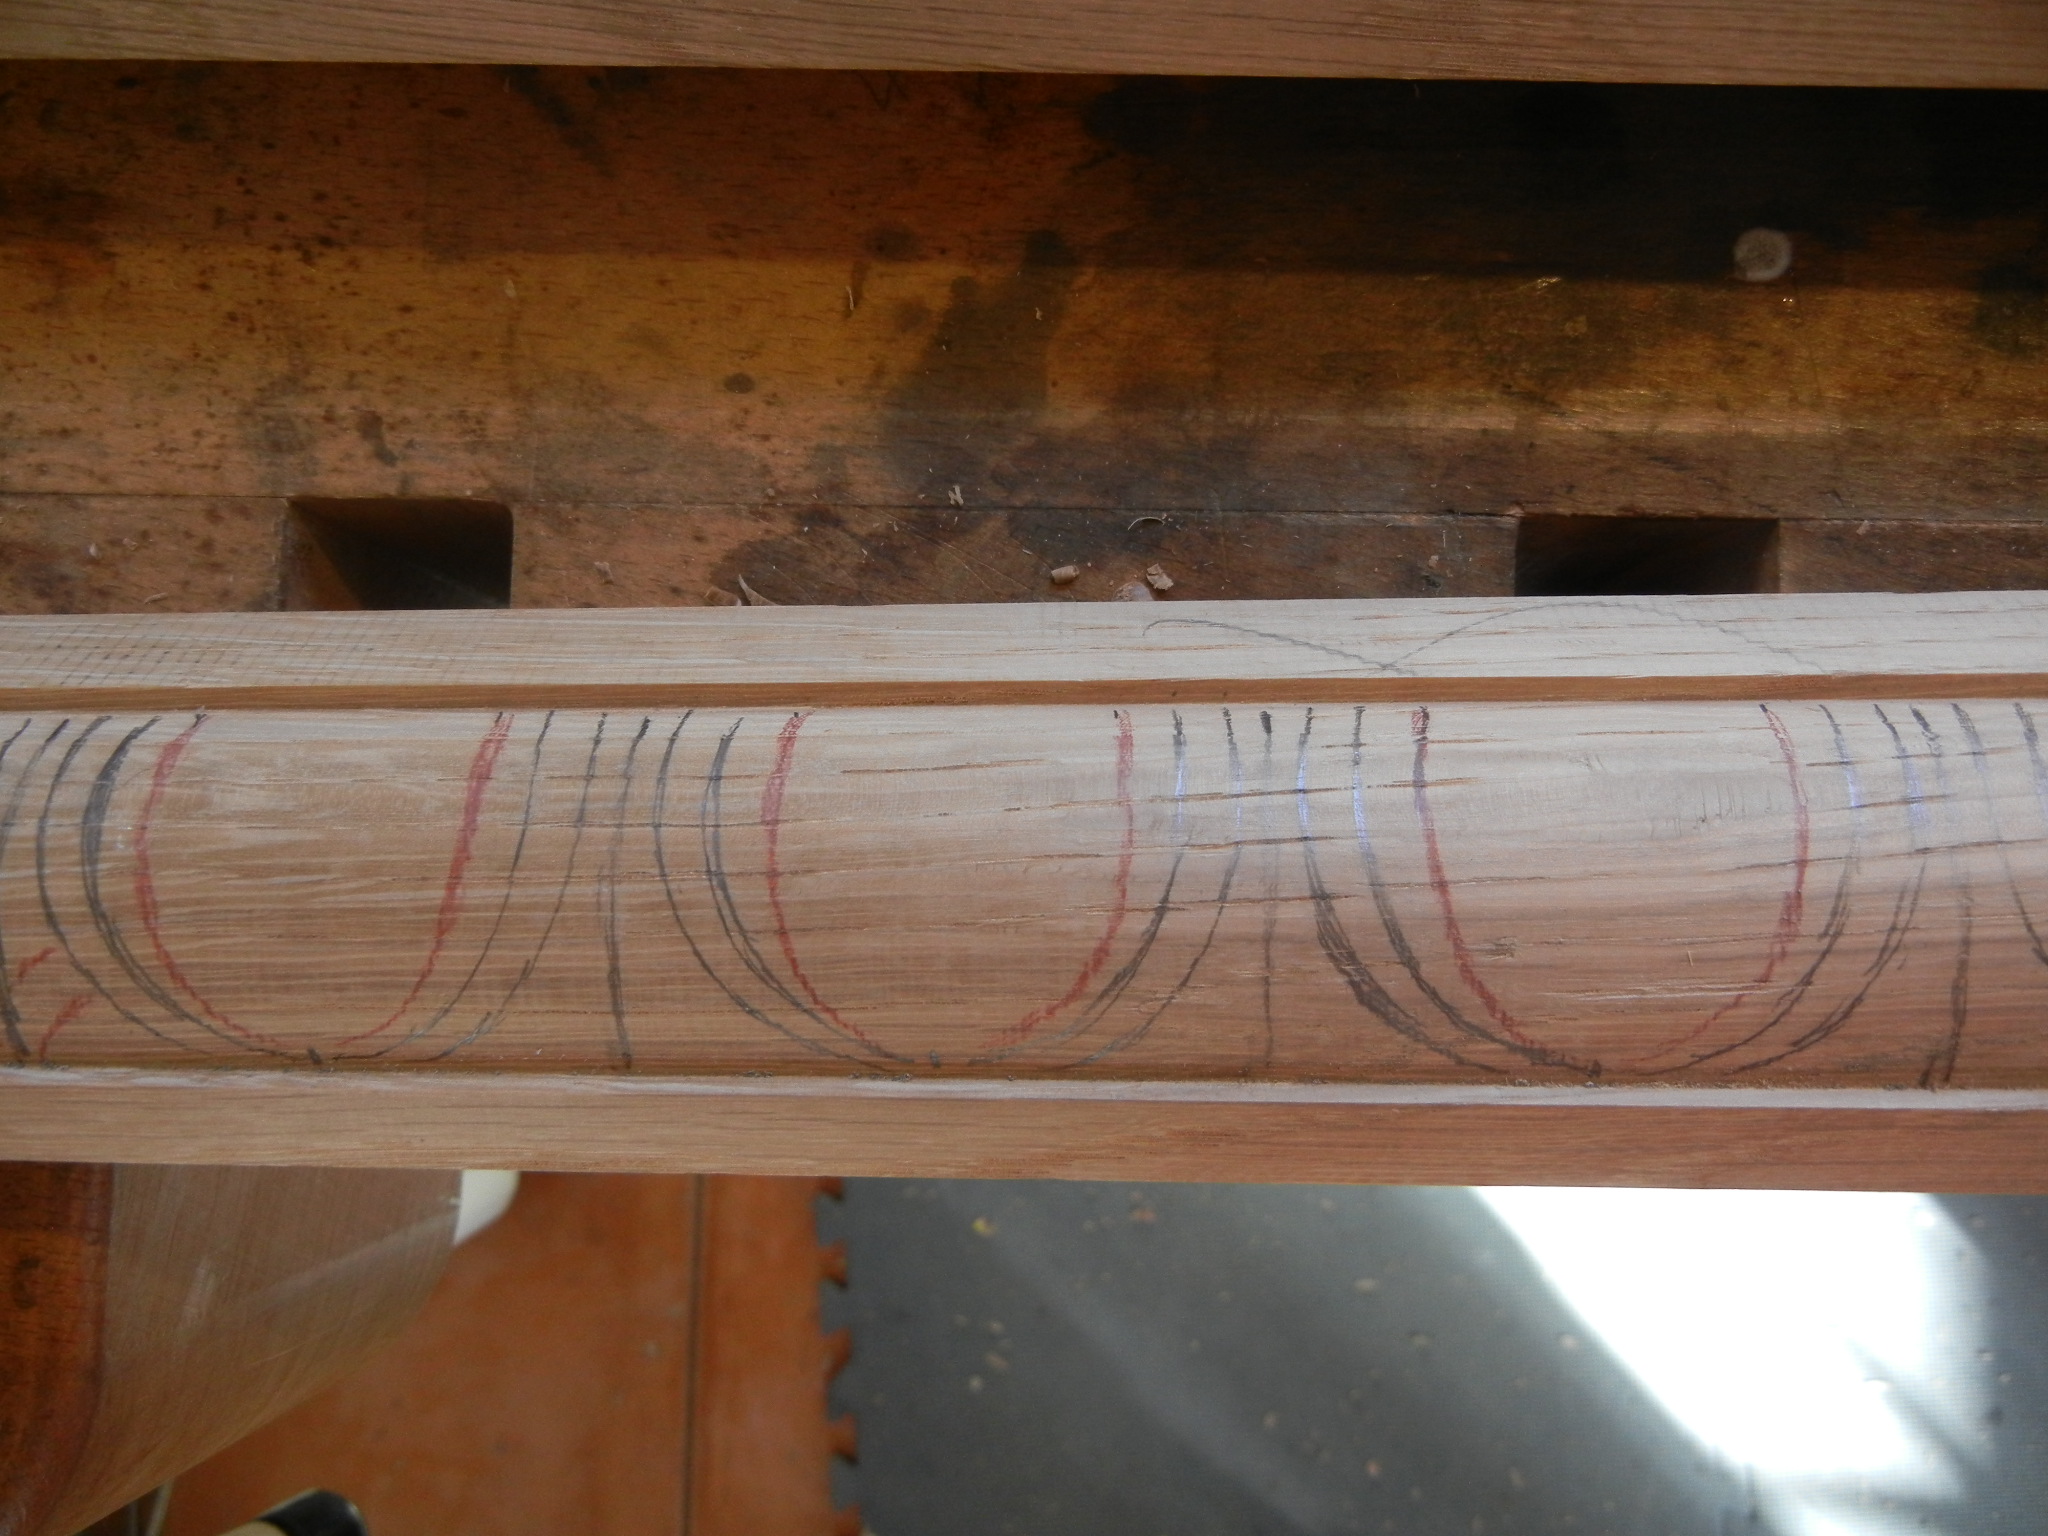
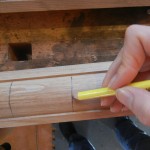
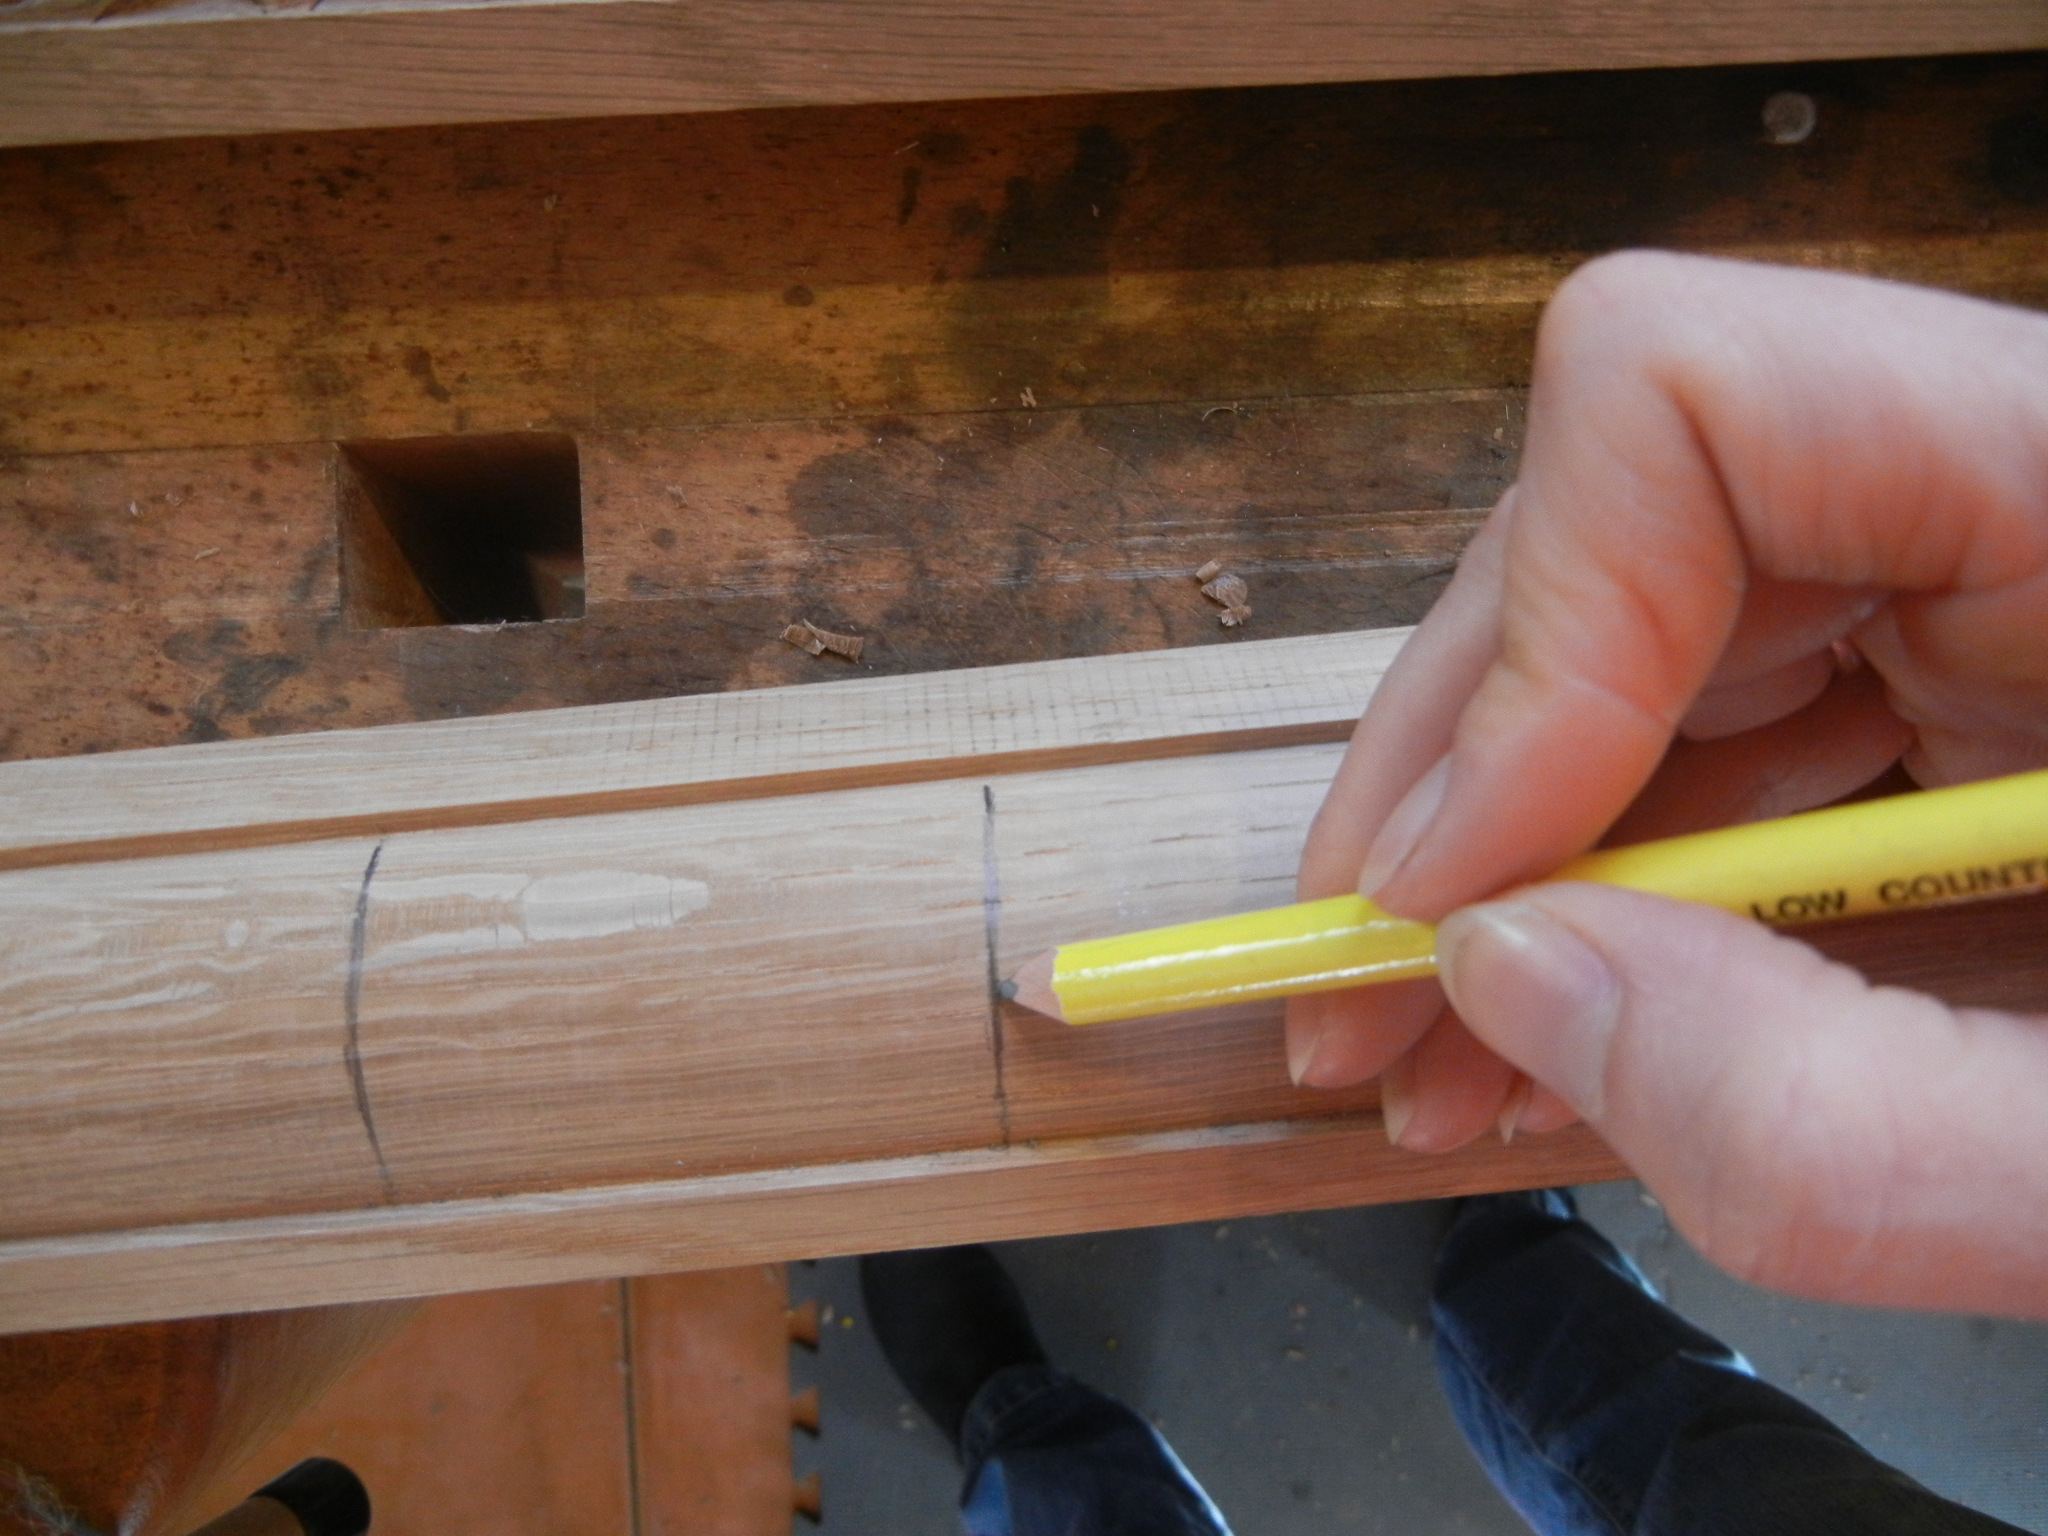
- Step 5: Extend the lines to complete the shape and with a colored pencil mark the v-cut line (where the notch line was)
-
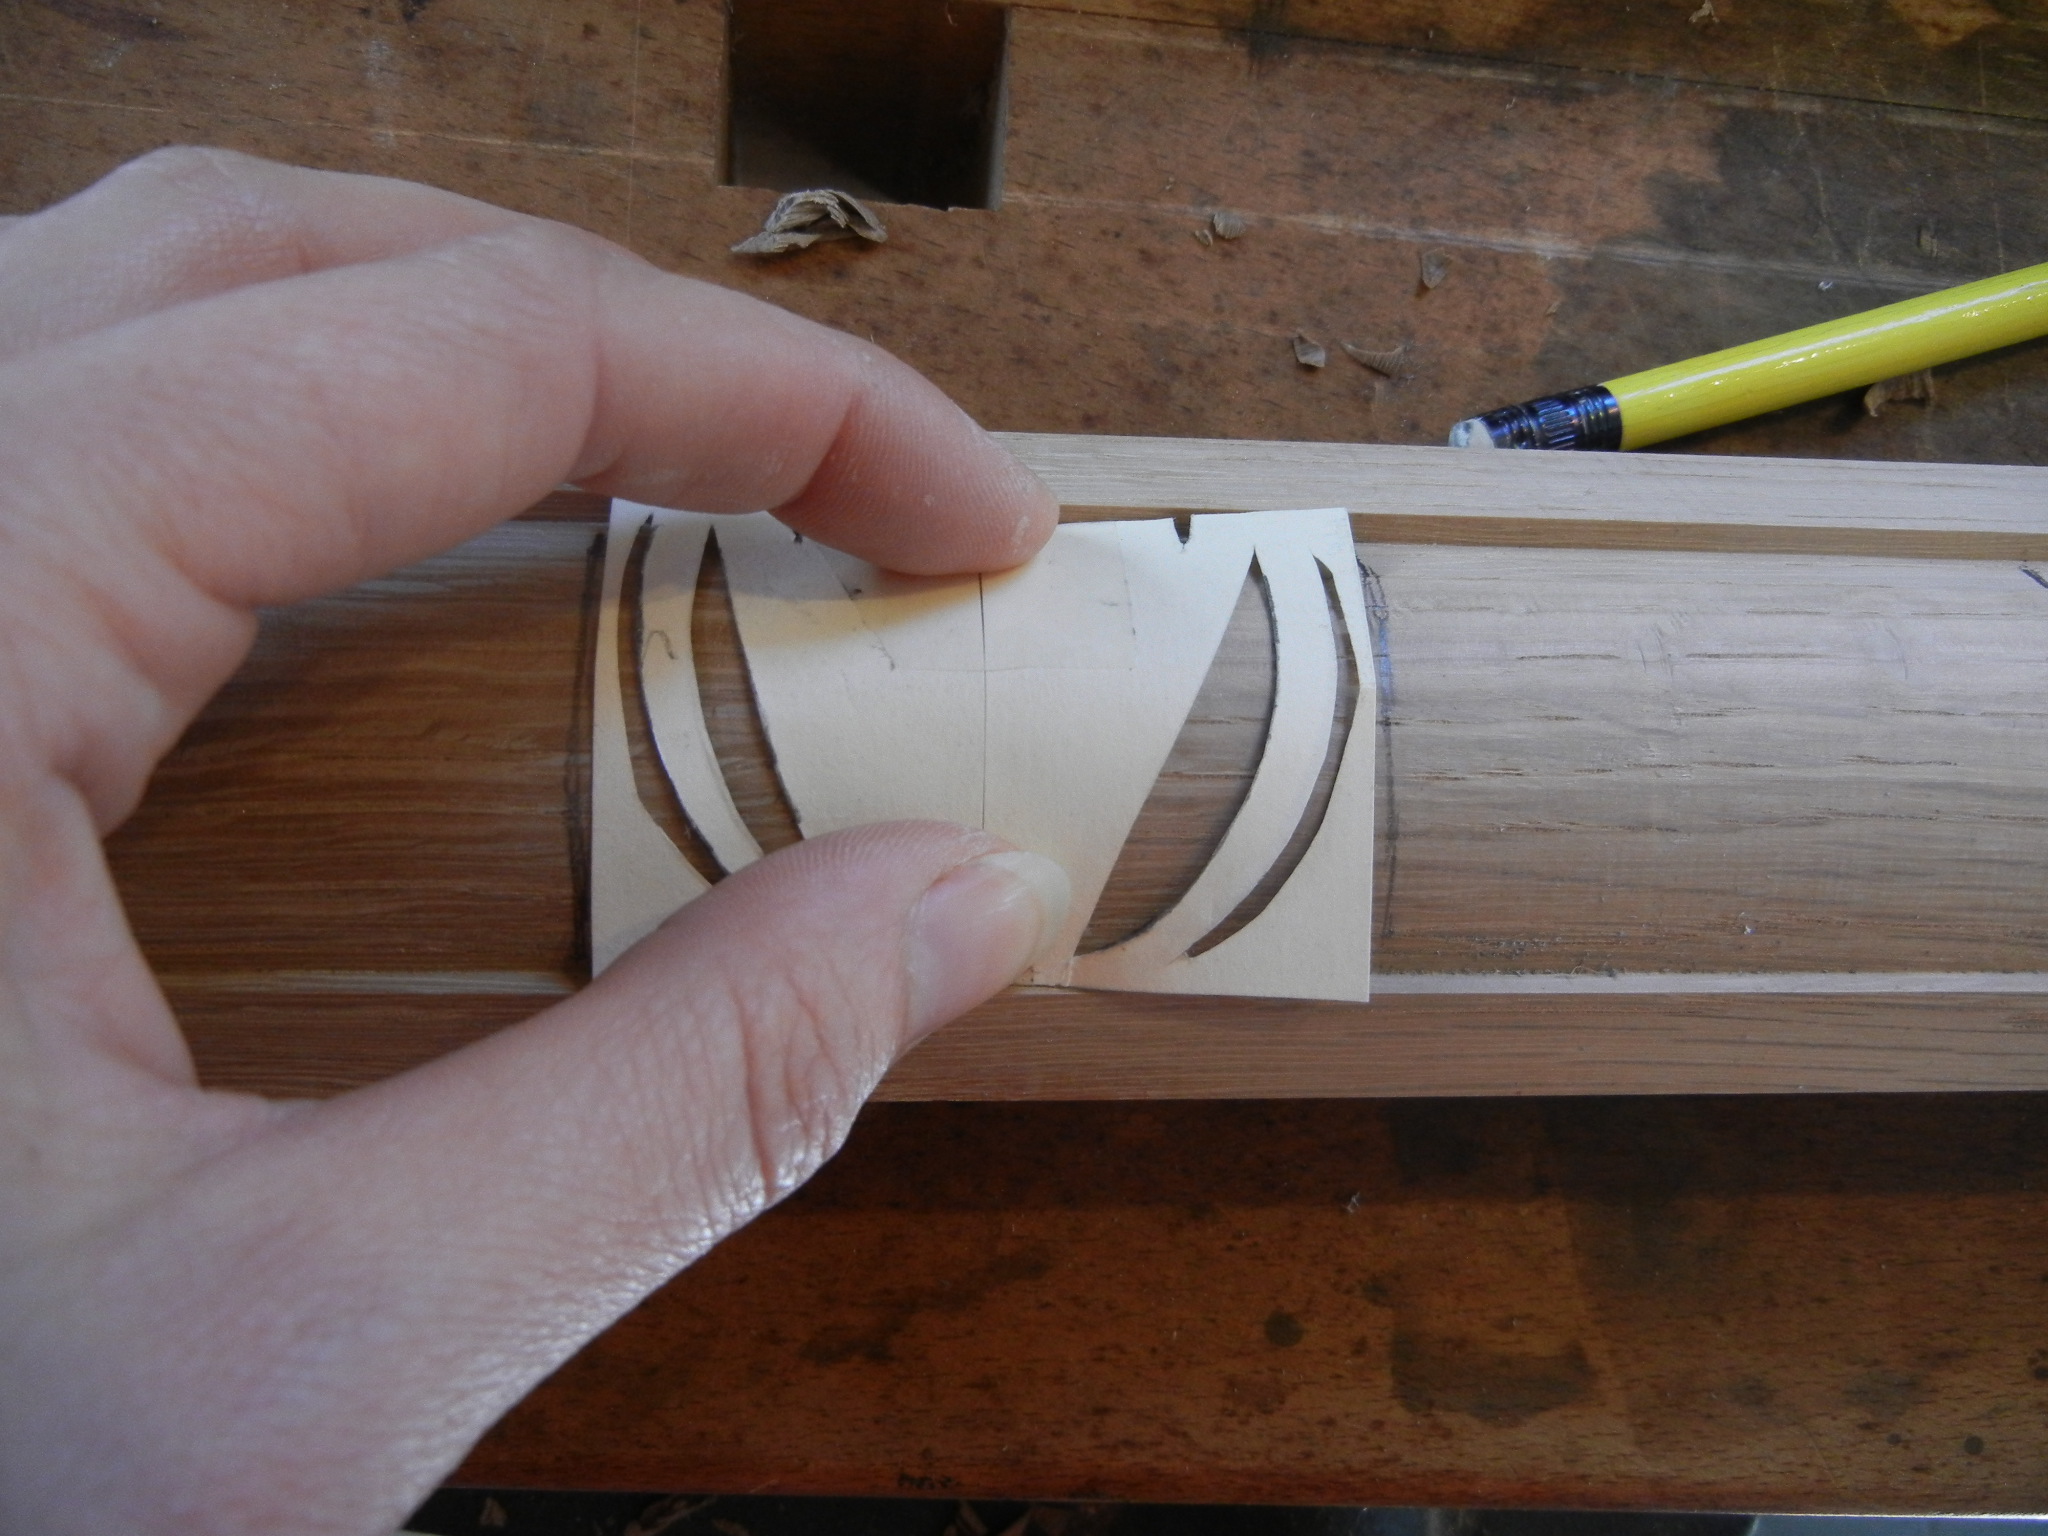
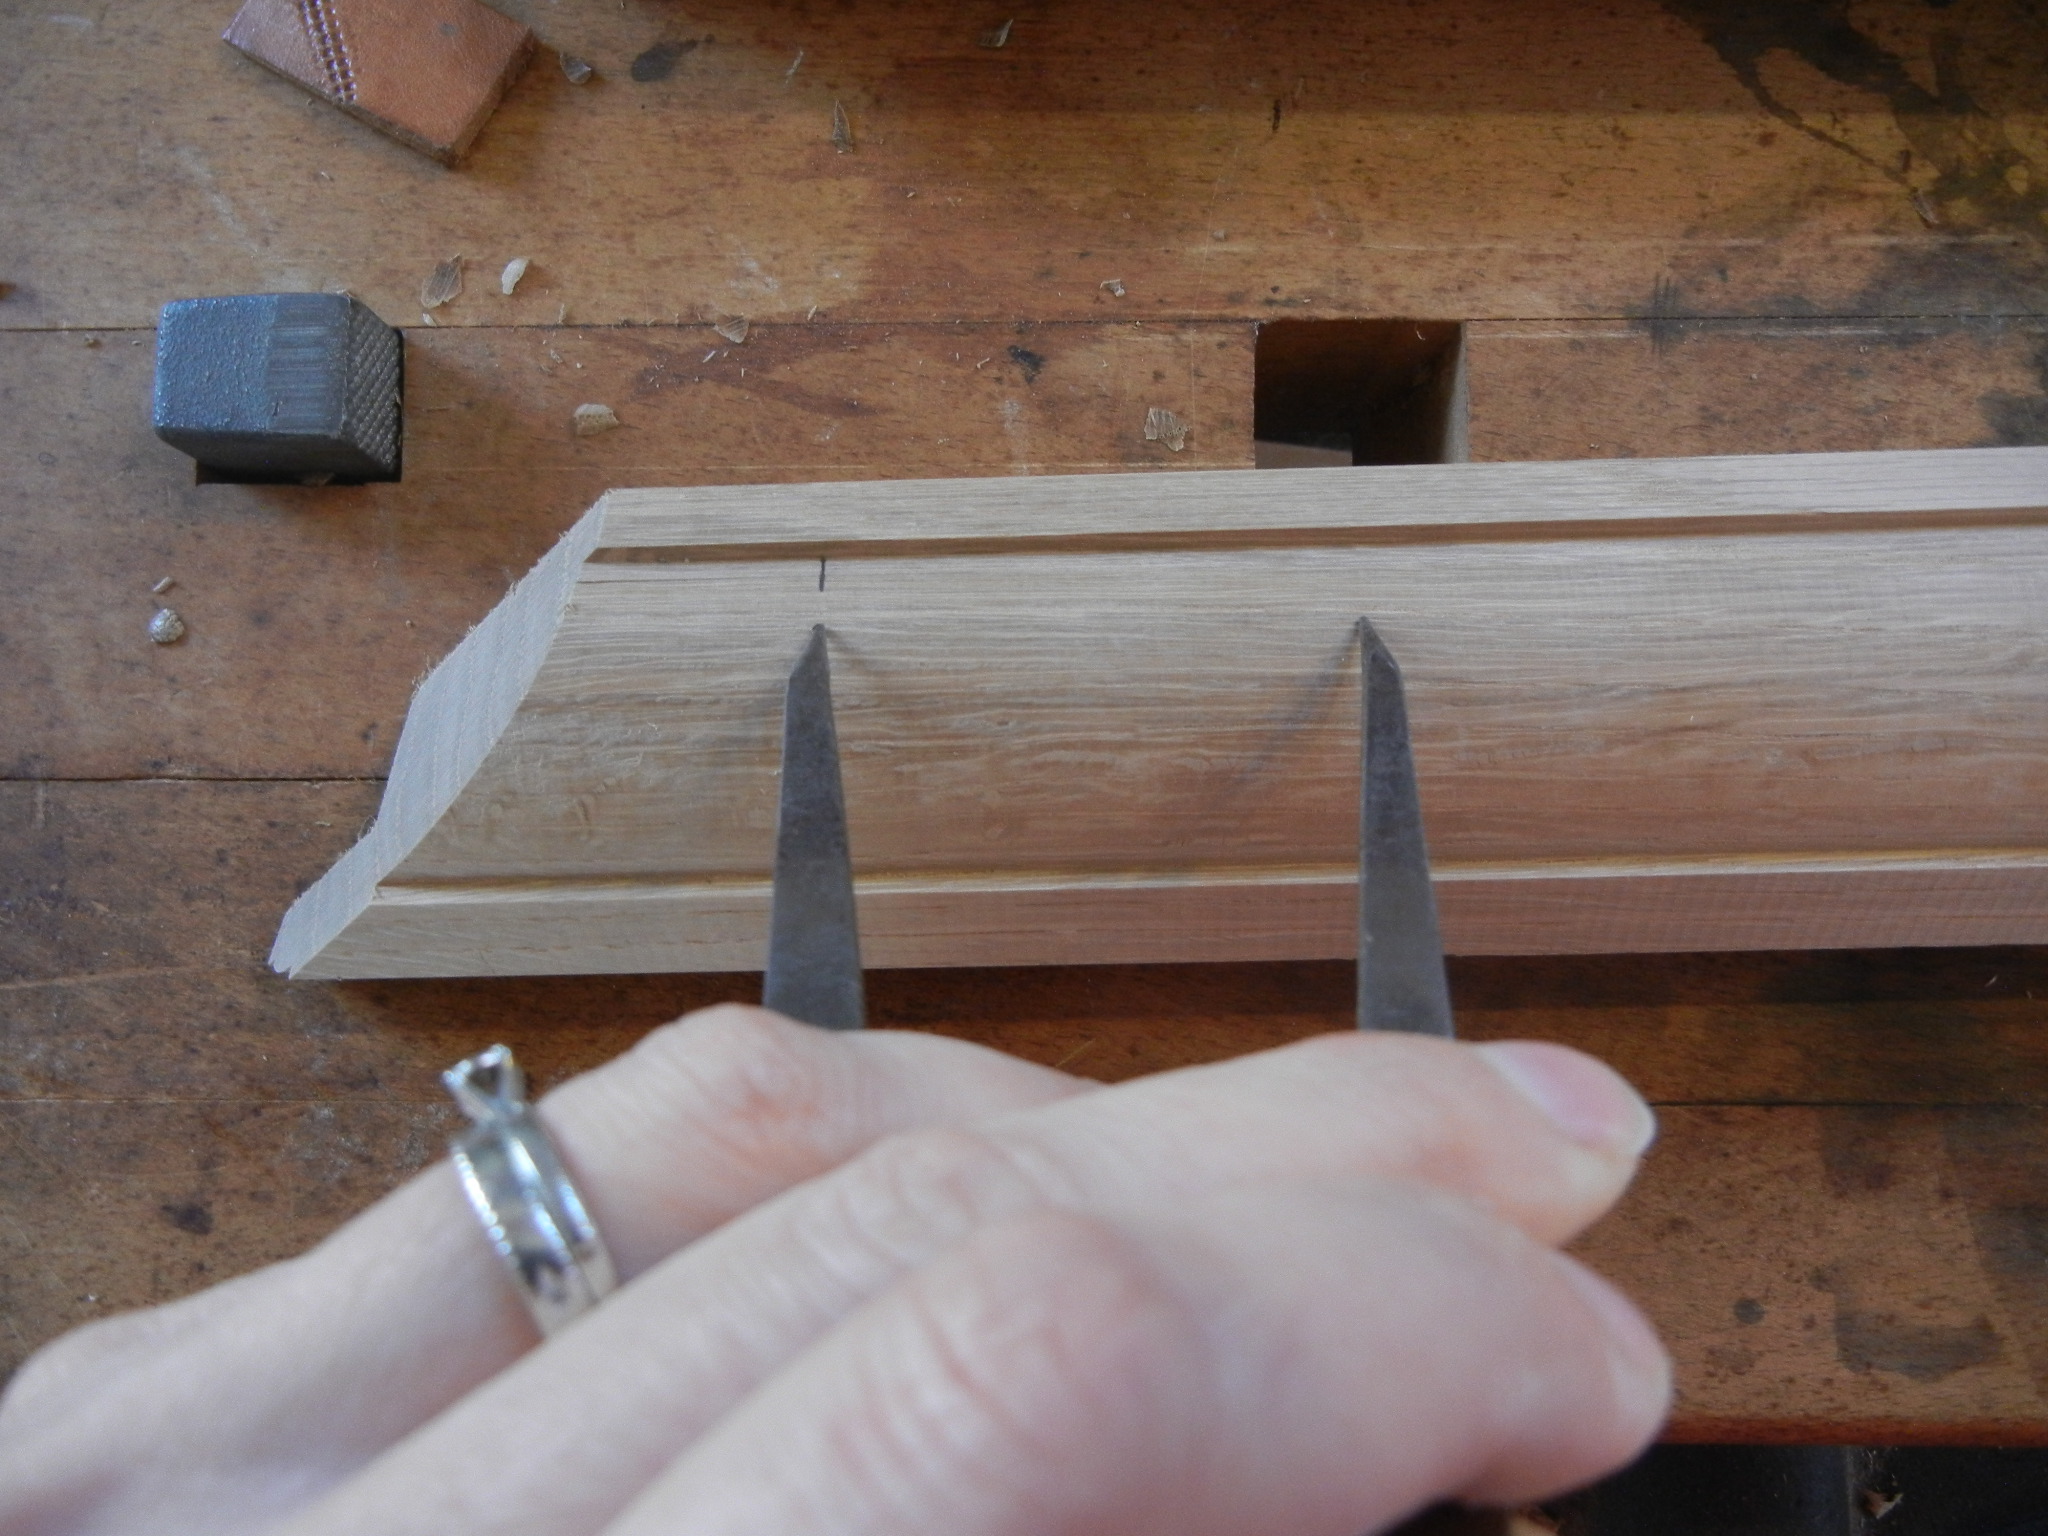
- Step 4: This should be what it looks like after tracing the template – note the small notches at the top edge (see step 5)
-

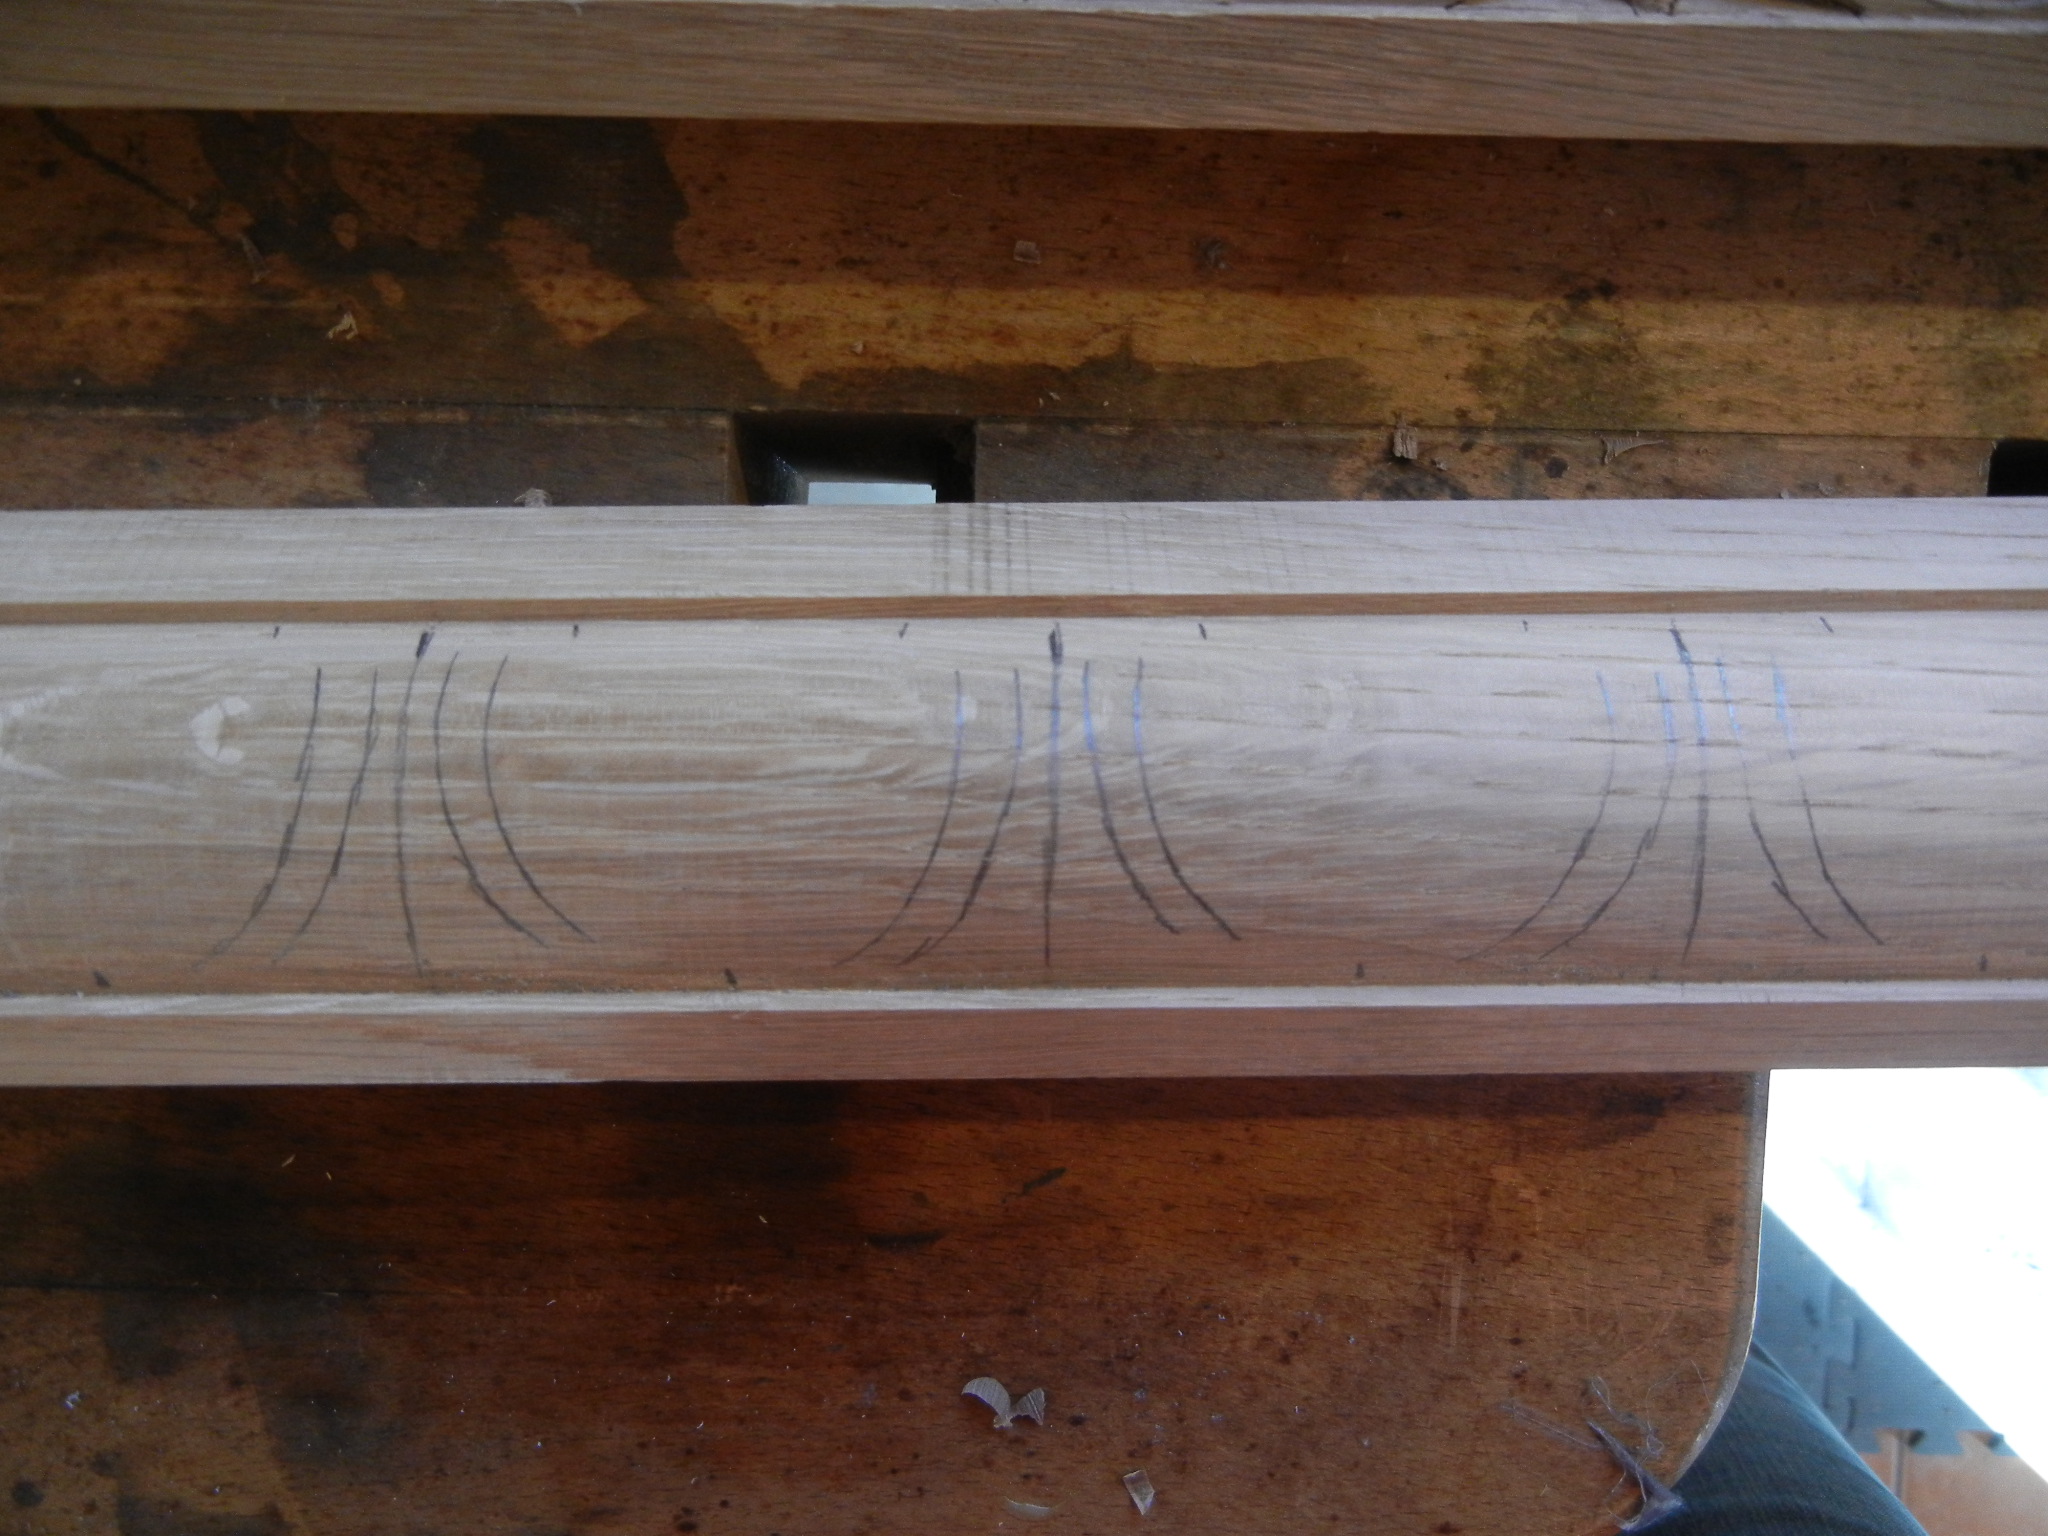
- Step 3: Use a template to draw main lines of egg. I based this template on an egg-and-dart molding I was duplicating.
-
- Step 2: Extend line down molding – this will be where the “dart” will go
-
- Step 1: Measuring out equal spaces for egg and dart
I have been working on carving a large egg and dart molding in quarter sawn white oak. I have spent a lot of time sharpening my tools, because about 90% of the time I am putting my chisels into the wood, I am using a mallet. This is HARD wood! But it really is very nice to carve – you can get a wonderfully crisp edge, and as long as your tools are really sharp, there isn’t an issue with the wood splintering or splitting – it even allows you to go against the grain to some extent, without it complaining too much. I guess I am sort of used to this – I am a stone carver also!
When I get the first 1 or 2 egg and darts carved, and get the tool line-up and the step-by-step process figured out, then I get into production mode. I make all the v-cuts down the entire length of the board, then make all the next step on all the eggs, etc. It really gets the job done fast, and it keeps all the shapes consistent also. If you can do as many cuts as possible with the same chisel in your hand, same angle, etc, then on to the next step, it’s amazing how quickly they come together. It’s also amazing that if you carve one completely, then carve the next completely, and on and on – that by the time you are down the other end of the board, the first one is much different than the final one. I guess at that point you are either perfecting it by the time you are getting to the other end, or you’re getting so sick of carving it that you are taking all kinds of short cuts. Either way, they usually end up completely different shapes down a 10 ft length.
I will be showing how to carve the little acanthus leaf in the corner also – in my next blog post. This is one way you can tell if an egg and dart molding has been hand carved or not. Look in the mitered corner and see if there is a little leaf. If not, then it was probably purchased in a long strip and cut. The problem with this, is that it is very difficult to get that mitered cut right at the correct position on the egg so that corner joins nicely. That is the reason for the leaf – so it joins nicely. Next time you look at a picture frame or something with egg and dart, notice the little leaf that joins it at the corner. It’s called “spot the machine carving”!
THANKS Mary, for yet another fine set of instructions! Your generosity with these step-by-step sets is very much appreciated.
Let’s’ see… 10 feet in how many minutes? 🙂
See, now this is the kind of stuff that needs a series of videos in the Mary May Woodcarver Workshop 🙂 Thanks so much for pointing out the exact tools used, so few do, normally it’s “Use the gouge that fits the curve!” Or, “Use a flatter gouge on the convex side, a quicker gouge on the concave side.” Here it’s, “This is the gouge that makes the curve!” and “Use a number 4 on this side, a larger number three over on that side.” This is the kind of learning I need! Thanks again!
Mary, I was going to ask about laying out so that the miter cut works out…then I read your last paragraph about the acanthus leaf. Thanks for the explanation, and I’m looking forward to the next post. I’m imagining that you’ll join the frame before carving the acanthus…curious to see if my guess is correct.