-
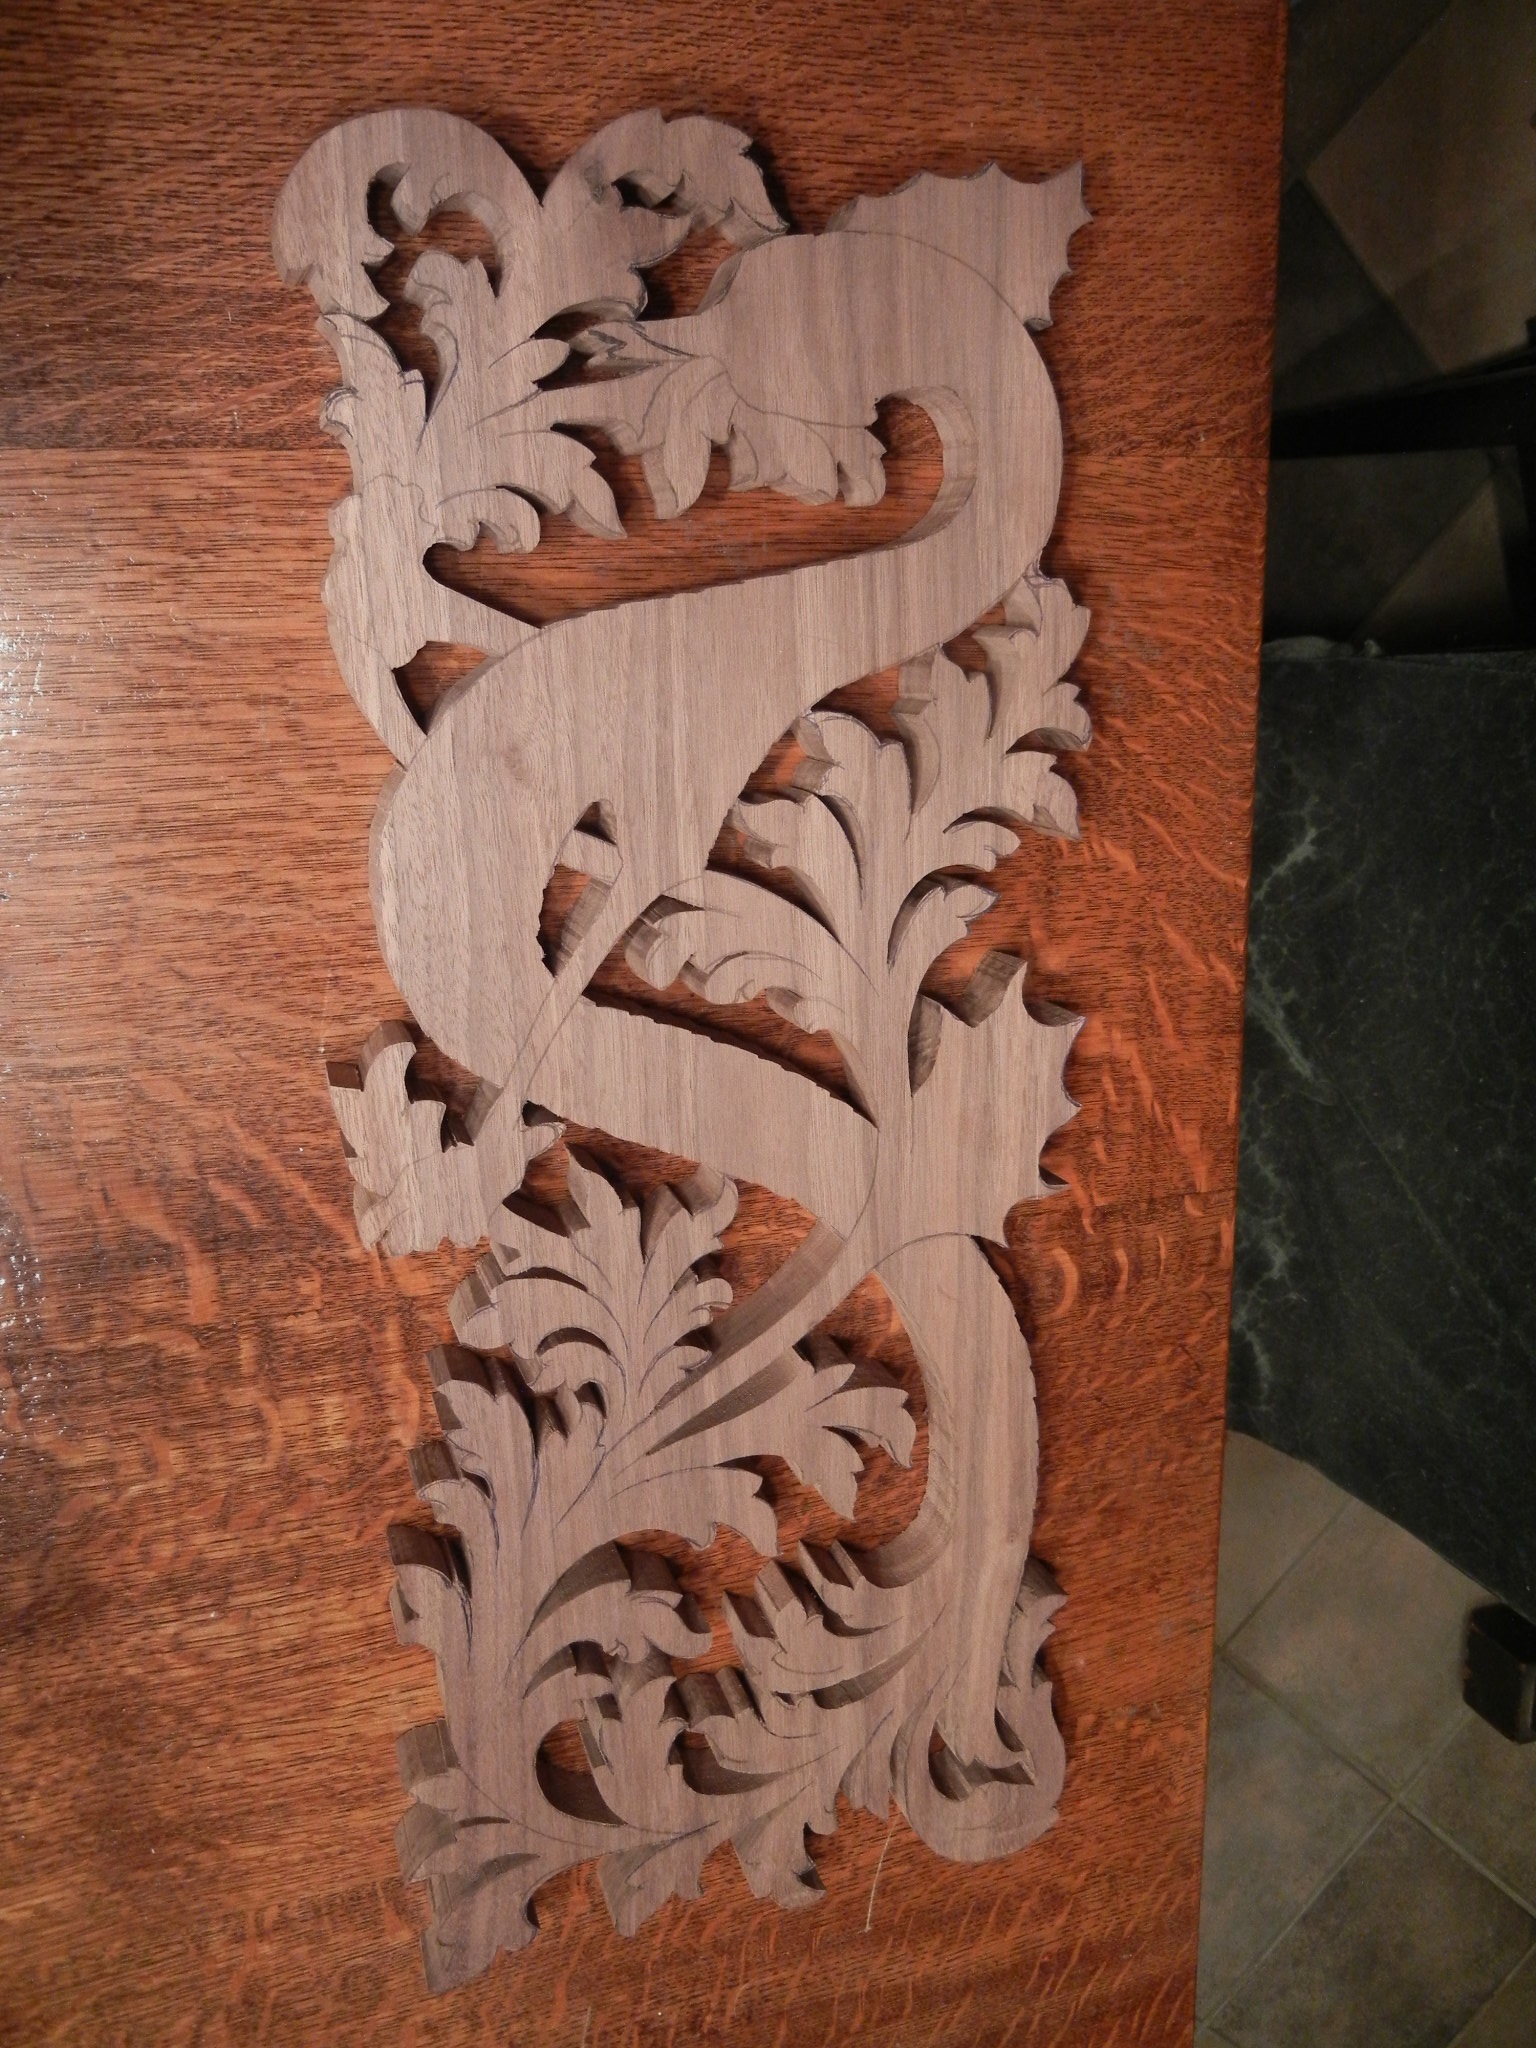
- Cut out design ready to glue onto backer board
-

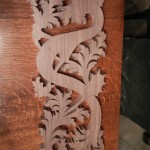
- Process of how to saw pierced areas with a scroll saw
-
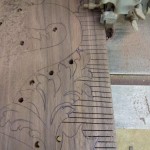
- Process of how to clear the wood with a band saw
-
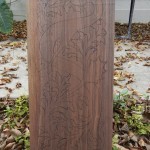
- Drawing of dragon on walnut board
-
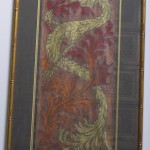
- Original wax rubbing that design was taken from
I am starting a new carving project. I still have several projects under way, including the 3 large shell niches which I have 2 finished and am going to start on the third one next week.
This new project is going to be a lot of fun. It is a dragon design where my client had made a wax rubbing of a 17th century English church door panel. The story behind this design is that it represents eternal life, as the serpent, or dragon, was eating foliage (acanthus leaves) that grew from its tail.
It will be carved in 1″ thick walnut.
First step, I enlarged the photo of the wax rubbing to the size I wanted the carving. Then I traced it on the walnut board with carbon paper.
Next I decided to cut the outside edges of the design with a bandsaw, instead of a scroll saw (which is what I normally would use). Since it is quite thick wood, the scroll saw would have probably been slower and more tedious, and I’m confident that I would have gone through quite a few broken blades (probably my impatience). And also my scroll saw was acting up. When I do have to resort to using machines, something always seems to be an issue. This is why I like hand tools! If something goes wrong (i.e. tool gets dull) I know what to do! What more can go wrong?
I was pretty proud of myself for changing out the bandsaw blade from a 1/2″ to 1/4″ without too many wounds. In spite of the fact that my husband could have changed it out in about 5 minutes, I was determined to do it myself. One hour later, with only a few drops of blood, I was on my way!
When I use a bandsaw on such detail work, I do not like to get the blade locked into an area that I can’t maneuver around in, so I made a series of parallel “clearing” cuts just up to the design about 1/4″ apart (see photo). Then I was able to get closer to the design edge and as the little pre-cut pieces fell away, the saw blade had the freedom to back out and turn easier. Much better than trying to back up a band-saw – tried this – NOT a good idea. The blade is very eager to slip off the wheel. From someone who really doesn’t like machines, this is a terrifying experience.
Then, after my mechanical genius of a husband fixed my scroll saw, I was able to saw the interior holes. I started with drilling simple holes so I was able to access these areas with the scroll saw blade. Then I spent quite a few hours (and several blades later) slowly going along all the interior edges.
Next I will find a board that is several inches larger than the cut-out (enough to be able to keep any clamping devices away from the carving) and glue the walnut cut-out onto this with newspaper in between. I call this a “backer” board. It simply is used to hold the piece solid while I carve, and it also keeps any clamps or bench dogs away from my carving. I try to get a smooth surface board because it is important to have a very solid glue surface. I quite often use a smooth grade plywood for this that is thick enough to not flex if I hold it between 2 bench dogs on my workbench (1/4″ might be too thin for this).
Here is the process for gluing:
1. Trace around the edge of the design onto the backer board so you can know where to put the glue on
2. Spread glue on the backer board in this area – smear it all over with your fingers (or use something more civilized like a brush)
3. Place the newspaper on the glue and rub it in so that all the newspaper is touching glue
4. Put glue on the entire back side of the walnut cut-out. Make sure that all the little fragile leaves have glue on them also.
5. Place the cut-out on the newspaper, making sure that there is a complete glue on all surfaces
6.Put another board on top of the walnut (preferably about the same size as the carving). Clamp this all together with as many clamps as possible all over the surface – use clamps with a longer bar to reach the center sections. This will ensure that all areas are glued tightly.
If I would just try to clamp it without this extra board on top, it is very likely that there will be areas where it doesn’t glue tight enough where the board may flex a little.
And after all that – I can finally get to the FUN stuff. Since this is 1″ thick, I will be able to do some really nice overlapping where the tail and leaves go under one another. And also I can do some real twisting and curving with the acanthus leaves. So often the leaves that I have carved recently have been relatively flat designs so it will be nice to carve with some real depth.
I’ll try to post the progress of this job – and also video much of it for my video school.
I won’t be able to sleep tonight thinking that I will actually be able to carve tomorrow! Even after 20 years of carving, it still feels like Christmas!
This looks like an amazing project! I will follow this for sure. I have some walnut I need to find a use for and something along this vein seems like it is the right fit!!
YES!!! It indeed looks like loads of fun!
My partner wandered by while I was admiring one of the photos. She loves dragons and has declared that our own interpretation of such a carving should also be dark walnut on a red lacquered background, and maybe a gilded bevel somewhere on the custom profiled frame. (Keeps the hollows and rounds from getting lonely over disuse.)
Carve on!
Hi Mary
Great project! Will this project be available in video on the online school?
Have fun carving the dragon!
Martin
I have been filming this project as I carve and plan on putting it into the online school. It is turning out to be one of the longest videos so far. My guess is that it will be 6 to 7 hours. My decision needs to be whether I should edit it shorter or not. It will be in “real” time video without much cut out. I’m having a great time with it, though!