Rice bed carved by Mary May. Turned and build by Danny Hinson.
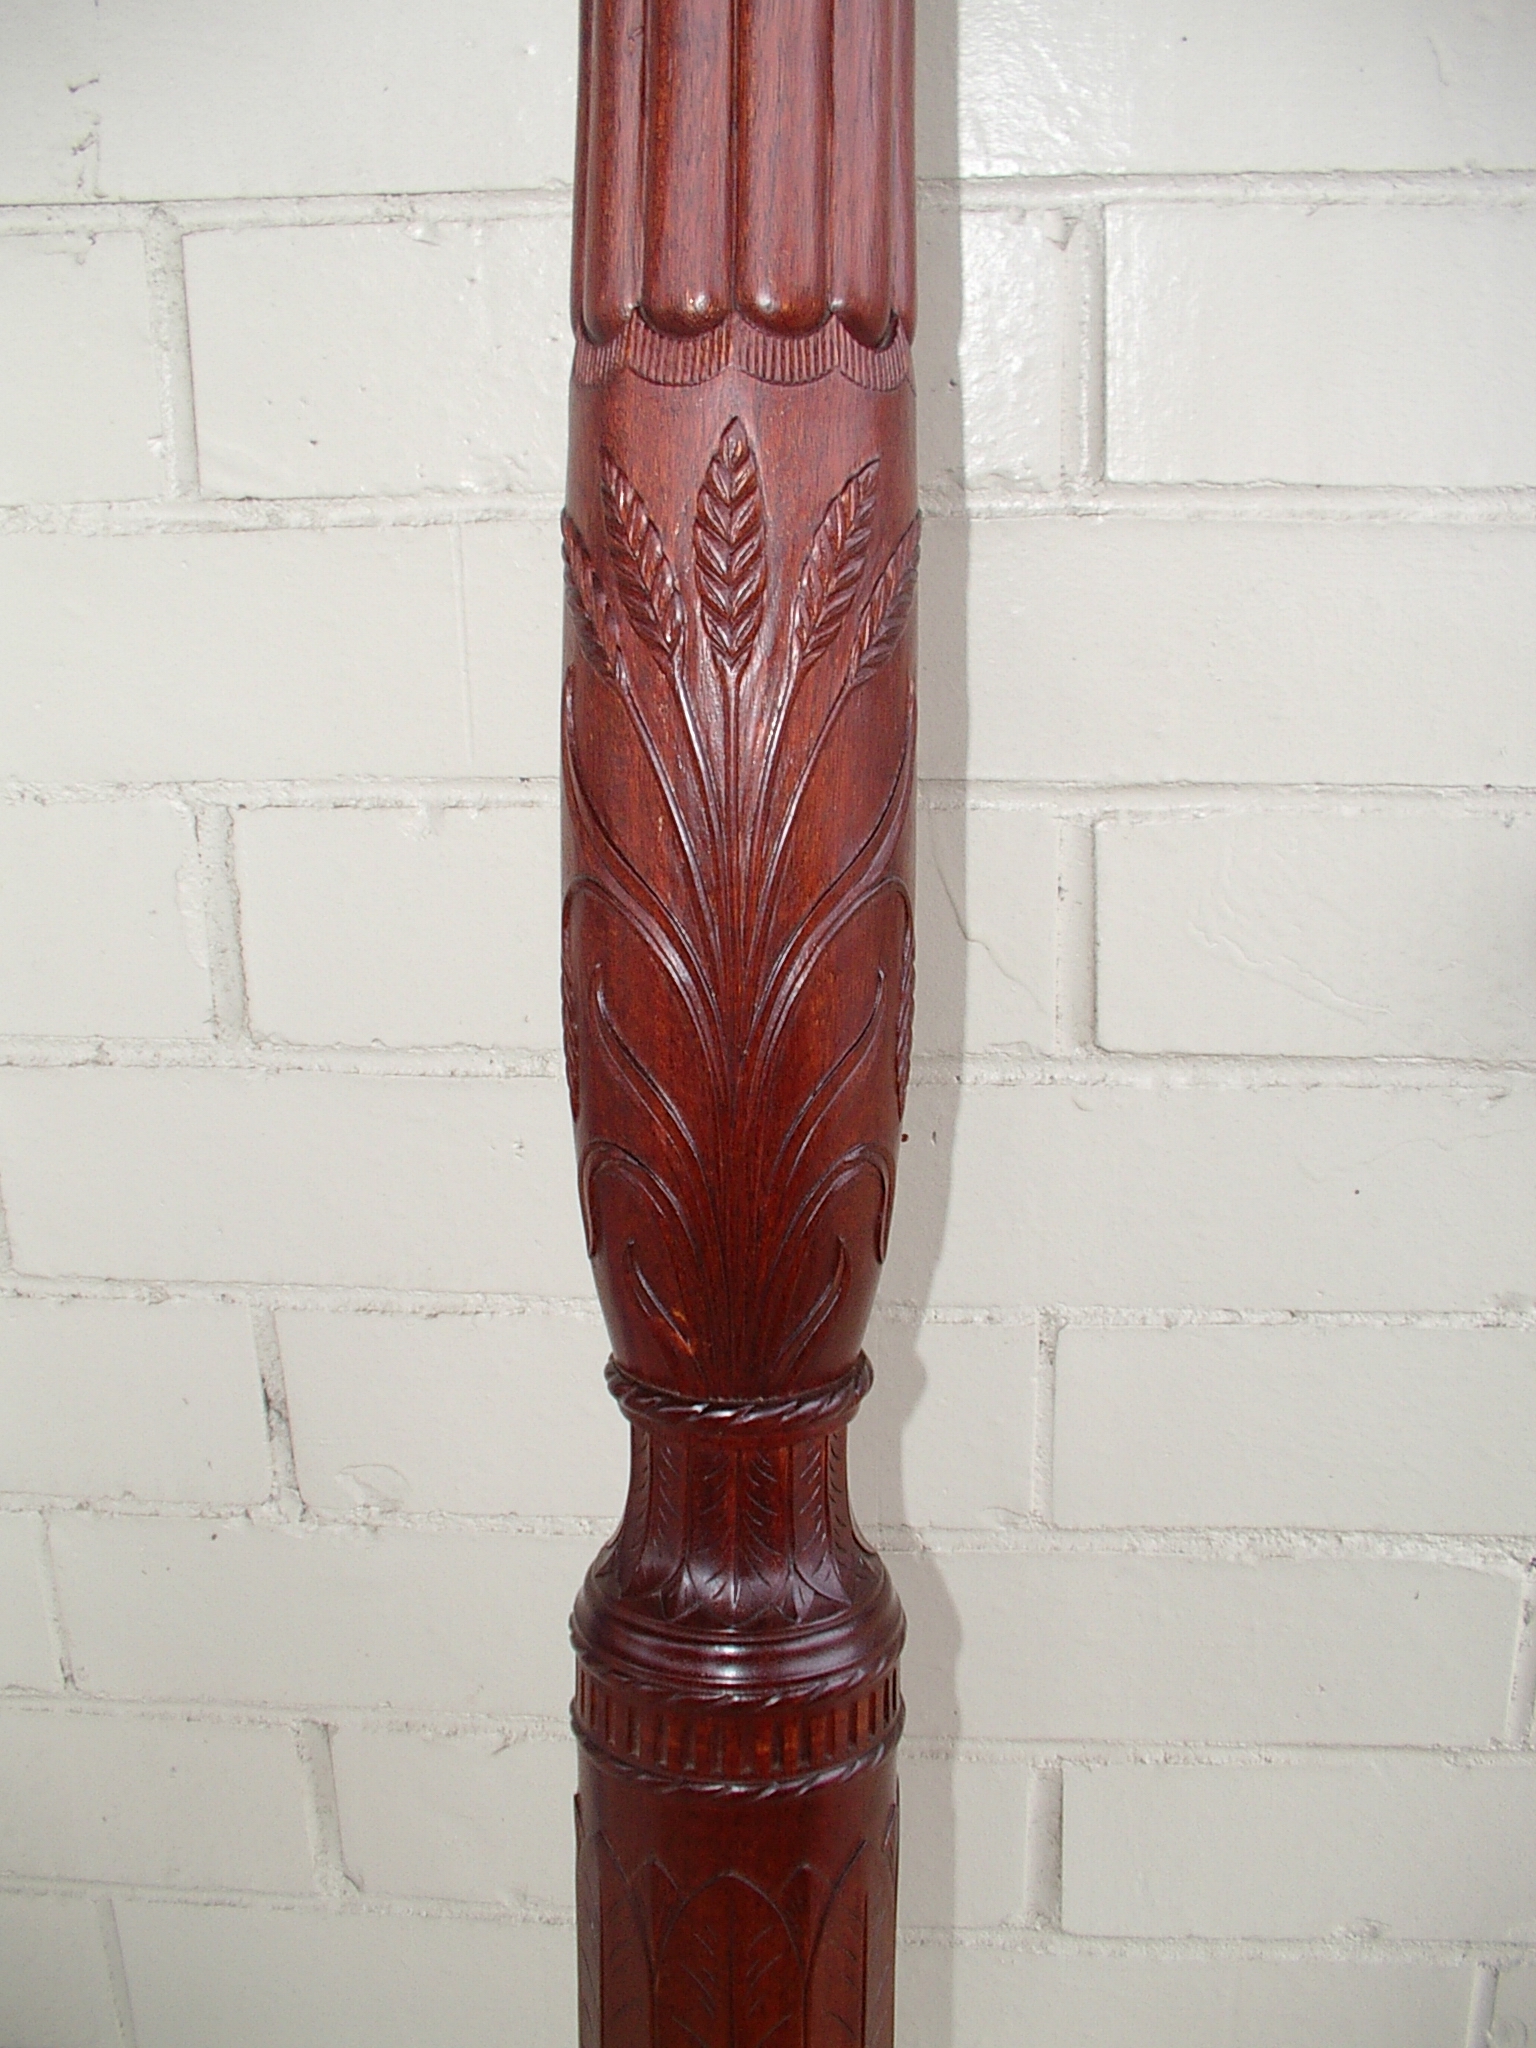
Have you ever seen those Tall Post Beds with designs that look like sheaves of wheat carved into the turned surface? Back in the late 1700’s, Charleston, SC furniture makers carved a variety of these ornately carved beds. However, the designs are not actually carved wheat, but carved rice. The wealthy rice plantation owners often had these beds custom made to celebrate their great wealth from the rice crops.
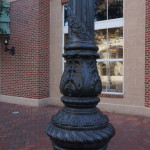
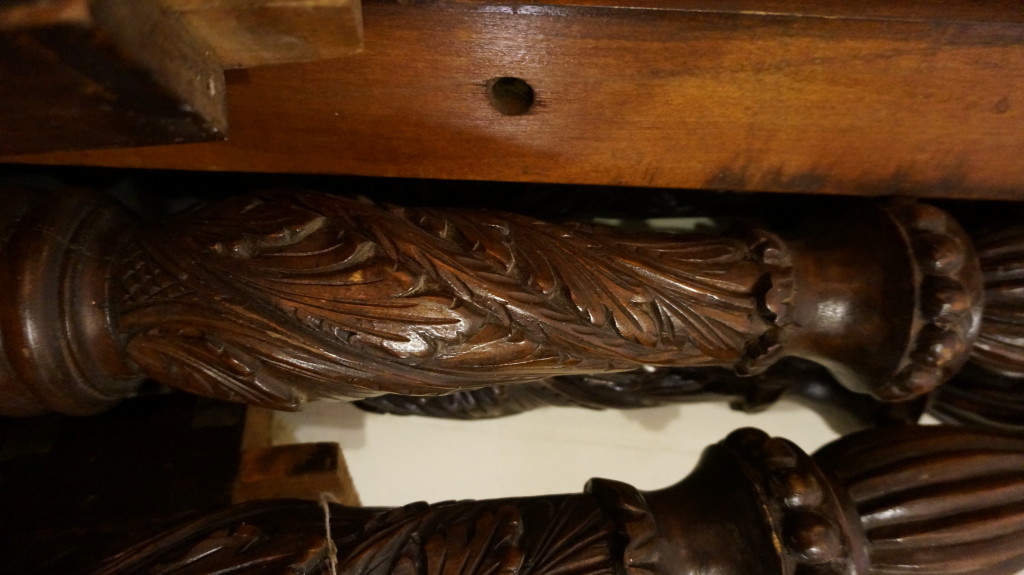
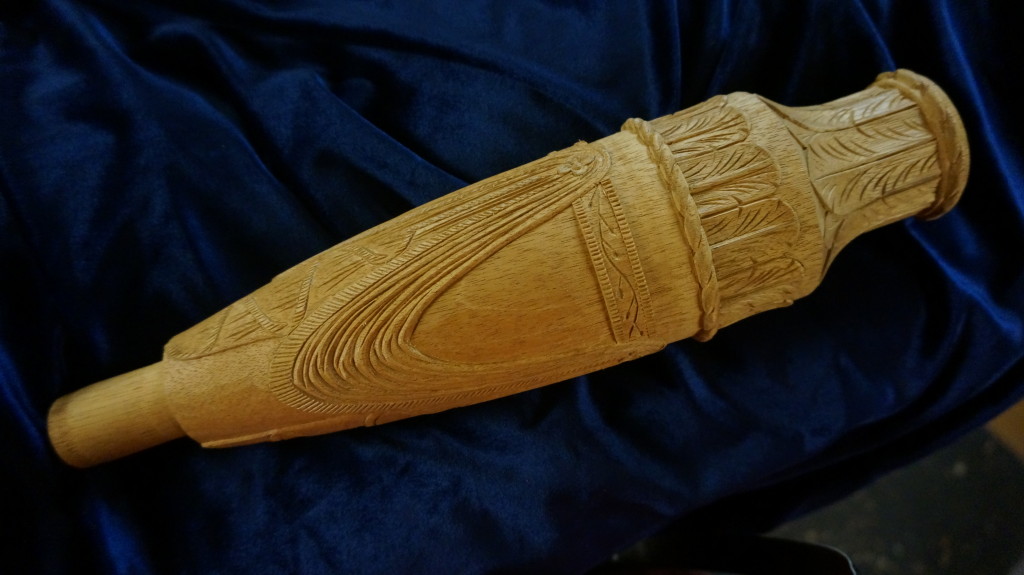
Why weren’t the carved rice details look more like rice instead of wheat? Well, because symmetrical wheat “heads” are much easier to carve! The rice “head” is much more asymmetrical – almost explosive – and not very easy to carve. So from a design perspective, a wheat design works much better. The photo of the rice bed post to the right is one I carved for Danny Hinson several years ago. You can see the very evenly spaced kernels look more like wheat than rice.

Wheat plant
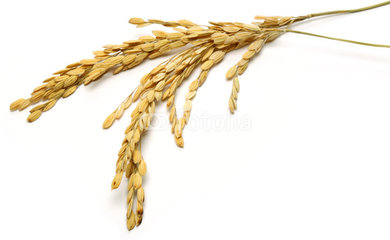
Rice plant
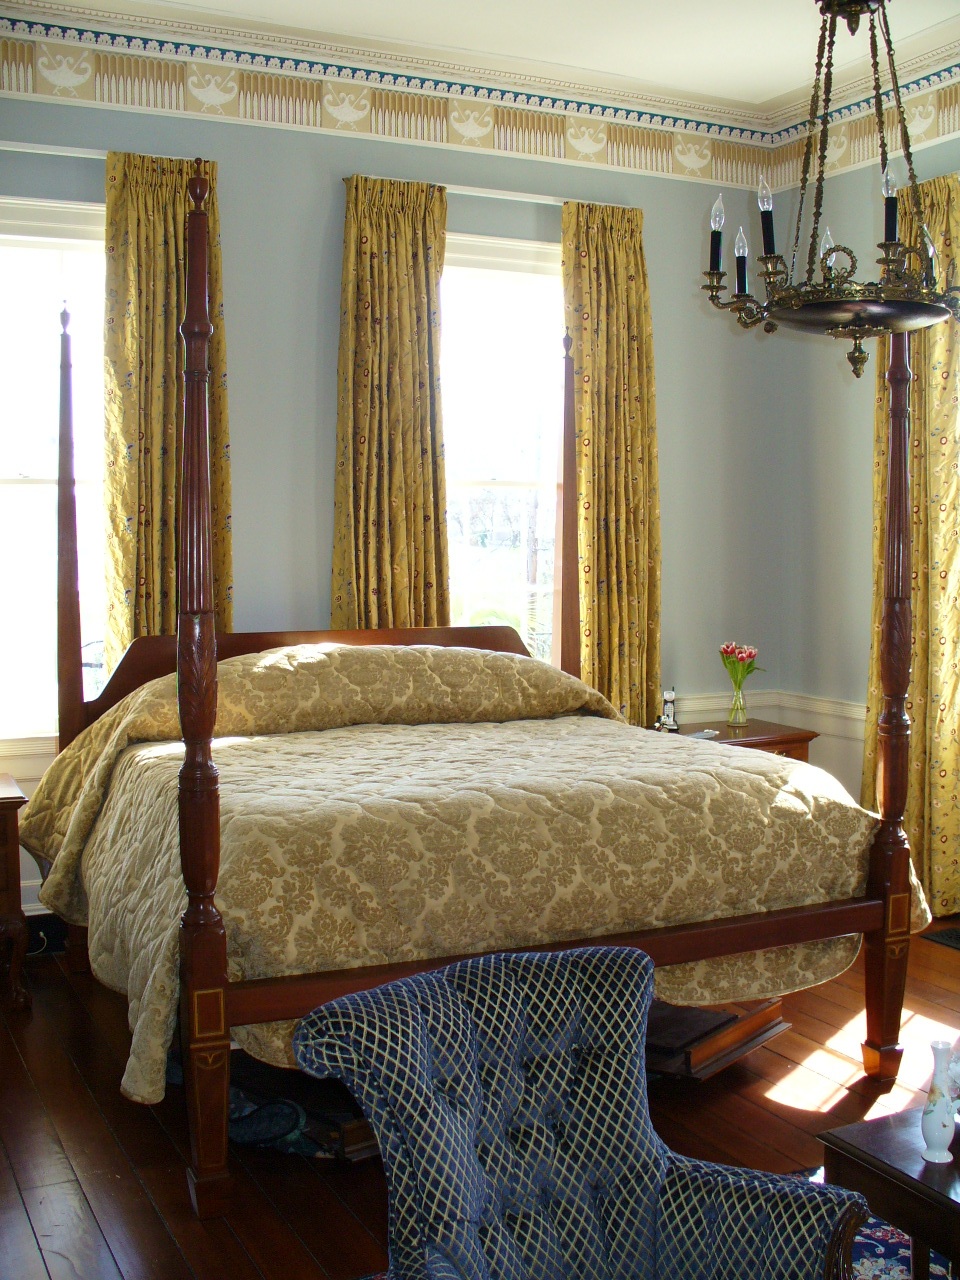
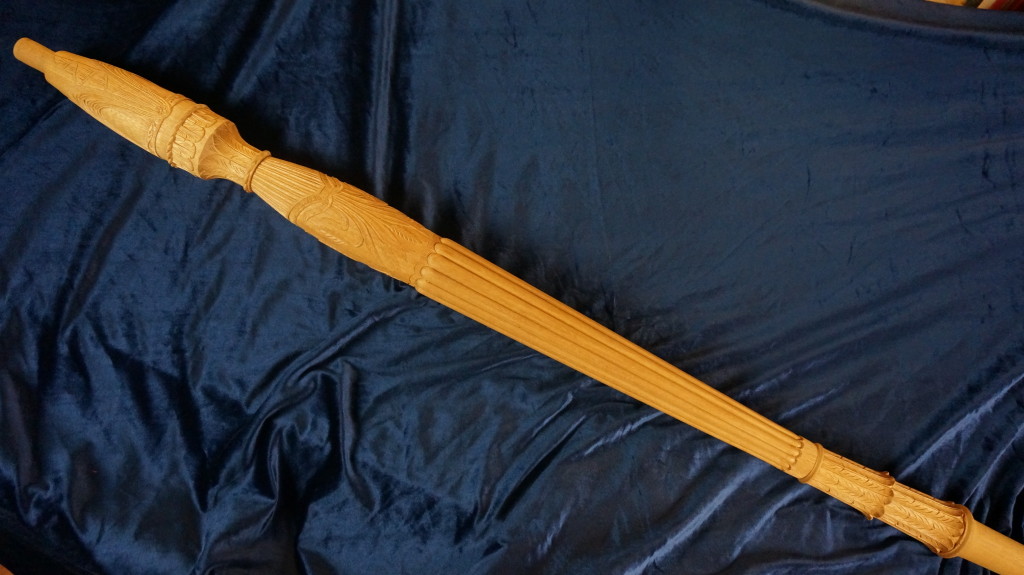
Charleston Rice Bed Carved by Mary May and Turned and Built by Danny Hinson.
I have carved 6 Charleston Rice Beds over the past several years, and I just recently finished two.
The beds traditionally have only 2 carved posts at the foot of the bed. The posts at the headboard are very plain because the cloth canopy usually covers those.
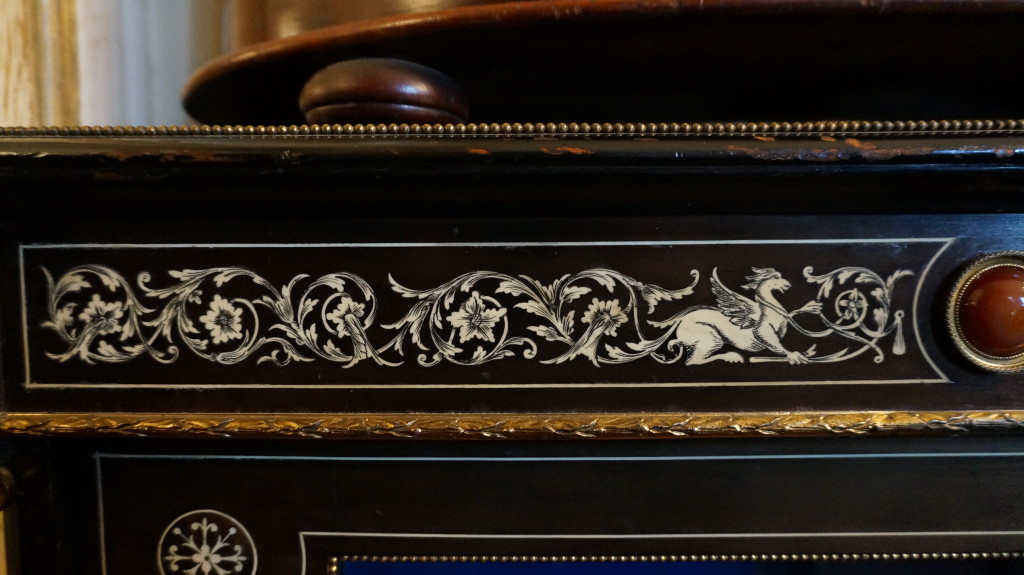
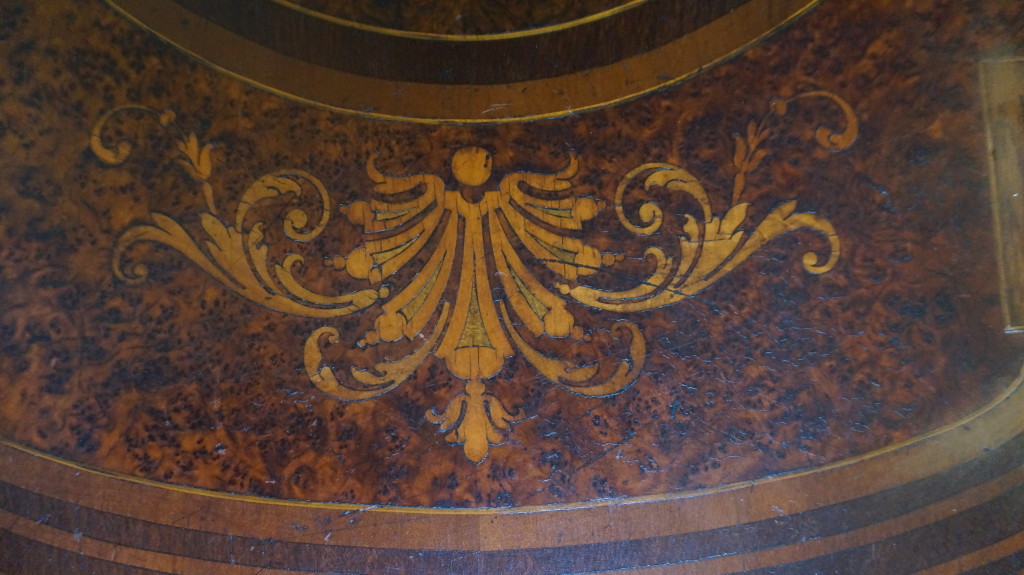
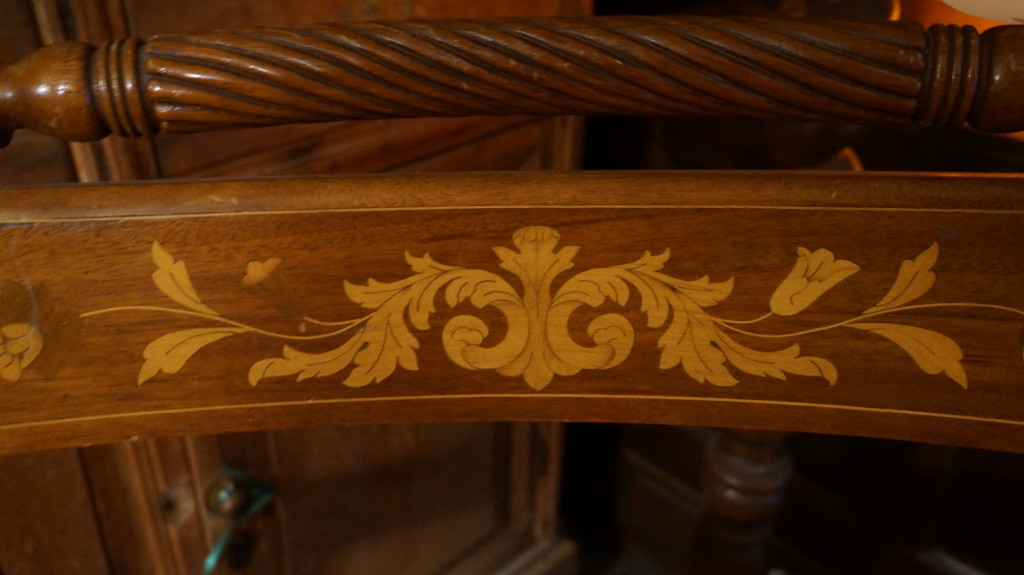
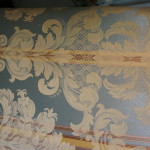
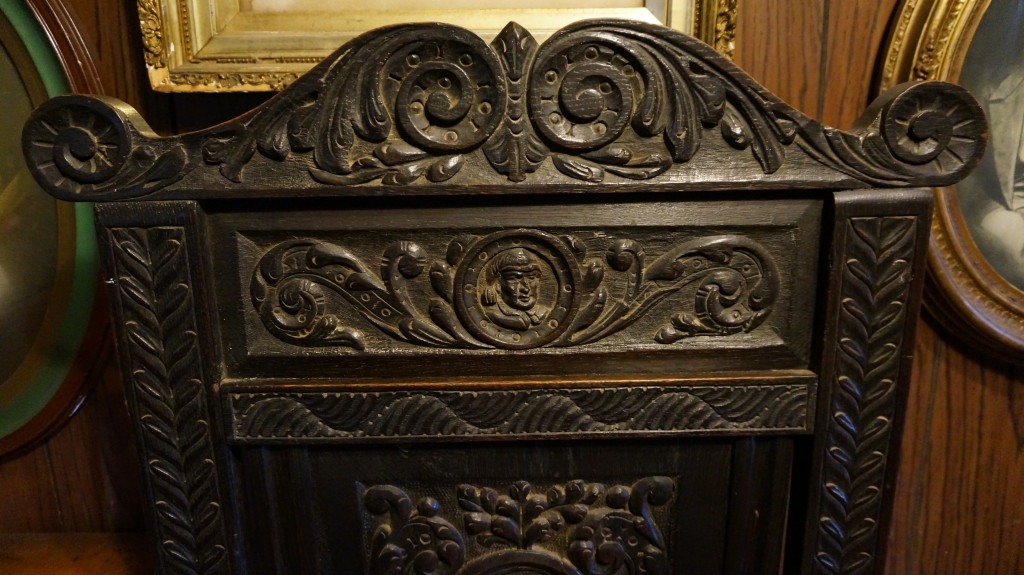
Along with carved rice, there are often carved drapery designs, simple laurel leaves or tobacco leaves and rope.
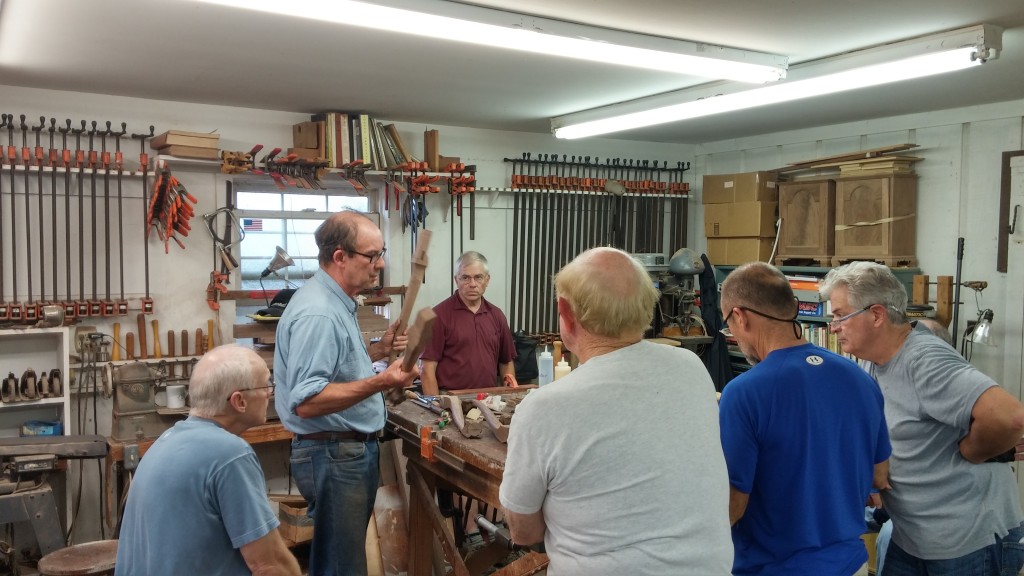
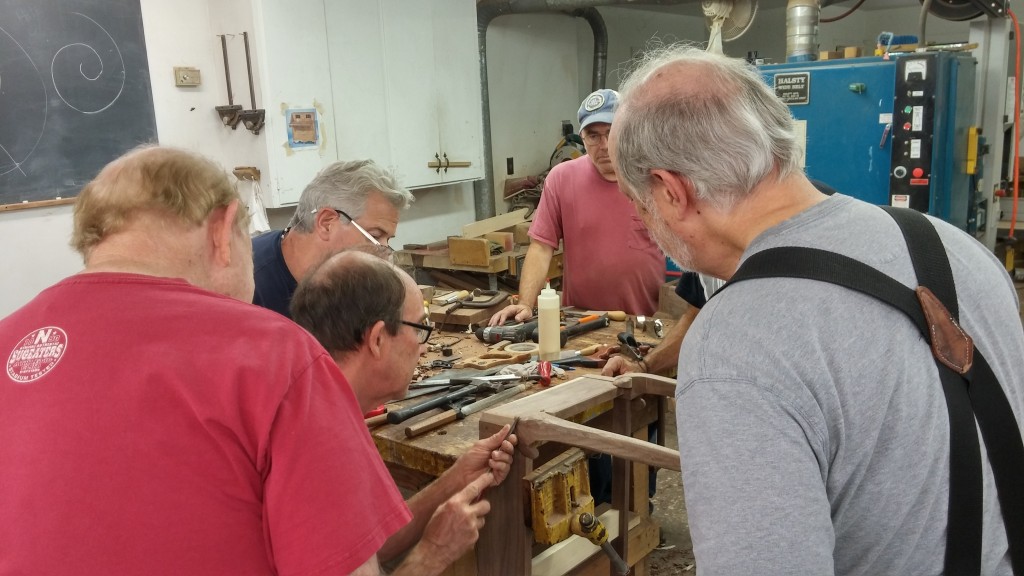
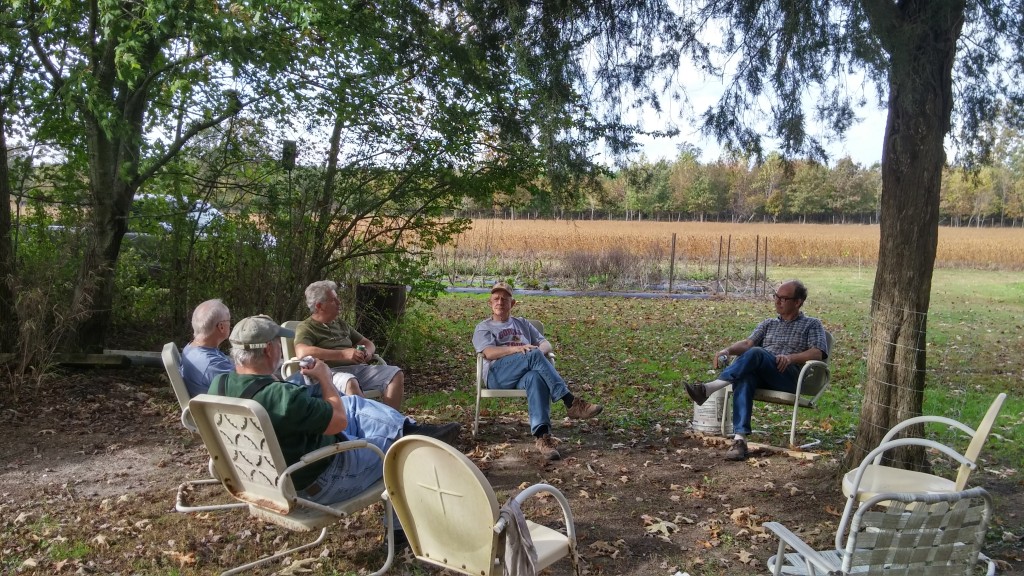
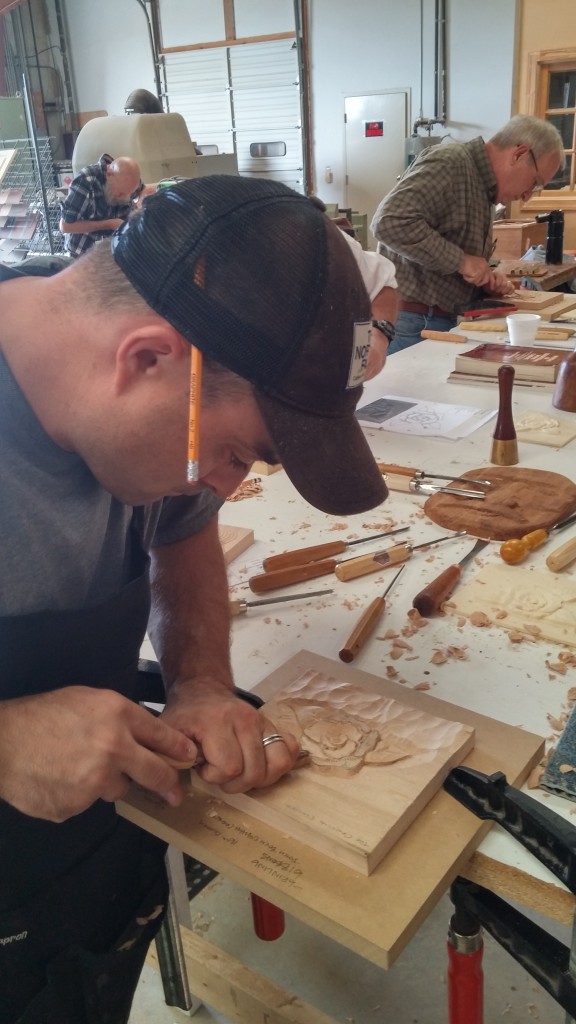
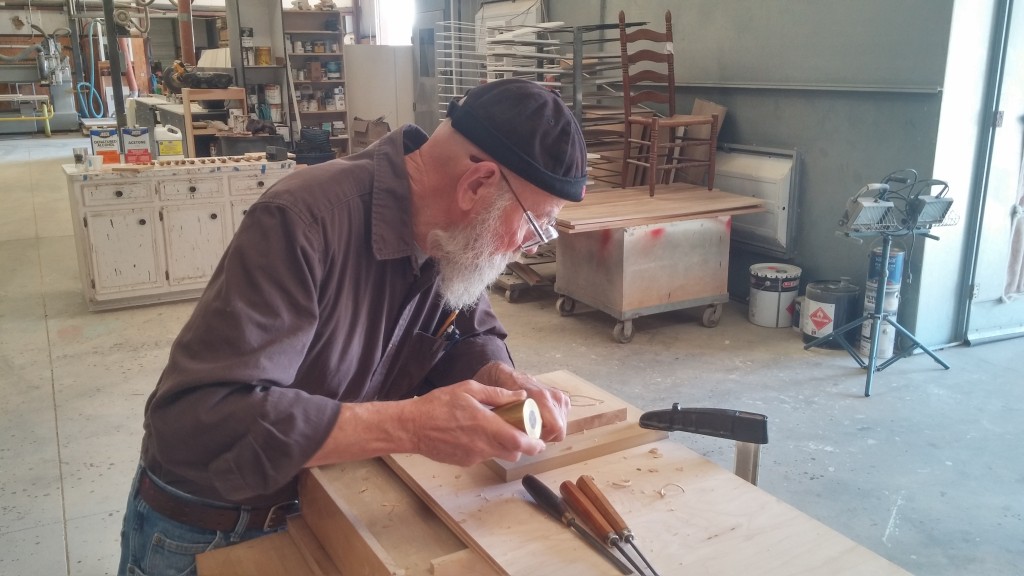
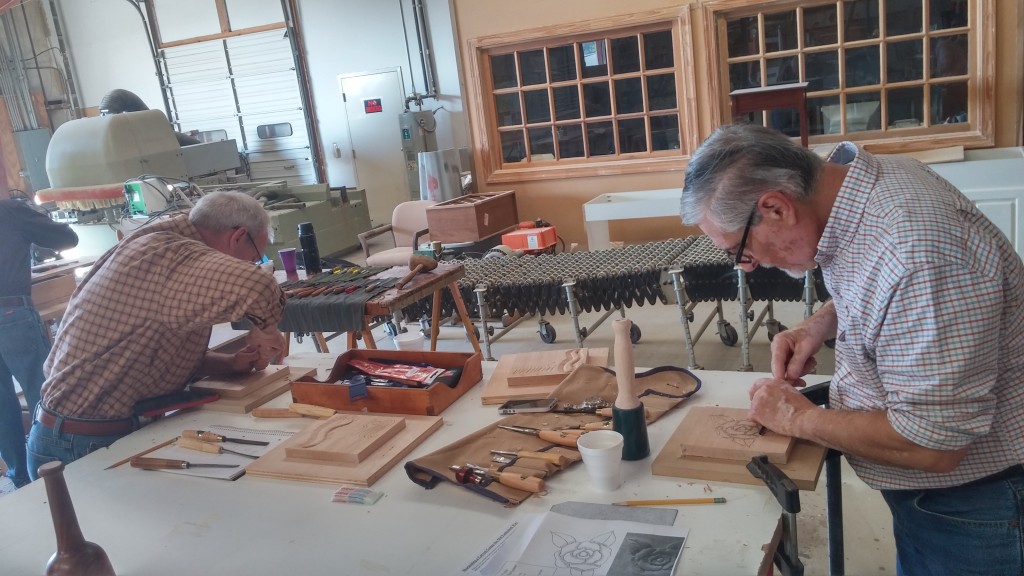
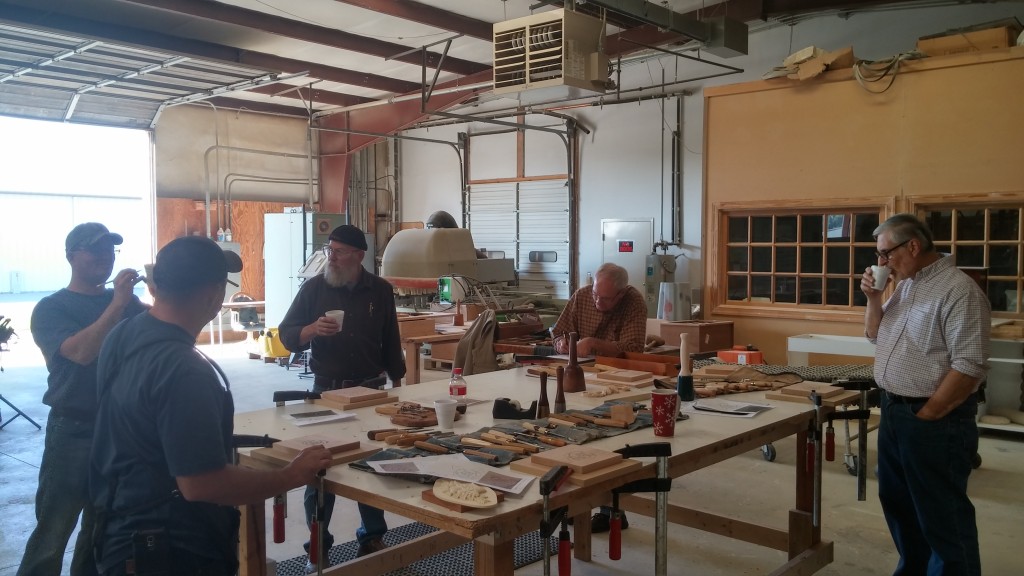
One rice bed that I recently finished was for furniture maker and teacher, Charles Neil who also has a great online woodworking school. Several years ago Charles and 6 of his friends and students came to my tiny little workshop for an entire week to learn woodcarving. I can’t believe I was able to find 7 level spaces for people to work, but we did – with some bruises and cuts, but we all survived. The week was so much fun and I look forward to “entertaining” them again one day.
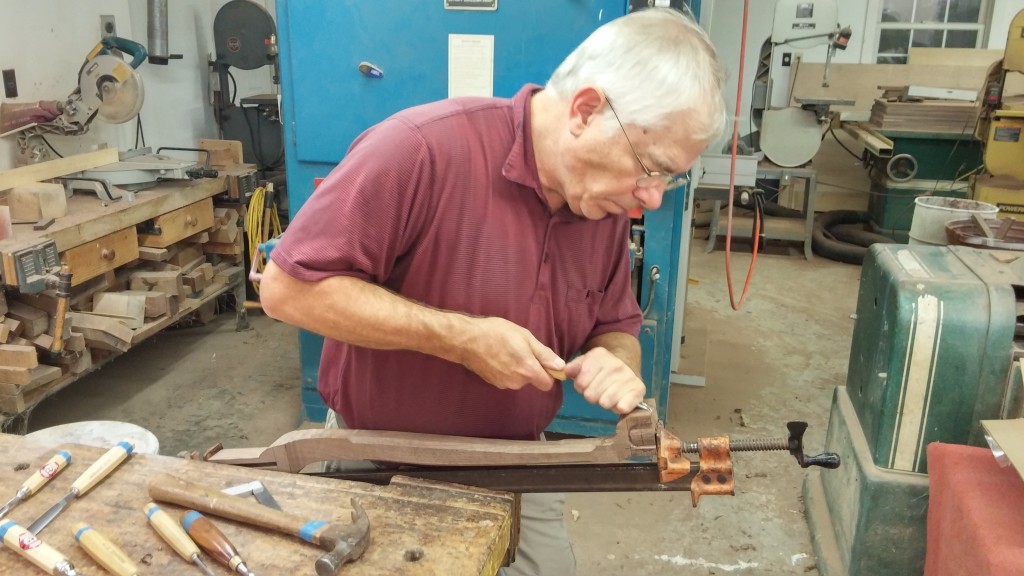
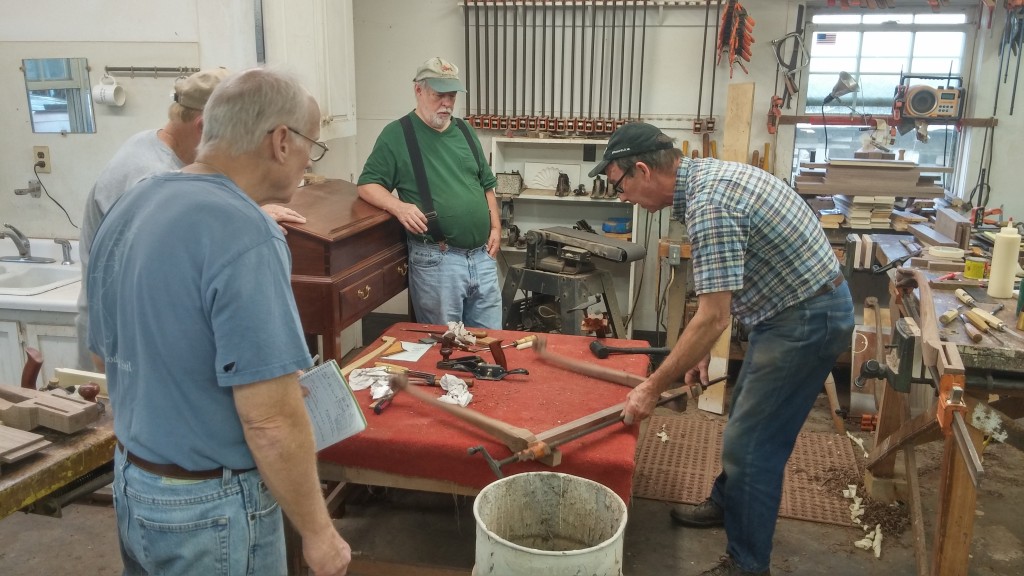
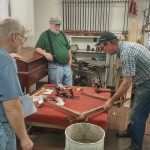
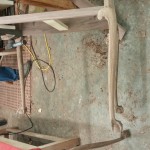
While the “Charles Neil Gang” was in Charleston, we felt the need to escape the tight quarters of my workshop for a few hours one afternoon and went on a field trip to my friend and neighbor, David Beckford, who is a highly skilled antique furniture restorer. It just so happened that David had an original Charleston Rice Bed in his shop that he was touching up and restoring. We had an opportunity to photograph it and measure it. John, one of the students with us, commissioned Charles Neil and I to make a replica “loosely” based on the original.
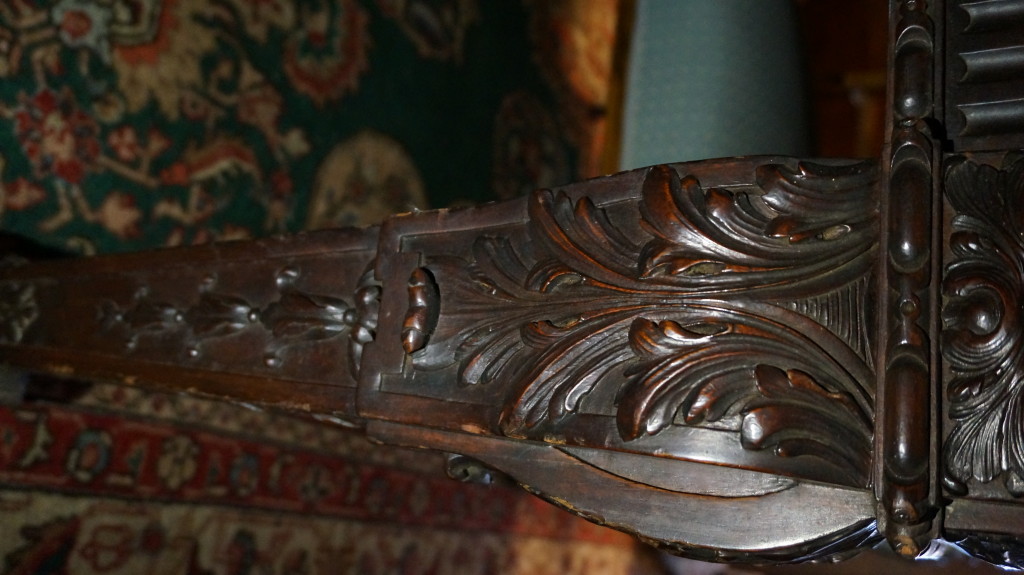
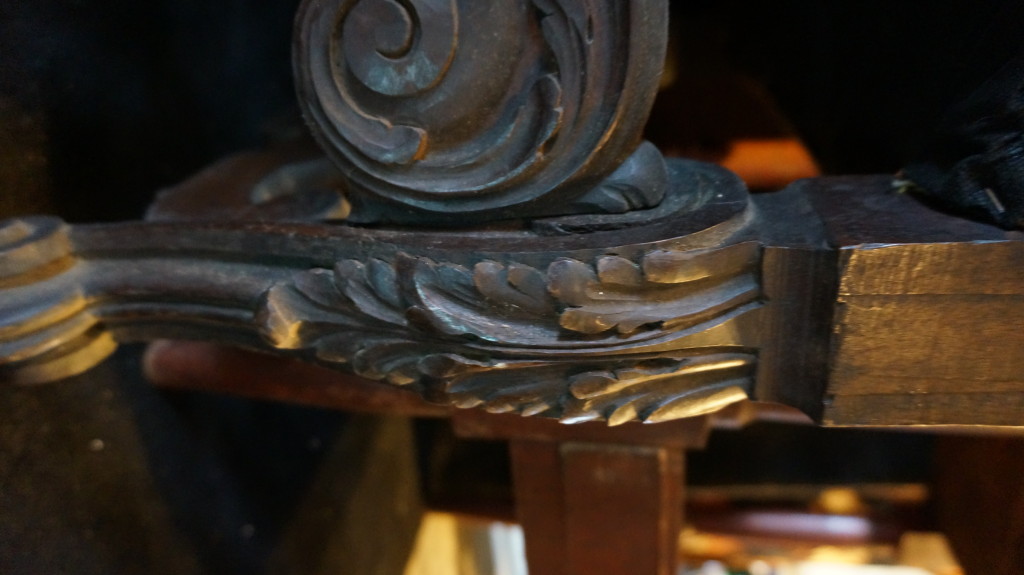
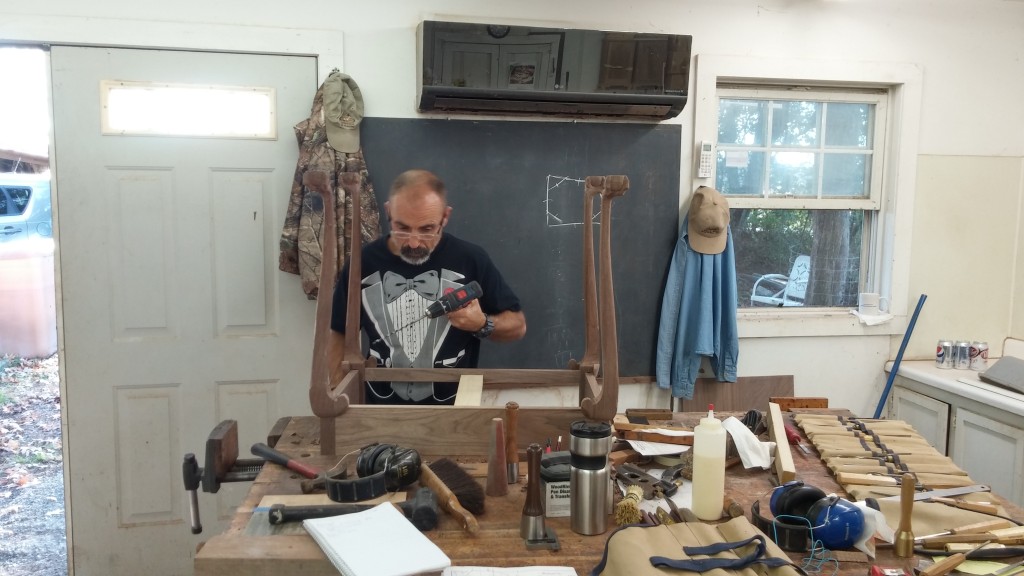
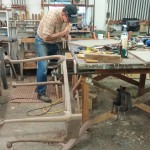
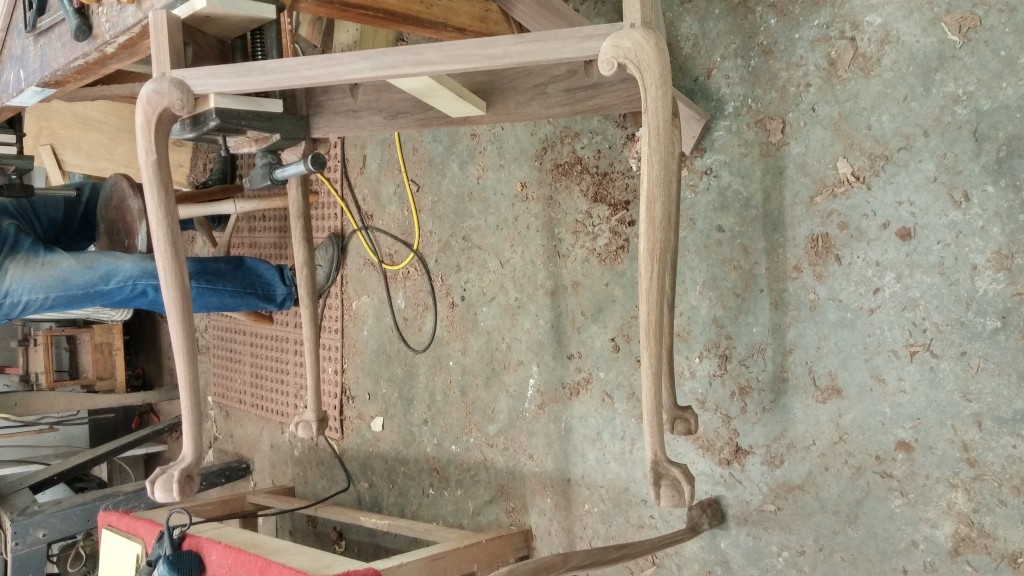
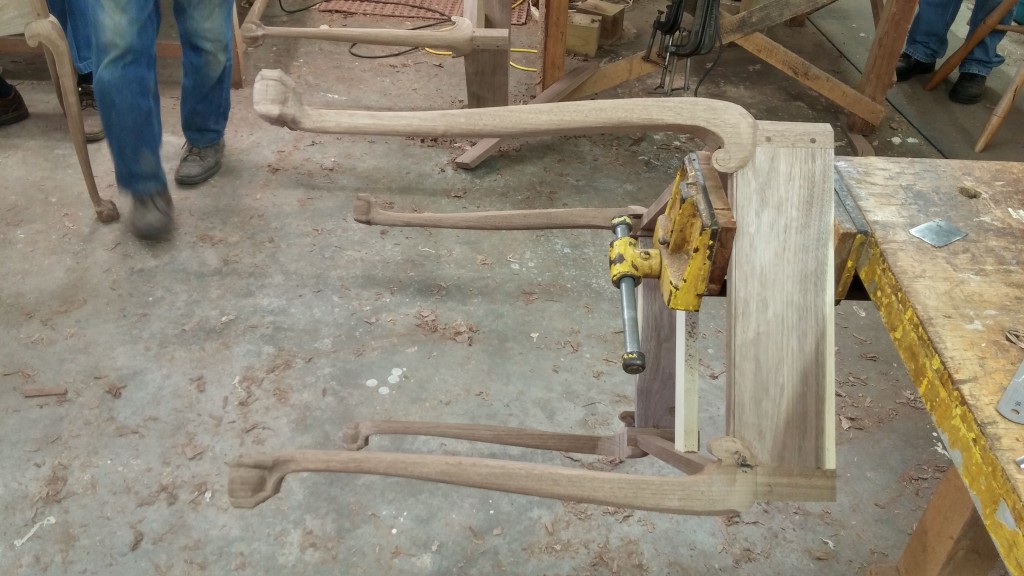
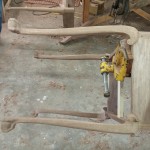
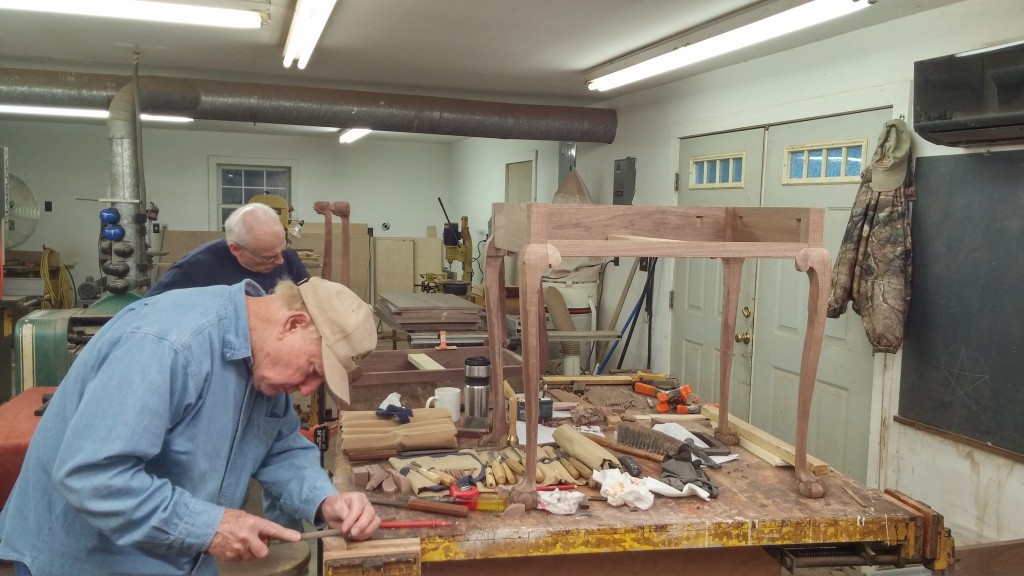
Charles did an amazing job turning the legs that he based on the proportions of the original. The bed we made is slightly smaller, but was in proportion with the original. The originals were generally turned from one piece of wood, but Charles turned it in several pieces. This really helped in the carving process, as it is much easier to hold smaller, shorter pieces. Also, as the carving details run into delicate bead molding, Charles strategically made the joined areas at those very awkward areas. This allowed me to freely carve off the edge without being concerned about hitting delicate edges. Very clever! And very helpful to me.
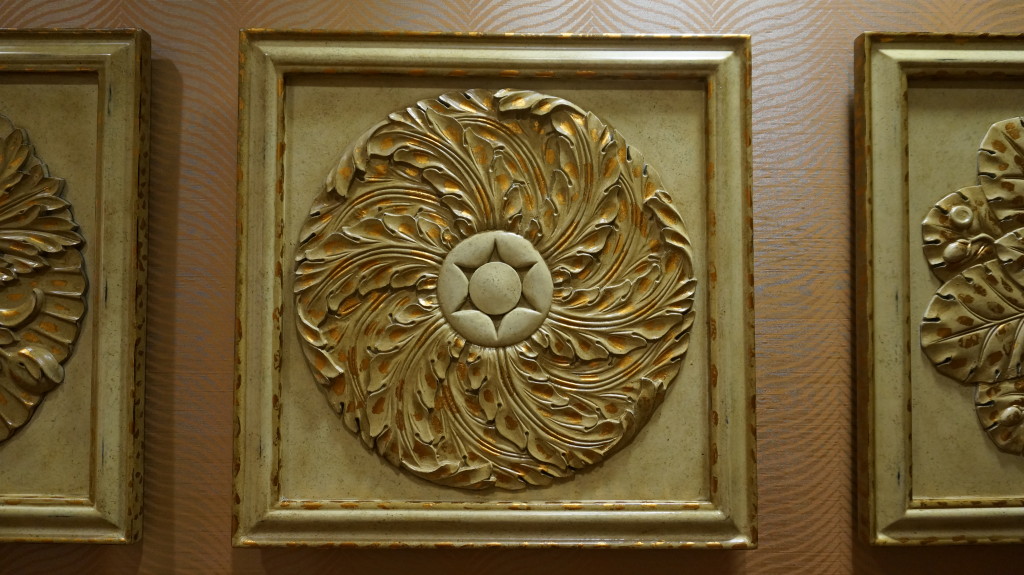
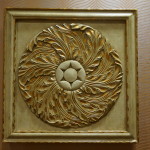
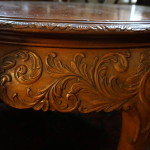
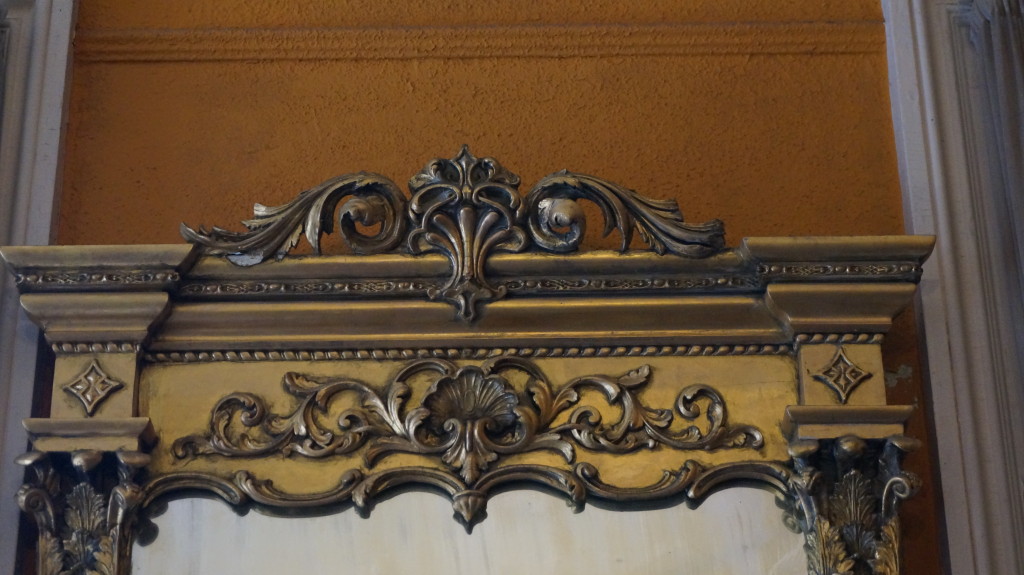
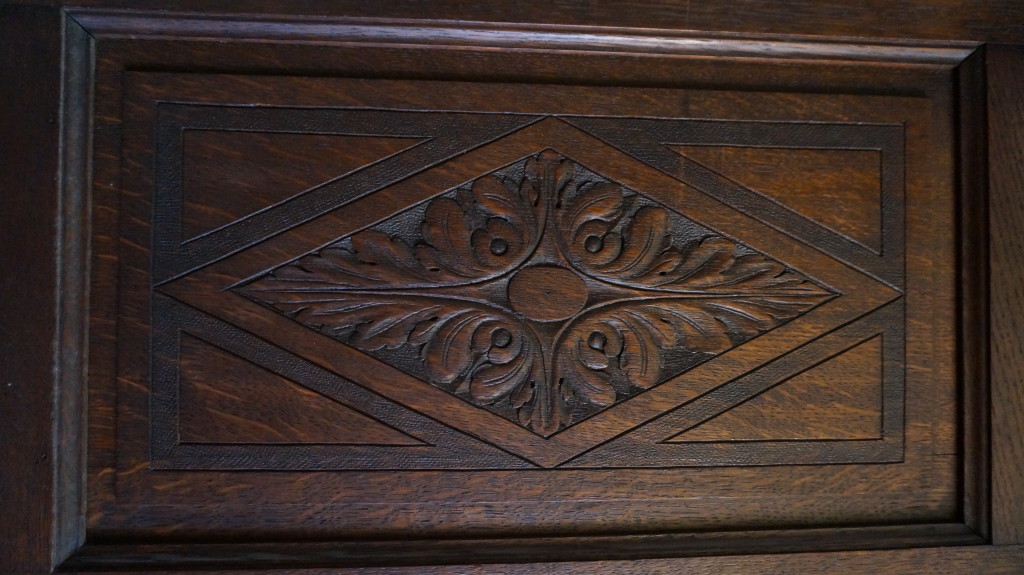
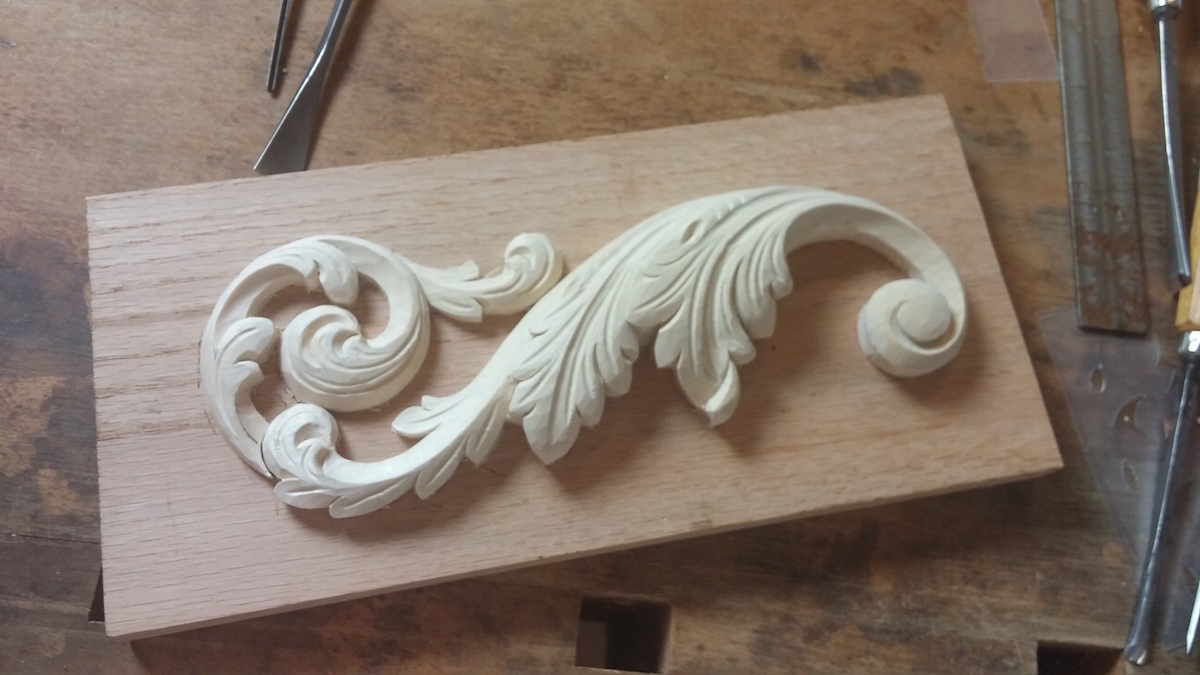
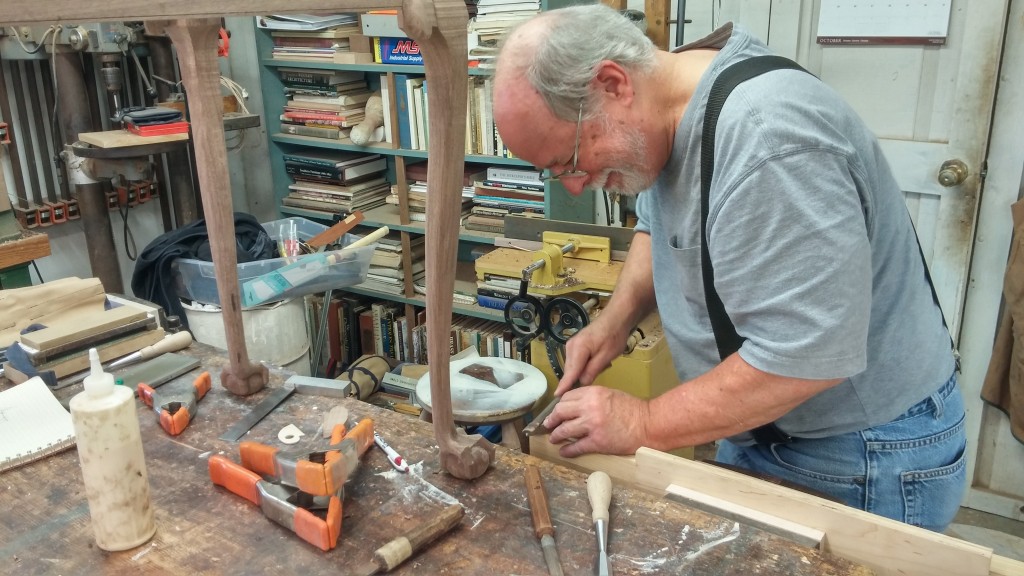
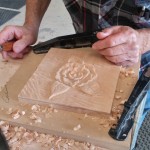
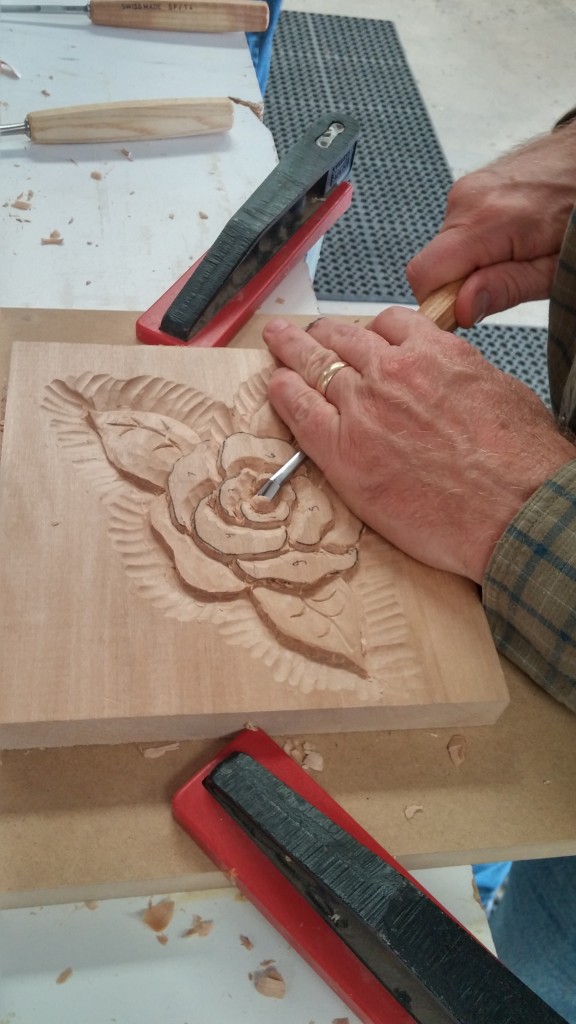
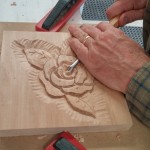
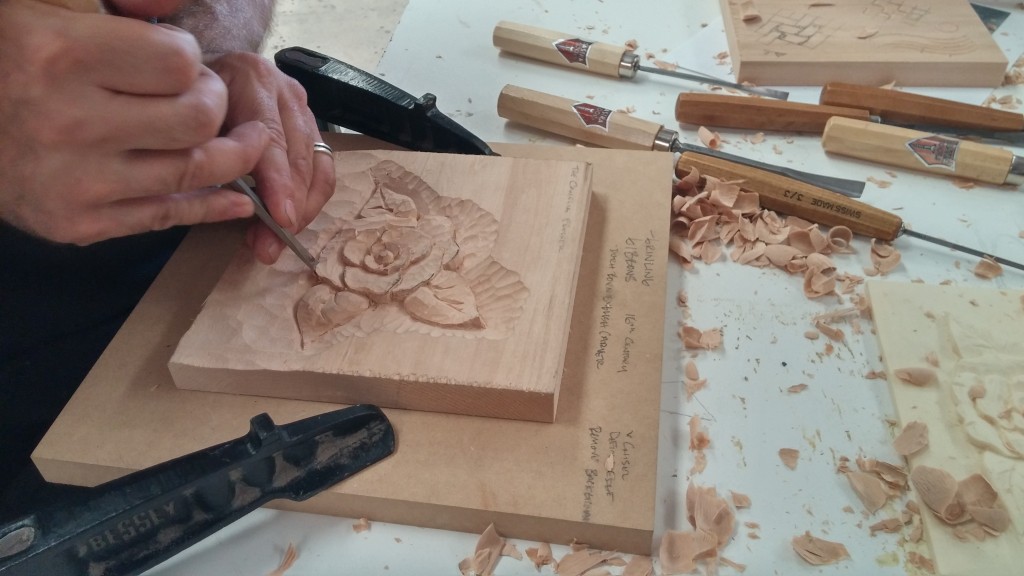
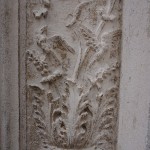
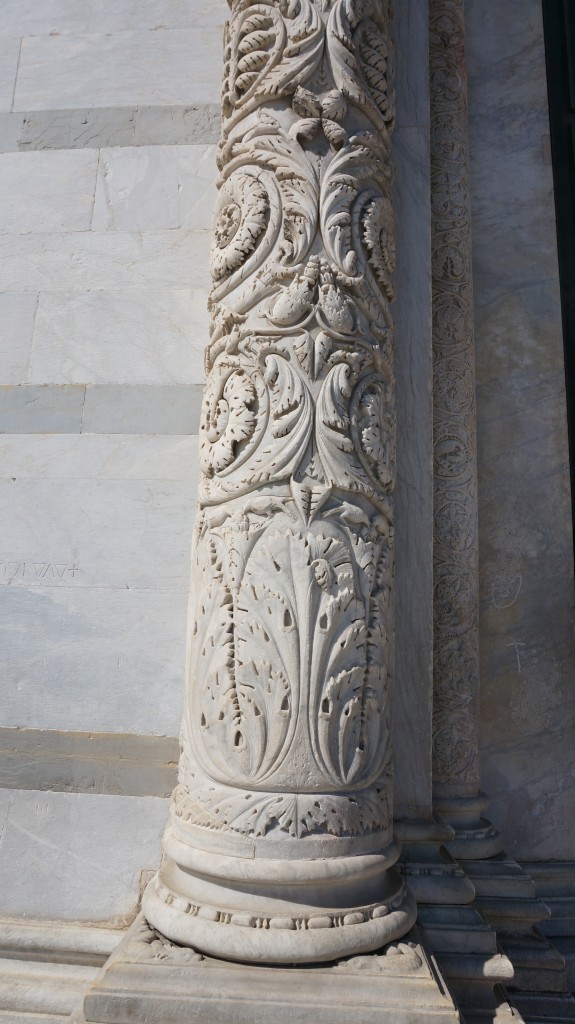
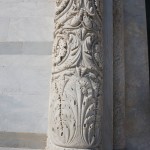
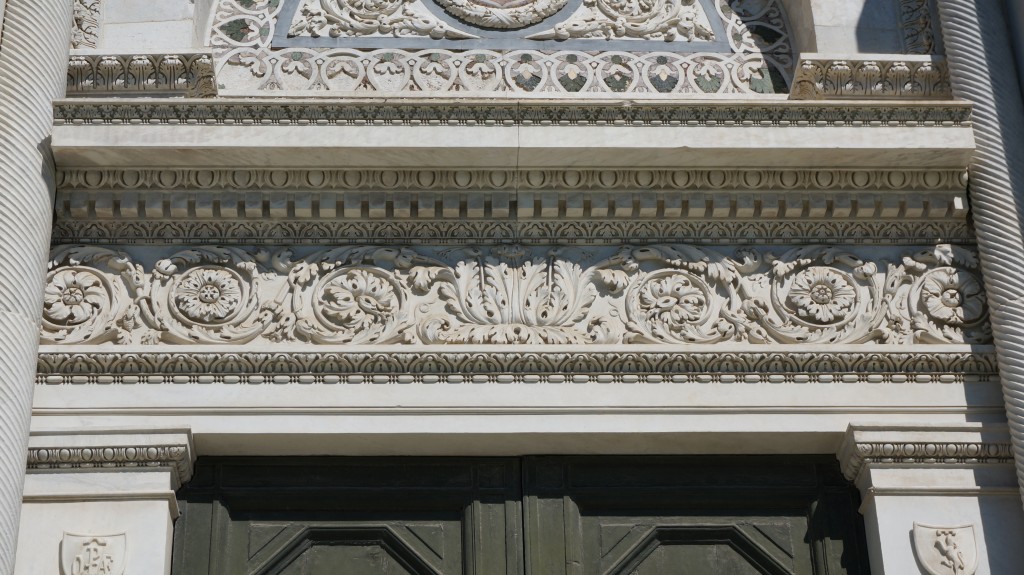
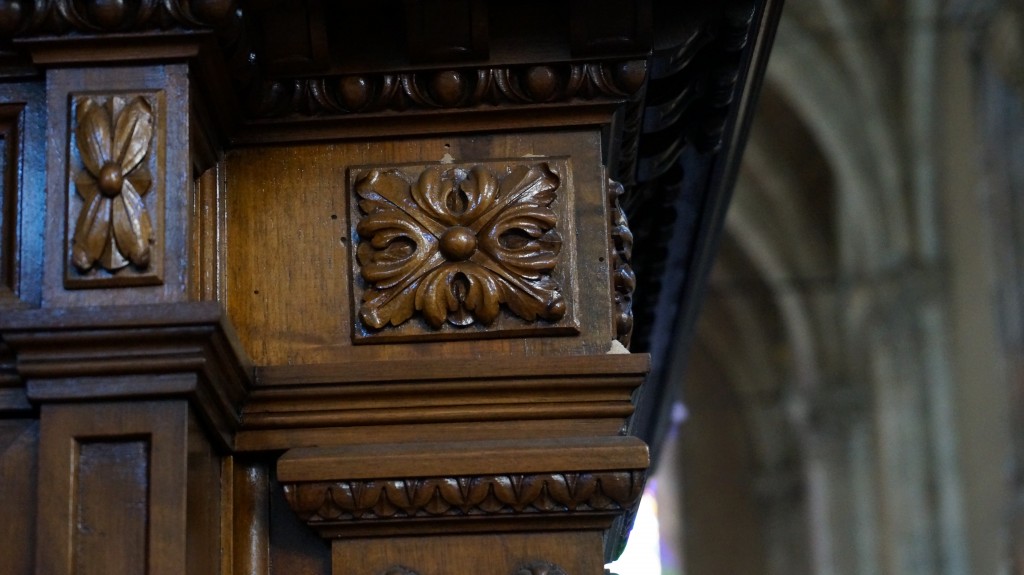
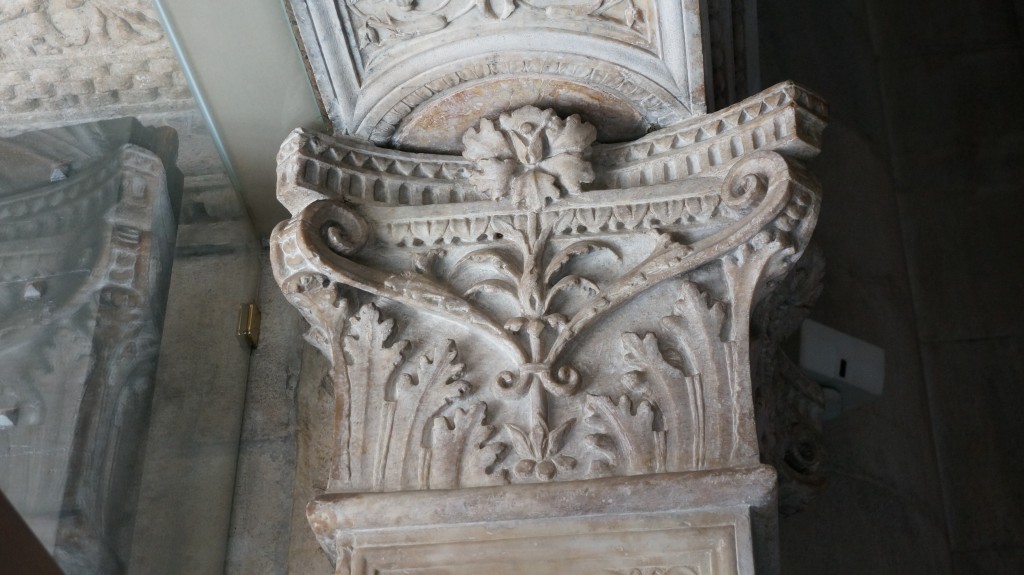
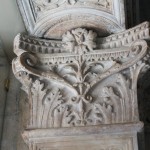
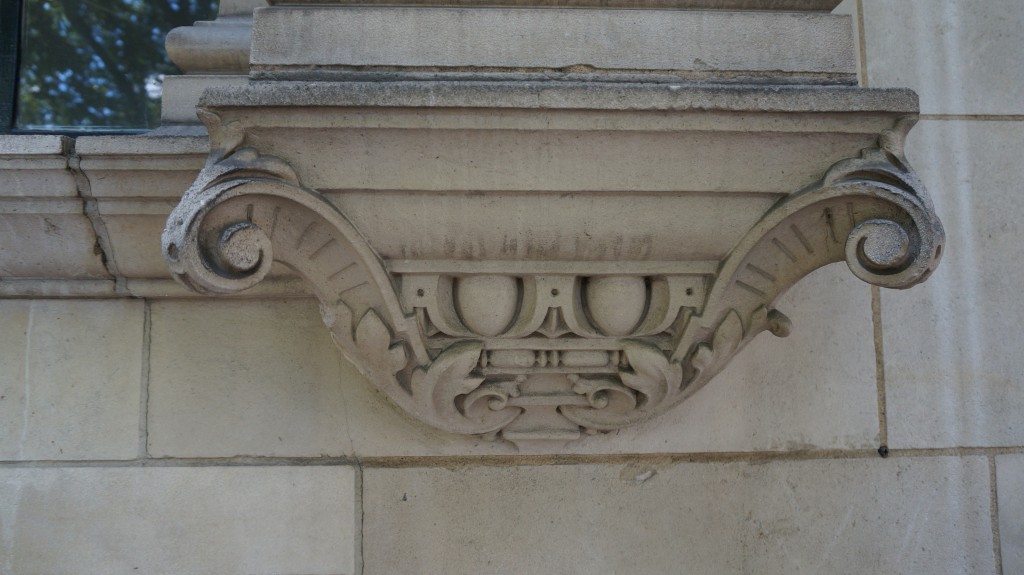
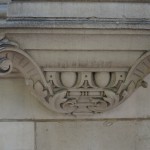
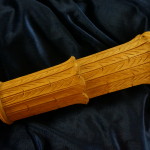
Here are some detailed photos of the carved bed:


I have filmed the entire carving process and am slowly adding it as “episodes” to my online school through the end of February. So far, the “Rice Sheaf” section is available for viewing if you are a Premium Member. You can see a short introduction video here.
The entire carving process will be available for purchase also once the entire series is up on my school.
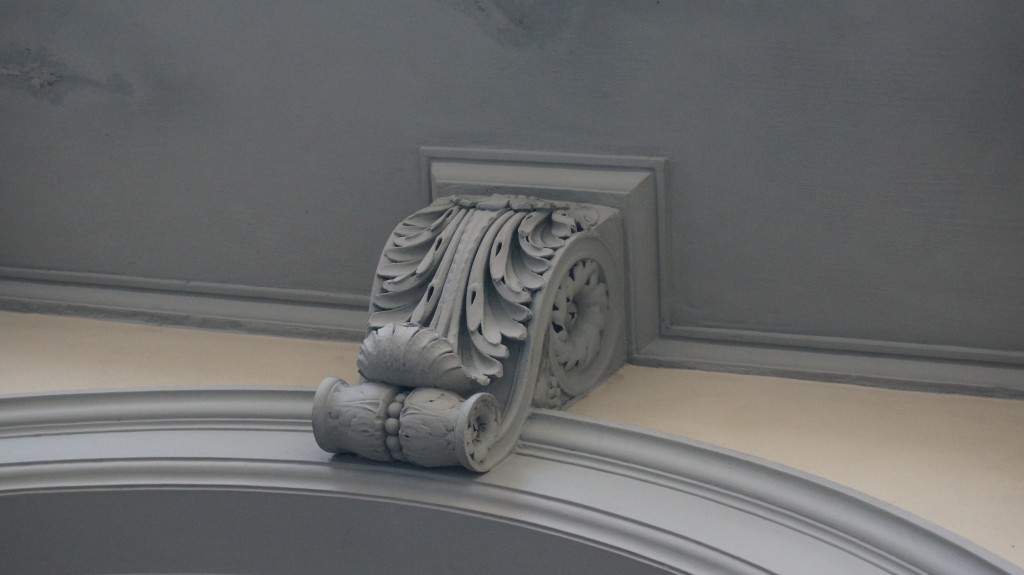
And now, after completing this very large commission, I am resting my hands and am back to focusing on writing my book on Carving the Acanthus Leaf – The Rite of Passage for the Classical Carver.