Entry Door Tree carving.
Quote from Deleted user on November 13, 2017, 5:42 pm
I’ve been working on building a new entry door for my house. I’m about to start the carving of the tree that will hang in front of the glass on the door. This whole endeavor was inspired by http://mendocinodoors.com/. There will be three panels the main section of the tree and branches of it will extend to the side light windows next to the door.
The center tree panel is roughly 34” x 44“, I laminated thick shop sawn veneers in alternating layers. I took this process directly from http://mendocinodoors.com/ as this is how he prepares his panels for carving. Presumably this is to stabilize sections of the tree that might otherwise be brittle. I don’t actually know but this makes sense to me. I’ll be removing the negative space around the tree and then shape and texture the tree.
I feel myself starting to hesitate before cutting into this panel, so I’ll jump into the deep end tonight and start removing the negative space.
Ricky
Uploaded files:

Quote from Tim Rauch on November 13, 2017, 8:49 pmWhat a great project! I've been looking at similar door sites and wondering how they kept it all from warping. Keep us updated on your progress.
What a great project! I've been looking at similar door sites and wondering how they kept it all from warping. Keep us updated on your progress.
Quote from MaryMay on November 14, 2017, 8:15 pmRicky, I look forward to seeing your progress. Will you be band-sawing the tree out? It should be pretty stable as long as several branches extend into the solid part of the door. Be careful about letting weather get at this door. I hope it is under a protected porch, because you will need to finish it with some very aggressive weather protectant. Where do you live? In South Carolina, the humidity would cause it to expand and contract a lot throughout the year.
Ricky, I look forward to seeing your progress. Will you be band-sawing the tree out? It should be pretty stable as long as several branches extend into the solid part of the door. Be careful about letting weather get at this door. I hope it is under a protected porch, because you will need to finish it with some very aggressive weather protectant. Where do you live? In South Carolina, the humidity would cause it to expand and contract a lot throughout the year.
Quote from Matthew Mizner on November 15, 2017, 12:56 pmI’m interested as well with any or no wood movement having your panels criss-crossed in the laminated door. Looking forward to your progress.
I’m interested as well with any or no wood movement having your panels criss-crossed in the laminated door. Looking forward to your progress.
Quote from Deleted user on November 15, 2017, 2:13 pmI live just outside Seattle, my door is under an extended porch which is 8’ or 9' deep. My current door doesn't get much direct rain except for our big winter storms which are not very common for us. Our humidity is actually not that bad all things considered.
The tree panel will retain a 3" frame that most of the branches are attached to. I'm planning on using a couple wide floating mortises across the top to support the tree vertically and allow for horizontal movement. I'm also going to use screws in elongated holes which will be hidden by the inside window frame. If the plan works it would be easy to remove the tree for repairs or replacement if something catastrophic happens.
I used a router to remove the negative space, with an edge guide to define the frame, and free hand cut the branches, using a ¼ spiral bit. Its very roughly shaped now, after removing the negative space I found areas of the tree that need refinement. I started laying out rough guide marks with a v chisel just to try to ‘start’ to define areas.
I think I’m going to approach this like power carving (without the power). In that I’m going to do a little bit in an area then move on before coming back for further refinement. In an effort to not overwork an area, and maybe give my brain a break and come back with a fresh set of eyes into an area. For how big it is it was useful to step back and look at it from across the room.
I was entirely engaged working on this last night and my phone was dead when I finished up so I didn’t get a picture. I’ll get a progression photo posted this afternoon.
I live just outside Seattle, my door is under an extended porch which is 8’ or 9' deep. My current door doesn't get much direct rain except for our big winter storms which are not very common for us. Our humidity is actually not that bad all things considered.
The tree panel will retain a 3" frame that most of the branches are attached to. I'm planning on using a couple wide floating mortises across the top to support the tree vertically and allow for horizontal movement. I'm also going to use screws in elongated holes which will be hidden by the inside window frame. If the plan works it would be easy to remove the tree for repairs or replacement if something catastrophic happens.
I used a router to remove the negative space, with an edge guide to define the frame, and free hand cut the branches, using a ¼ spiral bit. Its very roughly shaped now, after removing the negative space I found areas of the tree that need refinement. I started laying out rough guide marks with a v chisel just to try to ‘start’ to define areas.
I think I’m going to approach this like power carving (without the power). In that I’m going to do a little bit in an area then move on before coming back for further refinement. In an effort to not overwork an area, and maybe give my brain a break and come back with a fresh set of eyes into an area. For how big it is it was useful to step back and look at it from across the room.
I was entirely engaged working on this last night and my phone was dead when I finished up so I didn’t get a picture. I’ll get a progression photo posted this afternoon.
Uploaded files: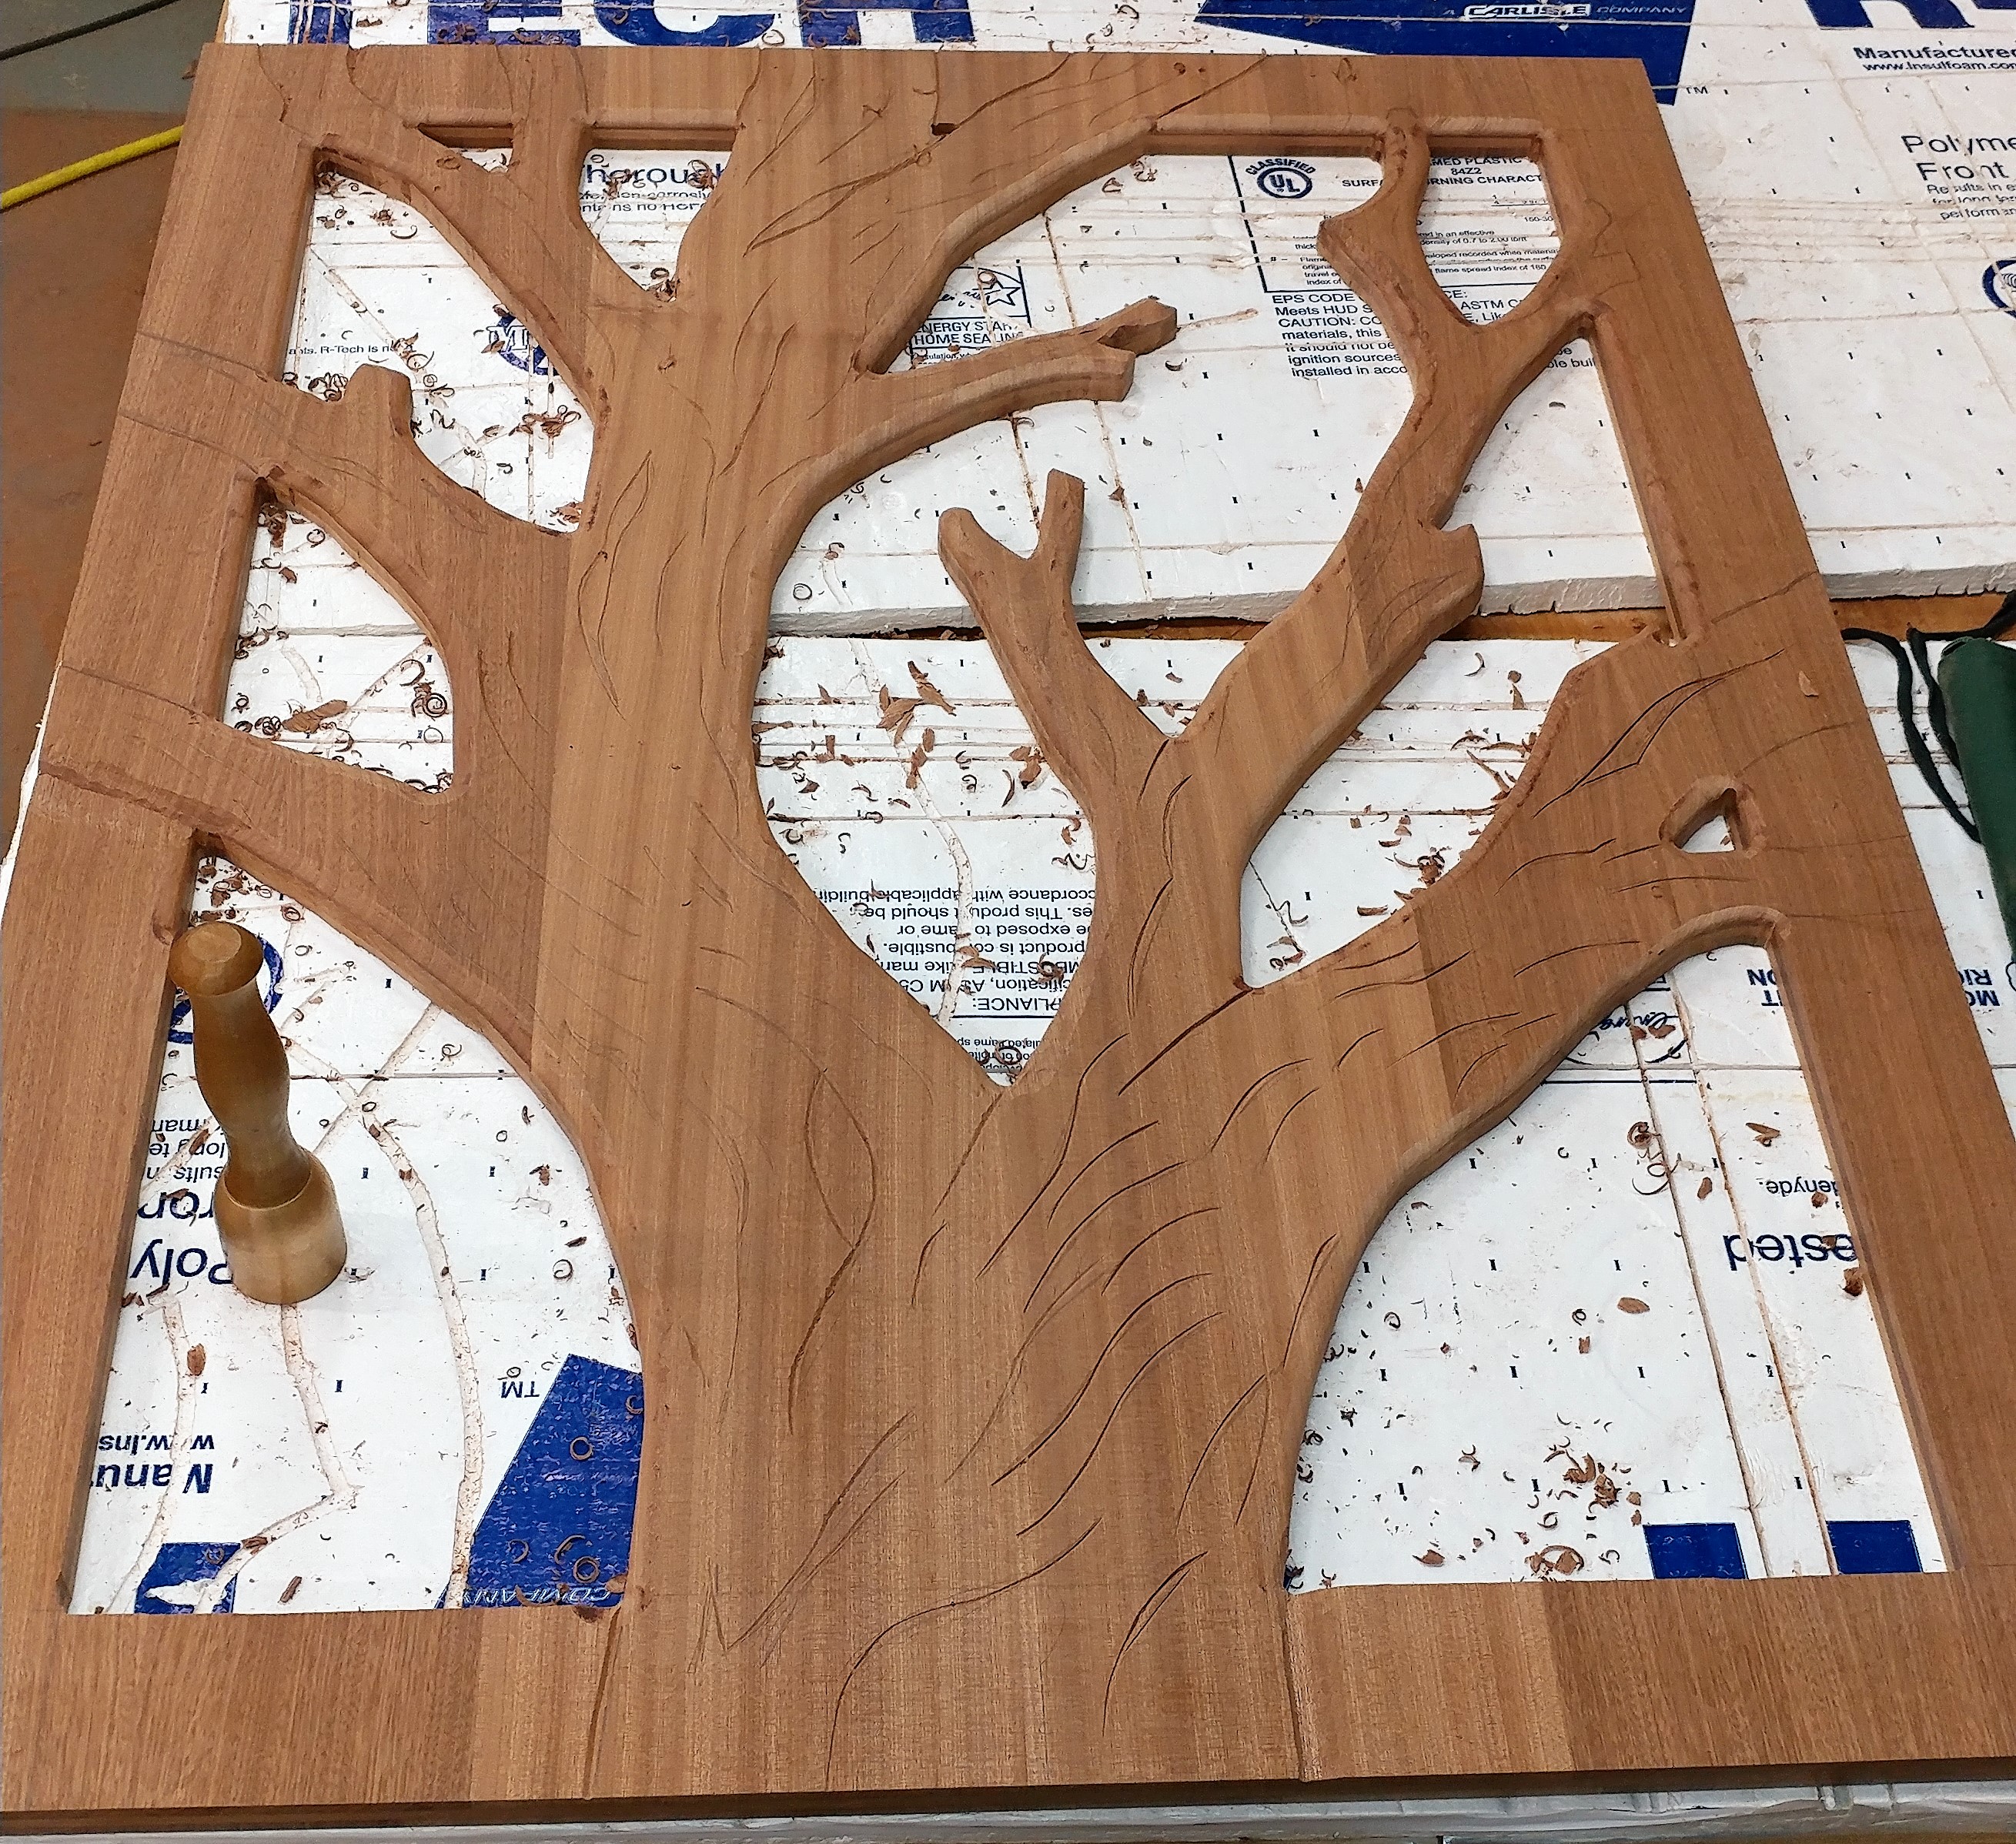
Quote from Deleted user on November 30, 2017, 3:27 pmI’m making a little progress, so much left to do its hard to see the end. I’m sort of jumping back and forth working different areas, and going back to refine things. Actually looking at this via photos is helpful, sort of a difference perspective, definitely shows areas I don’t like how they are going and want to change.
I went over the whole tree texturing all the flat areas, its pretty subtle, but I think it helps set the stage as it were. I was struggling on how to define areas, it definitely highlighted areas that don’t need much more of anything, and shows areas that I want to change.
This weekend I’m going to put a bunch of hours into it, I think at a certain point I’m just going to call it done, it’d be all to easy to just keep working on it.
I’m making a little progress, so much left to do its hard to see the end. I’m sort of jumping back and forth working different areas, and going back to refine things. Actually looking at this via photos is helpful, sort of a difference perspective, definitely shows areas I don’t like how they are going and want to change.
I went over the whole tree texturing all the flat areas, its pretty subtle, but I think it helps set the stage as it were. I was struggling on how to define areas, it definitely highlighted areas that don’t need much more of anything, and shows areas that I want to change.
This weekend I’m going to put a bunch of hours into it, I think at a certain point I’m just going to call it done, it’d be all to easy to just keep working on it.
Uploaded files: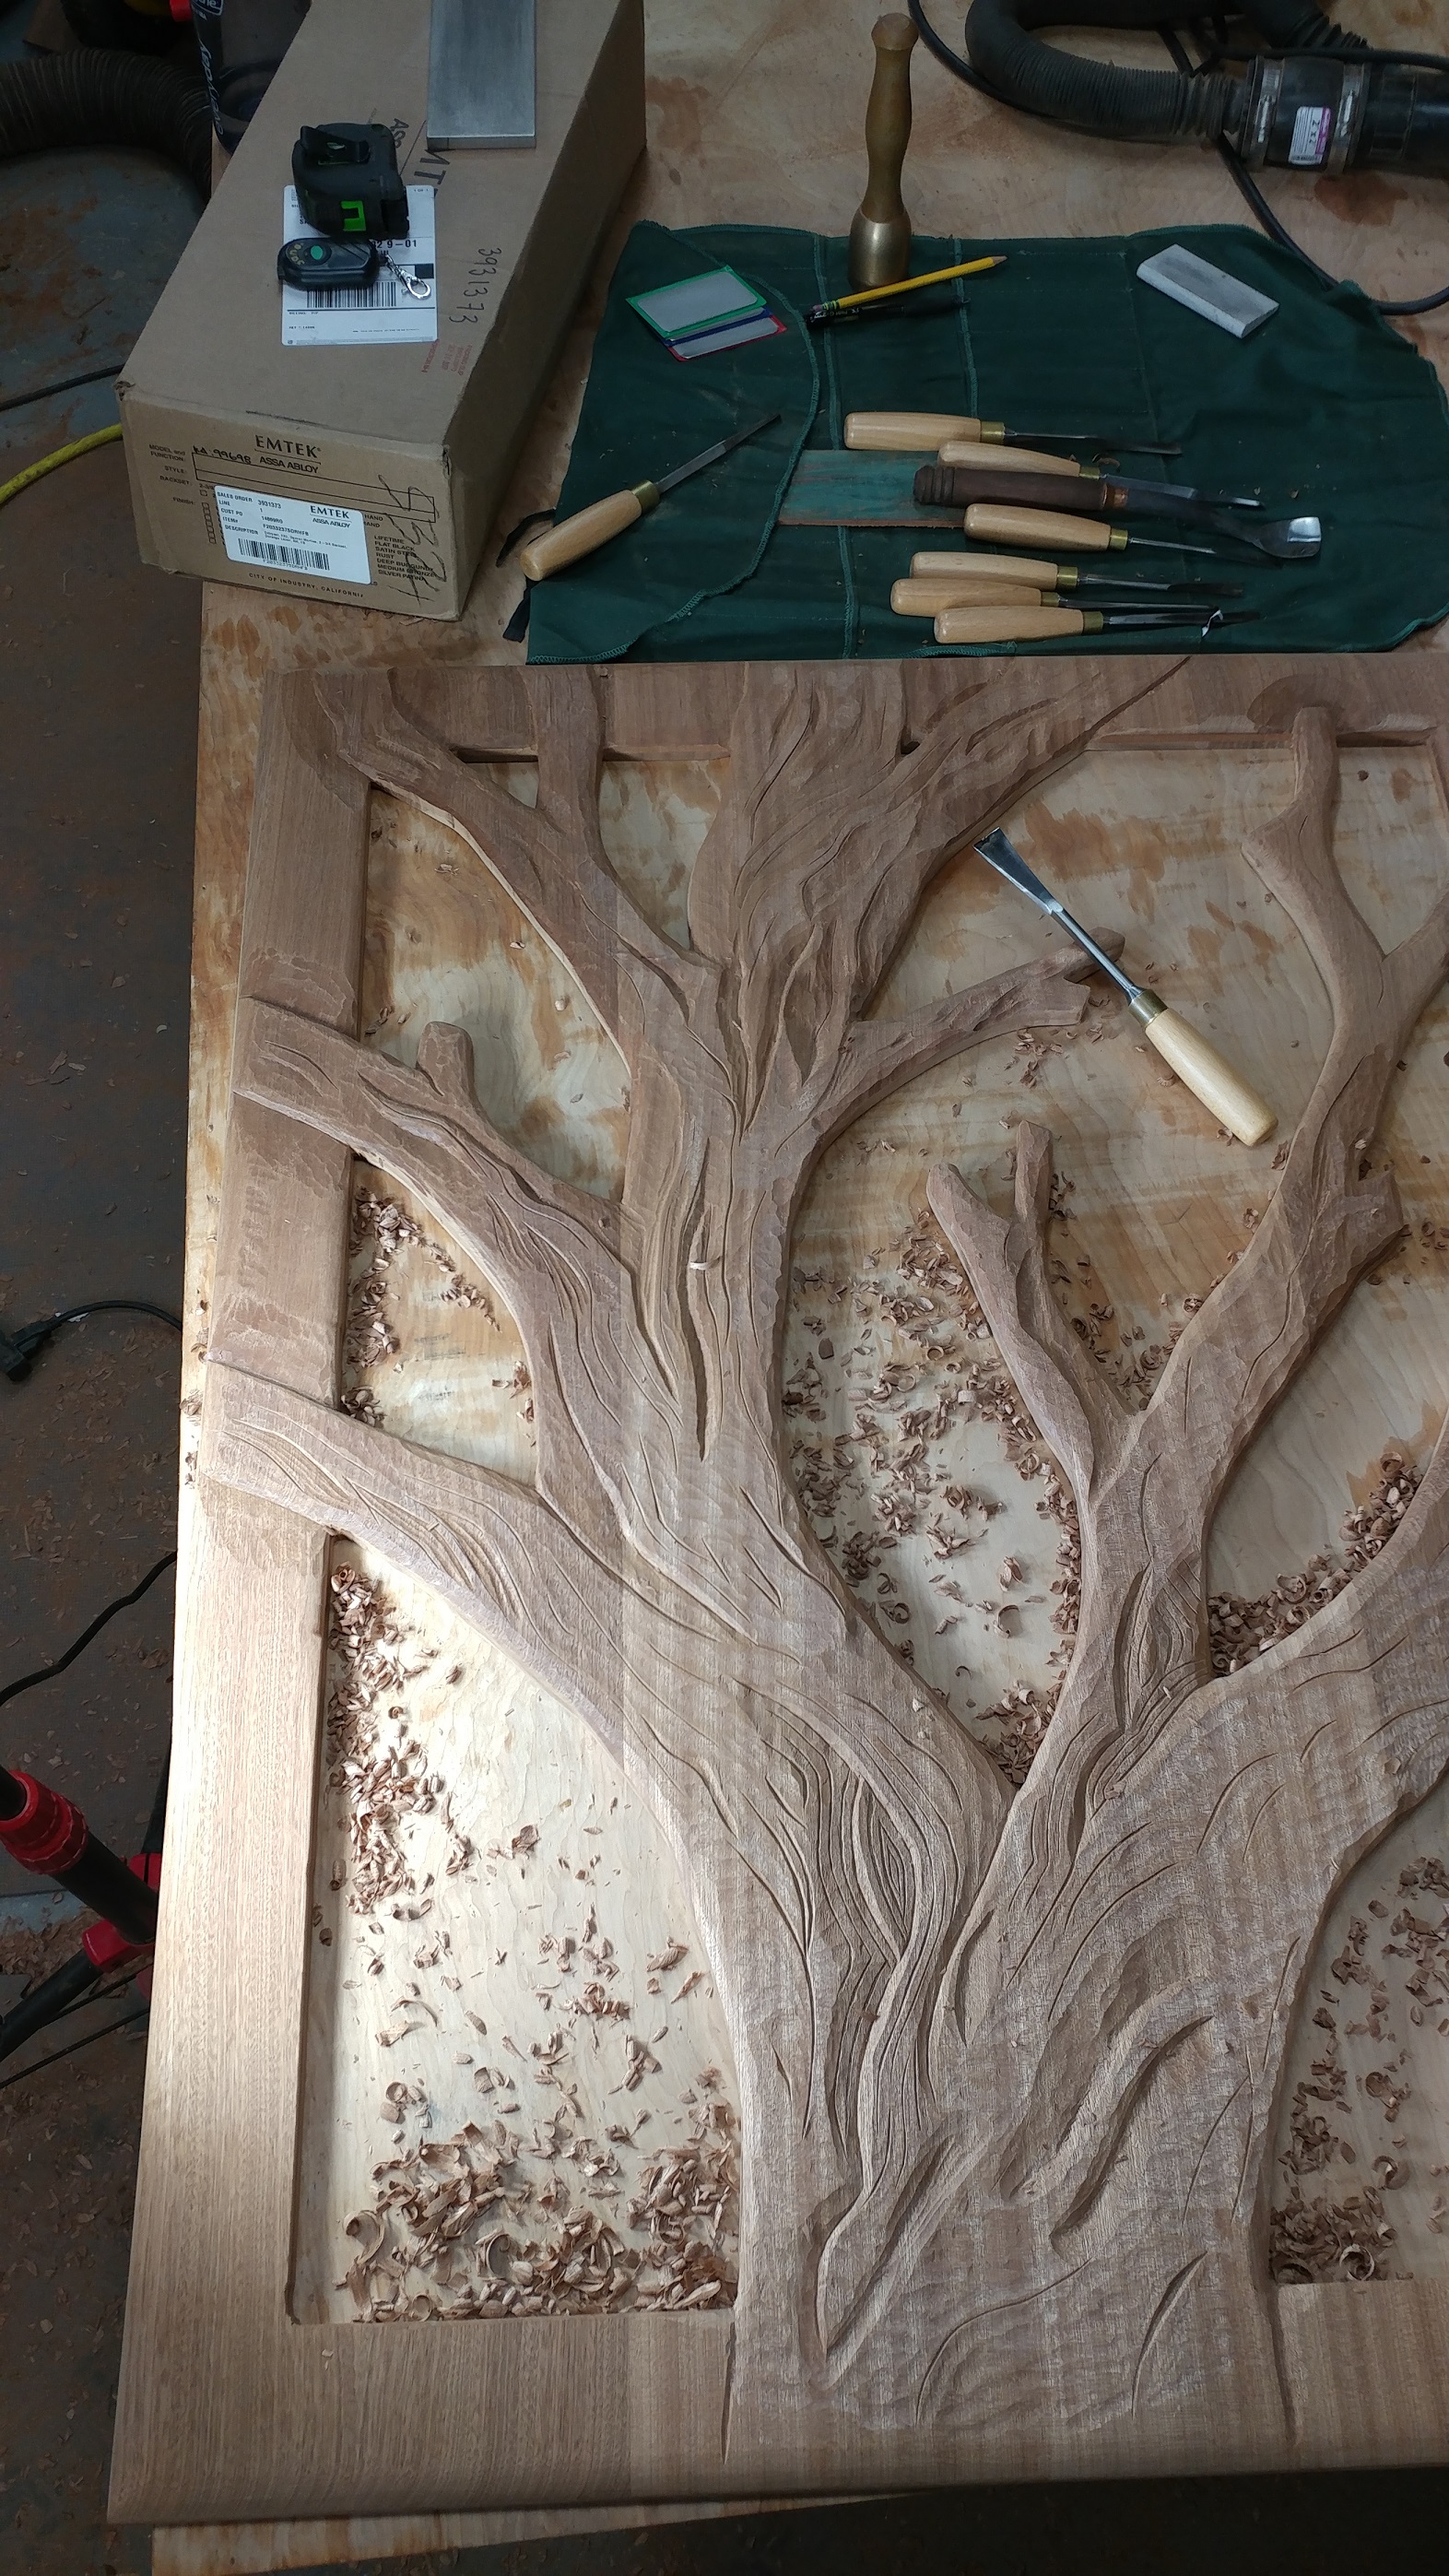
Quote from SmokyRick Crawford on December 1, 2017, 8:58 amThat is looking very nice. This is a much larger project than I am ready to try. You seem to be doing great at it. Will be interested to see the finished door!
That is looking very nice. This is a much larger project than I am ready to try. You seem to be doing great at it. Will be interested to see the finished door!
Quote from MaryMay on December 4, 2017, 9:17 amThat's coming along great. Please keep posting photos.
That's coming along great. Please keep posting photos.
Quote from Deleted user on December 7, 2017, 12:39 pmWow Rick your detail and definition looks fantastic! I really like it. Can't wait to see it when it's finished. I also couldn't help noticing the Emtek box... good choice in hardware. I just bought a slew of it, it's really nice quality.
Wow Rick your detail and definition looks fantastic! I really like it. Can't wait to see it when it's finished. I also couldn't help noticing the Emtek box... good choice in hardware. I just bought a slew of it, it's really nice quality.
Quote from Russell Wagner on August 12, 2019, 4:41 pmgreat idea, would really make a plain door stand out. good job
Rusty
great idea, would really make a plain door stand out. good job
Rusty