Grandfather / Longcase Clock
Quote from Ed Frank on December 23, 2023, 5:03 pmI was enticed / encouraged into a 4 weekend class to build a reproduction of an 18th century clock ( https://www.metmuseum.org/art/collection/search/640570 ) . The problem was that my only carving experience was one weekend intro class with Mary and some chip carving, but I agreed. I've been using Mary's videos to learn enough to do the various bits of the clock, so I figured I should post some results here! The classes were spread over about half a year, but I've been plodding along for over a year at this point.
I was enticed / encouraged into a 4 weekend class to build a reproduction of an 18th century clock ( https://www.metmuseum.org/art/collection/search/640570 ) . The problem was that my only carving experience was one weekend intro class with Mary and some chip carving, but I agreed. I've been using Mary's videos to learn enough to do the various bits of the clock, so I figured I should post some results here! The classes were spread over about half a year, but I've been plodding along for over a year at this point.
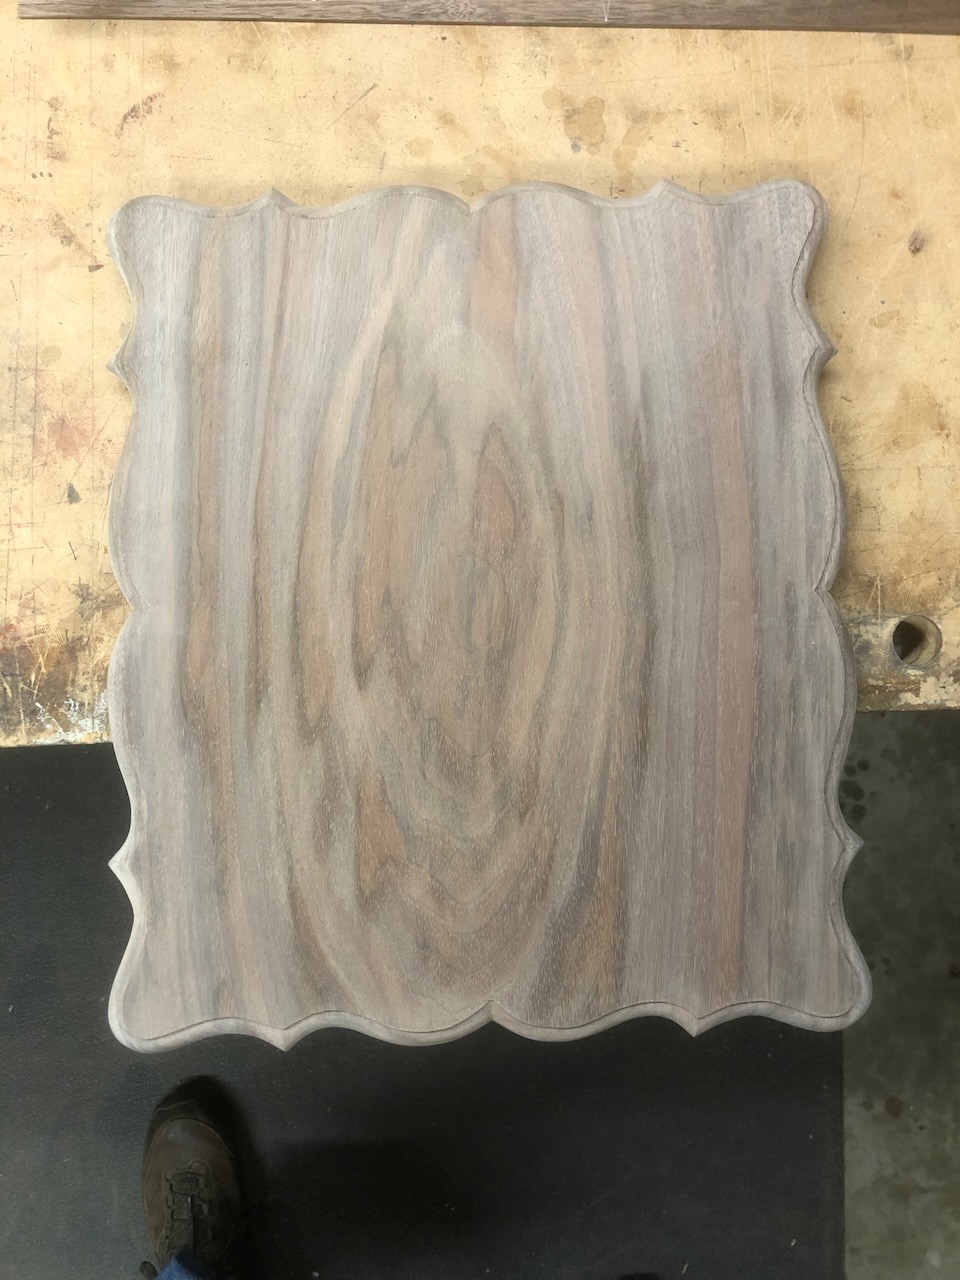
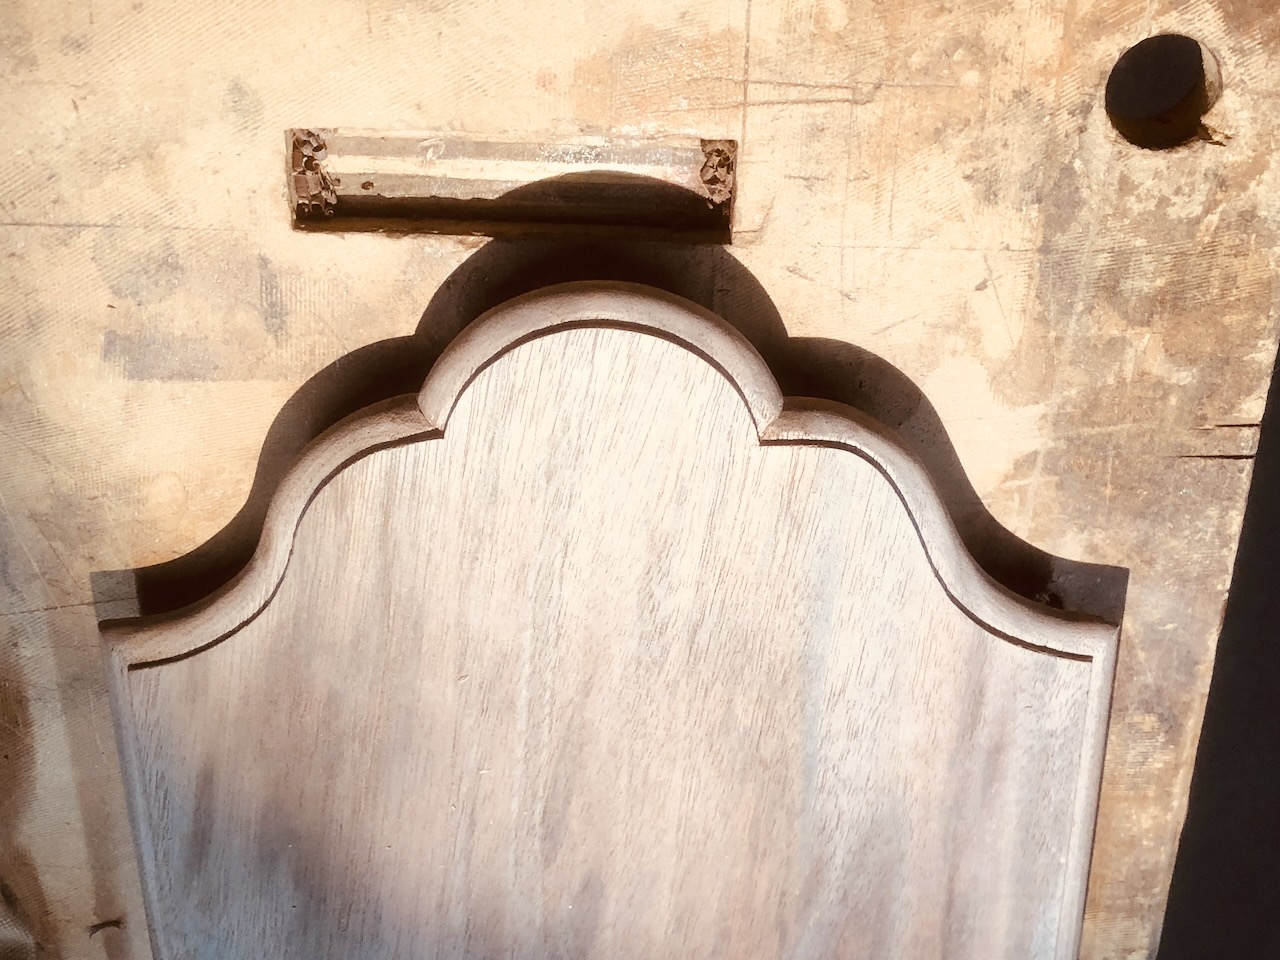
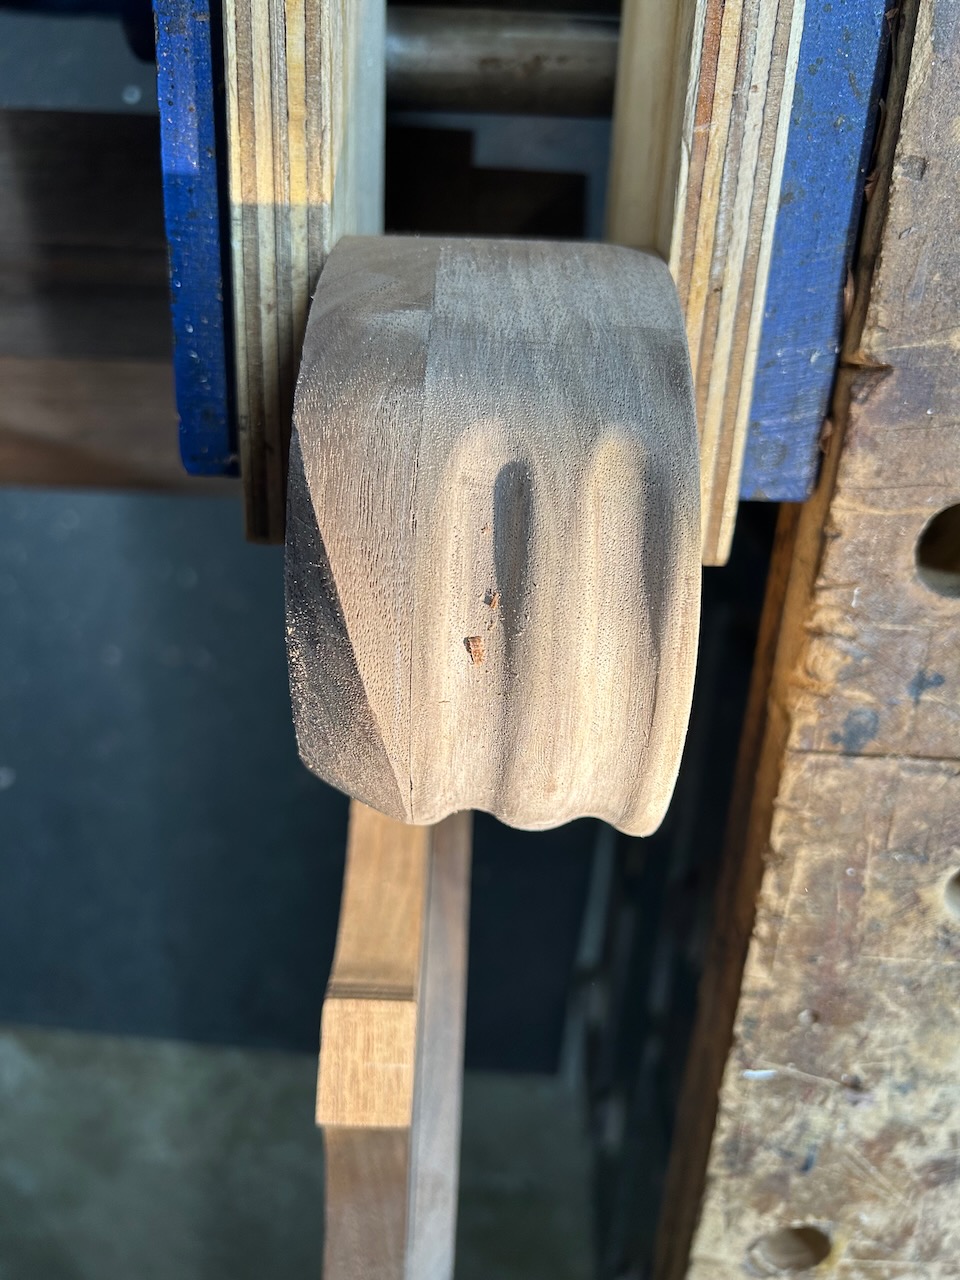
Quote from Ed Frank on December 23, 2023, 5:11 pmThere have been a ton of thumbnails to carve. Perhaps I am cheating, but to make things uniform, I found I liked to rough in the fillet with gouges, but then use a router plane (not electric) to make that fillet uniform, then round over the profile. That fillet is visually delicate and I found that any little wiggle jumps out, so I use the router plane as a crutch.
There have been a ton of thumbnails to carve. Perhaps I am cheating, but to make things uniform, I found I liked to rough in the fillet with gouges, but then use a router plane (not electric) to make that fillet uniform, then round over the profile. That fillet is visually delicate and I found that any little wiggle jumps out, so I use the router plane as a crutch.
Uploaded files:

Quote from Ed Frank on December 23, 2023, 5:16 pmThe clock bonnet has a gooseneck, which is carved, that is mitered onto returns that are made with hollows and rounds. There are knuckles (don't know the right word) that wrap around the scrolls of the goosenecks. These are part of the Philadelphia style, as I understand it. Originally, I was going to skip them, but changed my mind after the goosenecks were glued onto the scroll board. Dumb. Don't do that. It's murder getting into the various nooks and crannies after the goosenecks are glued on!
The clock bonnet has a gooseneck, which is carved, that is mitered onto returns that are made with hollows and rounds. There are knuckles (don't know the right word) that wrap around the scrolls of the goosenecks. These are part of the Philadelphia style, as I understand it. Originally, I was going to skip them, but changed my mind after the goosenecks were glued onto the scroll board. Dumb. Don't do that. It's murder getting into the various nooks and crannies after the goosenecks are glued on!
Uploaded files:
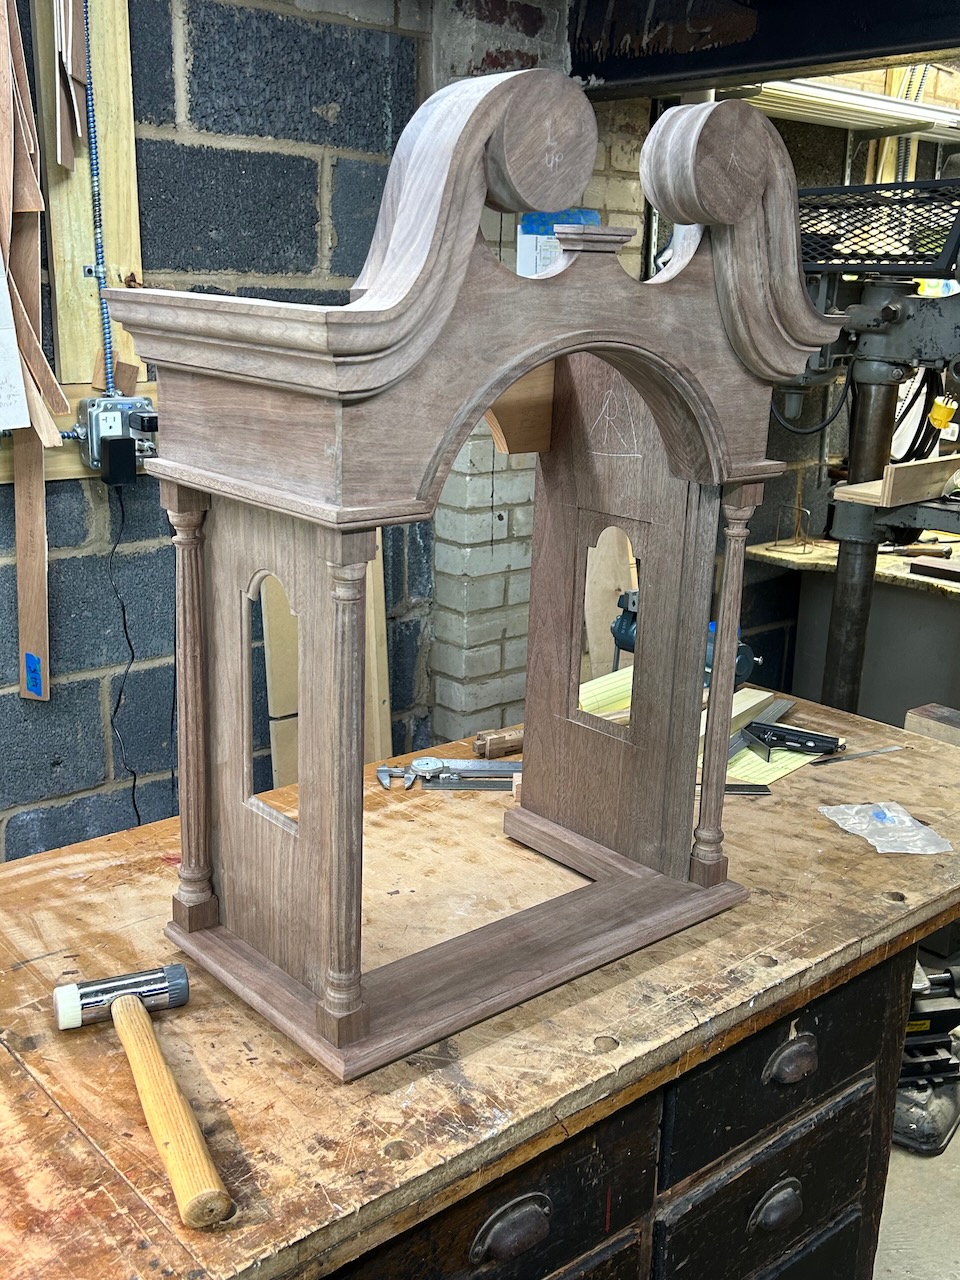
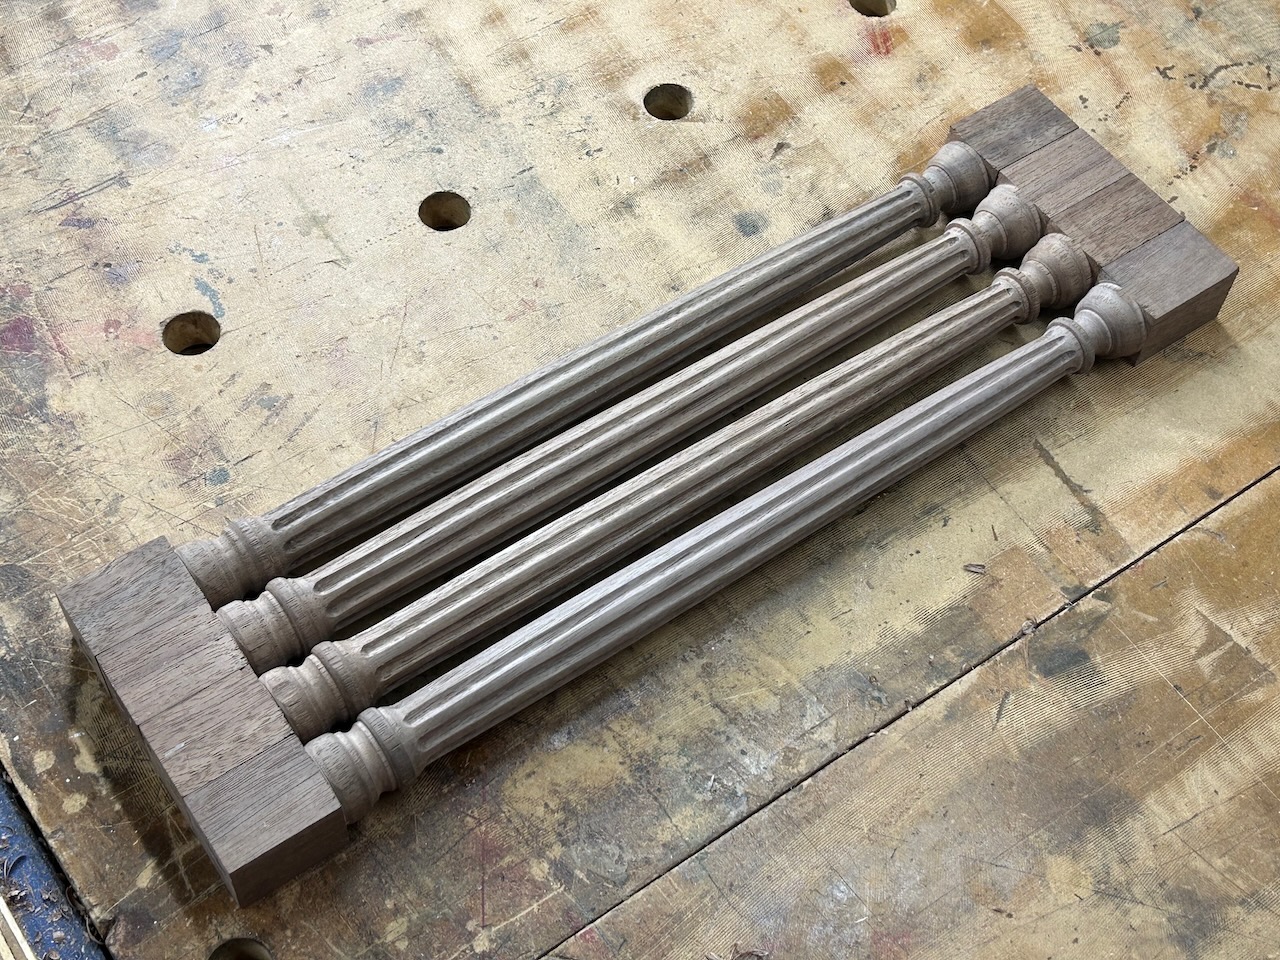
Quote from Ed Frank on December 23, 2023, 5:19 pmFluting had to be carved into turned columns. This was very challenging for me. Layout was challenging as was the carving. Every wiggle stands out. I found that I had to rough in the flutes and then shift my attention from "carve flutes" to "carve the flats between the flutes" and tweak them to be uniform.
Fluting had to be carved into turned columns. This was very challenging for me. Layout was challenging as was the carving. Every wiggle stands out. I found that I had to rough in the flutes and then shift my attention from "carve flutes" to "carve the flats between the flutes" and tweak them to be uniform.
Uploaded files:
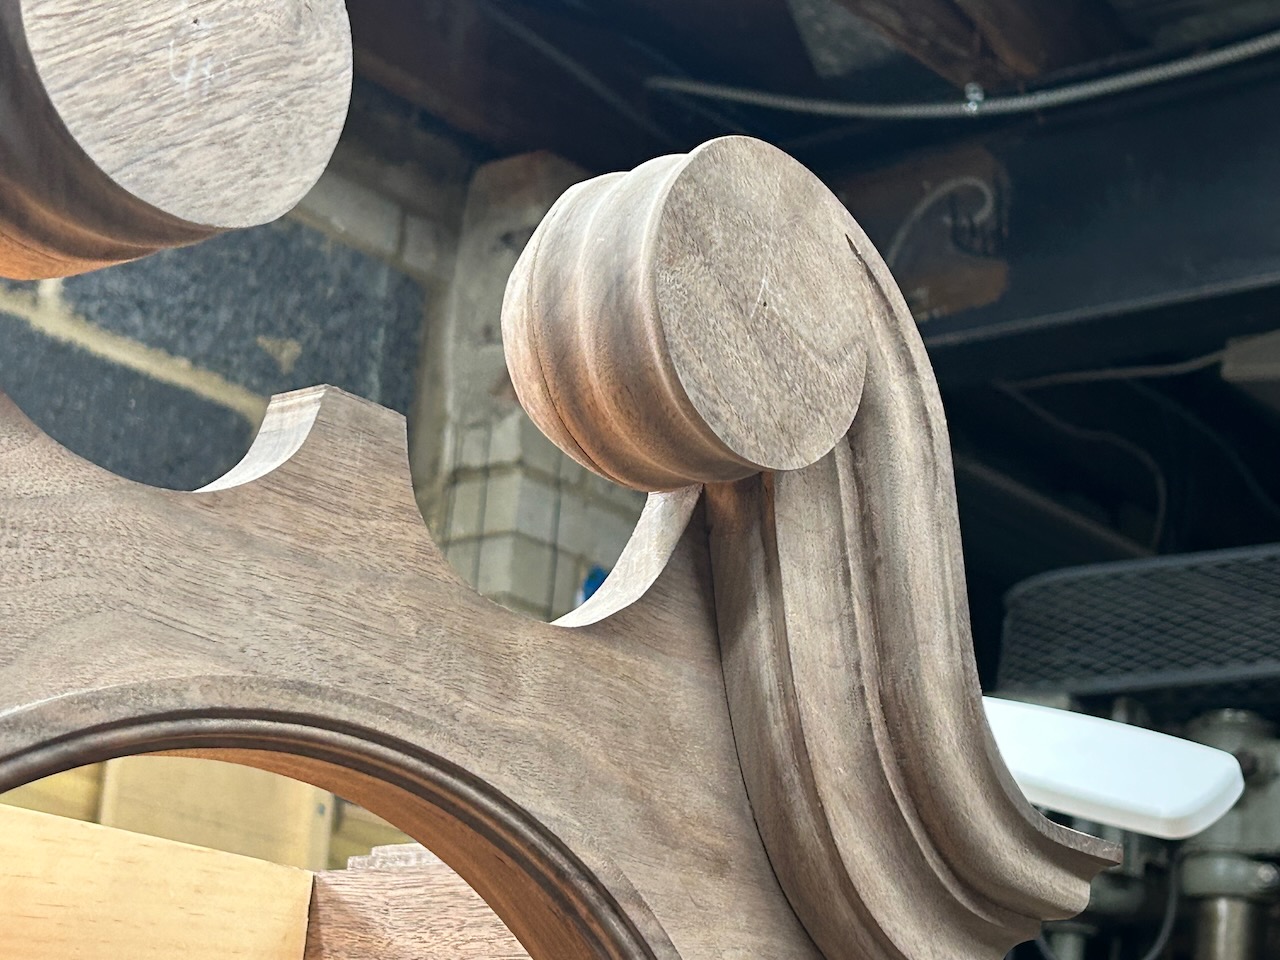
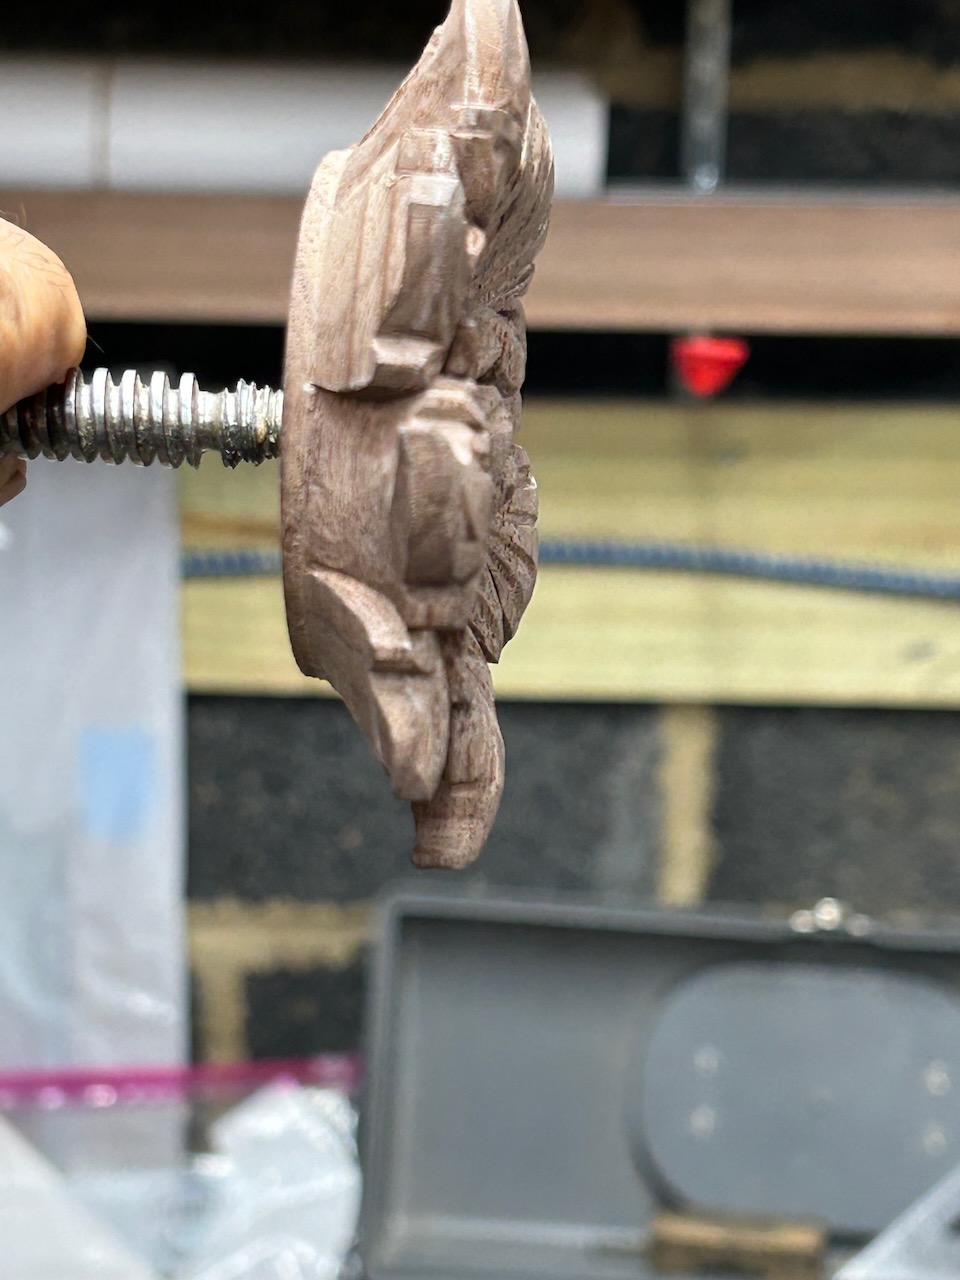
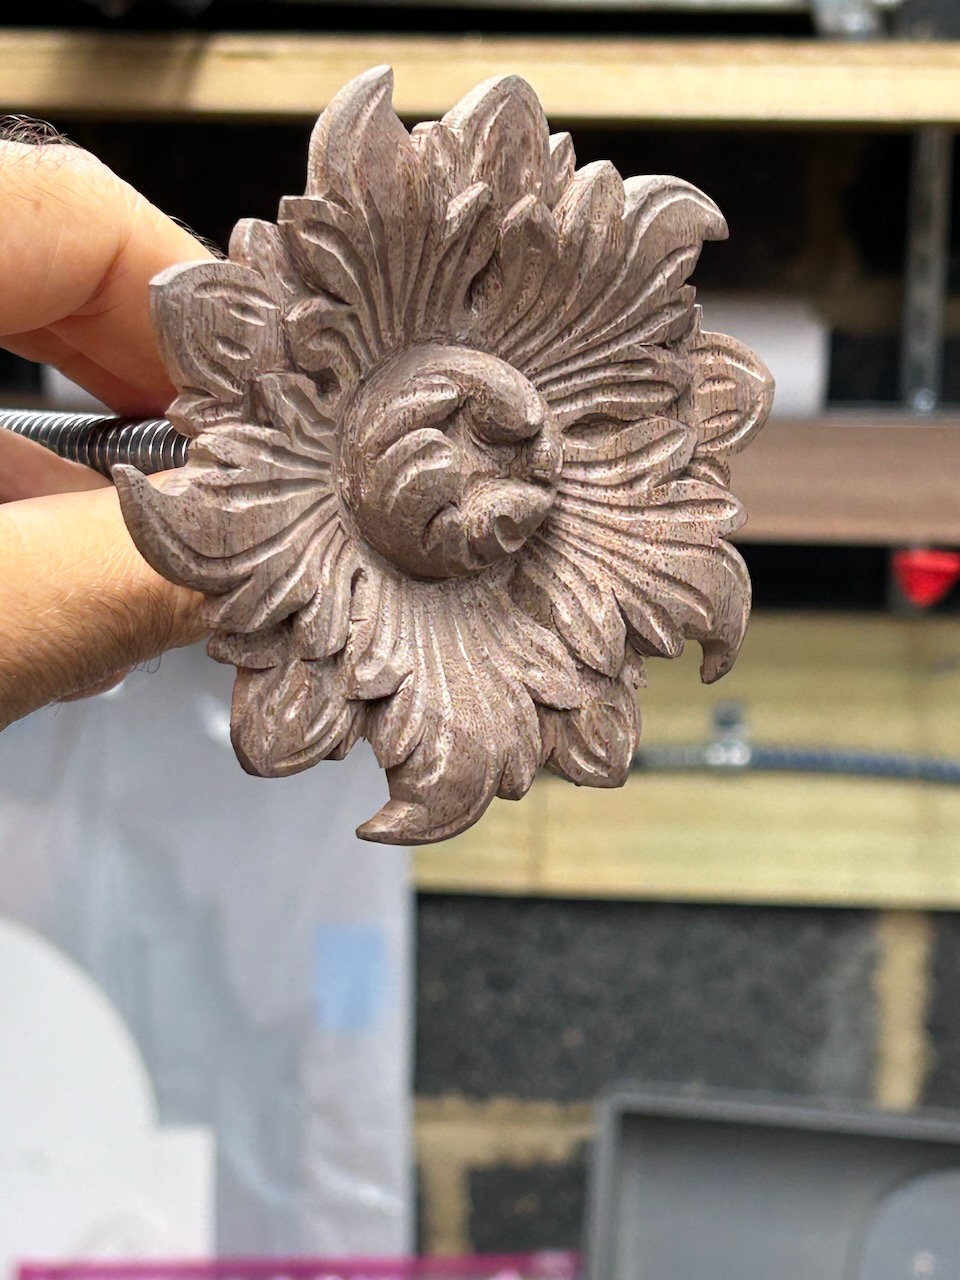
Quote from Ed Frank on December 23, 2023, 5:24 pmThe rosettes took a bit to figure out, but were enjoyable to do. Since they can be seen from the side, there had to be something interesting in that view. I wasn't sure what to do and did what's in the photo.
So, that's where I am right now. I am trying to get the courage to do the applied carving that goes on the tympanum (between the goosenecks). Also, I need to figure out the flame finials. The ones Mary did in a lesson are very uniform, but the ones on this clock are irregular and with more texture. First, the applied carving, though! Mary's example was really helpful.
All of this carving has come from Mary's lessons in one way or another and a bit from my woodworking teacher, but mostly from Mary's lessons. I have a lot to learn. I'll post more as things proceed.
The rosettes took a bit to figure out, but were enjoyable to do. Since they can be seen from the side, there had to be something interesting in that view. I wasn't sure what to do and did what's in the photo.
So, that's where I am right now. I am trying to get the courage to do the applied carving that goes on the tympanum (between the goosenecks). Also, I need to figure out the flame finials. The ones Mary did in a lesson are very uniform, but the ones on this clock are irregular and with more texture. First, the applied carving, though! Mary's example was really helpful.
All of this carving has come from Mary's lessons in one way or another and a bit from my woodworking teacher, but mostly from Mary's lessons. I have a lot to learn. I'll post more as things proceed.
Uploaded files: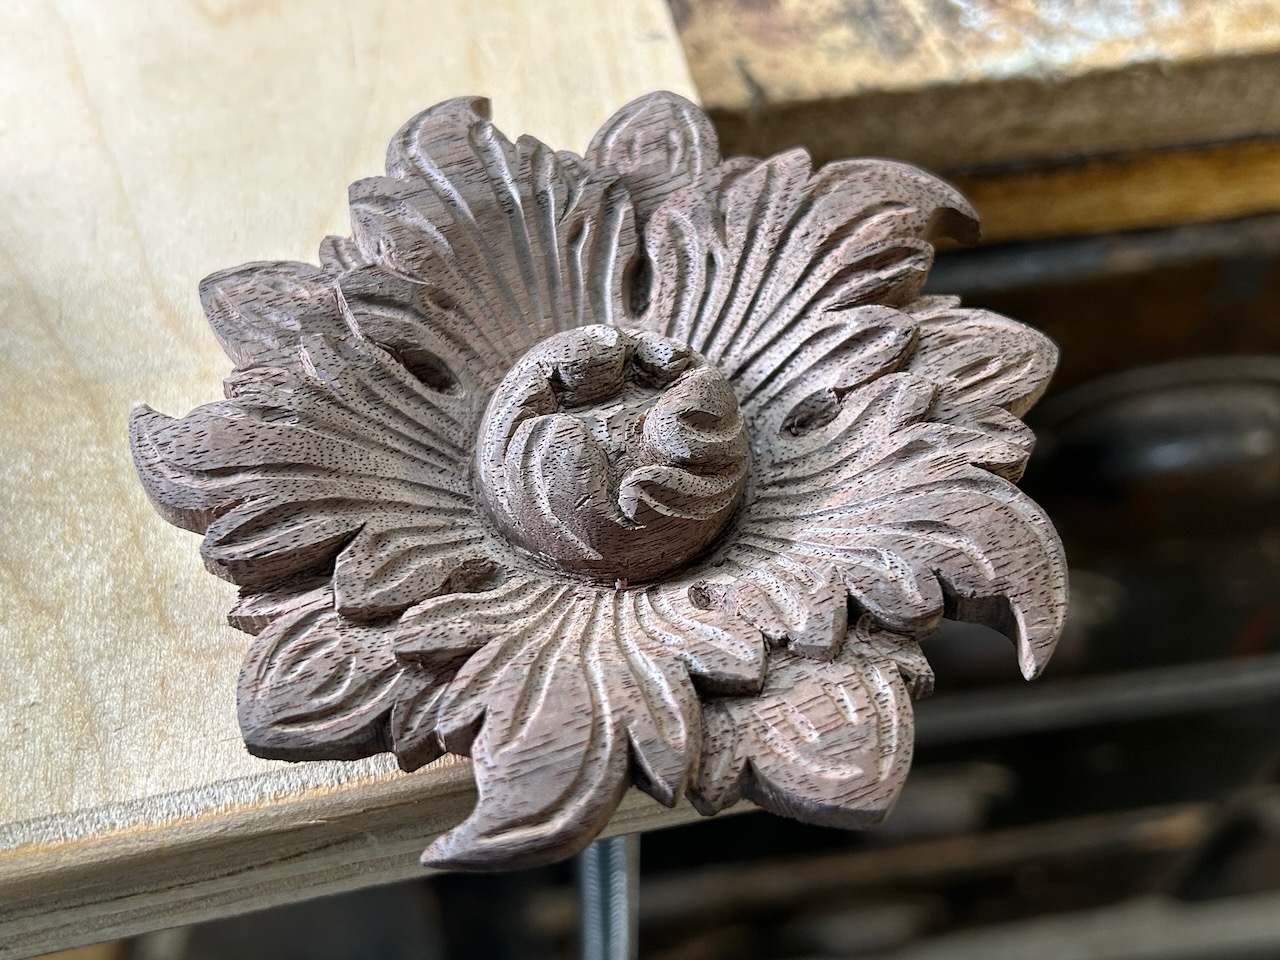
Quote from Kayla Cox on December 26, 2023, 5:35 amWow, Ed! I can't wait to see the finished project. Looking great so far!
Wow, Ed! I can't wait to see the finished project. Looking great so far!
Quote from MaryMay on January 9, 2024, 11:59 amEd, that is amazing work! Congratulations!! I look forward to seeing more as you progress.
Ed, that is amazing work! Congratulations!! I look forward to seeing more as you progress.