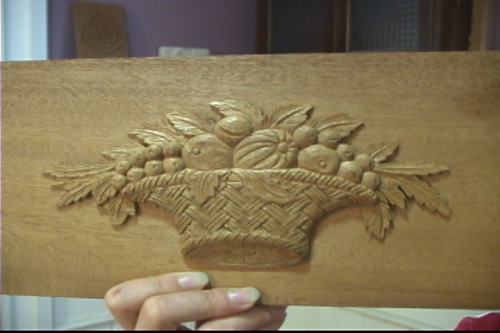
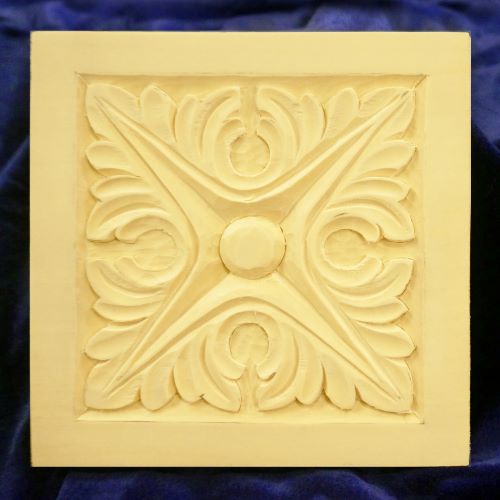
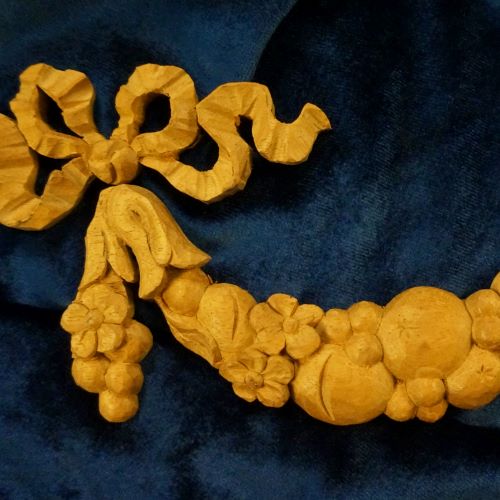
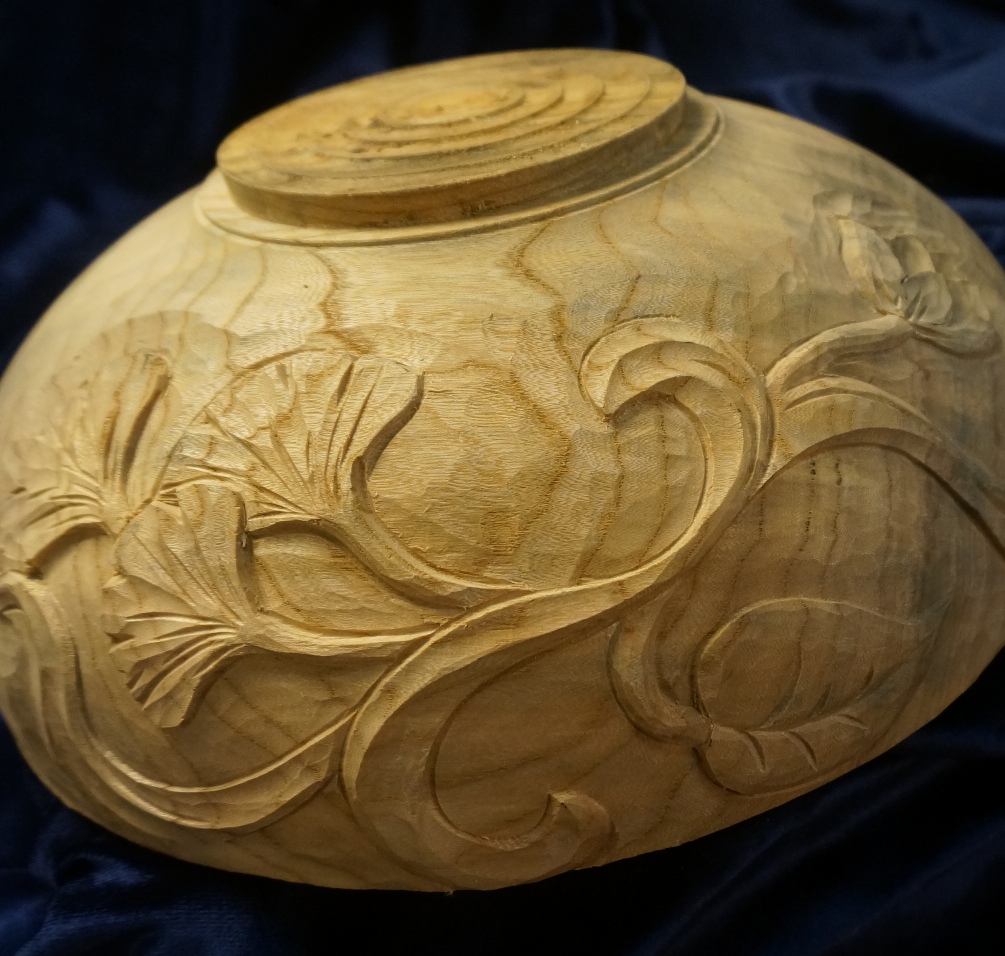
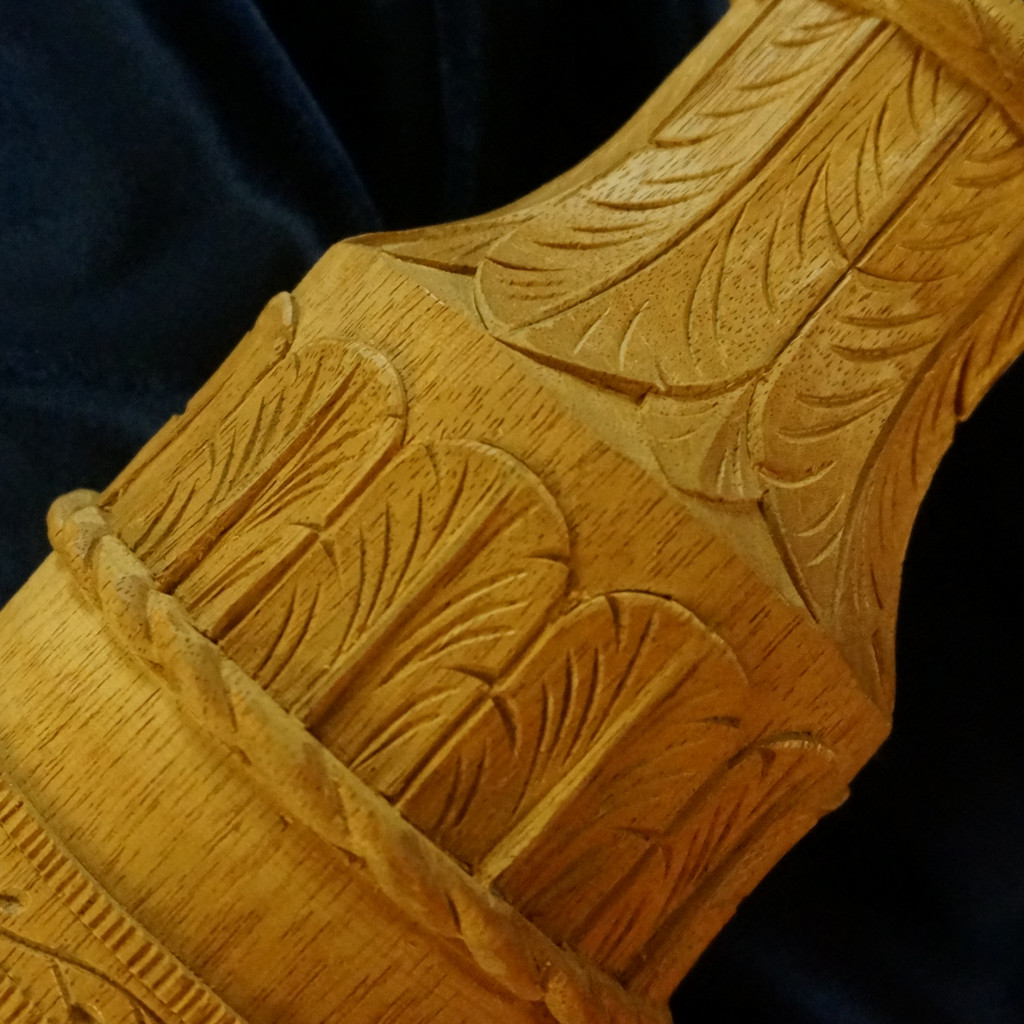
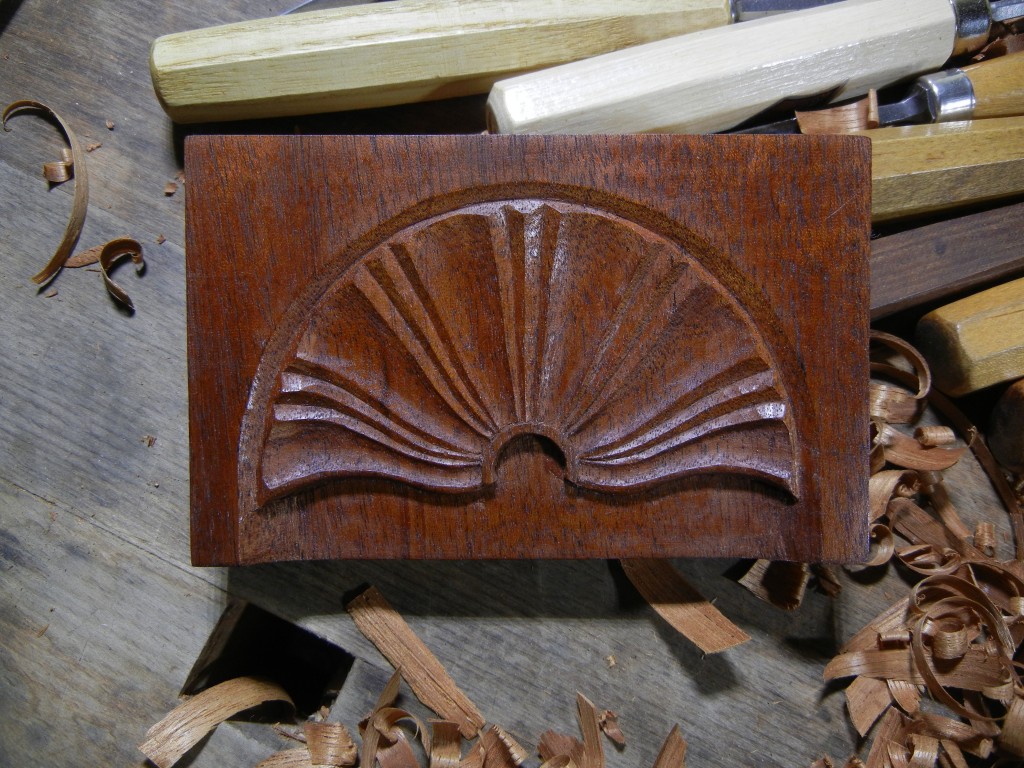
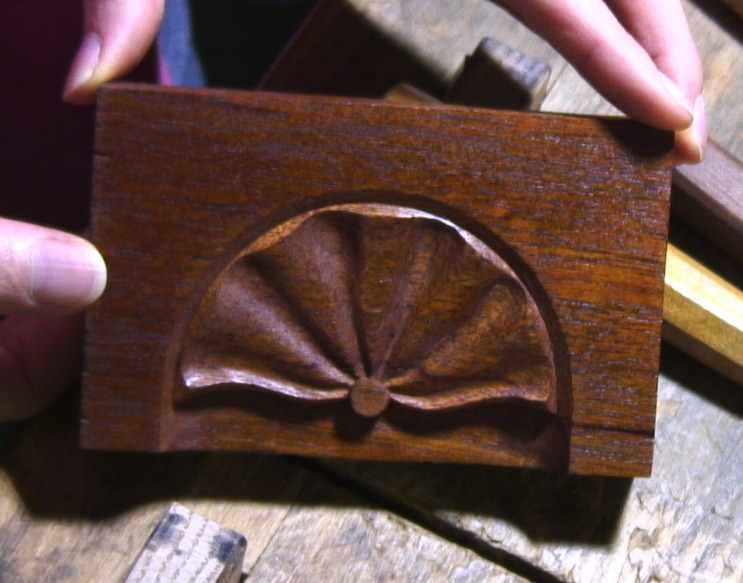
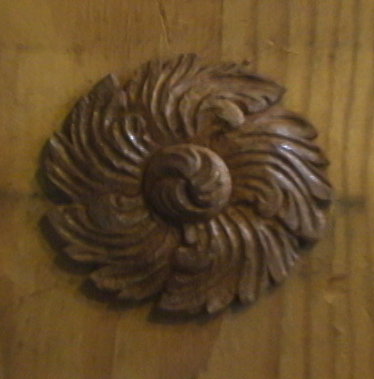
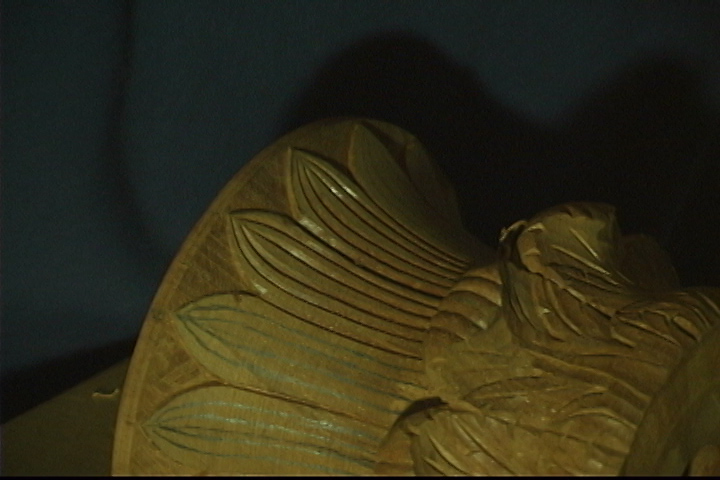
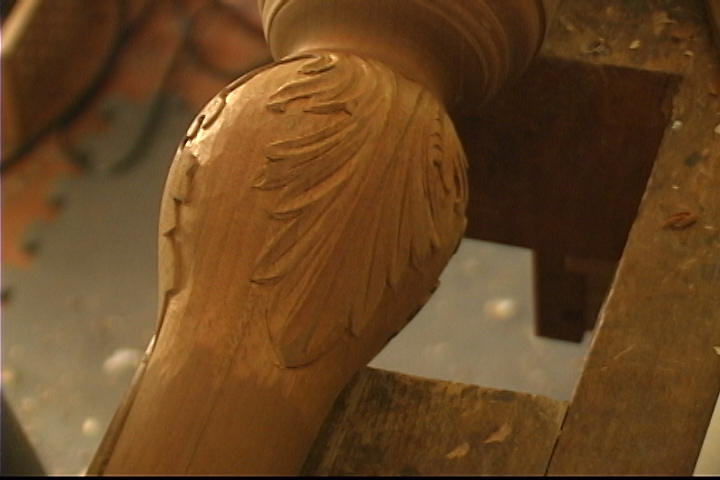
This basket design is based on a Samuel McIntire design. It is carved in 3/8" thick mahogany. I show the technique of locating the layers, working on detailing specific areas, and the technique of bringing the entire design together so that it appears to be much deeper than 3/8".
- Lesson Contents: 4 episodes; template, tool list, and photo available in Episode 1
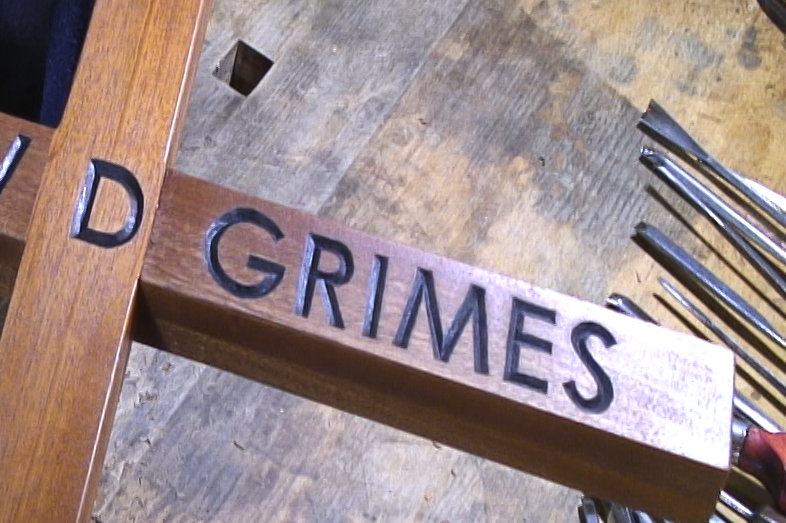
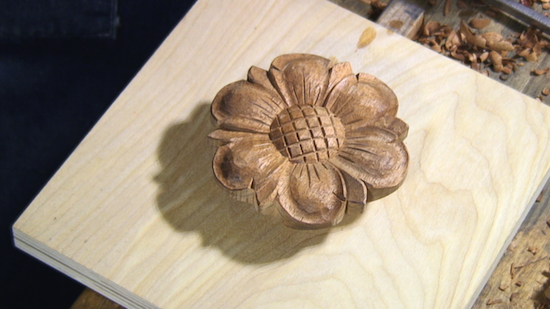
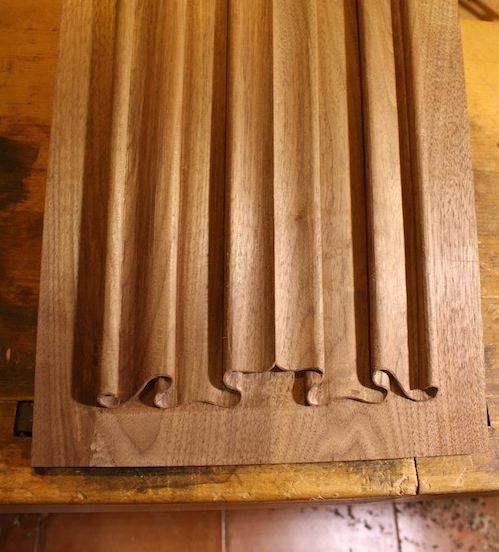
- Type of Wood: Mahogany
- Dimensions: 9"w x 4"h x 3/8"d
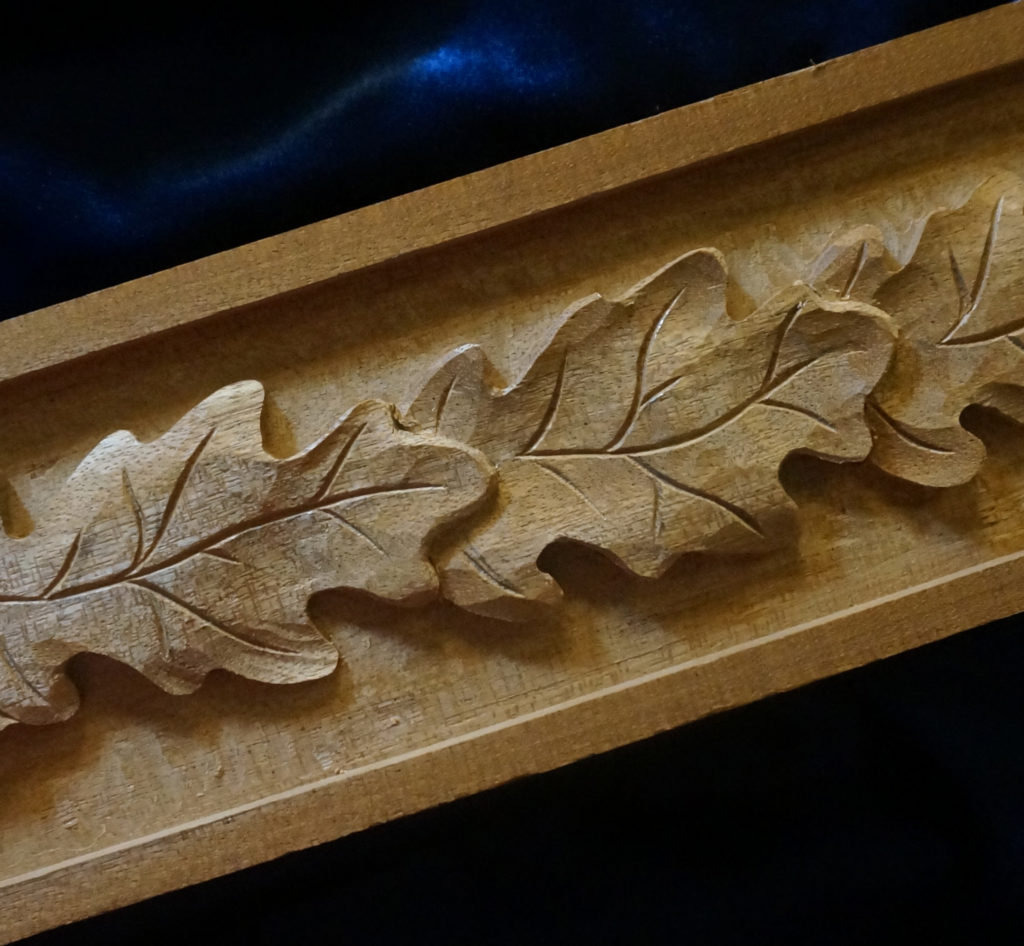
- Tool List: 2mm v-chisel (optional); 5 or 6mm v-chisel; #1, 4mm flat chisel; #1, 10mm flat chisel; #3, 3mm; #3, 6mm; #3, 14mm; #7, 10mm; #7, 14mm
- Skill Level: Intermediate/Advanced
- Casting Available: Having a 3-D reference is tremendously helpful and allows you to get an accurate assessment of the carving's size, shape, and depth.
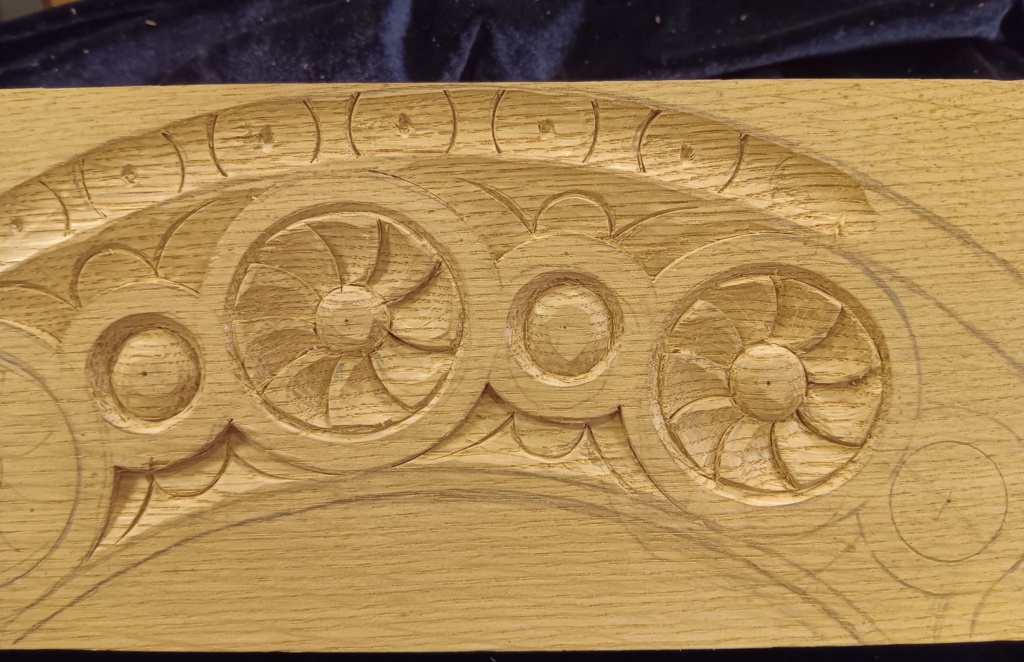
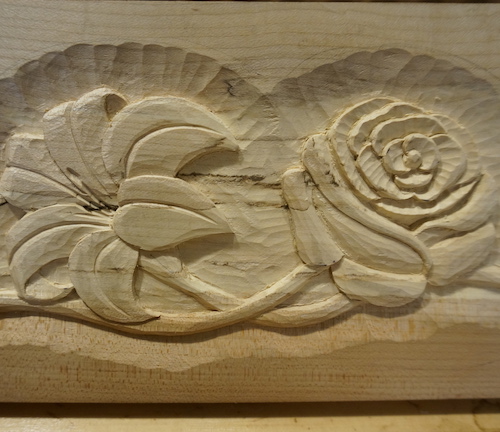
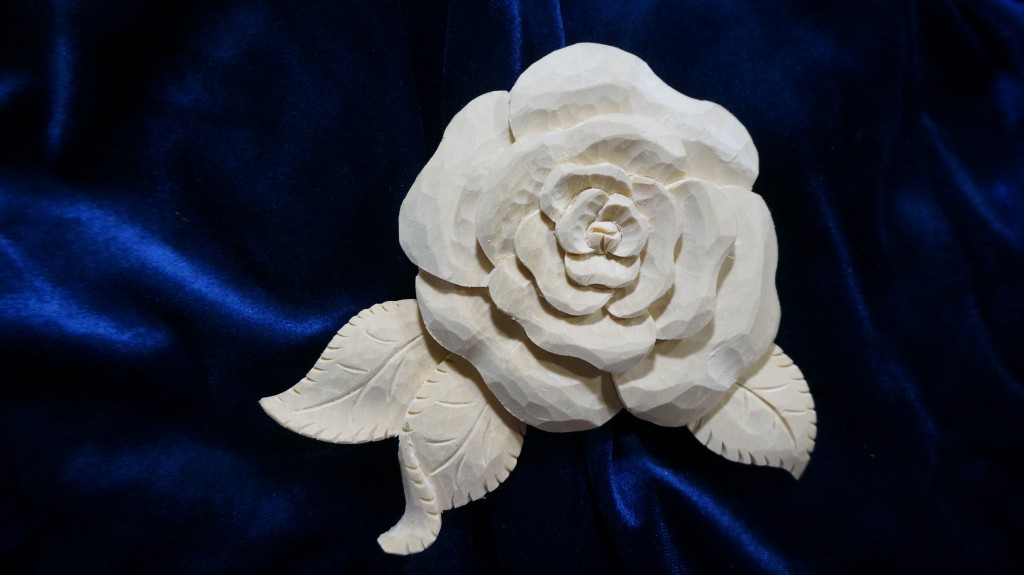
= More Lessons at the Intermediate Skill Level =


I can not find carbon paper in my aea but have found grafite paper at an art store works quite well for transferring designs.
Thanks! That will work well also. The only place I can find carbon paper is office supply stores.
I just posted my finished carving in the student galleries – I did my carving in pine – which had all sorts of challenges associated with it including its softness – but what I liked best was finishing the carving with Danish Oil which really brought out the details. Maybe after I gain some more experience I might be able to justify investment in a nice hardwood. Now that I have completed two projects its probably time to look at the “how to sharpen” lessons….
Scott, The basket carving is really beautiful – and in pine! Yikes. I avoid carving in pine if I can help it. It can have alternating wood segments – spongy, then very dense – spongy, then very dense.
Yeah – carving first and then sharpening is sort of backwards – but hey, if it works…
Thanks for sharing your work on the gallery!
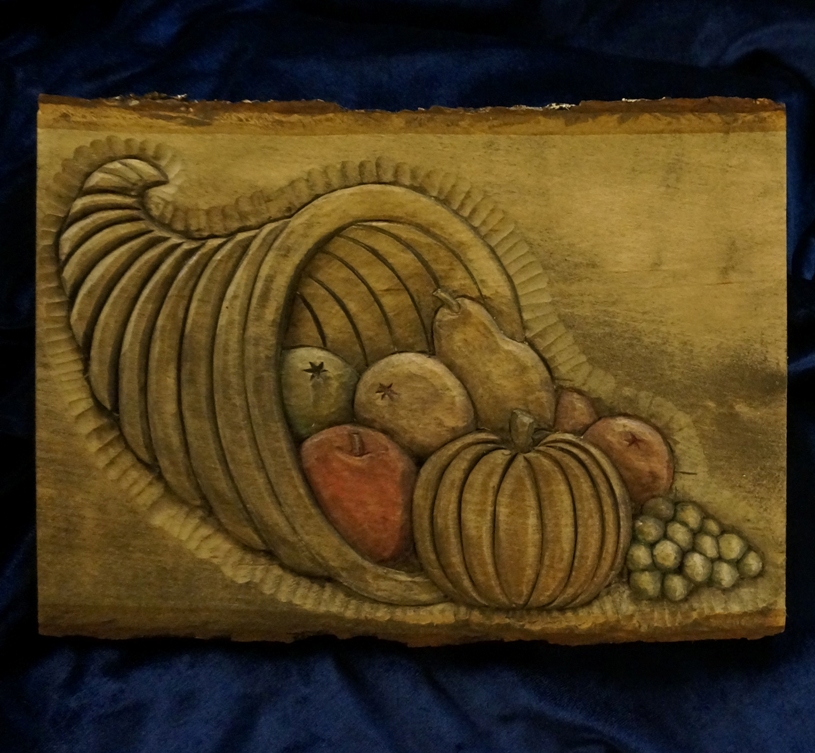
I would like to use oil paint washes over the sealed basswood carving I just finished, but I don’t know what colors to use. Can you tell me the names (and possibly also the correct colors) of the six different fruits/vegetables in the basket, from left to right? Or are they simply stylized designs that aren’t meant to represent any particular fruit/vegetable?
Hi Michael,
Well, all this is pretty subjective. Any larger, simple round pieces could be oranges or plums. Going from the left to the right, the smaller ones could be grapes or blueberries. Then maybe a pomegranate (because it has some interesting shape to the surface), then a peach on top, then a pumpkin or small gourd, then the fruit to the right of that can be whatever you want – more grapes, the large one maybe an orange. You see how it really depends on how you interpret these. Lots of purples for the grapes, orange for the pumpkin or orange, light red for the pomegranate, and peach color for the peach.
Have you watched the Cornucopia lesson? This will give an idea of the colors and technique of coloring.
Good luck and have fun!