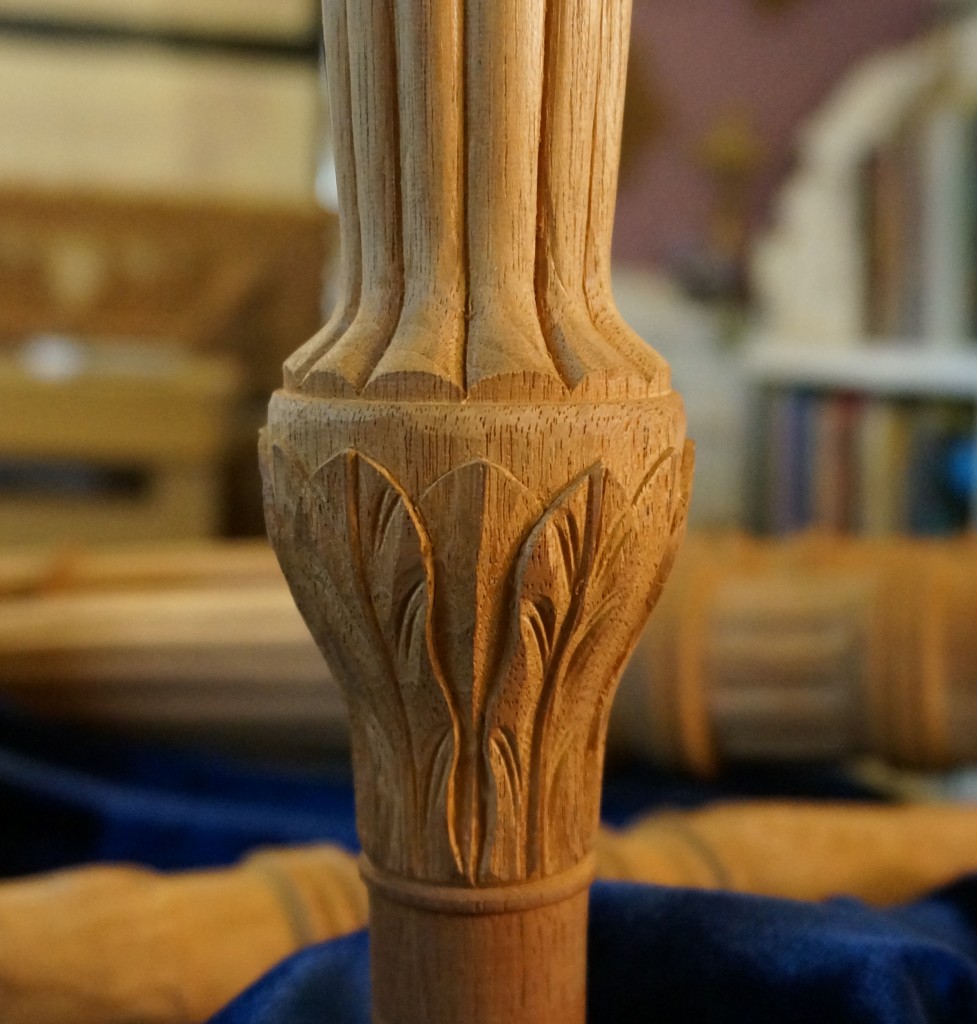
This is a brief introduction to "Carving a Philadelphia Flame Finial."
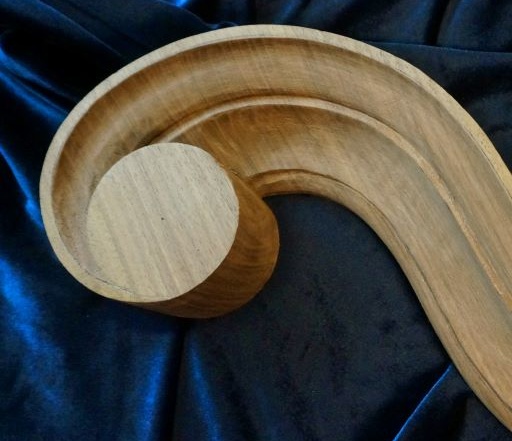
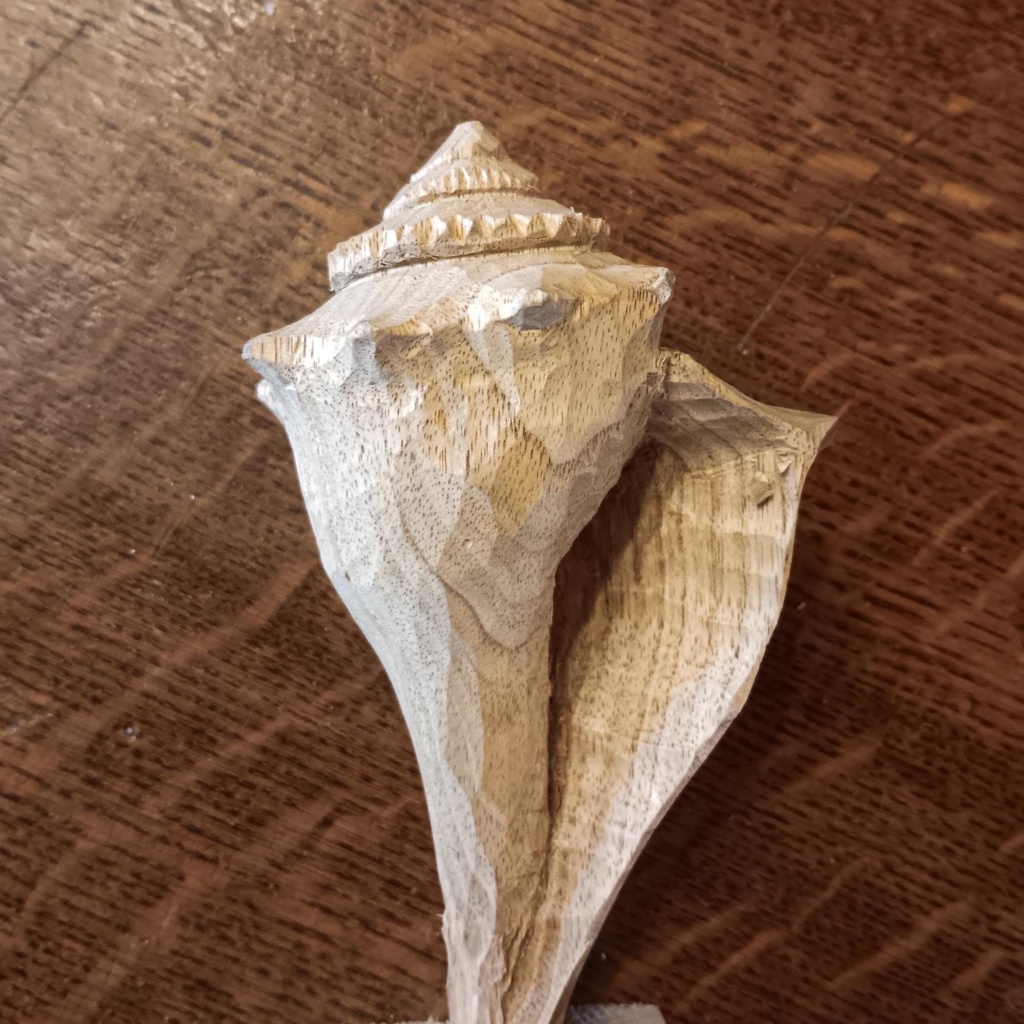
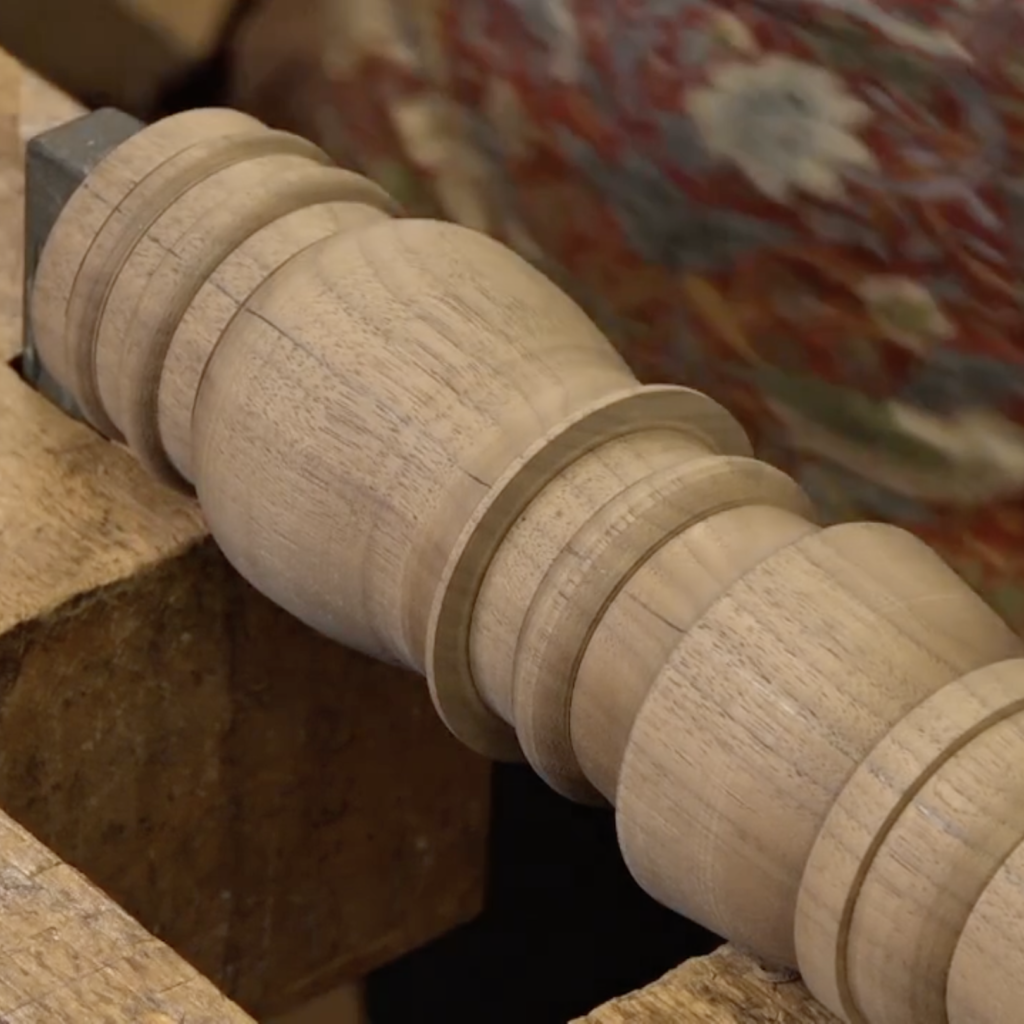
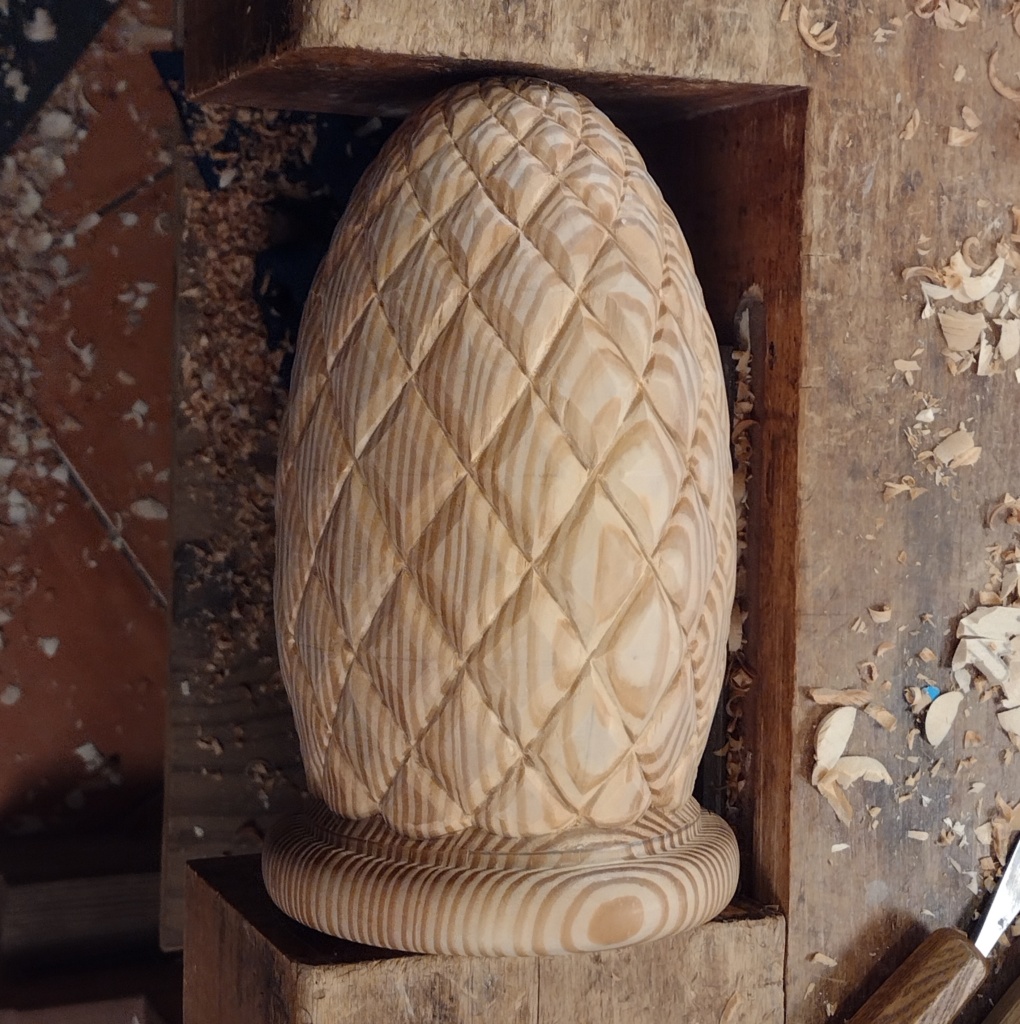
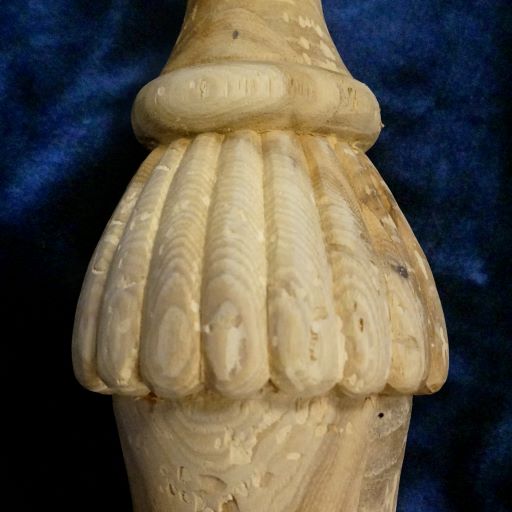
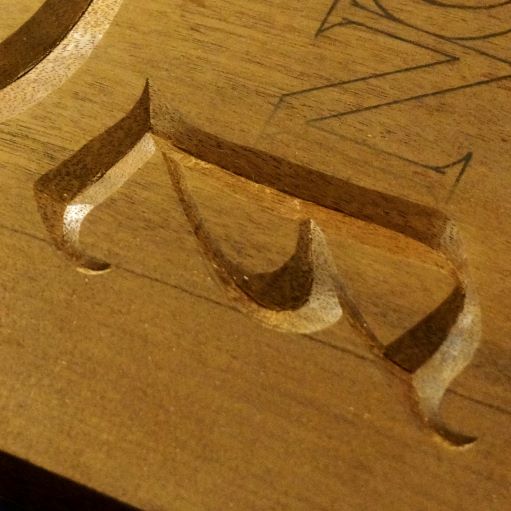
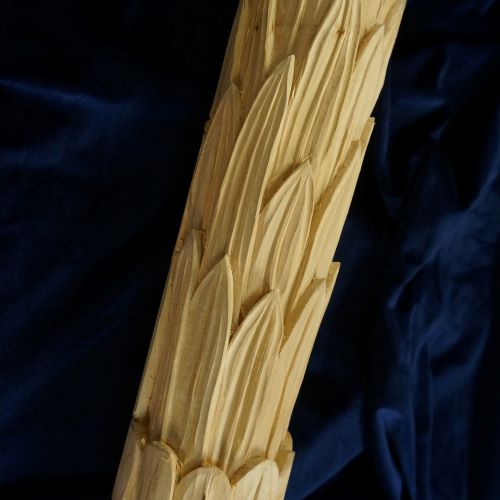
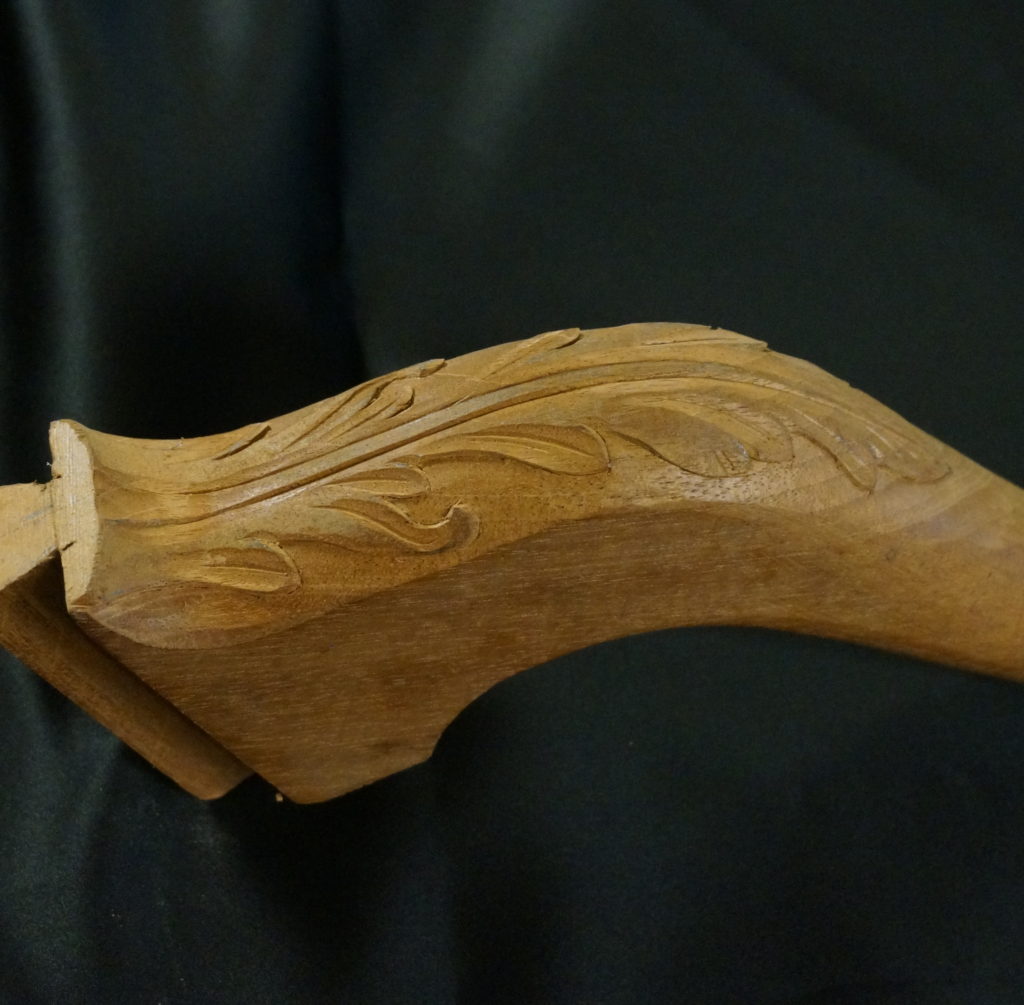
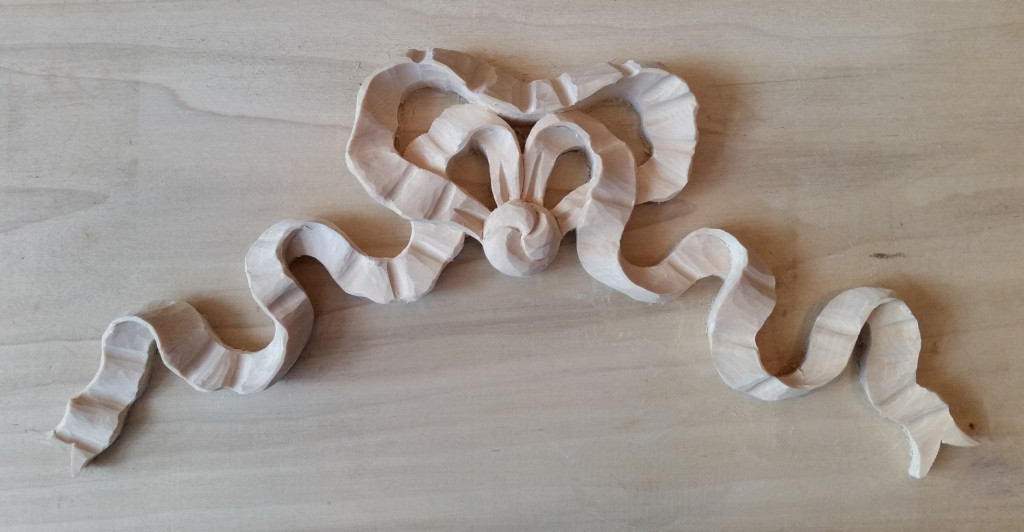
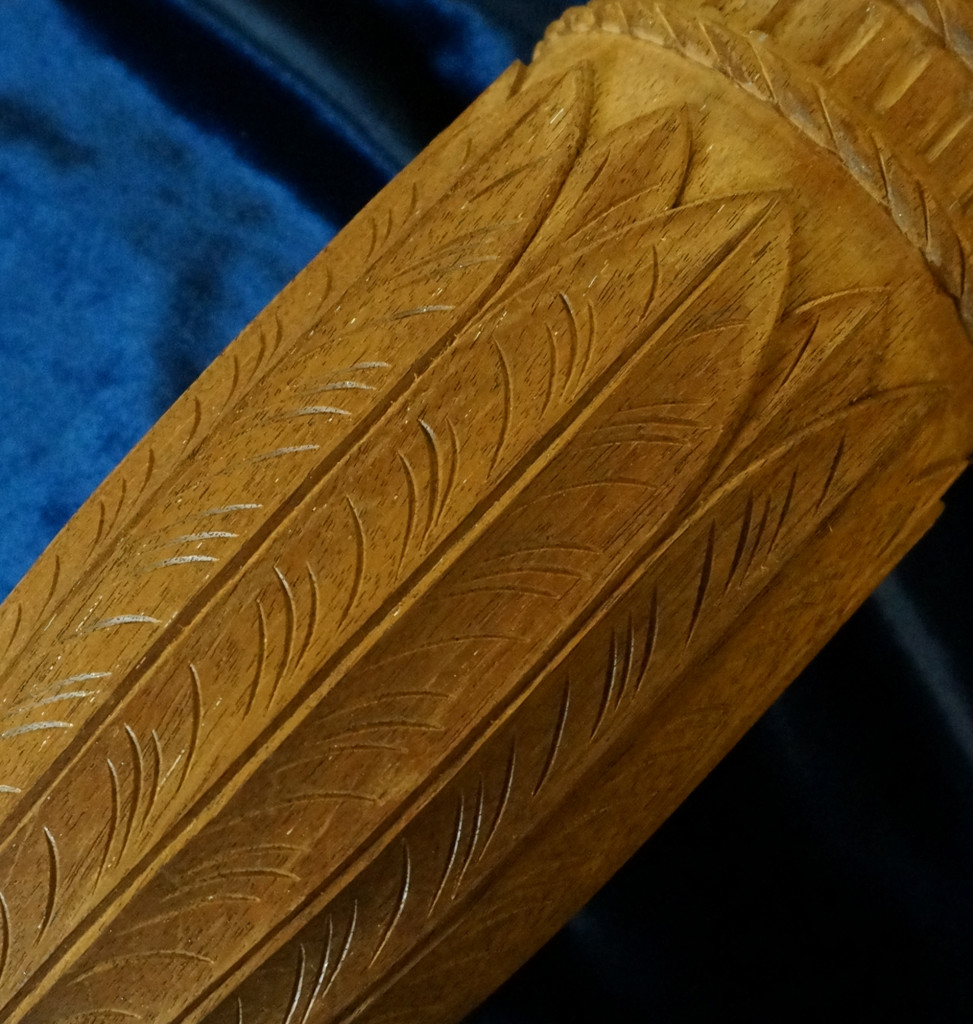
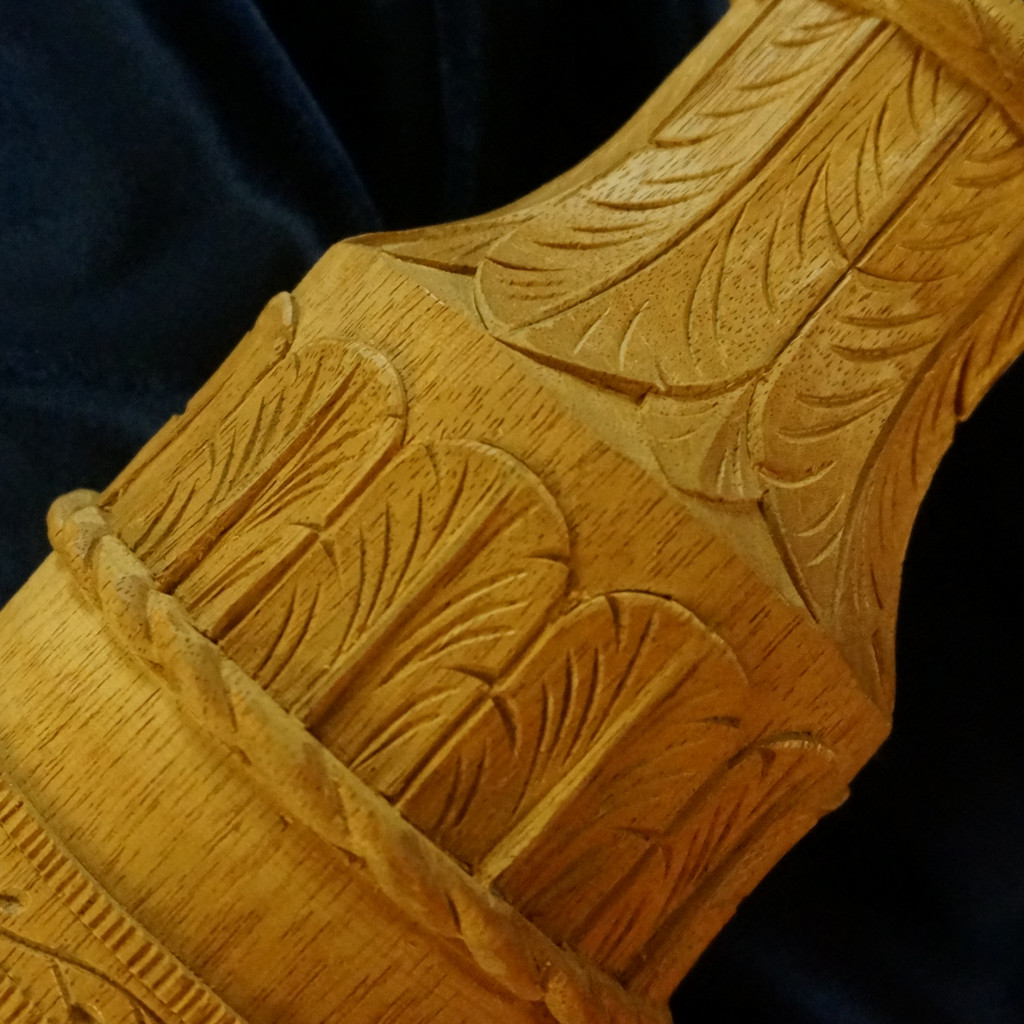
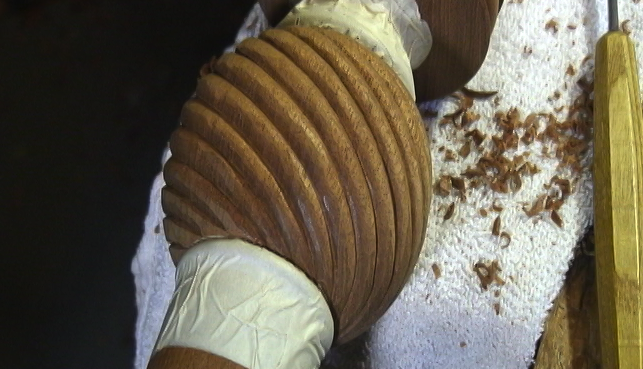
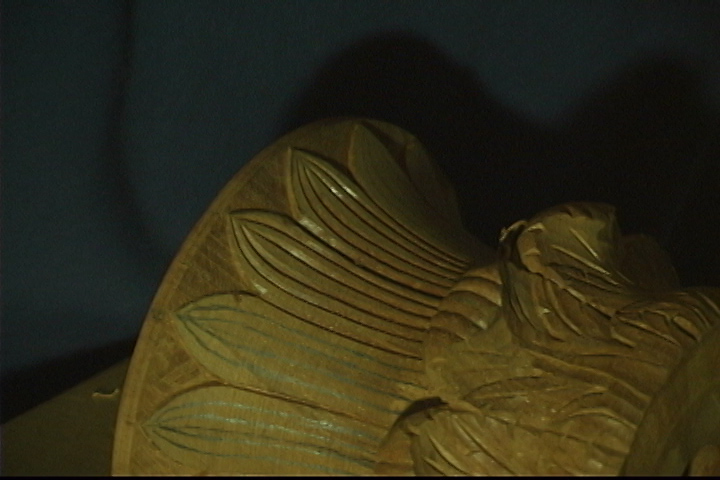
This 2 episode lesson is Part 4 for the "Philadelphia Highboy" series and teaches how to carve a type of traditional flame finial. This is a customer's design based on the Philadelphia style usually seen adorning posts and pediments of traditionally carved furniture of that time.
- Series: Part 4 of 4 in the "Philadelphia Highboy"
- Lesson Contents: 2 episodes; template, tool list, and photo in Episode 1
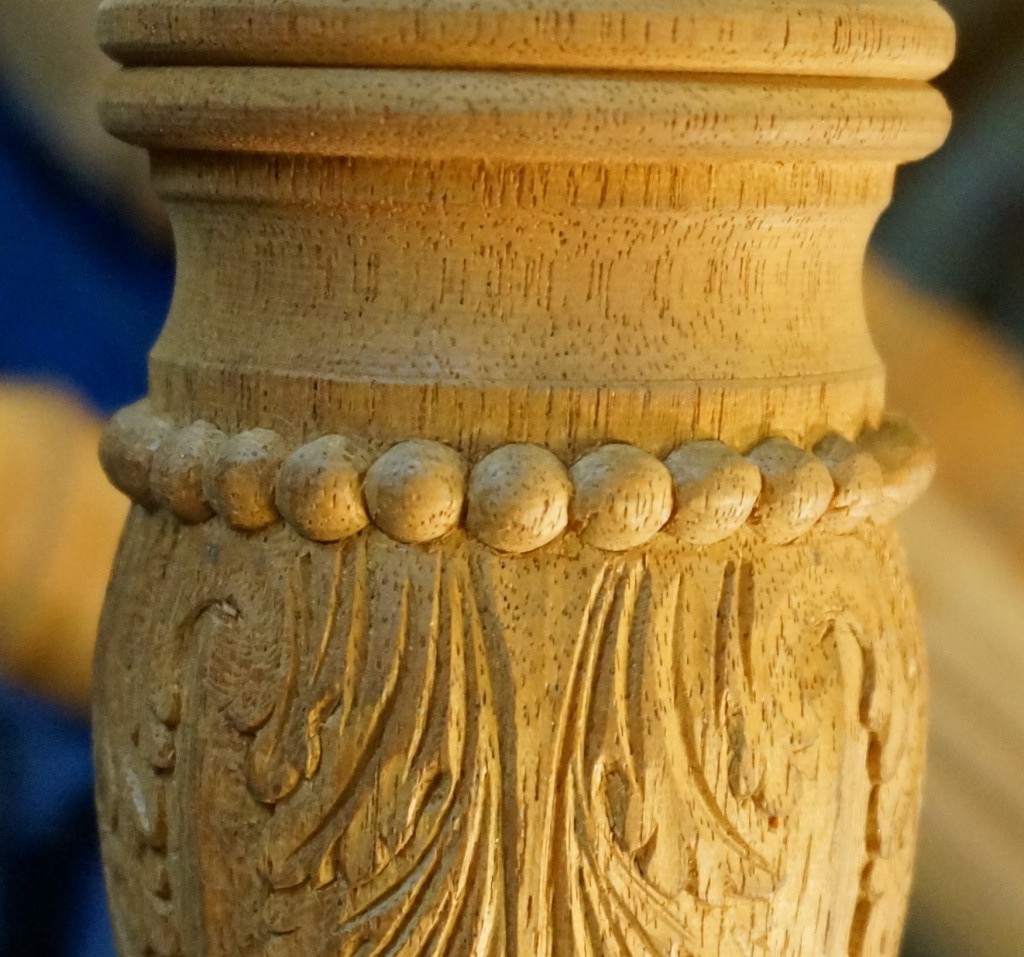
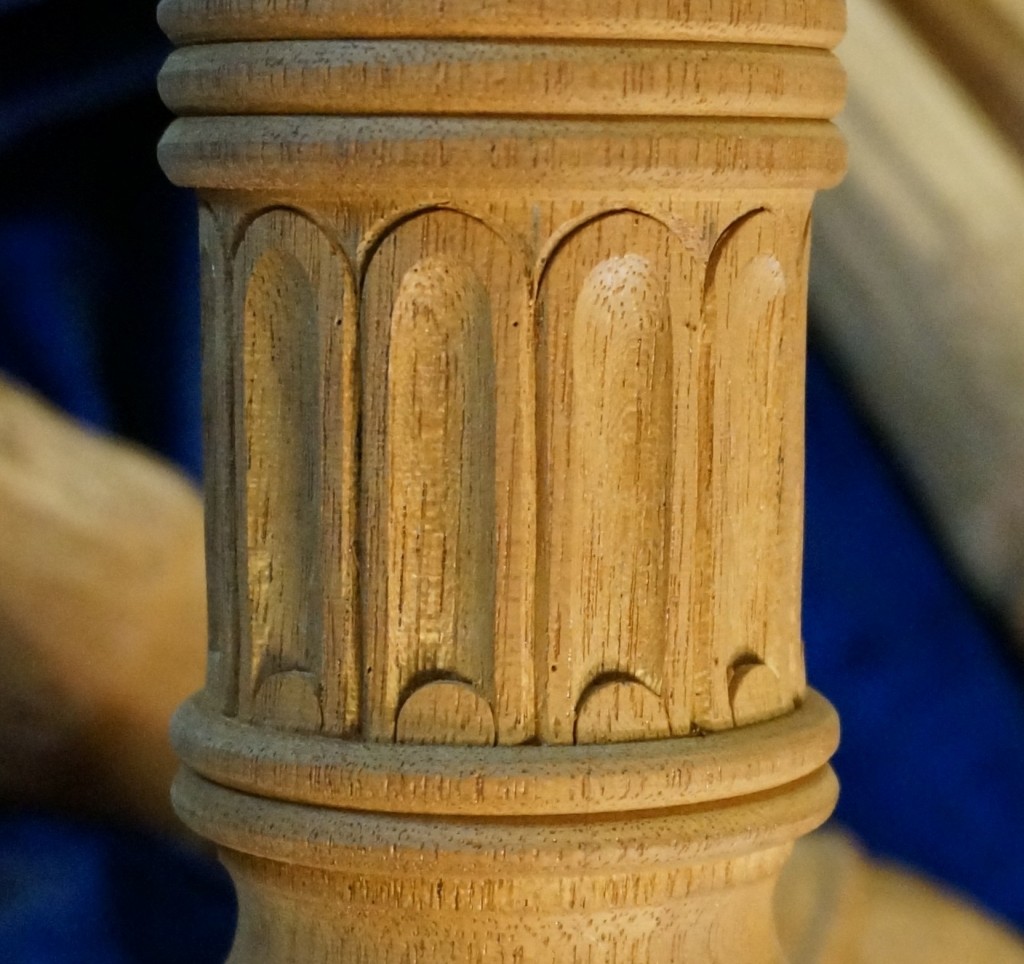
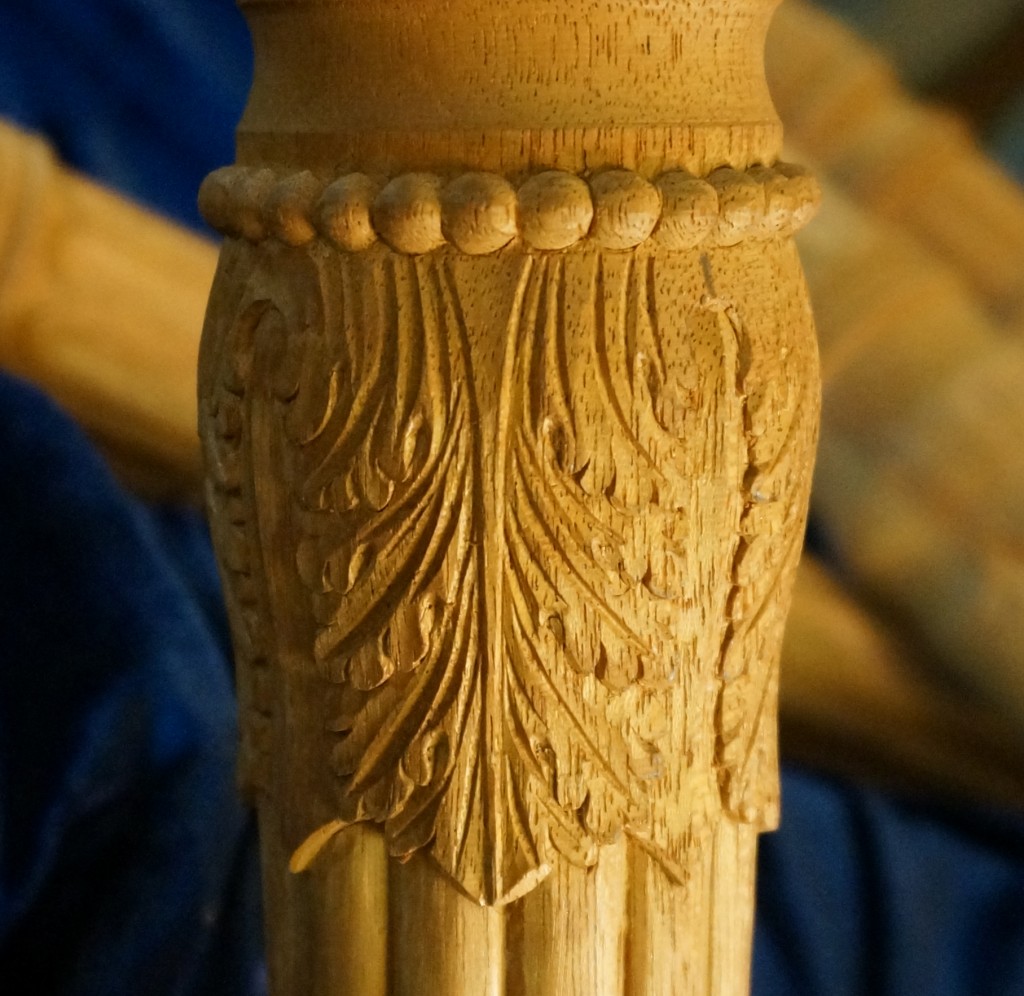
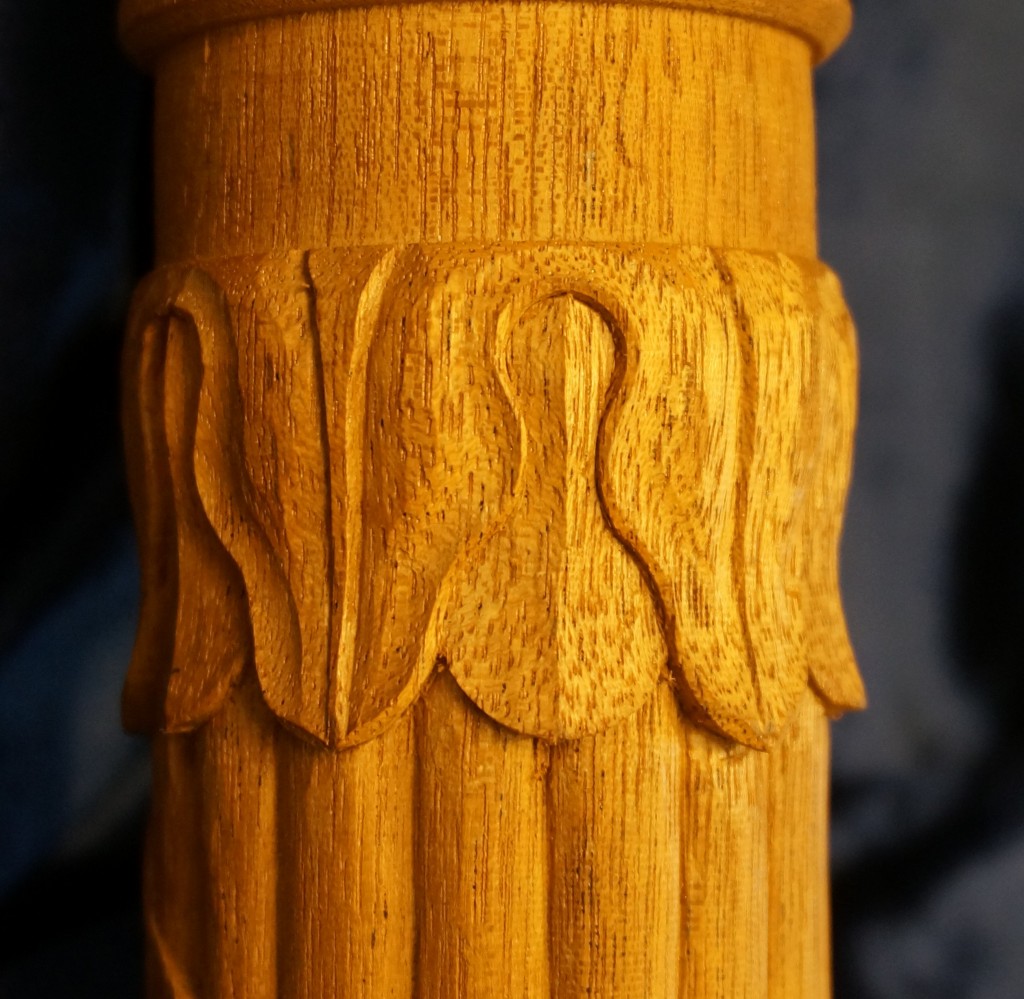
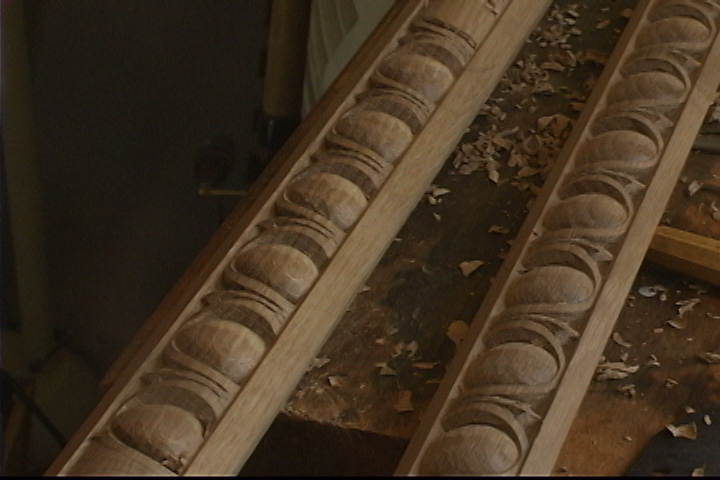
- Type of Wood: Walnut
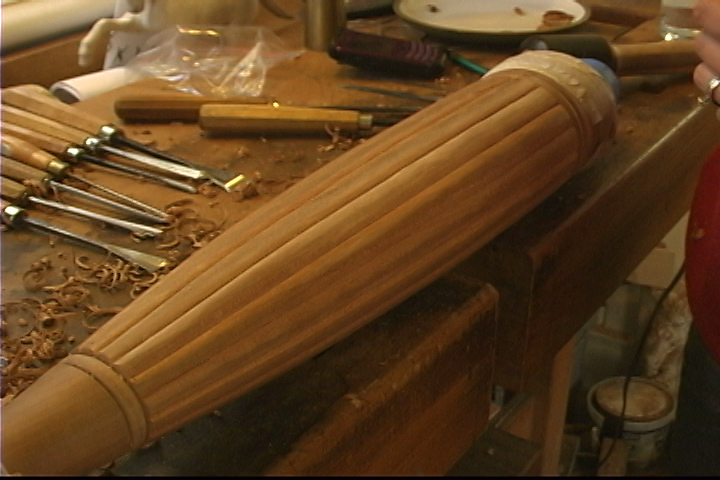
- Size: 2-1/2"w x 5-3/8"h
- Tool List: 6mm v-chisel; #3, 14mm; #5, 14mm
- Skill Level: Intermediate
Lessons in this Series:


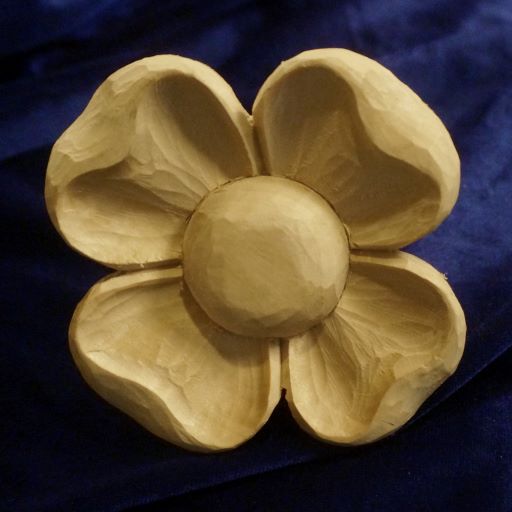
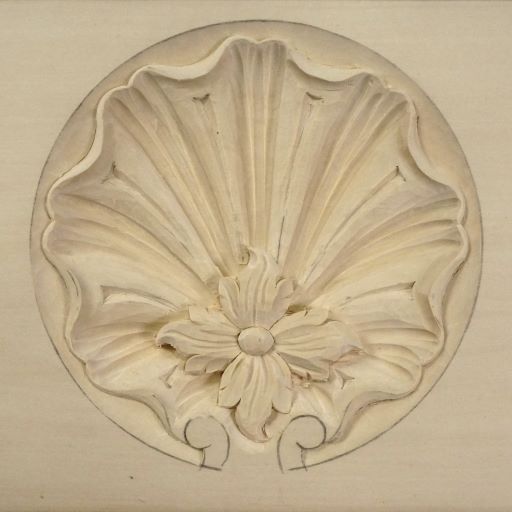
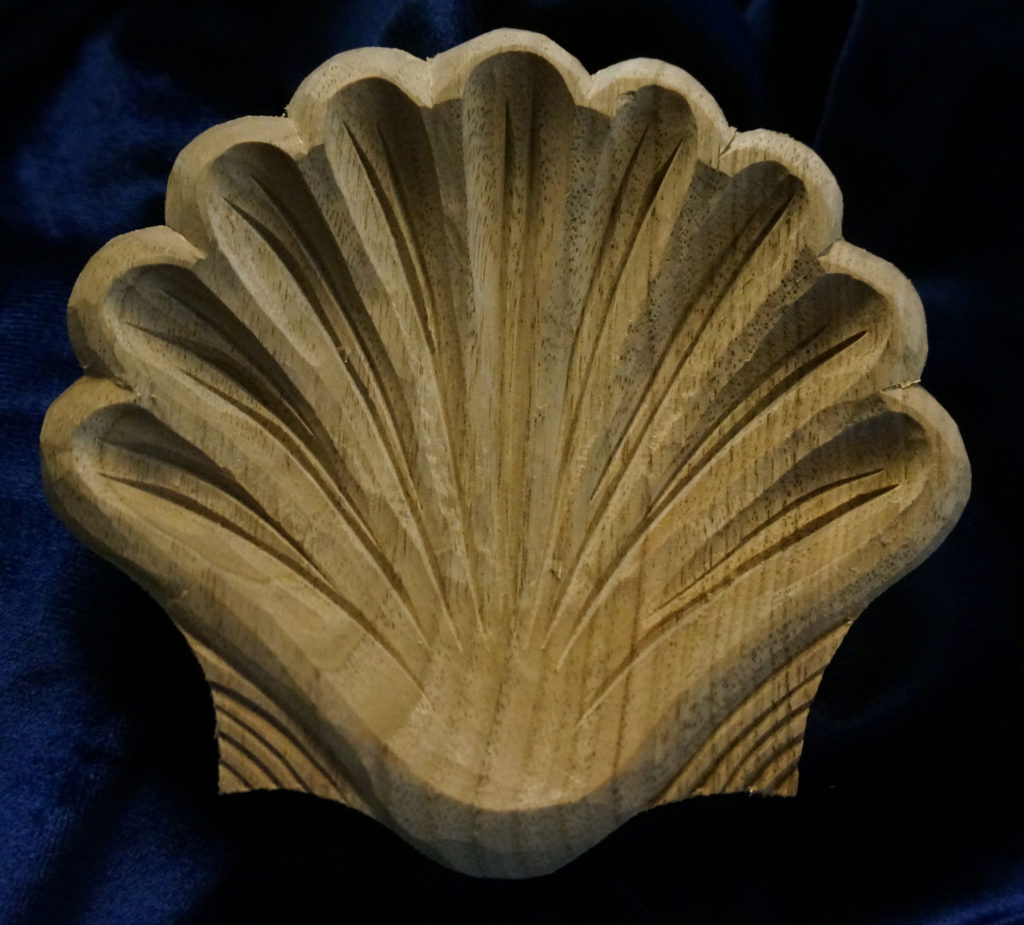
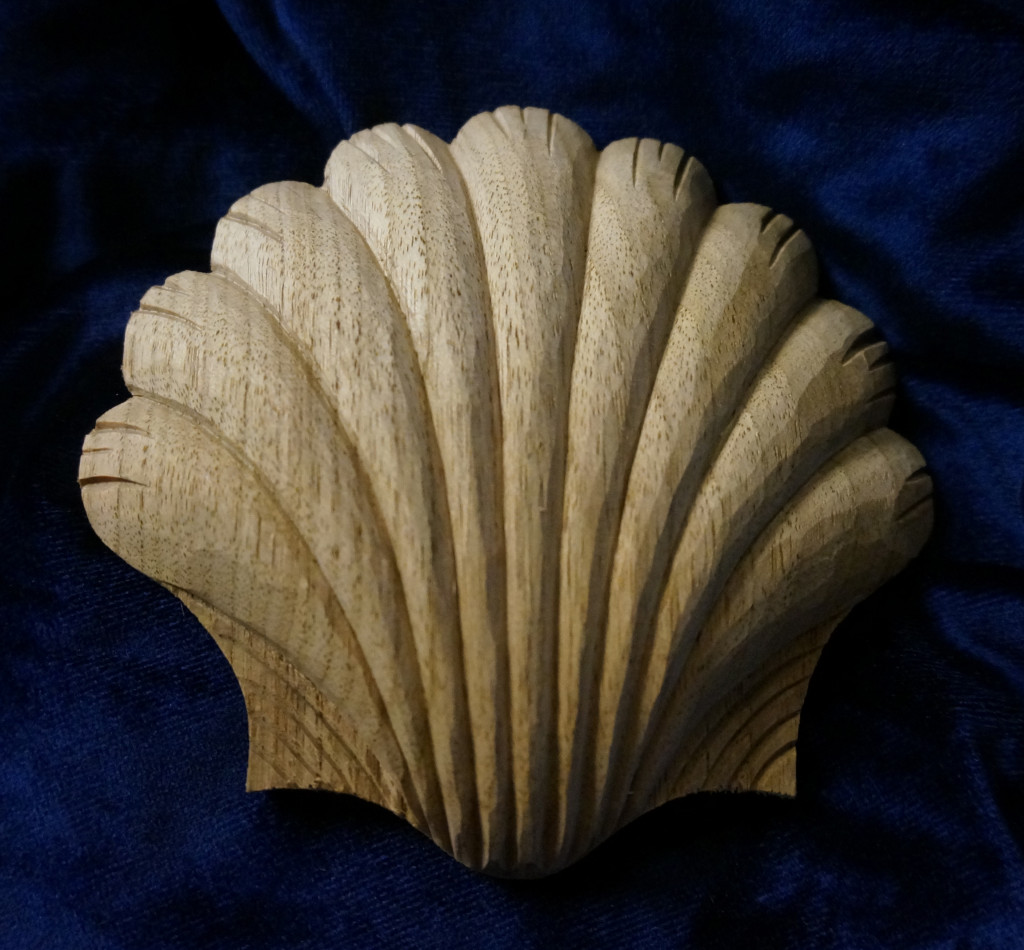
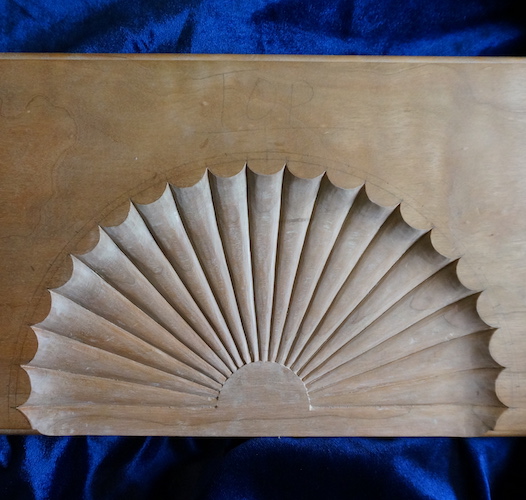
I have plans to create a lesson for the Shell to complete the series. Stay tuned!
= More Lessons at the Intermediate Skill Level =


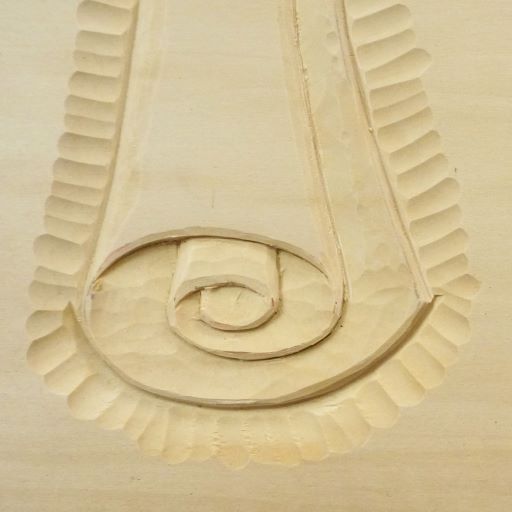


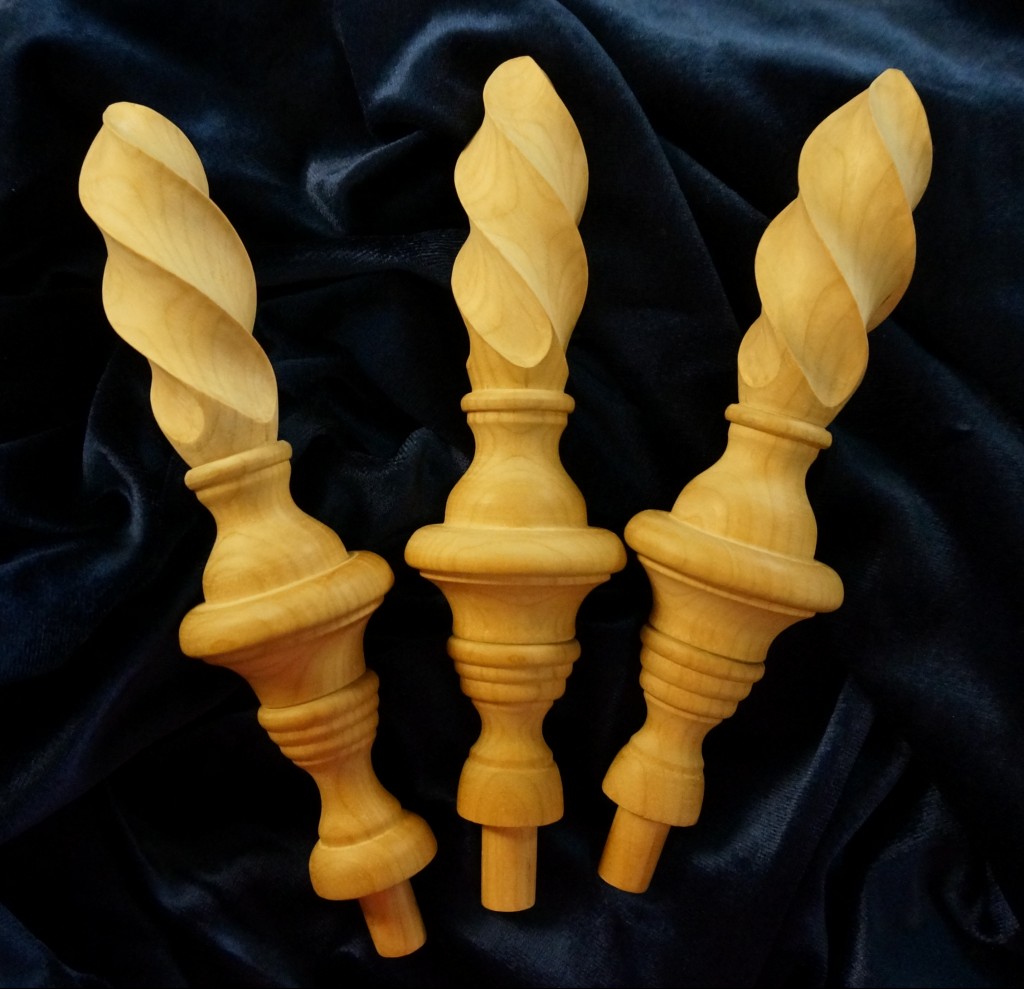
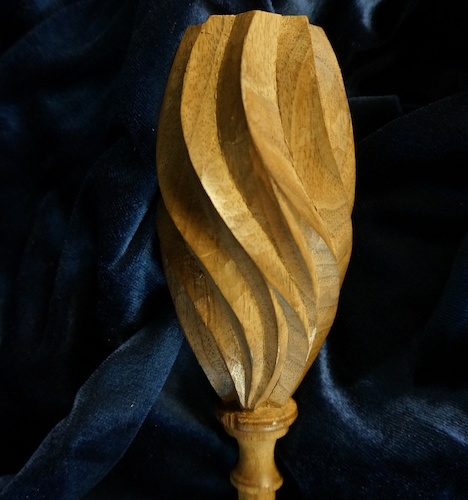


Please show how you measured off the diagram for the flame
:)) I wish I knew!
The technique I used was drawing it first on the turned surface by pure trial and error (by the technique I showed in the beginning of the lesson). Then after I carved it I wrapped paper around the finished surface and let the sharp corners press into the paper. I unwrapped the paper, and there was the pattern dented into the paper! From there, I had a lot of fixing and adjusting, but it did give a basic shape of how to lay it out on a flat piece of paper. Yes, not a very “engineered” process, but it worked!