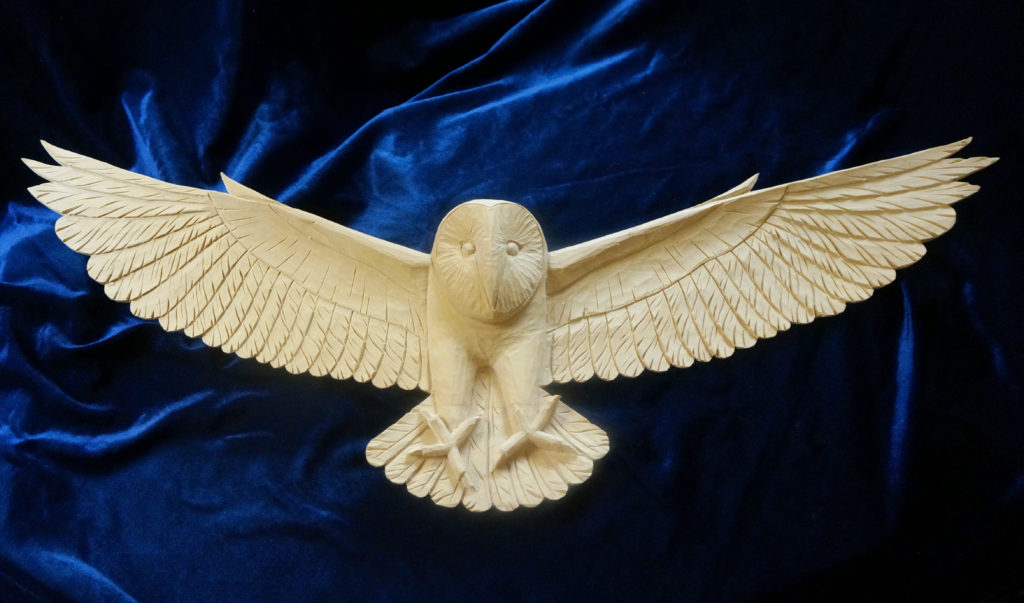
This is a brief introduction to "Carving a Barn Owl."
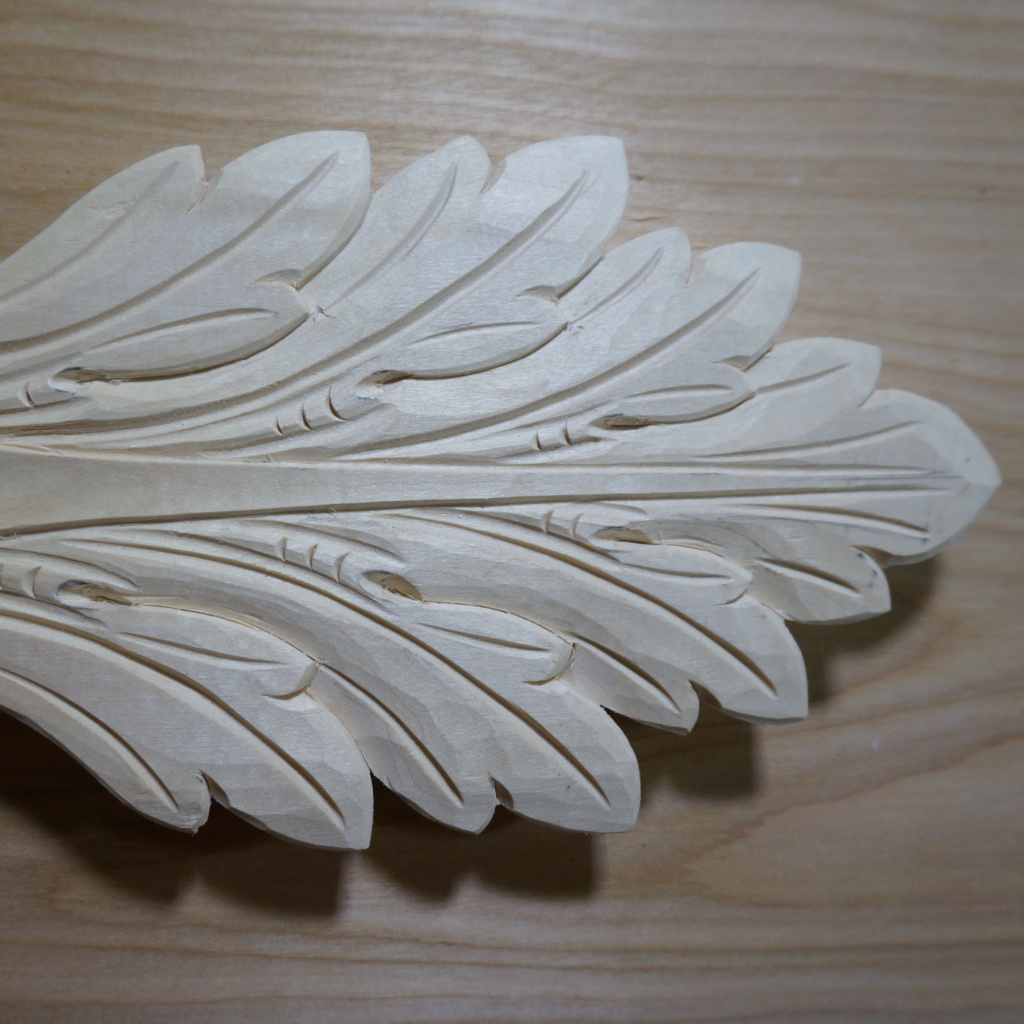
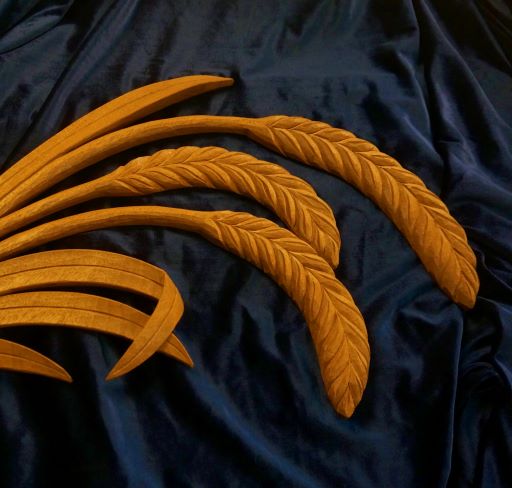
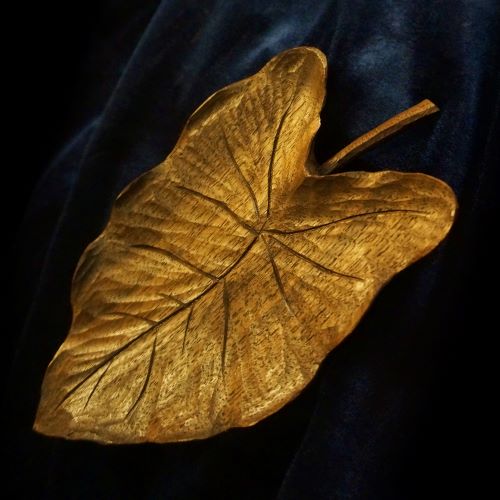
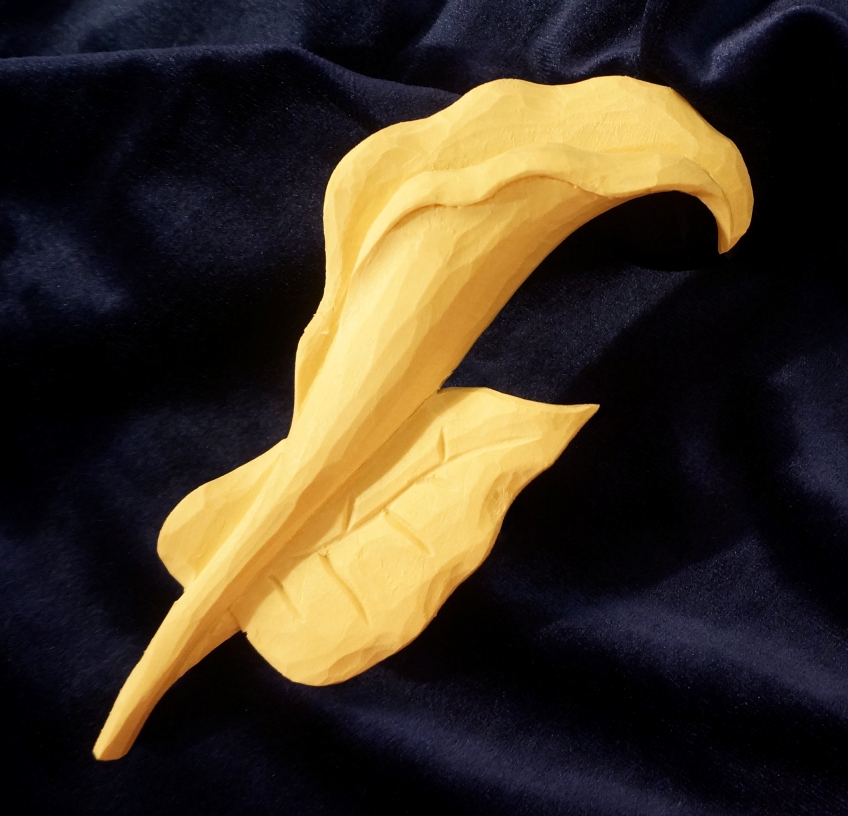
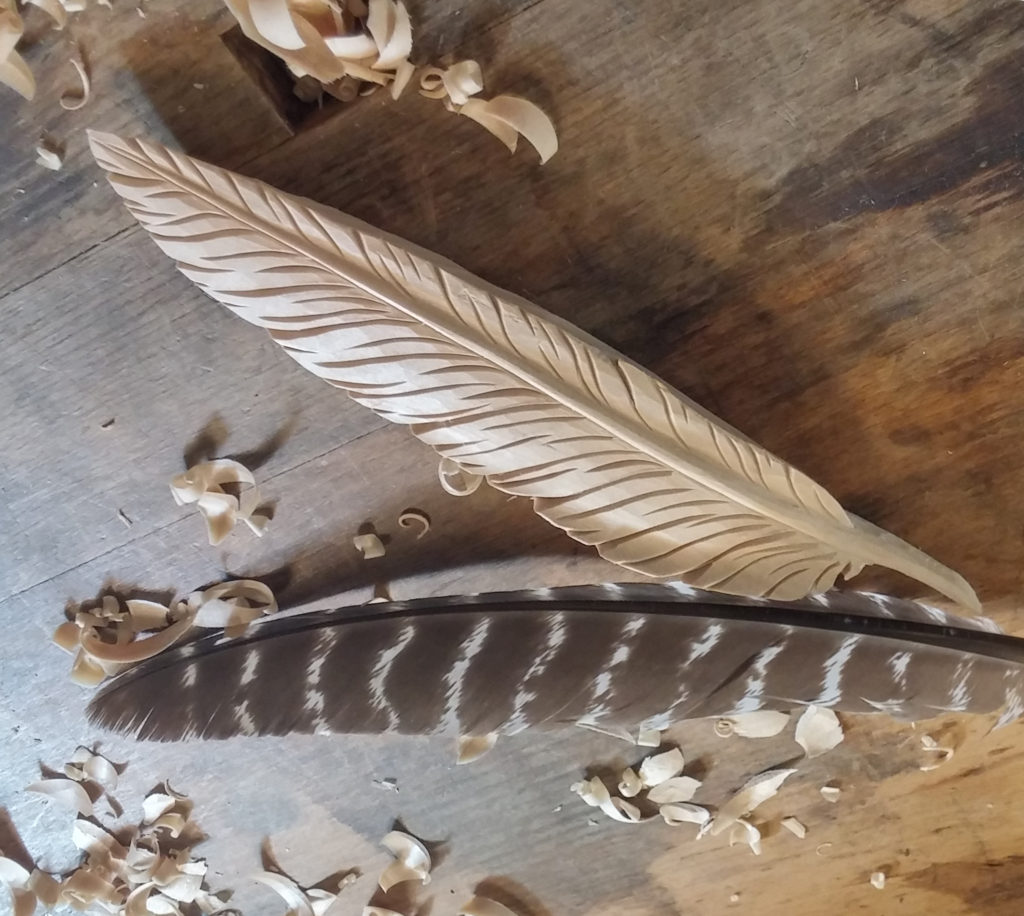
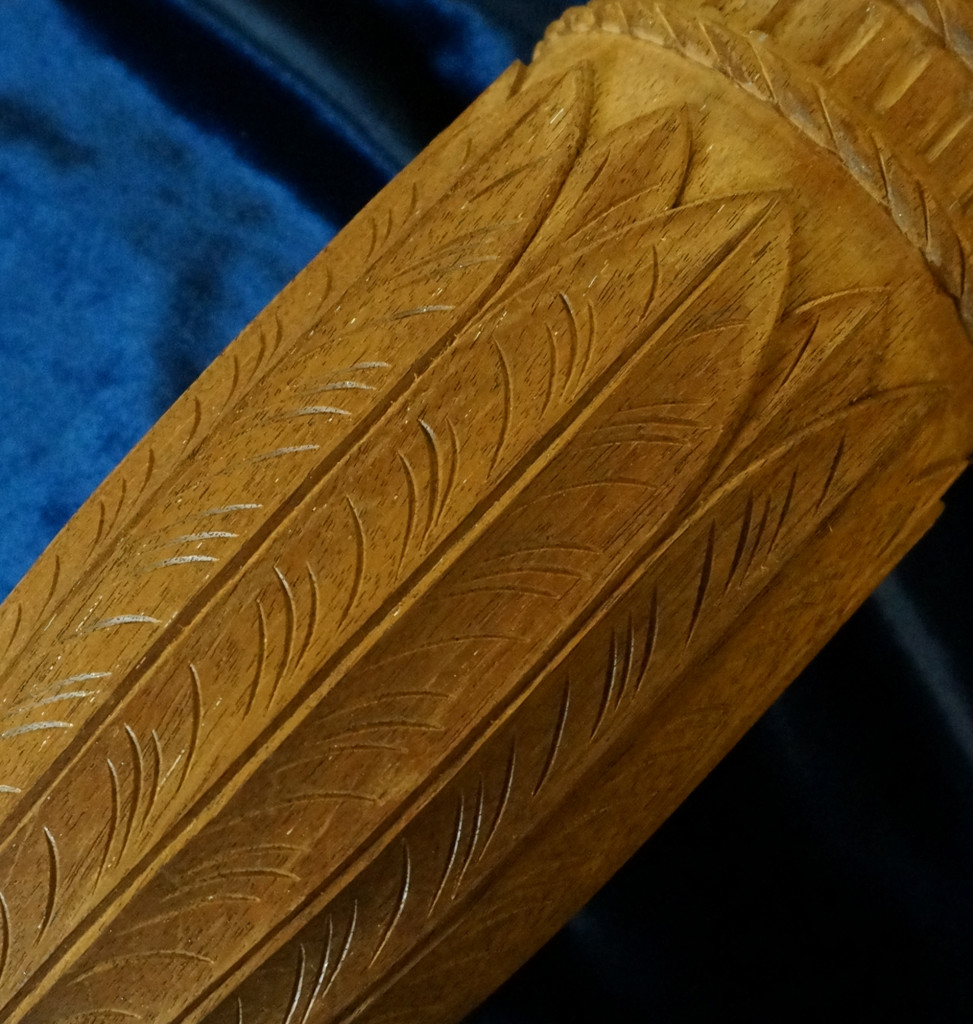
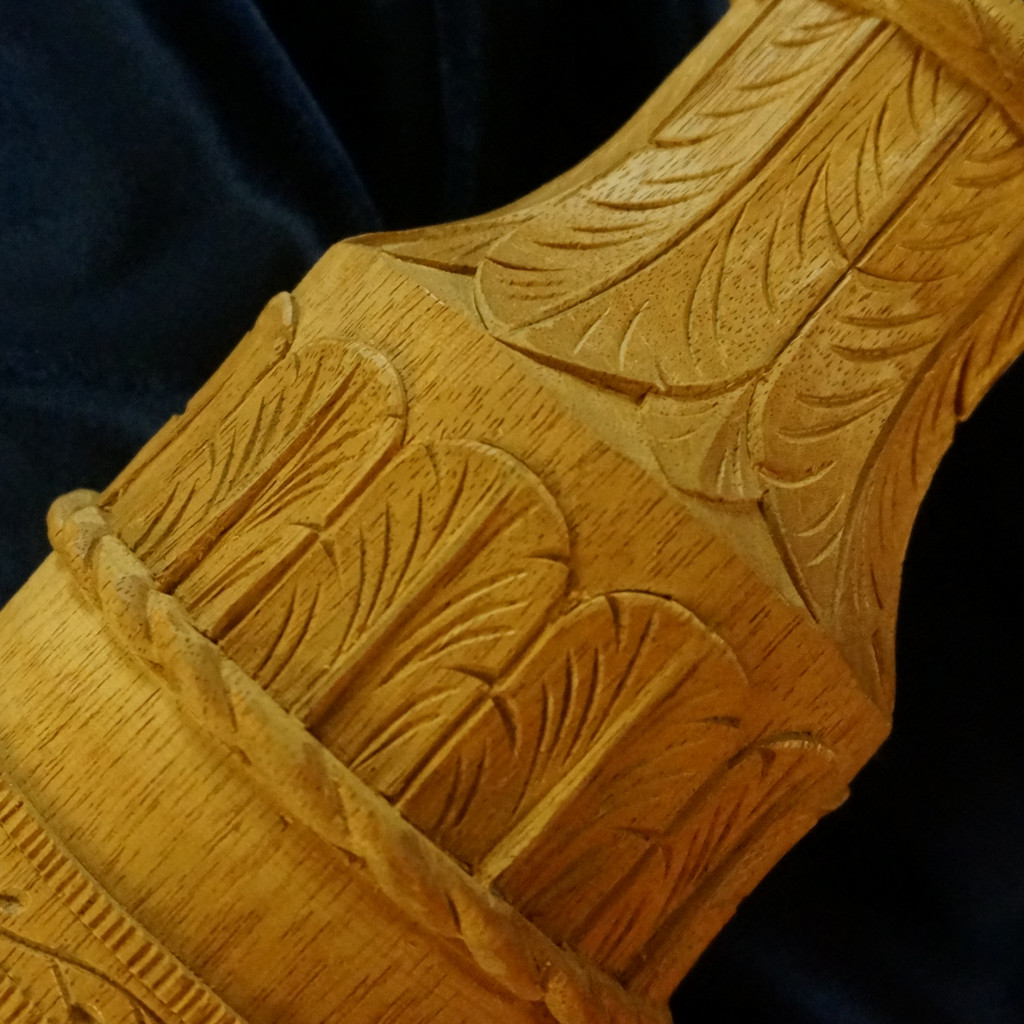
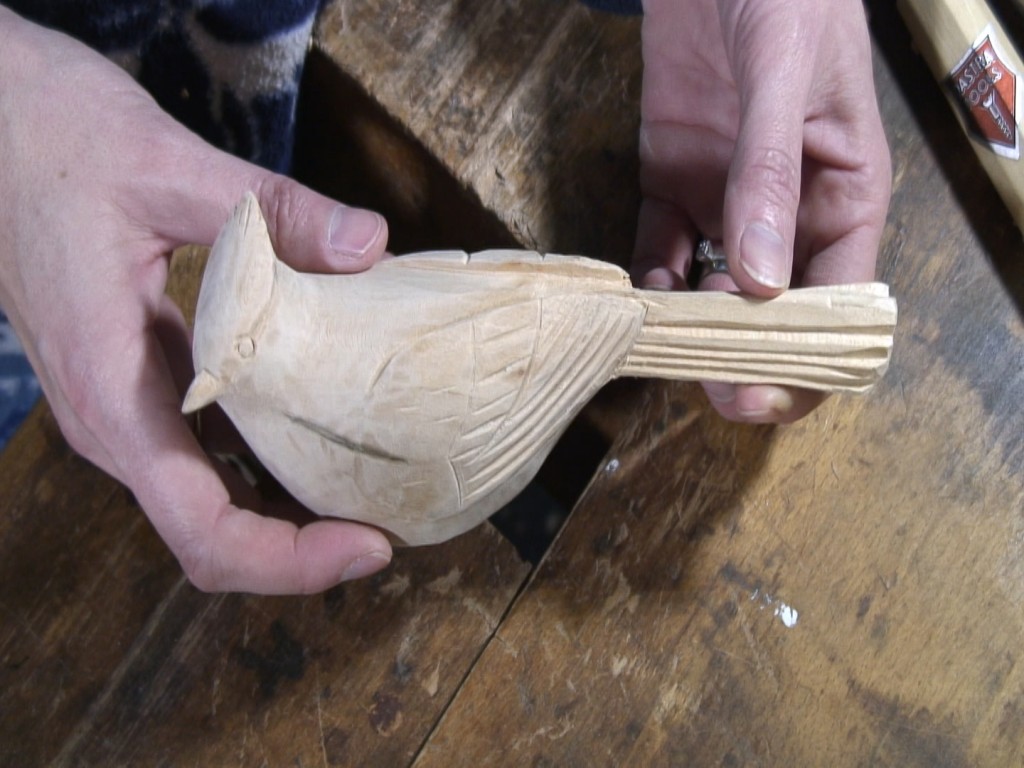
Good thing we carved that feather. Now let's try a whole bird! A lot of you have been asking for more animal lessons and I got inspired to carve a life size barn owl for a window valance. Don't let the size of this project intimidate you. As with all my lessons, you can increase or decrease the size of the template to suit your needs.
- Lesson Contents: 4 episodes; template, tool list, and photo in Episode 1
- Type of Wood: Basswood
- Size: 32-1/4"w x 10-7/8"h x 1-3/4"d
- Tool List: 4mm v-chisel; 6mm v-chisel; #3, 6mm; #3, 14mm; #4, 18mm; #5, 14mm; #7, 8mm; #7, 10mm; #7, 14mm
- Skill Level: Intermediate
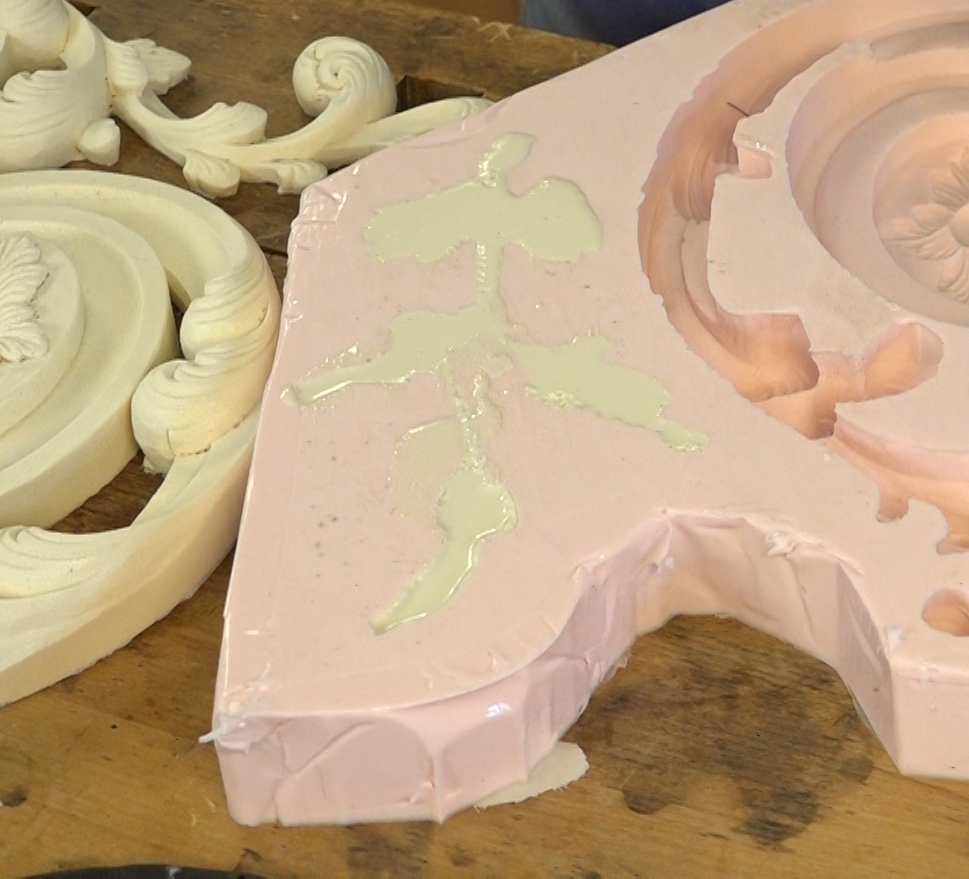
- Casting Available: Having a 3-D reference is tremendously helpful and allows you to get an accurate assessment of the carving's size, shape, and depth.
= More Lessons at the Intermediate Skill Level =

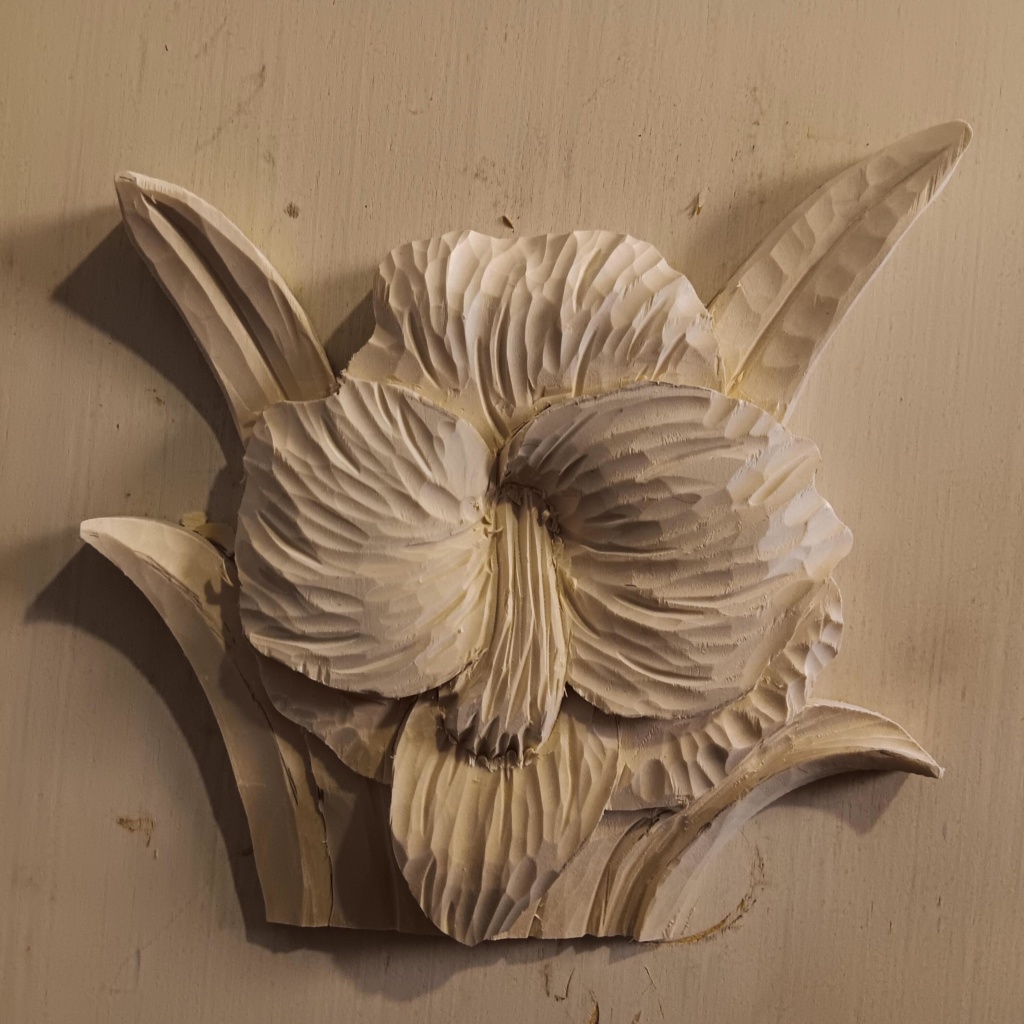

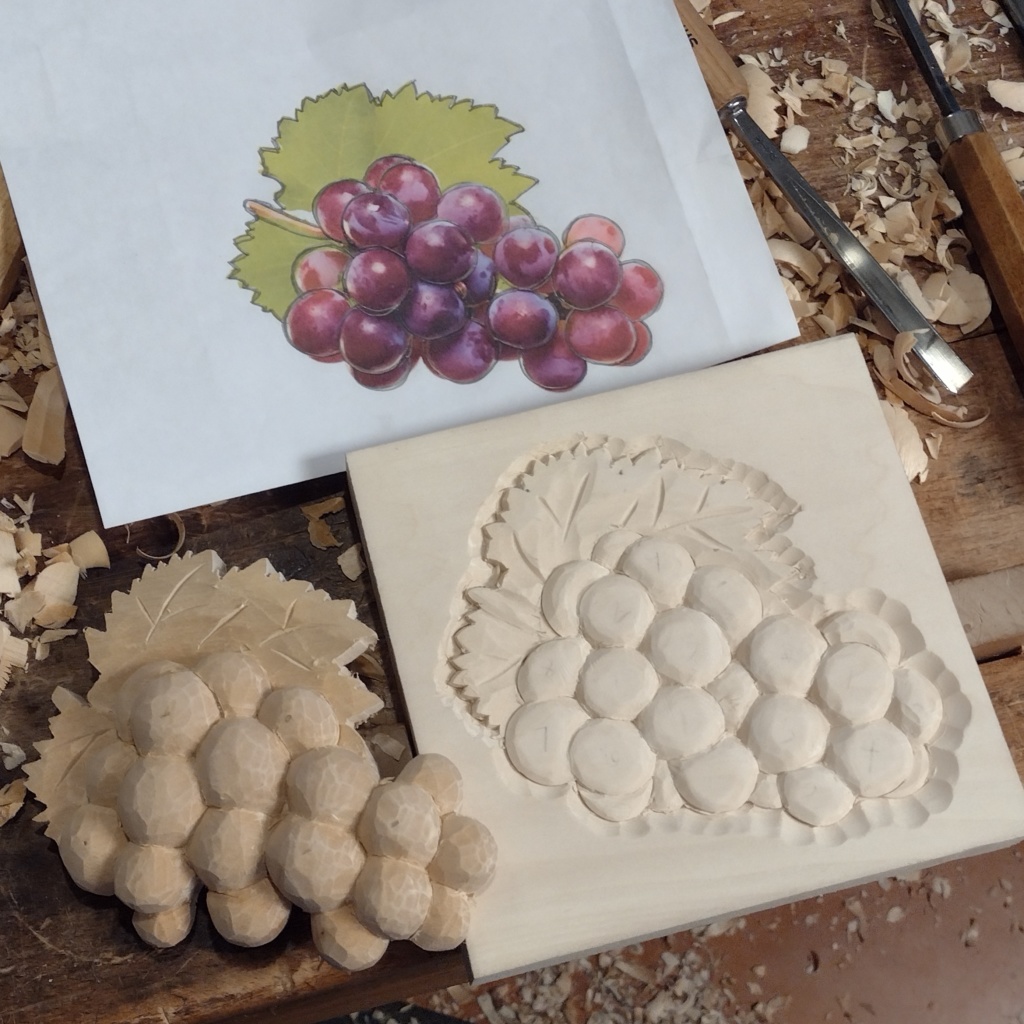


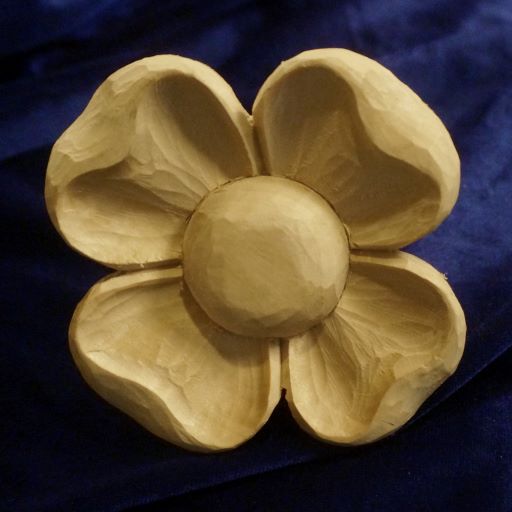
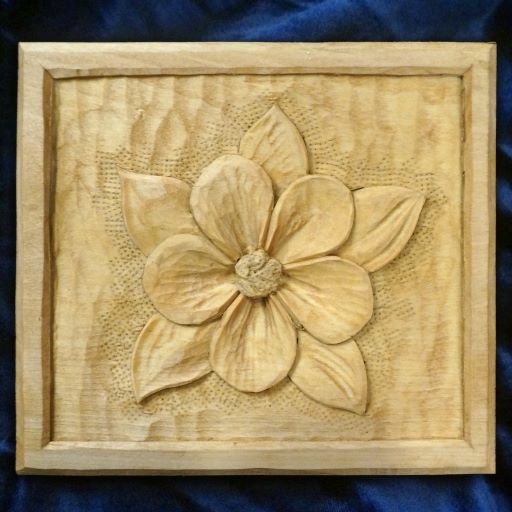


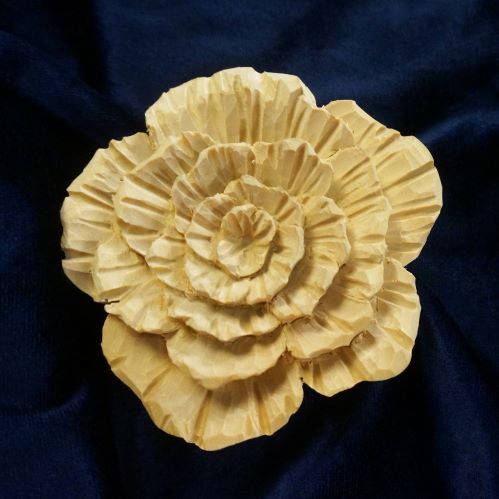
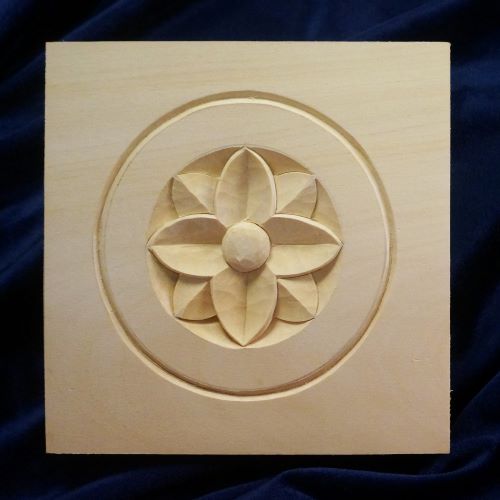
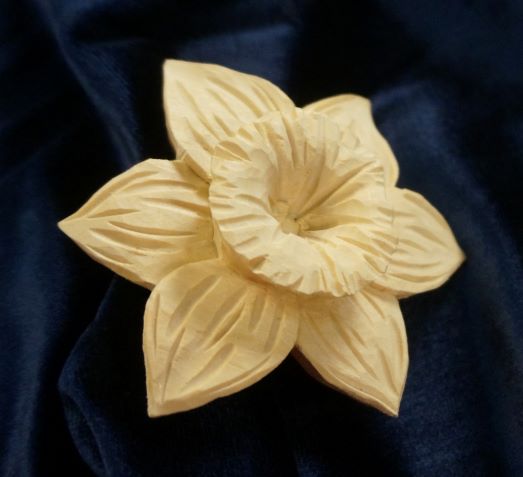

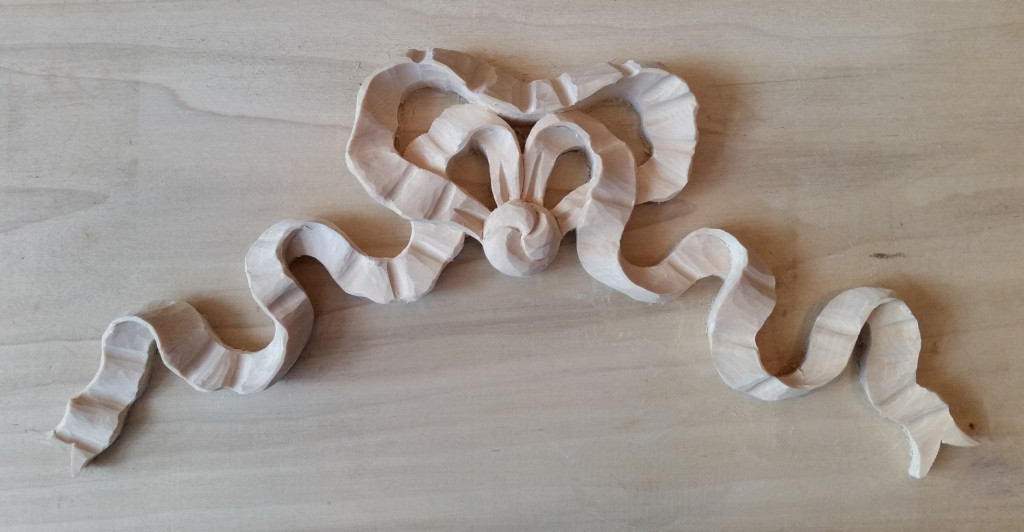
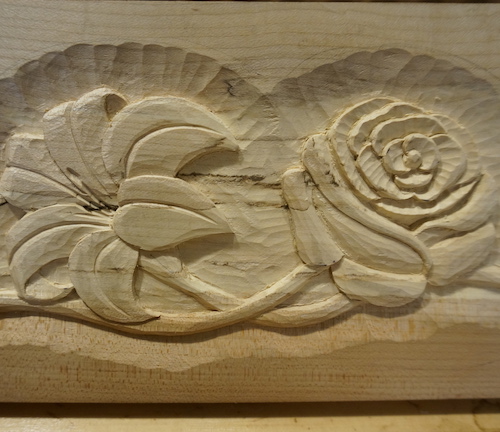
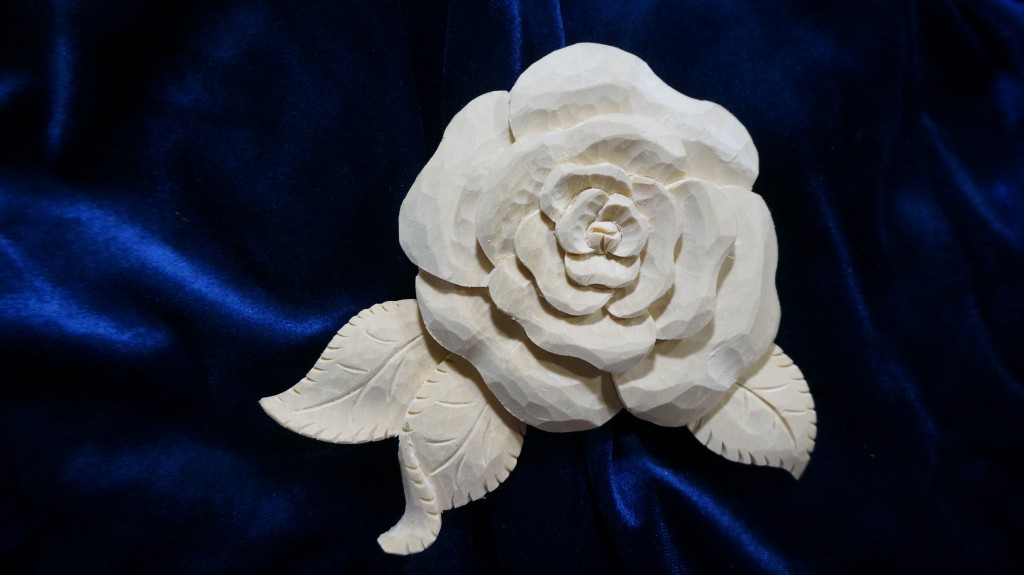


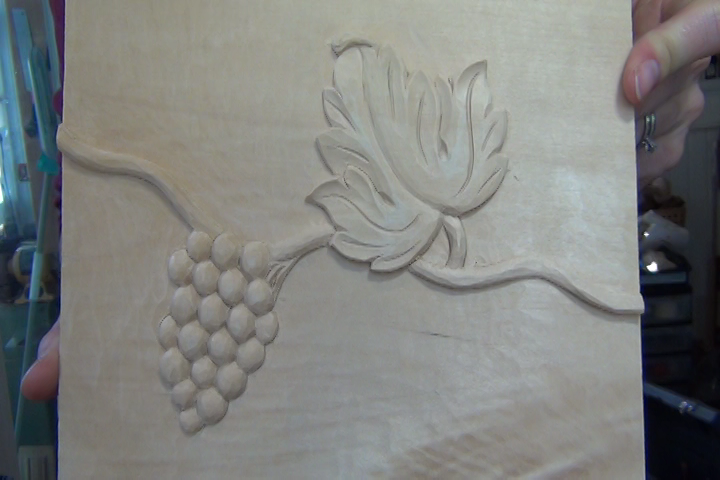


This question is not about the barn owl, but about a project I want to make. I want to carve some flowers for the top of a chippendale style mirror, but what I have drawn is one flower and leaf on top of another, like a bouquet. The space taken by the bouquet would be about 5″ high x 7″ wide, but I can adjust it differently as I am still in the design stage. I have 5 flowers, stems, and 6 or 7 leaves and parts of leaves, with parts of flowers peeking out from under other leaves and flowers. It more or less copies flowers in the tile to be used in the same room. Is this too difficult a project to carve for a “relative” beginner? I notice the projects you have chosen to demonstrate are not “bunched up” like that, so should I take that as a guideline that it would be best to spread the flowers out so that they are more or less on one level? I tried drawing it spread out, but it was not very interesting, and it meant carving down into tiny little spaces between the petals, stems and leaves to the ground level. I thought perhaps it might be more difficult to carve down in between the tiny petals than to carve one on top of another. What are your thoughts about this? Also, how to keep the levels clear in my mind? I have some very straight- grain stable cherry to work with, and I thought I’d cut the flowers out on the scroll saw, carve them as one unit, then glue in place. I planned to use ¼” thick stock, so nothing is very deep in this bunch of flowers. Do you have a lesson already in the school that might help?
Hi Joyce,
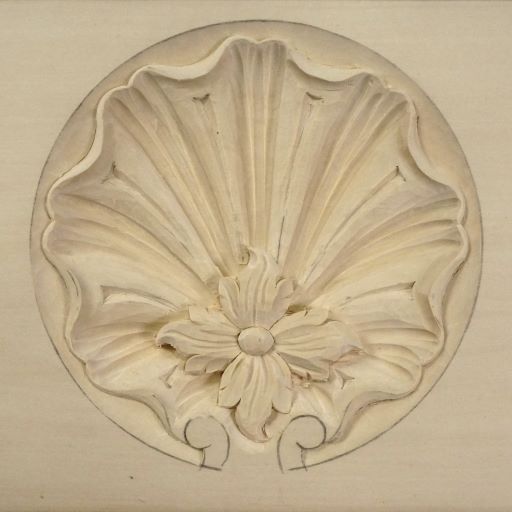
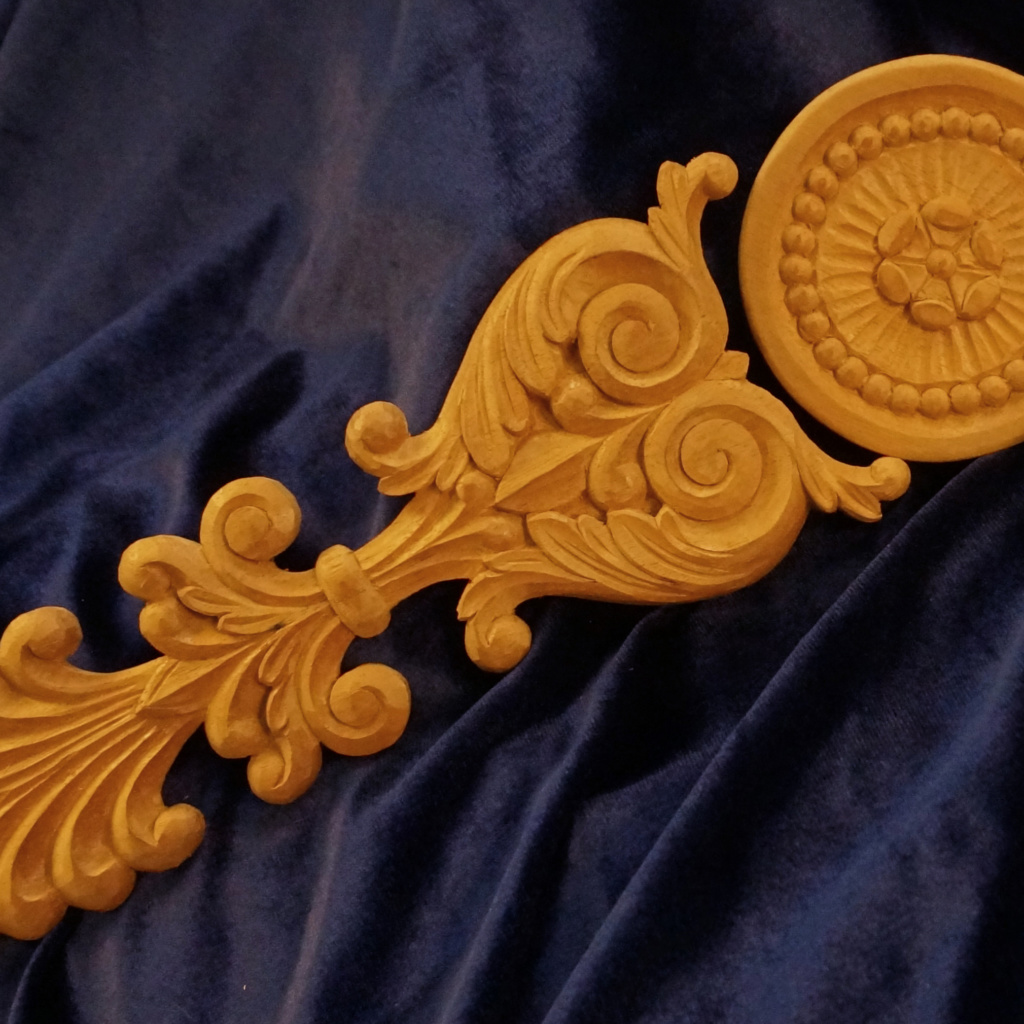
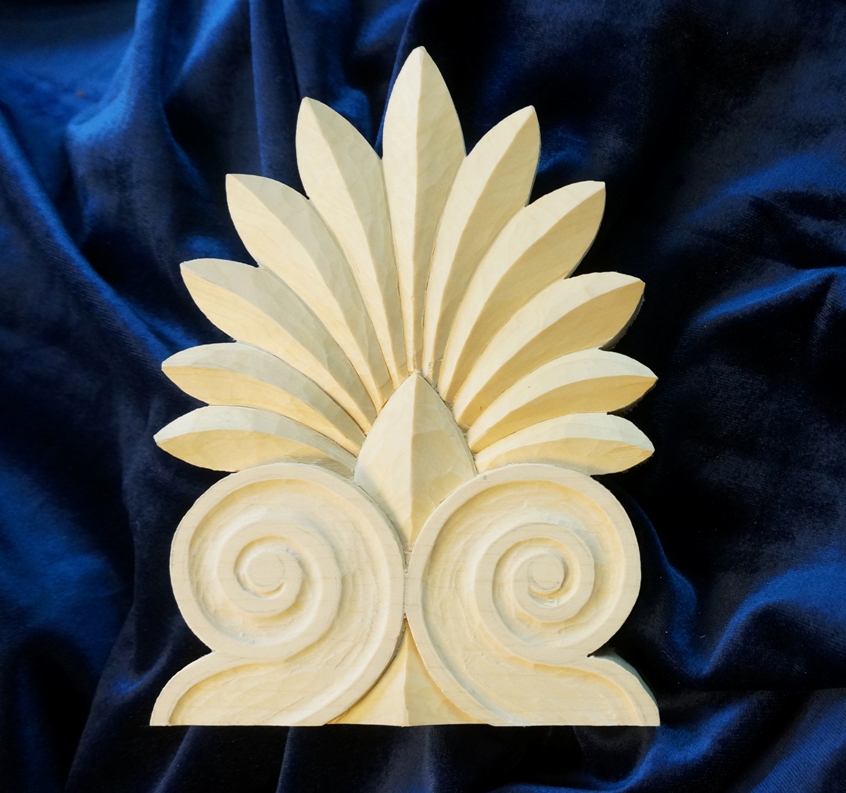
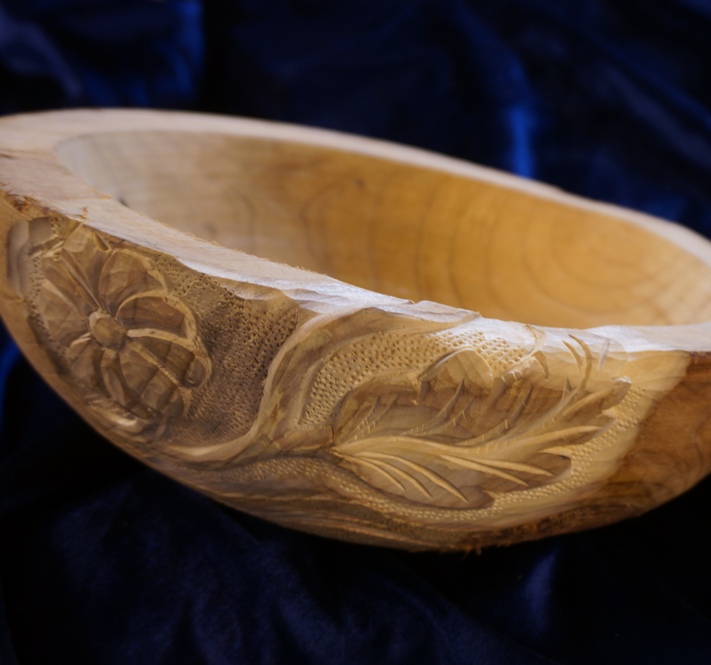
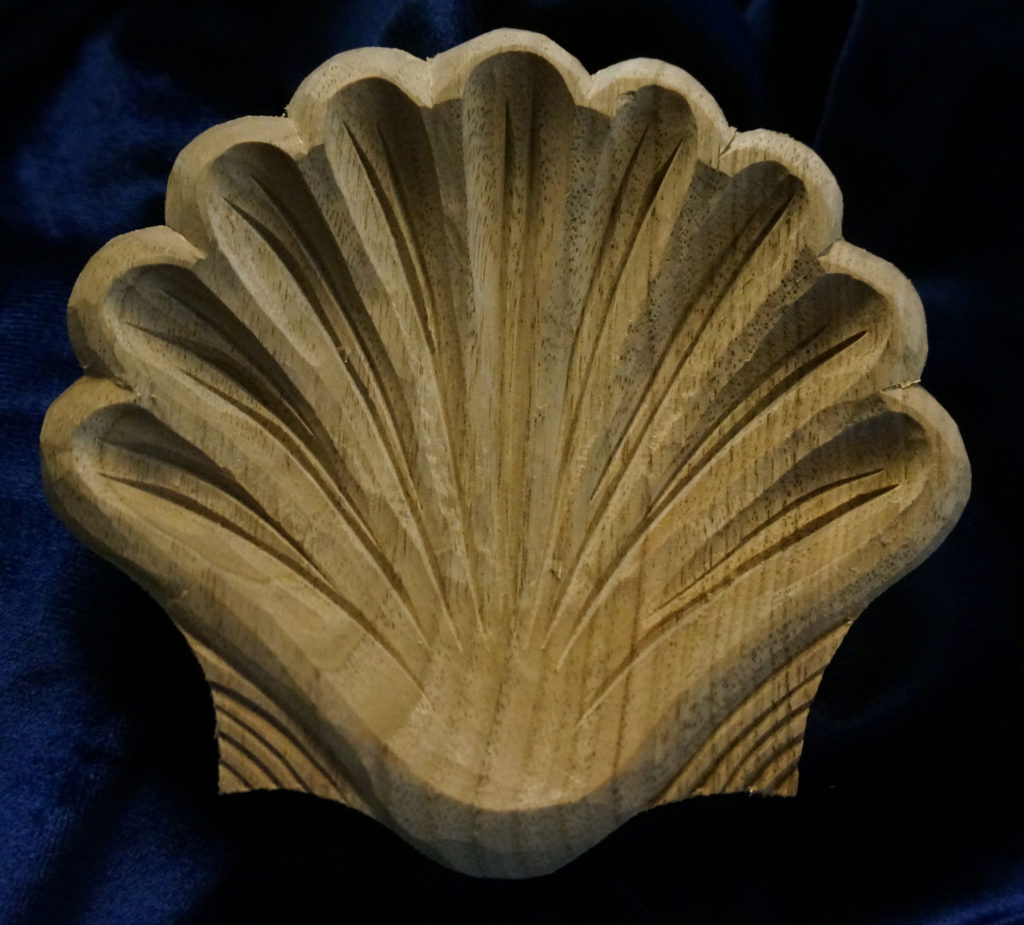
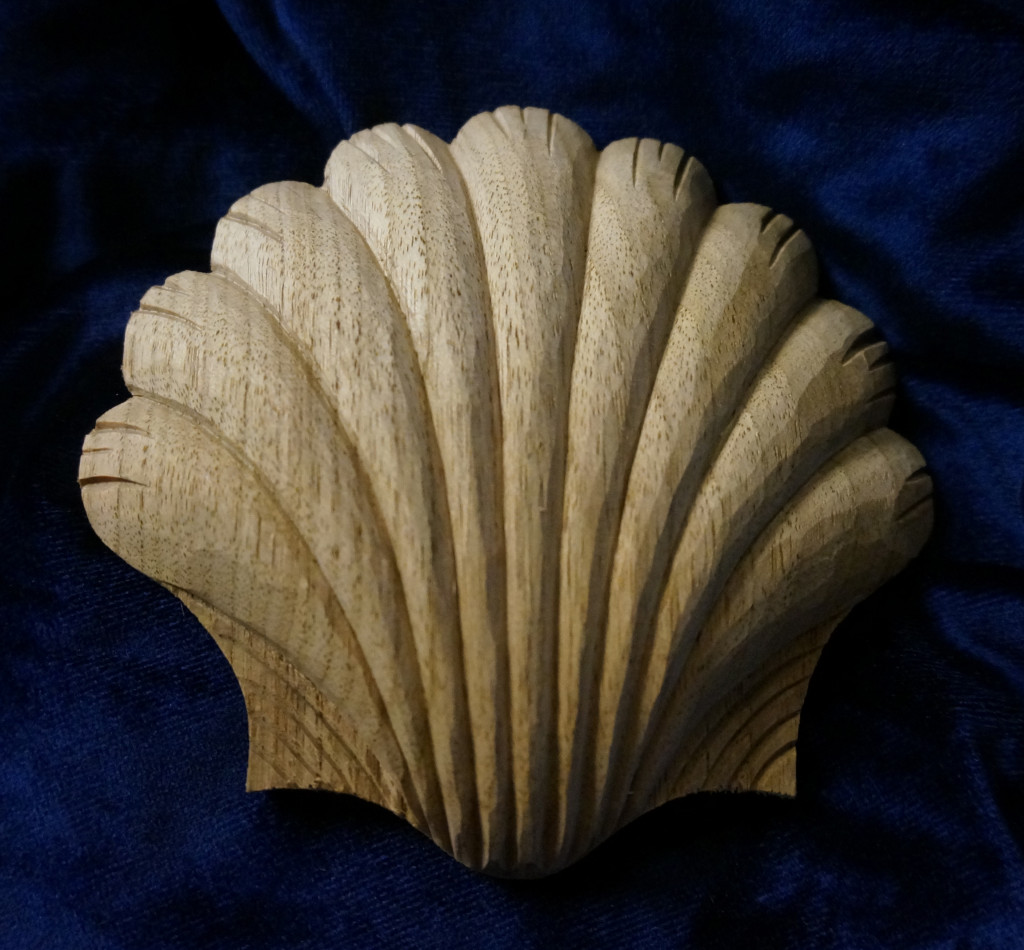
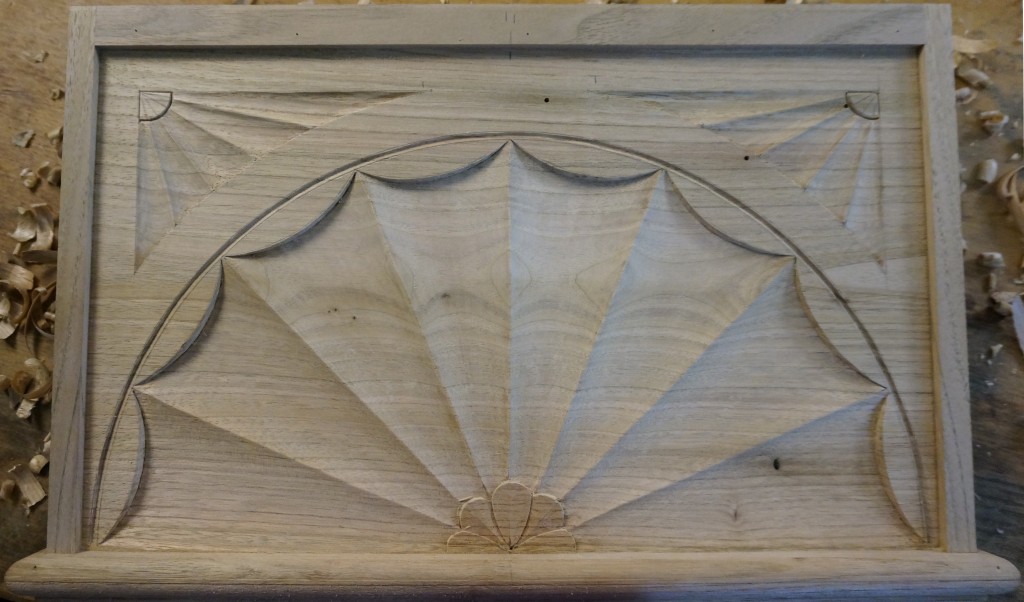
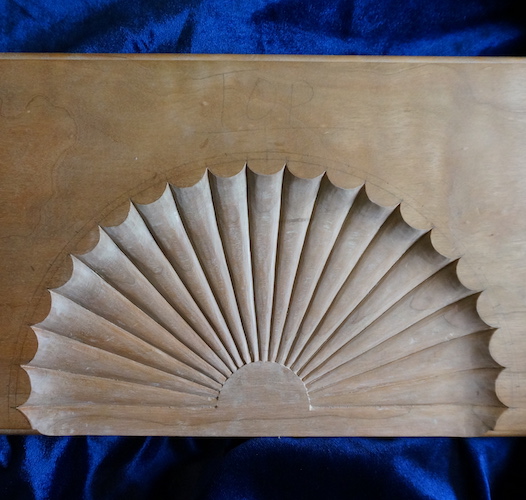
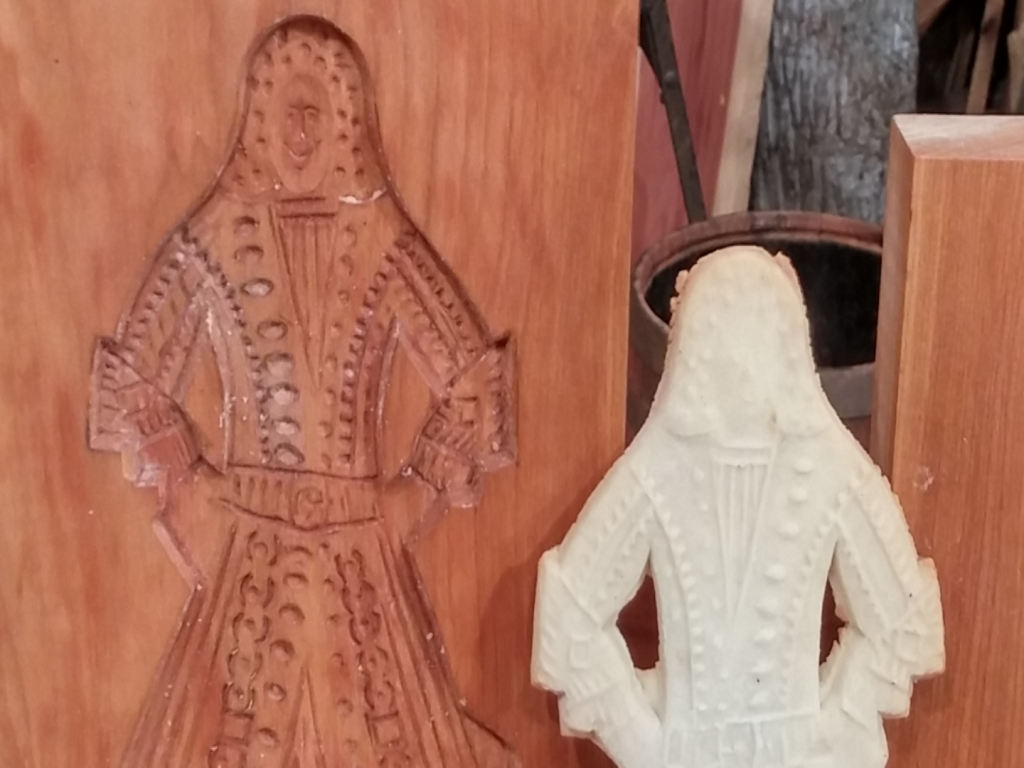
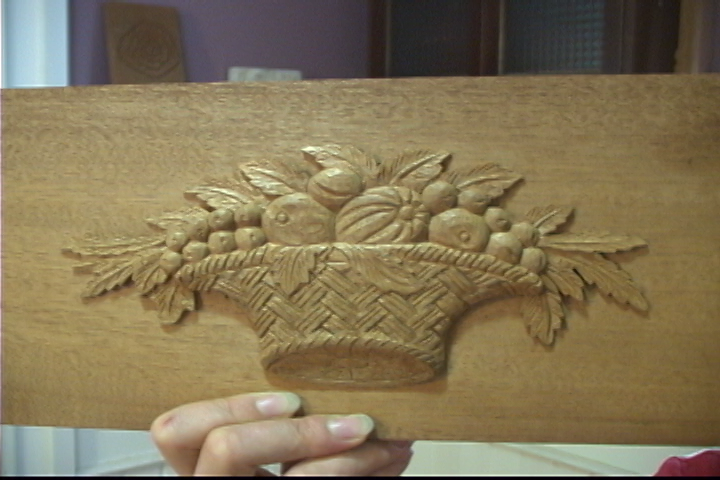
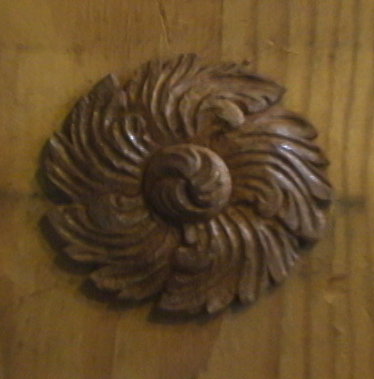
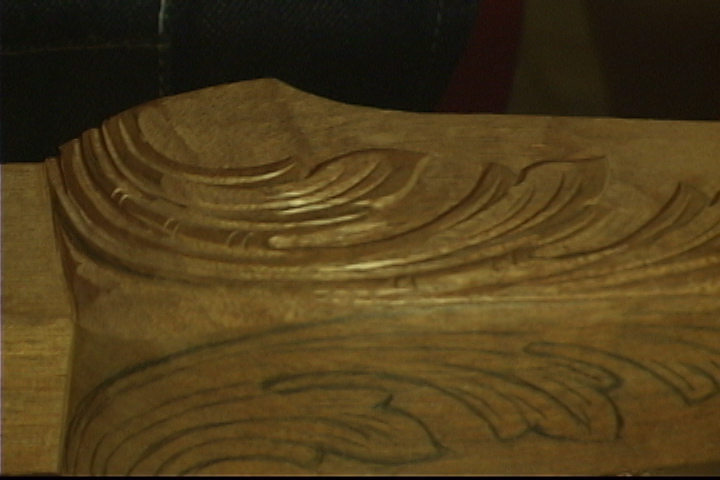
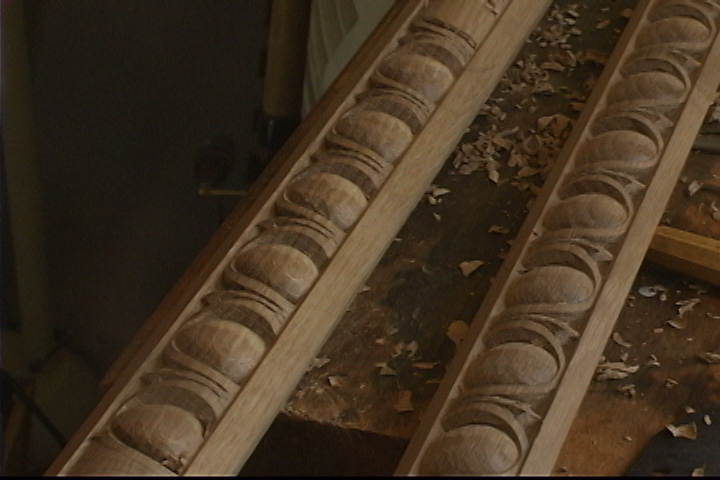
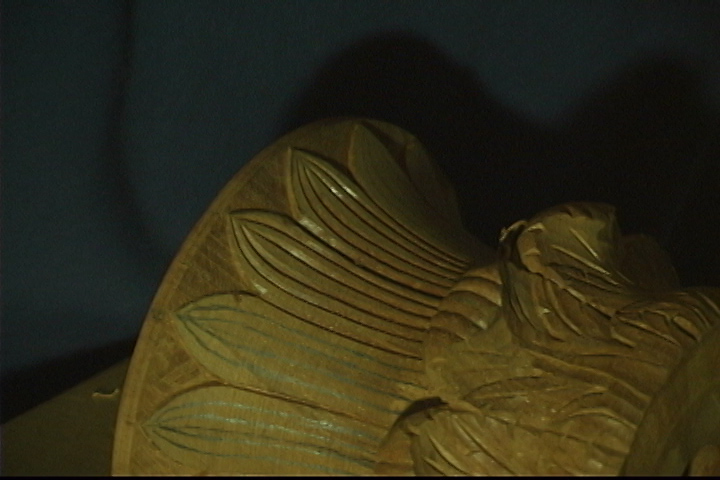
I think that would be a wonderful project to do for a lesson. Why not a Grinling Gibbons type carving? Well, maybe not that deep. Check out the McIntire basket lesson and that shows how to do a lot of overlapping in a very shallow amount of wood. It may not be flowers, but it should give you an idea of how to go about doing this. Yes, I think this should be a lesson soon… Thanks for the idea!
Thank you for your suggestion! The Basket lesson was extremely helpful – and fun to watch. I enjoyed seeing the “fool the eye” parts worked out. You advised (I think in the first lesson) using modeling clay to make a 3D model to refer to – I think it will be helpful also in just getting the design worked out. I have some flowers I picked in a vase – I can use those to see how flowers behave when lying on a flat surface. I’m eager to see your lesson on this, too. Maybe with luck you will get yours posted soon and I’ll have something to go by.
good
Are you planning to make a casting of the barn owl?
Hello Dave,
Yes I have made a rubber mold and it turned out well. I will send an announcement on the newsletter when it is available on my store.
Thank you. With the stock market so high I finally spent some profits and yesterday got the package..
🙂 Enjoy!
Do you sell you to the forest gem gallery in washington?
Hi Stacey,
No. I’m not familiar with this gallery. I’ll look into it though. Thanks!